annealing AL or what I did today
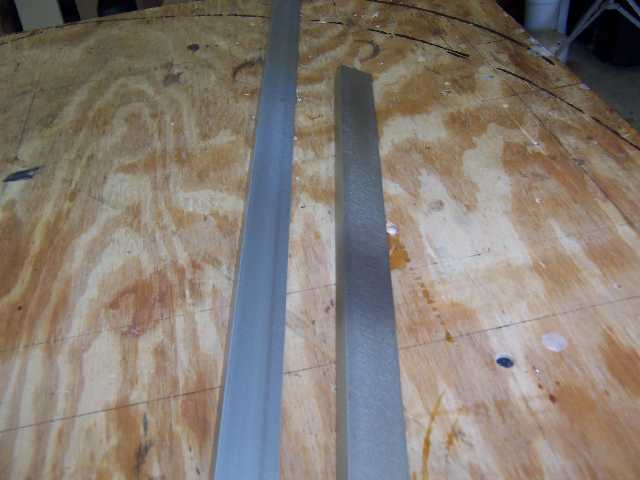
...spent the whole day annealing and bending Al trim of various sorts, and thought I would pass on a couple of tips... I use the candle soot and yellow flame method, I find the combination to work well for me...when sooting the Al, all you need is a VERY LIGHT COAT of soot...a heavy coat will cause you to over heat the Al, causing discoloration if not melting...that is what happened in this pic...both pieces are annealed;
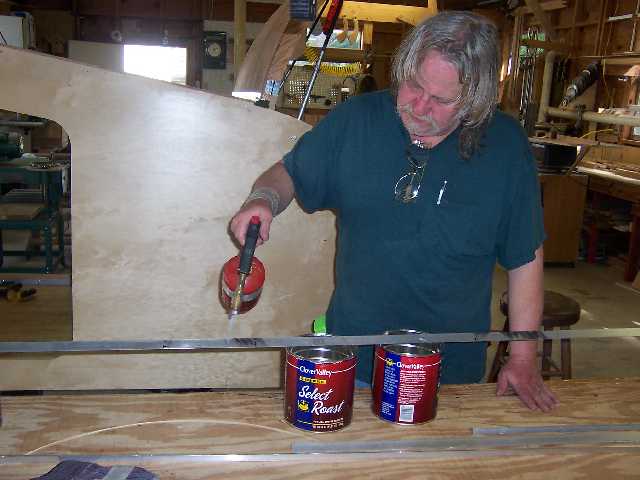
...in this pic, notice that the piece I am working is not completely sooted. I only sooted/annealed those sections that were in the radiused corners of the doors...the area I am working on is 2/3rd done...a slow steady hand is needed and dont let the flame sit on any one spot...keep it moving;
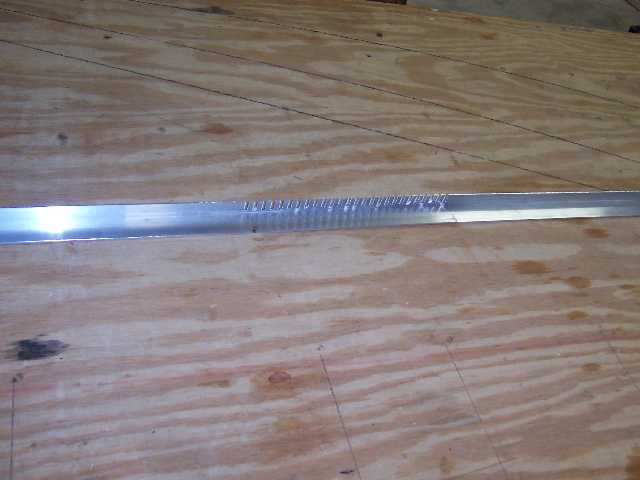
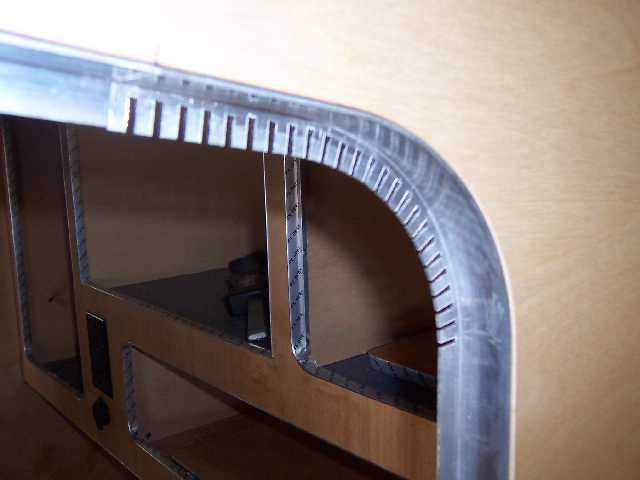
after annealing the piece was kerfed to help it bend into a 4" radius...we used a form to bend the AL;
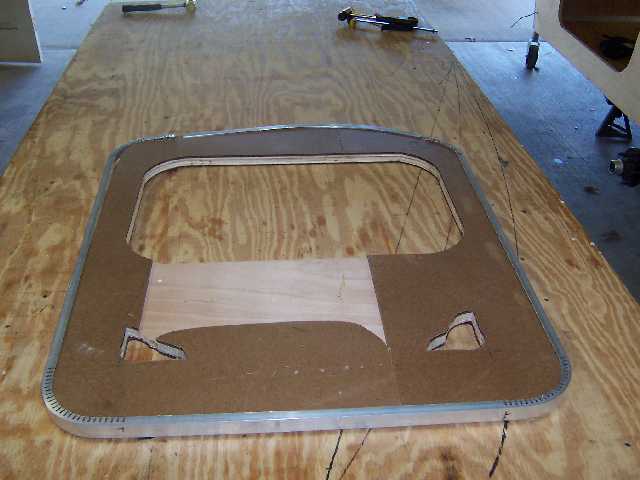
two pieces of 1x1/2 angle were used to make the door jambs...the inside is mill finished and will have a trim seal on it for weathproofing and the outside is anodized
I have a bunch more pics and will upload them to my WWW picture gallery to-nite or tommorow...will advise
madjack
...in this pic, notice that the piece I am working is not completely sooted. I only sooted/annealed those sections that were in the radiused corners of the doors...the area I am working on is 2/3rd done...a slow steady hand is needed and dont let the flame sit on any one spot...keep it moving;
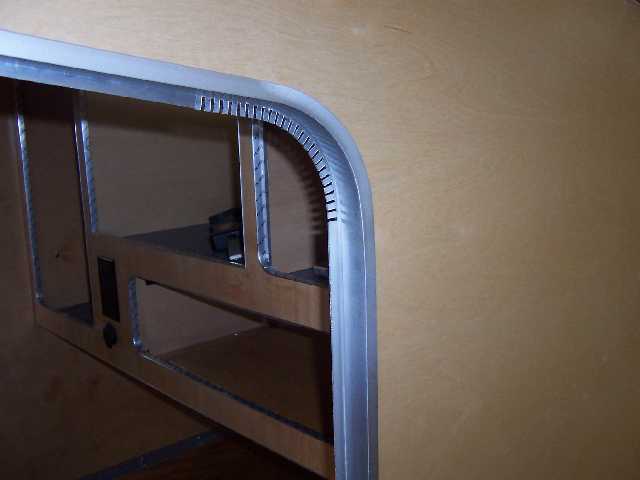
after annealing the piece was kerfed to help it bend into a 4" radius...we used a form to bend the AL;
two pieces of 1x1/2 angle were used to make the door jambs...the inside is mill finished and will have a trim seal on it for weathproofing and the outside is anodized
I have a bunch more pics and will upload them to my WWW picture gallery to-nite or tommorow...will advise
madjack
