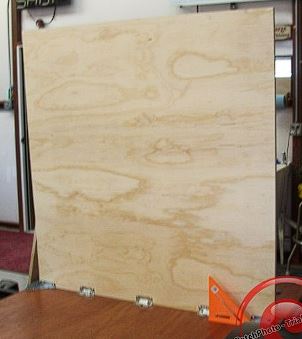
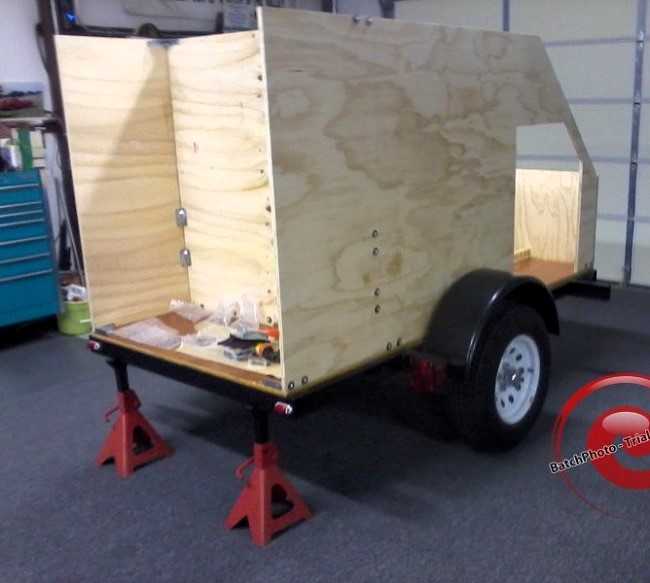
from a previous thread, concerning my construction method(s):working on it wrote:My trailer is entirely 3/4" pre-sanded interior grade plywood (except for the two-part floor, and additional 1/2" x 3" oak boards used as bracing ), bolted with steel hardware, no curved cuts, and only two mitered cuts-the rest of the cuts were straight.
I first made a two layer floor, with 1/2" Birch plywood attached to cross beams with 3/8" carriage bolts, followed by 1/4" Luan glued w'Titebond 2 to cover the Birch. Then I used Tek screws to penetrate the floor, screwing around the perimeter into the frame. Bulkhead and frontal piece were bolted on top of the floor, using steel corner brackets and Simpson Strong-ties gusseted angle brackets. All seams were glued together with Loctite PL Premium adhesive in-between floor and vertical pieces, and inside and outside (done later) to ensure watertight joints.
The walls, being stood vertically, were placed over the outside edge of the floor, reducing the interior width to 46.5", and inside length to 95.25". Also, I sprayed multiple cans of spray-on undercoating (and continued doing so every time I drilled thru the floor).
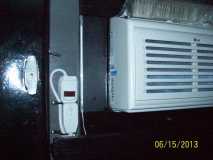
I didn't have the equipment to fasten the plywood together with rabbets and dadoes or biscuits, and I felt that cutting into, and reducing the strength of the resin-impregnated 3/4" plywood walls, would not add to the robustness of the structure. The angle and corner brackets took the place of internal cleats, so none were used. The only roof spar, was not on the ceiling, but placed in the middle of the front slope, to be used as part of my overhead shelf, holding my stereo & electric main cooling fan (it might also serve as a brace against wind pressure). The only other interior bracing was around each door, the windows, and the A/C unit (mounted thru the rear bulkhead). Those places were braced with 1/2" red oak dimensional lumber, with 1/2" long Spax screws holding the wood to the walls, while the PL adhesive dried between surfaces (the Spax were left in place, since at 1/2" long, they didn't penetrate the outer skin of the trailer.
- rear bulkhead attached to floor, with steel brackets and PL adhesive.JPG (22.44 KiB) Viewed 3237 times
- note the carriage bolt heads and fender washers thru the wall, all stainless and sealed with PL
- vertical galley space, more steel bracket on bulkhead.jpg (72.85 KiB) Viewed 3237 times
Of course, my intent all along was to mount heavy accessories up high on the bulkhead (A/C unit and power control center), with wood shelving on both sides of the bulkhead, at 20" from the floor, necessitating heavy-duty construction.
If I had only 1/4" plywood + foam to attach the rear bulkhead to floor, walls, ceiling (I believe in making everything solid!), I would've opted to use either square or quarter-round molding + PL adhesive (sufficient holding power for lightweight material, without screws or nails). I thought about using the same method, but my penchant for overbuilding swayed me away from doing so.
 Thanks in advance, you guys have always been helpful.
