
Making me think about it isn't really fair, I'm old and not really experienced in the art.
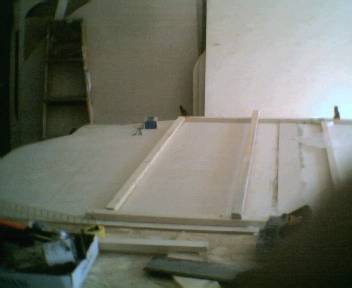
Ok I did the strip all the way to the galley wall and stopped. I have wall studs 16" on center, like JP lock. The framing is a true 1" thick.
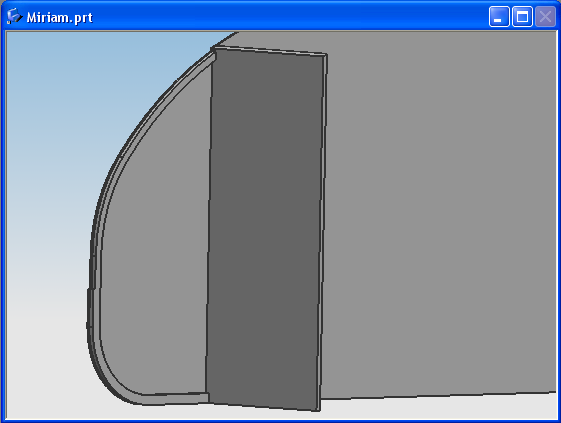
I don't know if I should vaneer some 1/2" ply to the wall and cut

Or carry the framing all the way down to the counter. And---if I do that do I have to figure out how to frame the hatch seperately?
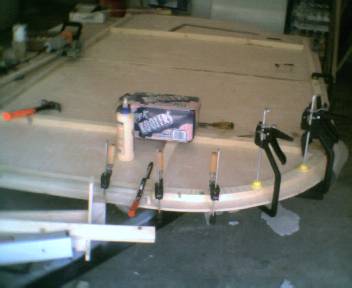
The bottom will be panned off as you suggested, with counters opening. I am guessing I can do that the same way I did the front with some beefing up.
The problem is I got stuck at the galley wall because it doesn't lend itself to what I had planned, which was to cut the hatch away after it was built

So I was looking for something else.
Confused yet.
Aunti M
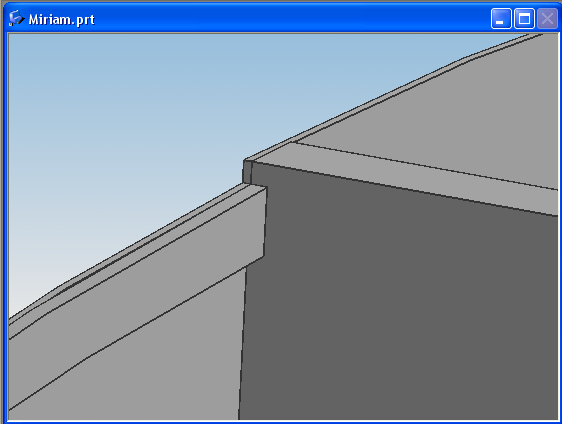
 I was going to do a cut away like spadinators but I don't have the small details. Like how do I frame the side edges, and what do I skin it with. and if the skin lays over the side smoothly what protects the edges.


 . Think I know how I want to do it but seein' a coupl'a different ways would sure be nice. Thanks


 Those of you who are inclined to ridicule my request for pictures or rambling discriptions may want to remember that I am not the only non-craftsman or builder looking for answers. I had a really trying day today and it doesn't seem to be getting better so please excuse my lack of humor.
