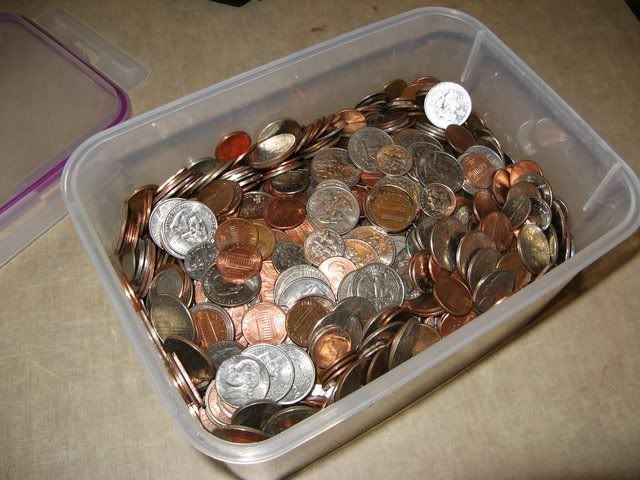
This is what 15.5 lbs of change looks like. $170+ using a Coinstar machine. Plus I got a Lowes card so there was no 9% fee either...
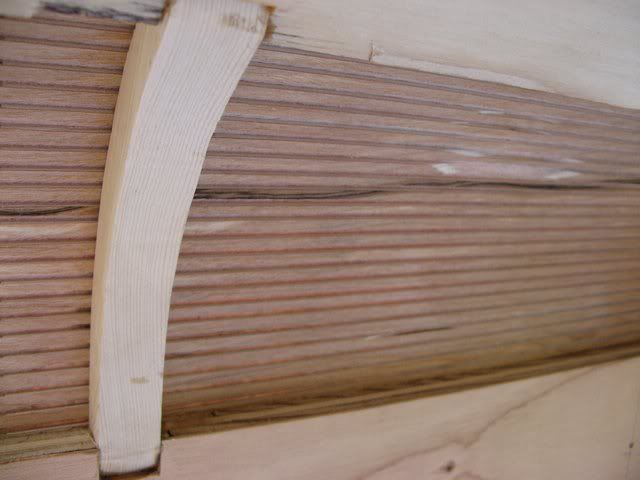
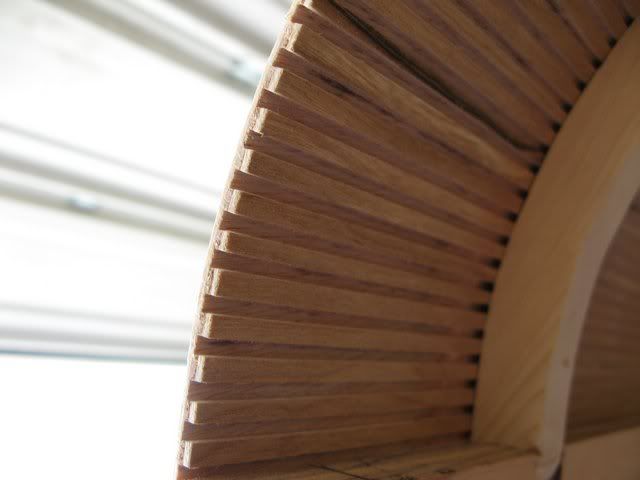
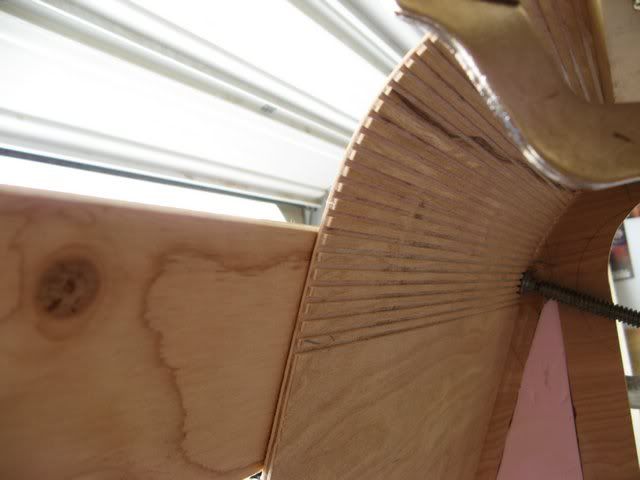
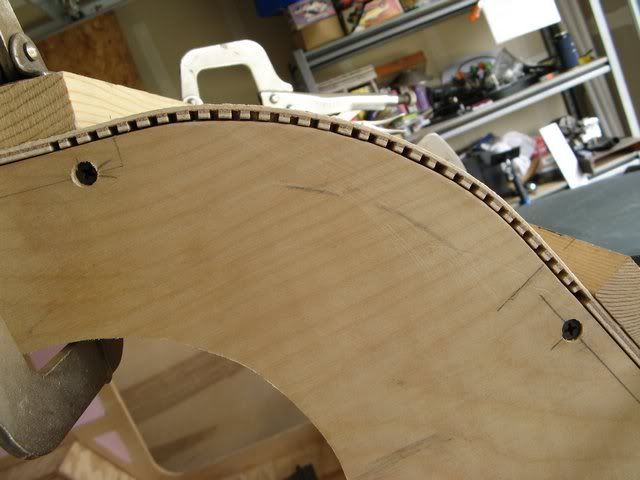
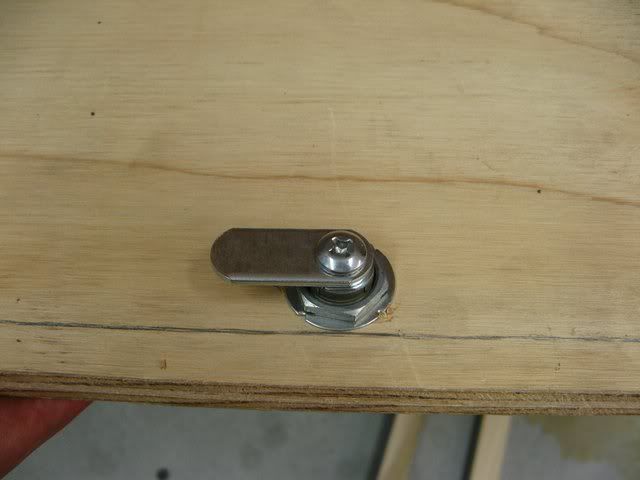
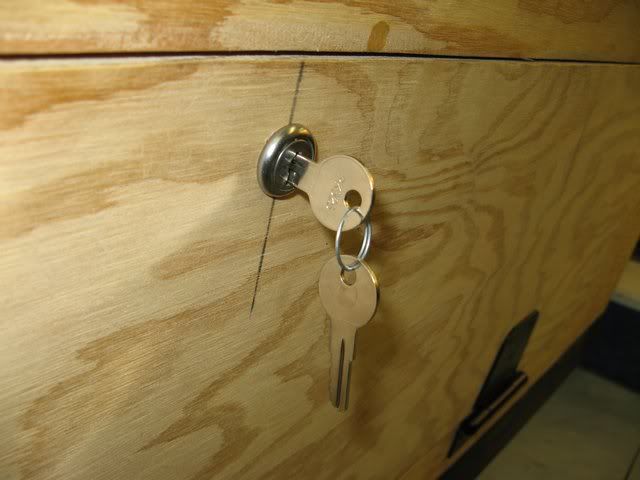
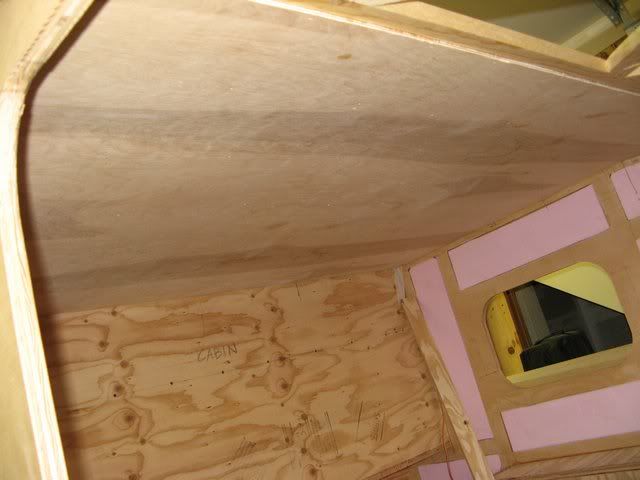
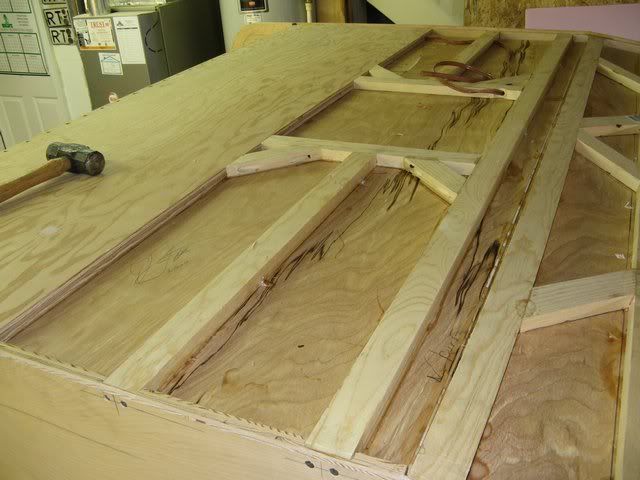
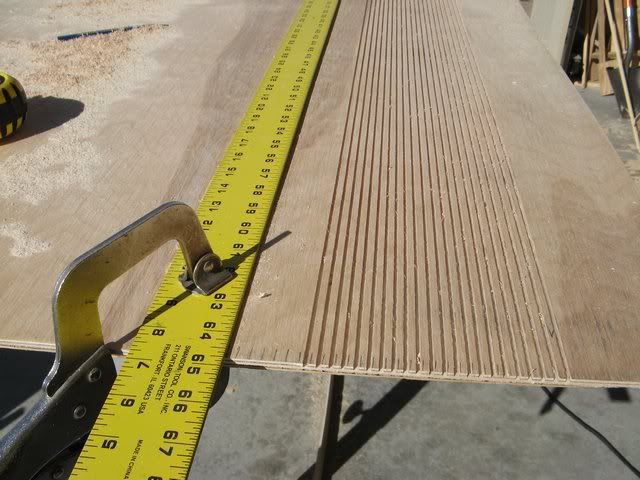
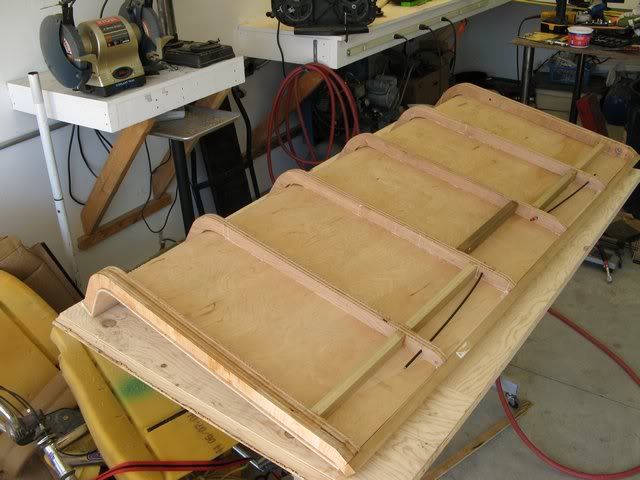
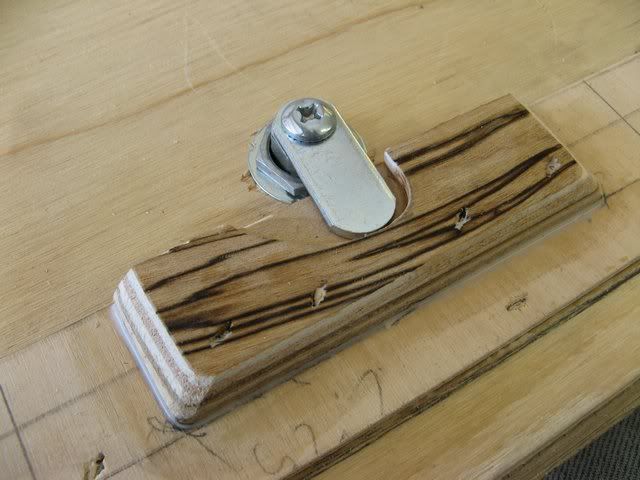
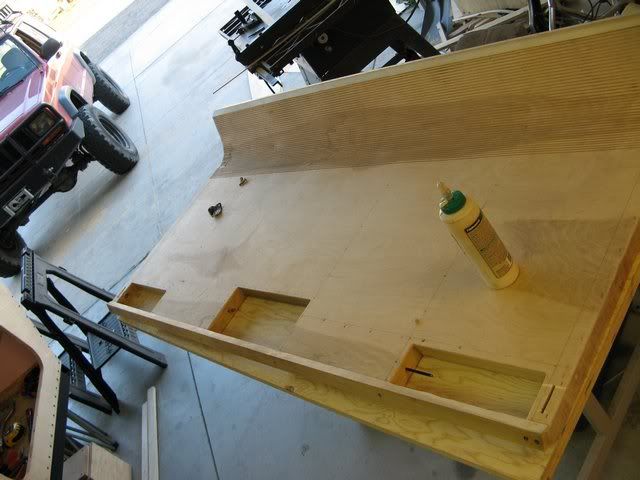
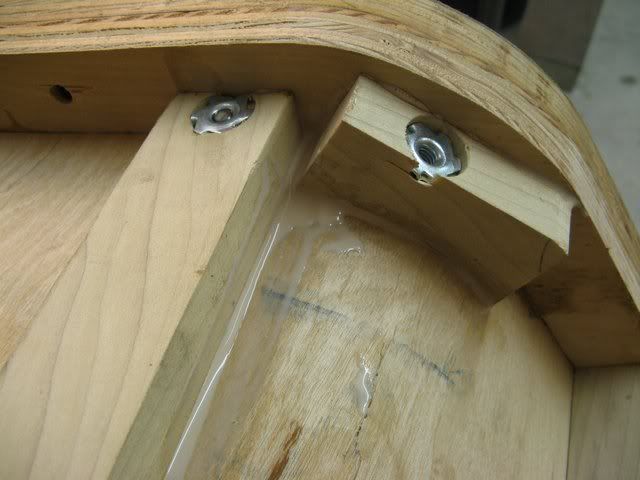
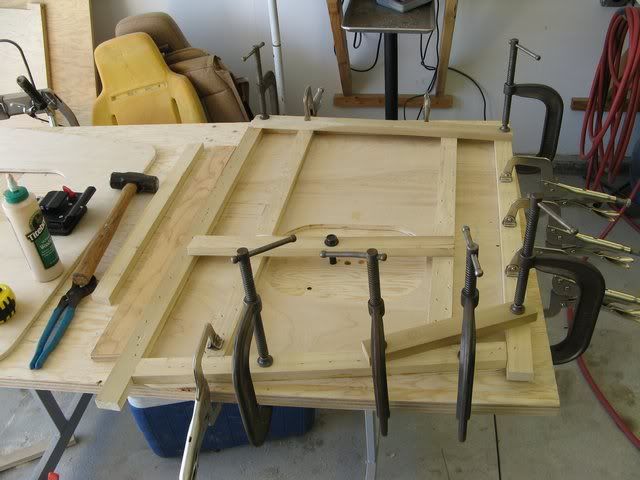
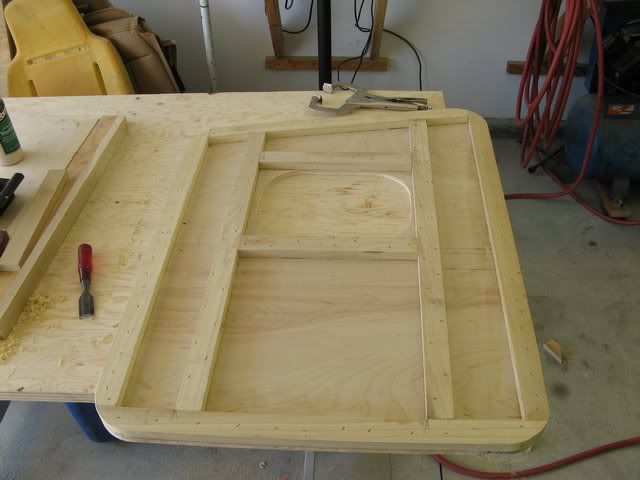
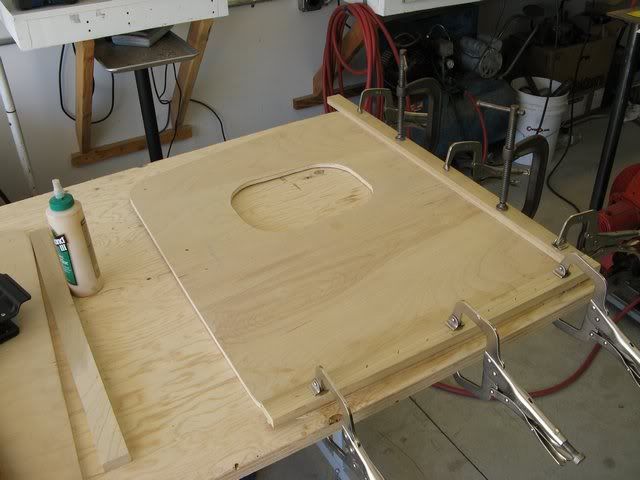
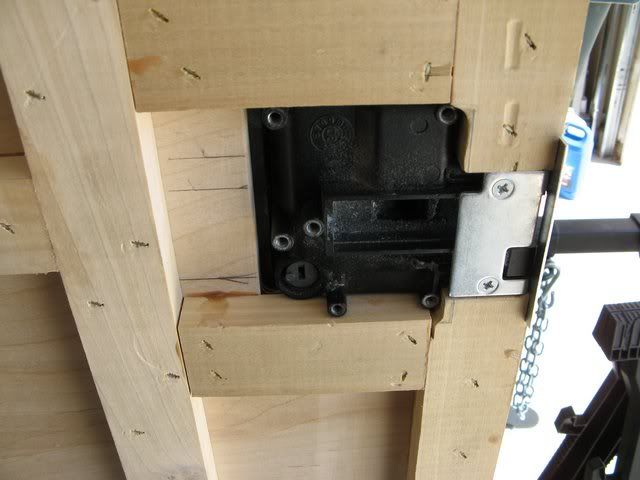
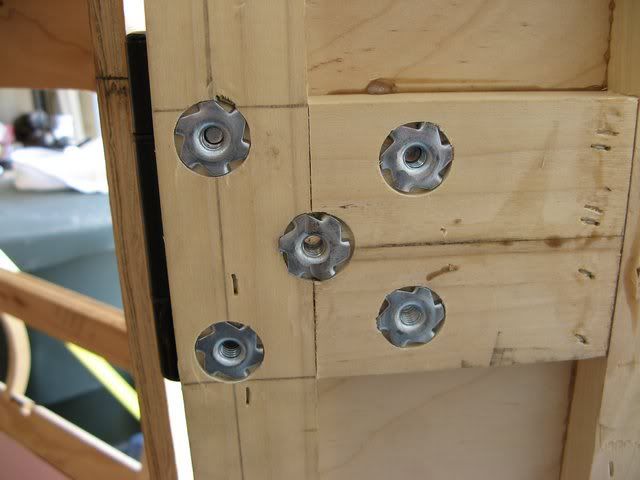
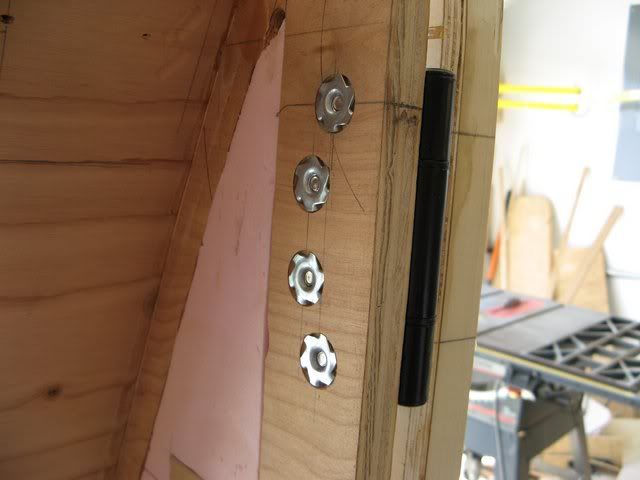
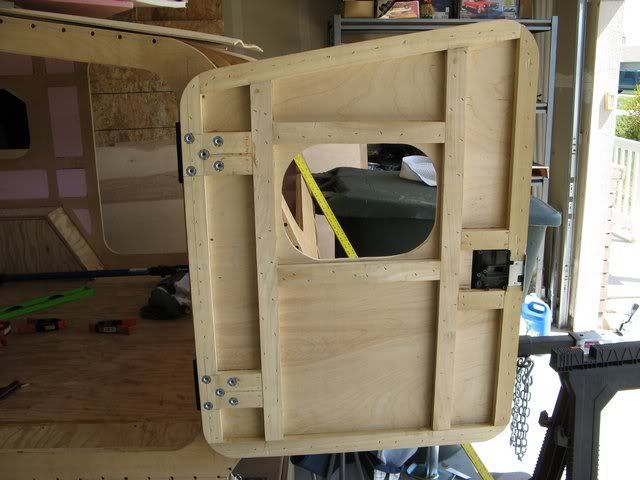
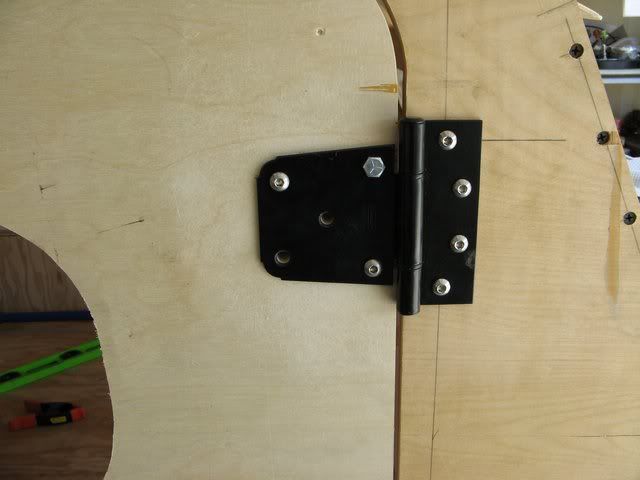
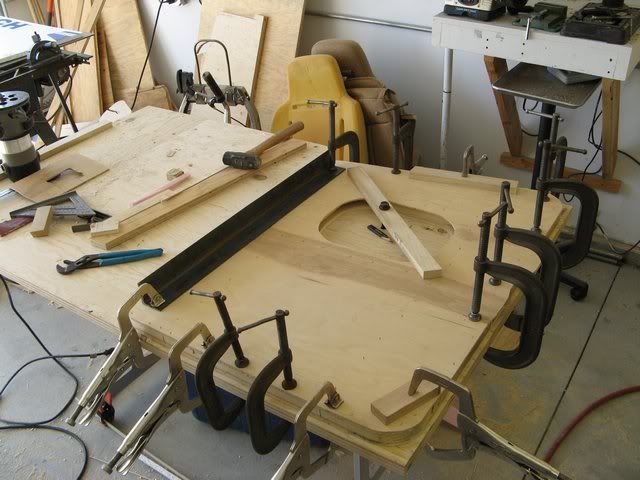
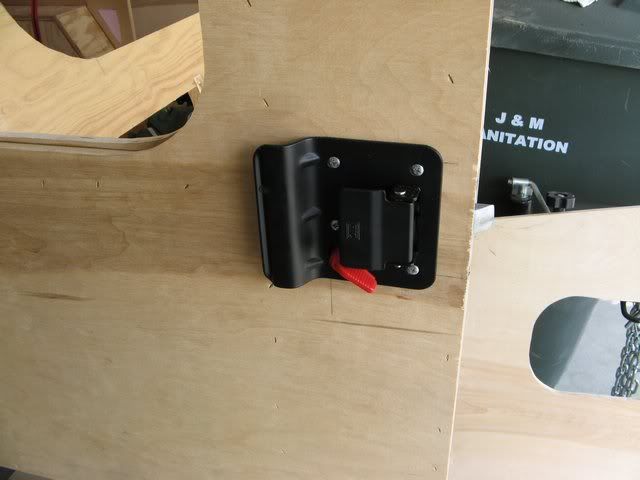
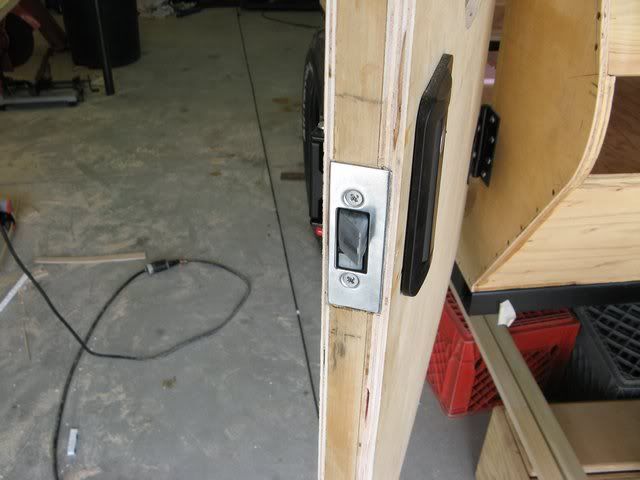
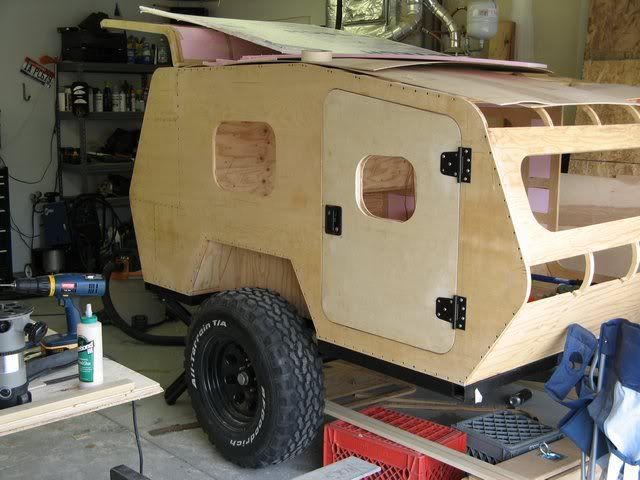
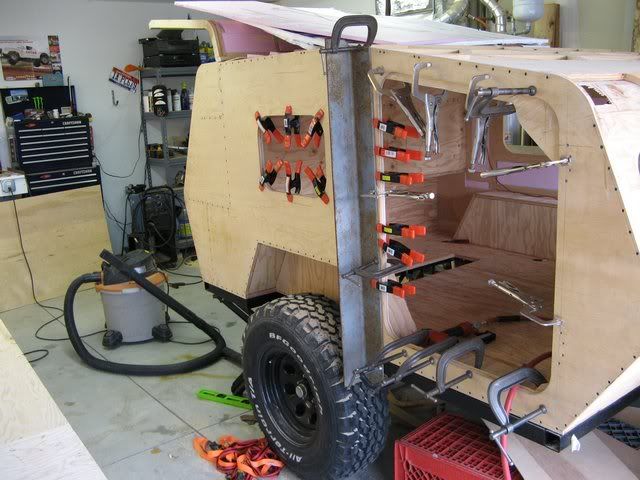
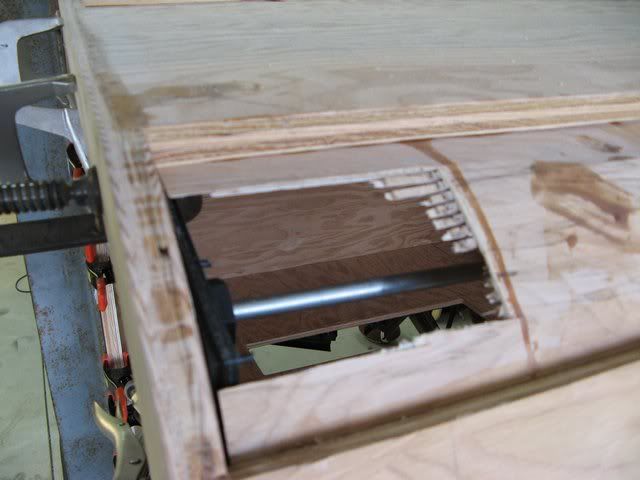
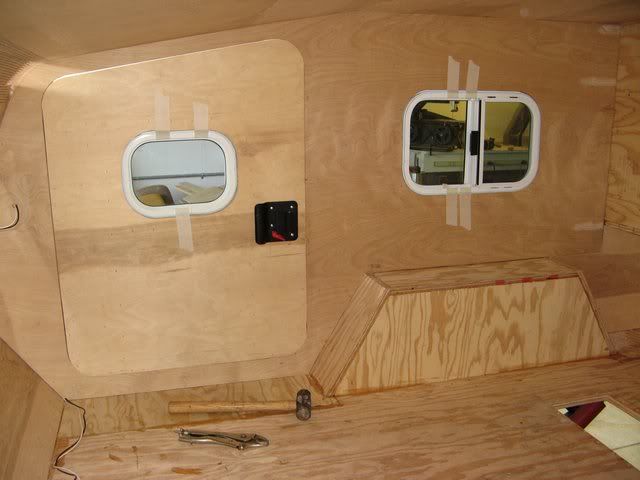
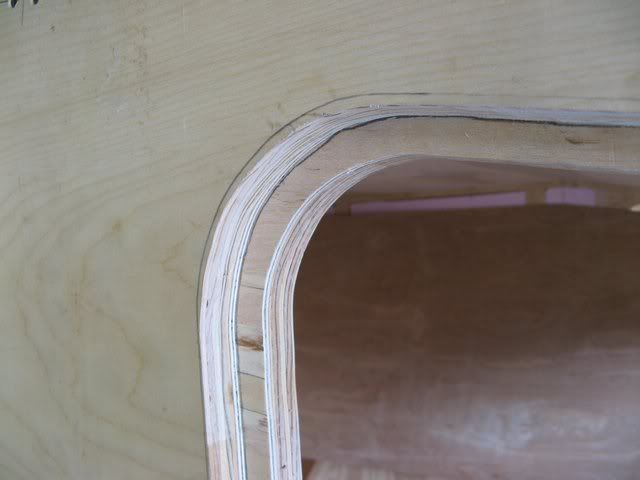
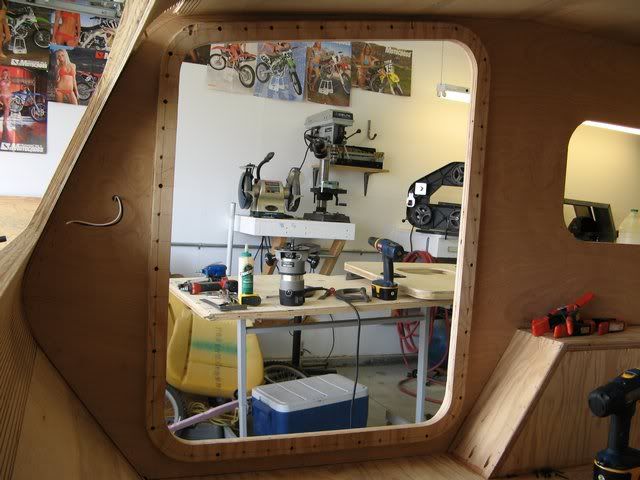
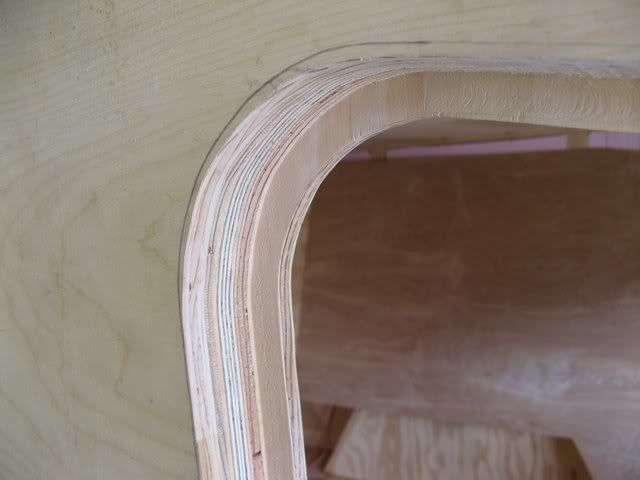
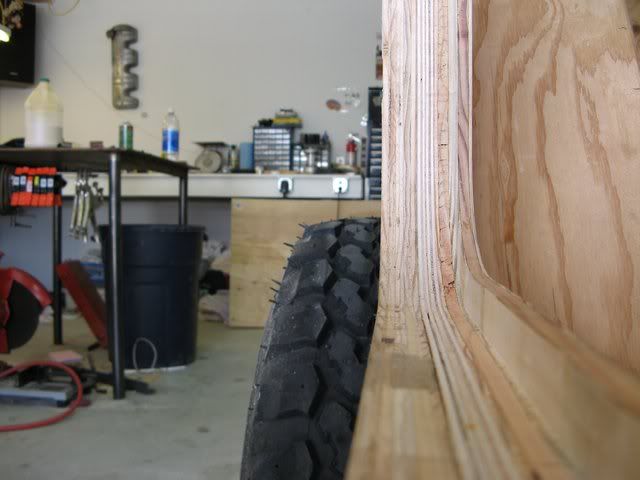
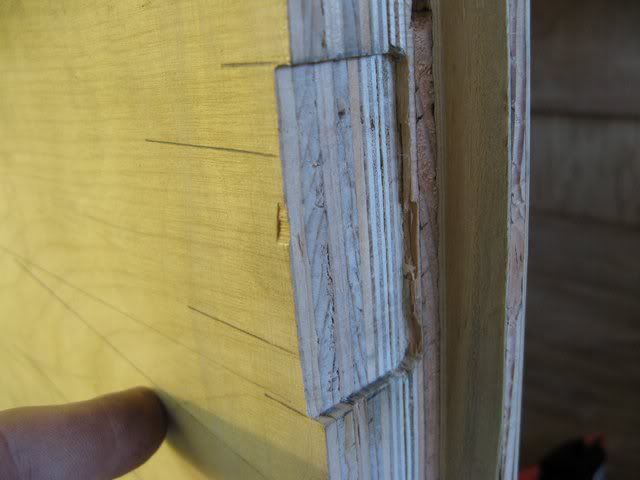
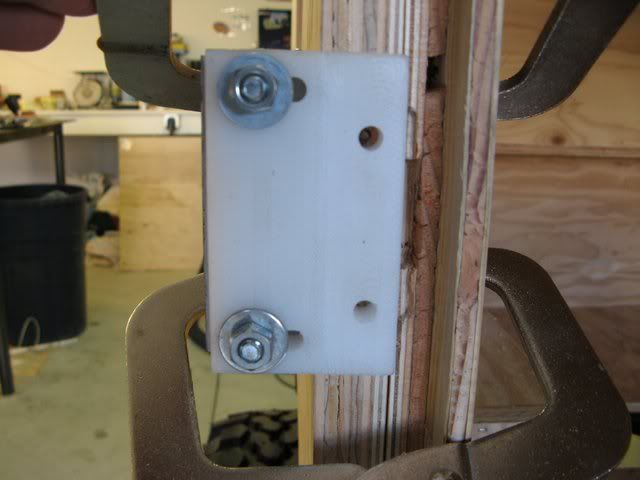
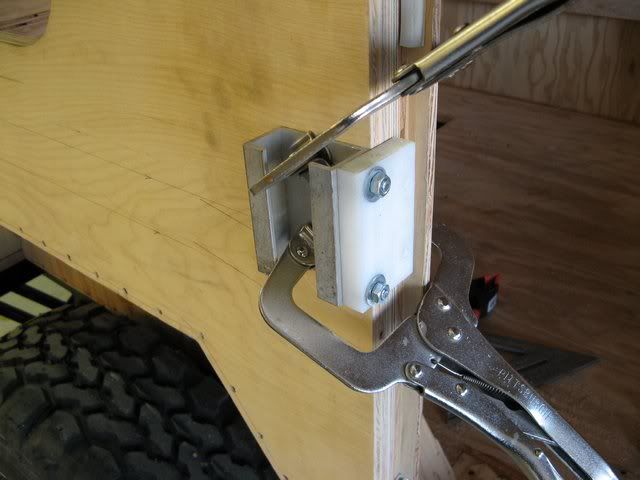
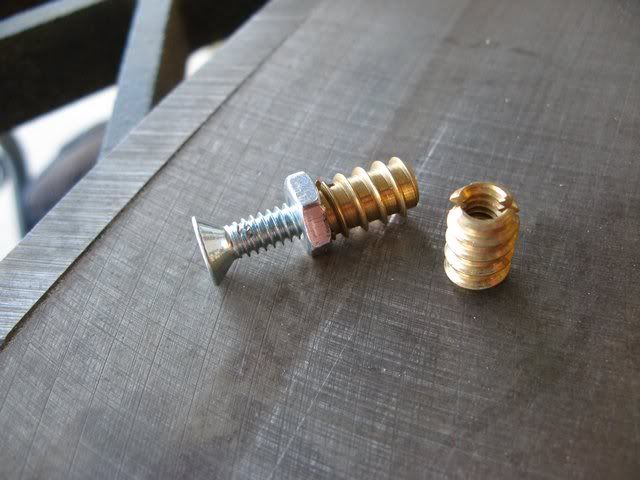
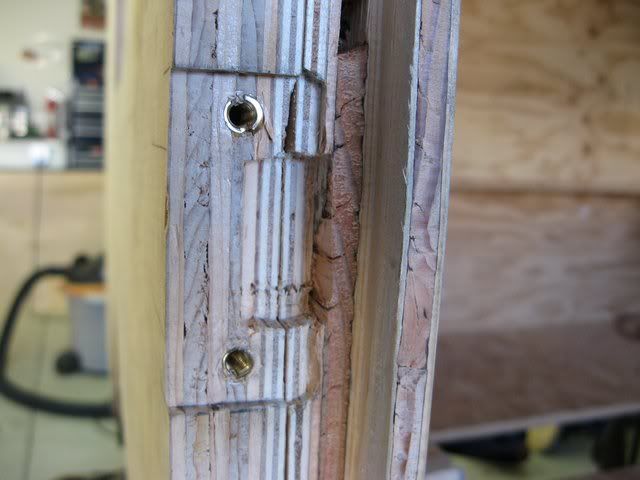
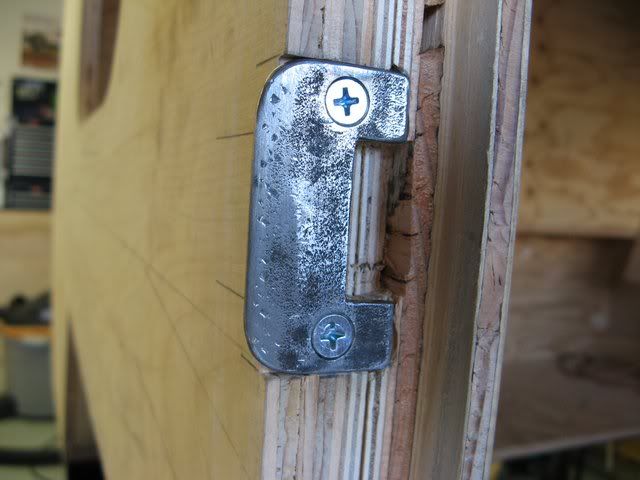
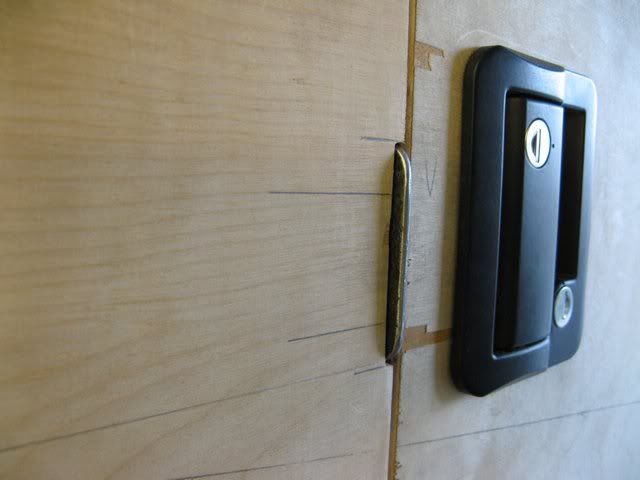
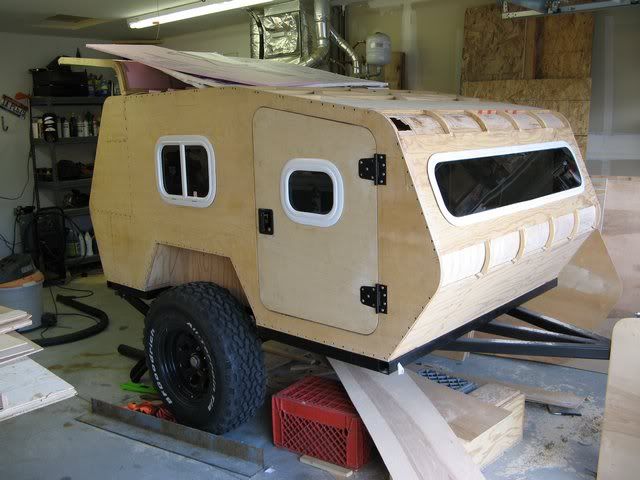
Anyway - I bought a bunch of 5.2mm ply for the skin, all my hinges, skin for the door and a cam lock for the rear cargo door. I did some experimenting with kerf cutting the back side for the corners. I did about 2/3rds depth and 1/4" apart. Seems to work pretty good. I got the cam lock and the seal surface done for the cargo door. Also got the first piece of inside skin done.
Hopefully more this week...

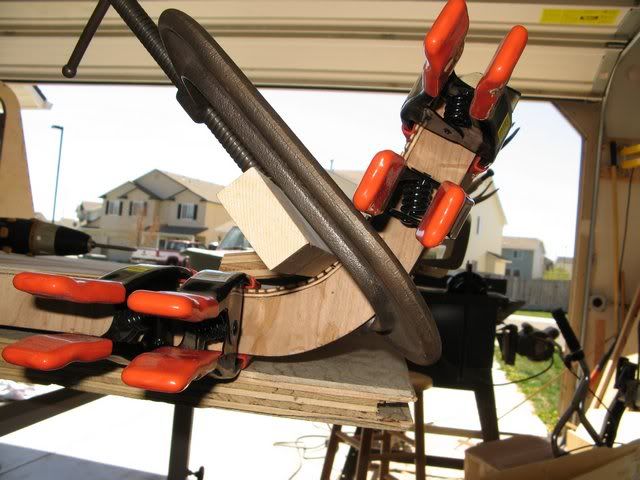
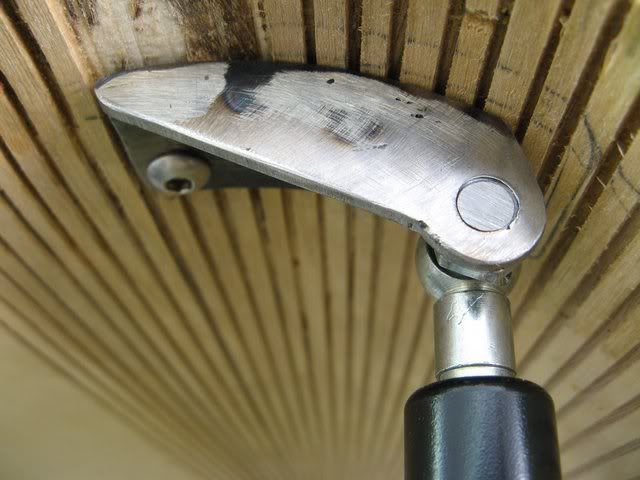
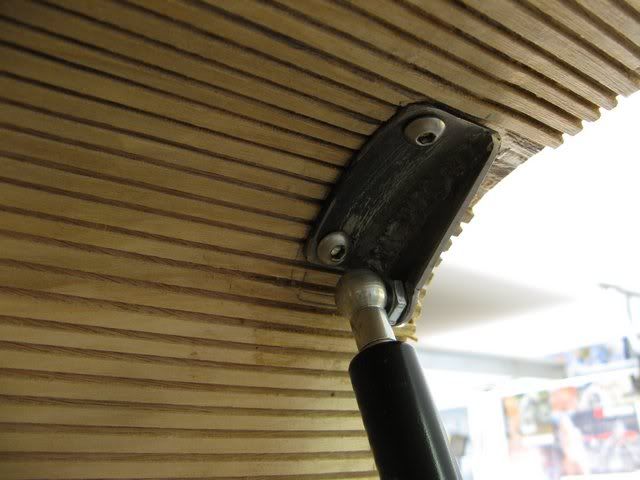

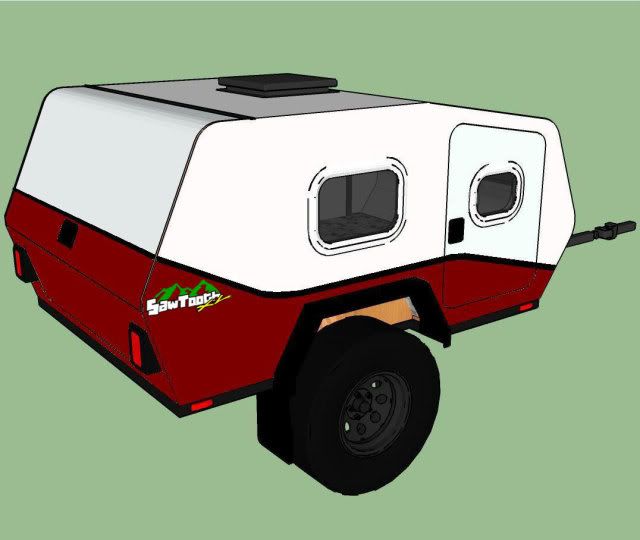
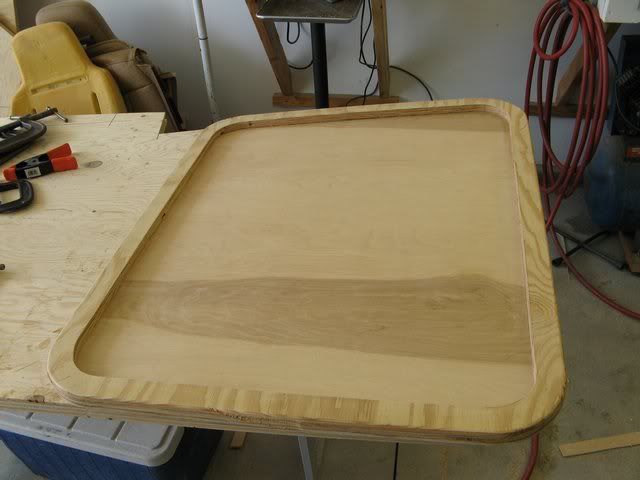
 Good job on that small radius. Gotta love that change jar. I used to have one.
  I think it went camping.
  Or fishing or something..........


 Mark (& Cindi)