
I think this has so far been one of the best builds we have seen come to these pages, excellant craftmanship and it has that 4X4 usage to boot! Great job.

Pete Wilson
Teardrops n Tiny Travel Trailersor t n ttt for short (tnttt.com) |
![]() by pete.wilson » Fri May 01, 2009 5:08 pm
by pete.wilson » Fri May 01, 2009 5:08 pm
![]() by stomperxj » Sun May 03, 2009 3:08 pm
by stomperxj » Sun May 03, 2009 3:08 pm

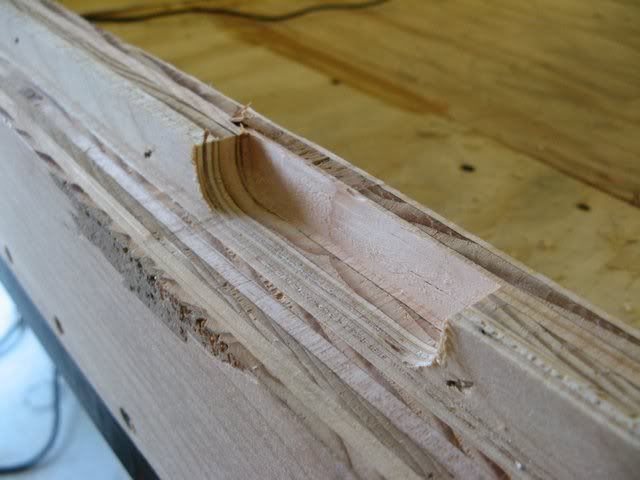
planovet wrote:Ouch! I bet that led to some colorful language.
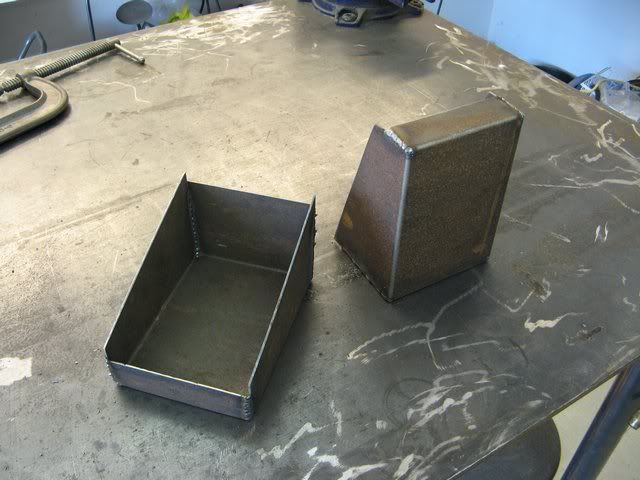
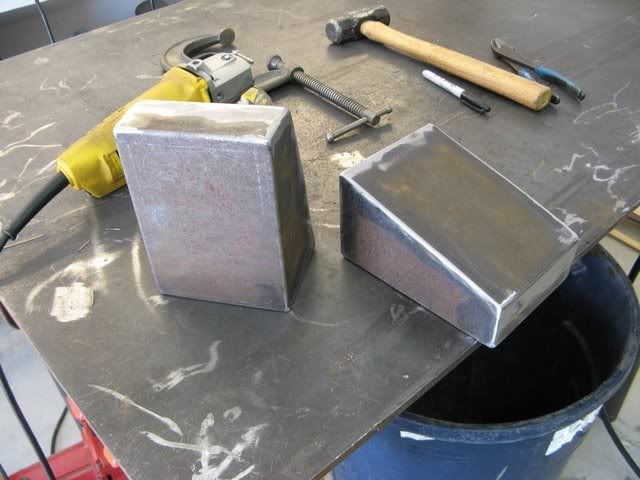
I like the strike plates that you made for your slam latches. I have the same latches and the strike plates that came with them are crap. Been wondering myself what to do. Unfortunately I don't have a mill to use. Nice job

![]() by Cliffmeister2000 » Sun May 03, 2009 6:01 pm
by Cliffmeister2000 » Sun May 03, 2009 6:01 pm


![]() by stomperxj » Wed May 06, 2009 12:33 am
by stomperxj » Wed May 06, 2009 12:33 am
![]() by High Desert » Wed May 06, 2009 5:09 am
by High Desert » Wed May 06, 2009 5:09 am
 Inspiring work!

![]() by bobhenry » Wed May 06, 2009 6:41 am
by bobhenry » Wed May 06, 2009 6:41 am


![]() by stomperxj » Wed May 06, 2009 8:47 am
by stomperxj » Wed May 06, 2009 8:47 am
High Desert wrote::thumbsup: Inspiring work!
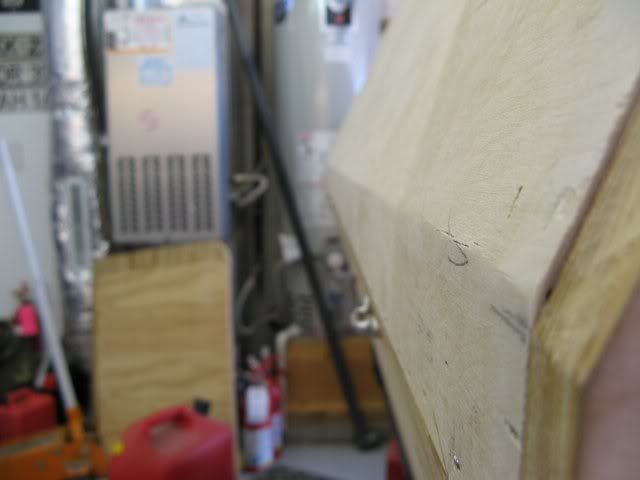
what is your final roof going to be?
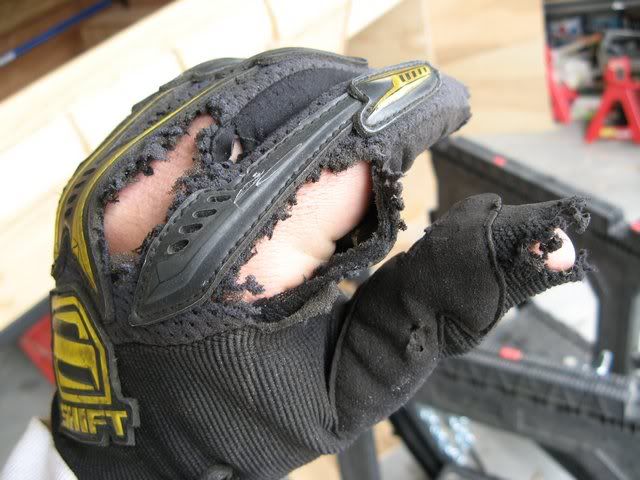
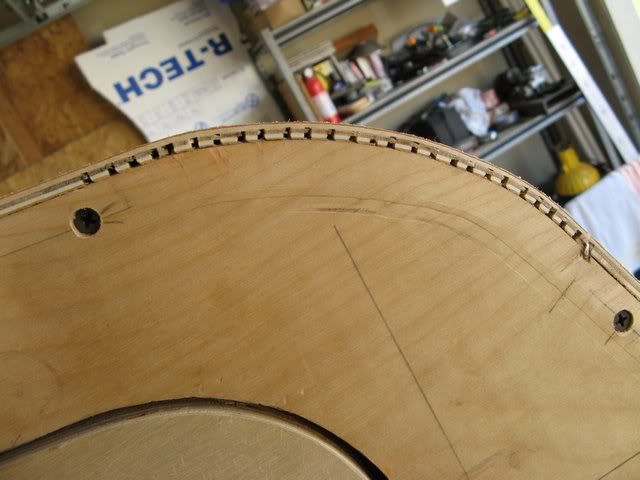
Nice patch job on the corner. And agreed, you've gotten most of the good stuff out of those gloves already
![]() by High Desert » Wed May 06, 2009 8:59 am
by High Desert » Wed May 06, 2009 8:59 am
stomperxj wrote:High Desert wrote::thumbsup: Inspiring work!
what is your final roof going to be?
Nice patch job on the corner. And agreed, you've gotten most of the good stuff out of those gloves already
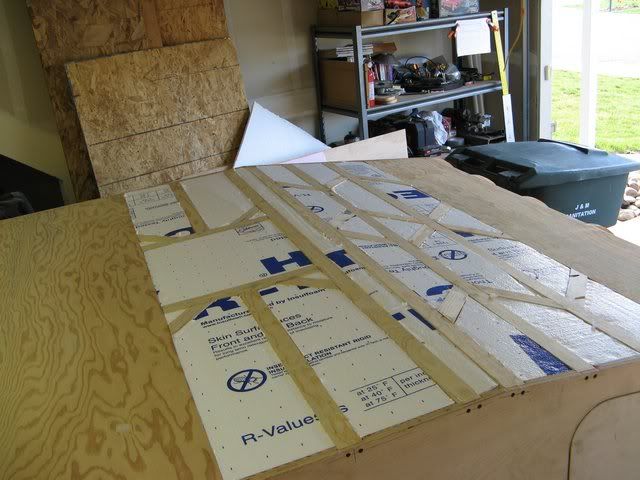
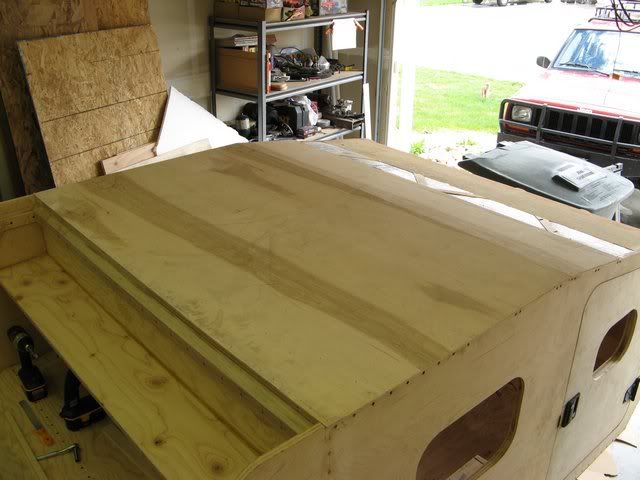
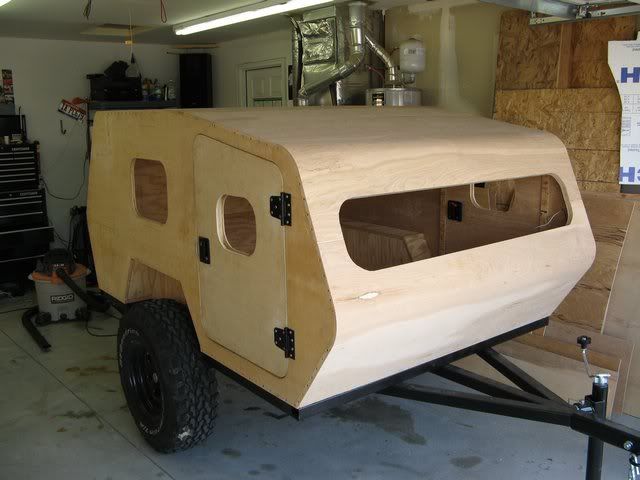
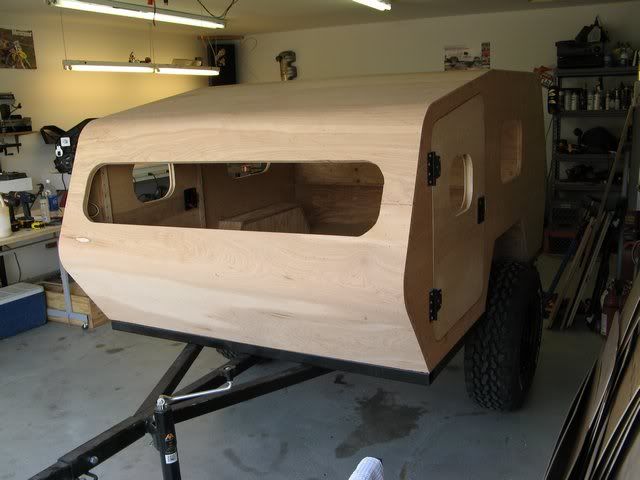
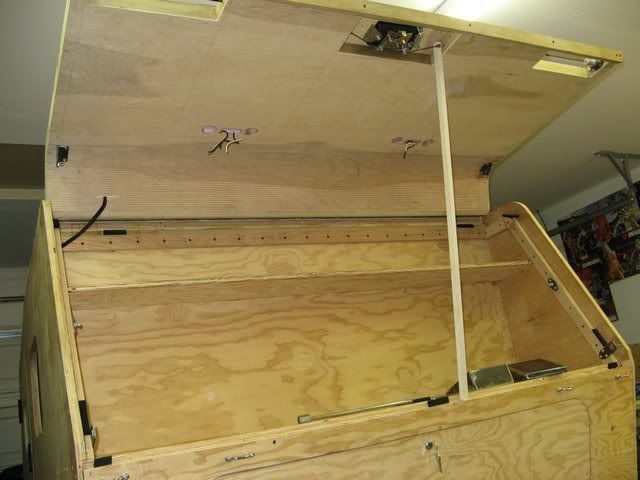
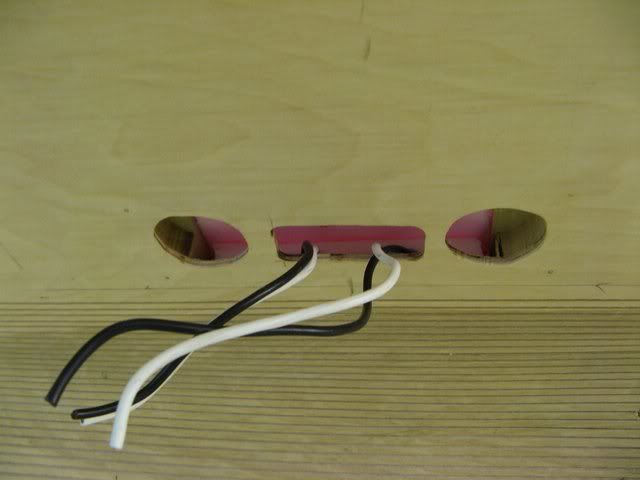
I'm skinning the whole top and front with the 5.2mm ply. CPES and paint will follow. No aluminum if that's what you're asking...
Thanks
![]() by stomperxj » Thu May 07, 2009 3:00 pm
by stomperxj » Thu May 07, 2009 3:00 pm
![]() by rvsixer » Thu May 07, 2009 4:37 pm
by rvsixer » Thu May 07, 2009 4:37 pm
.


![]() by Dewi » Fri May 08, 2009 2:49 pm
by Dewi » Fri May 08, 2009 2:49 pm

![]() by stomperxj » Fri May 08, 2009 6:52 pm
by stomperxj » Fri May 08, 2009 6:52 pm
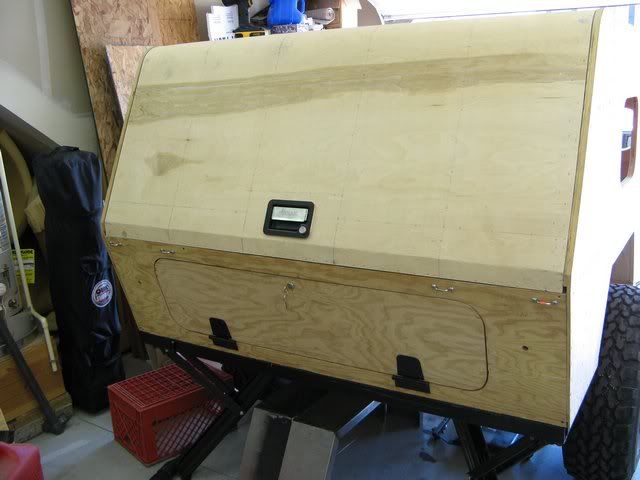
rvsixer wrote:Man that is looking GOOD
Should conquer the Owyhee's and Sawtooth's with aplomb (my avatar pic taken enroute on a Jackpot Nevada brunch run)!
Rob.
Alan Wood wrote:Looking great
Dewi wrote:Might sound daft, but I almost want to donate some cash so I can see what you're going to do next. Learning so much from your build... its inspired my choice of materials, tools... even fastners... really am enjoying every minute of it.
You really need some new gloves though... I have jeans that are as battered as that, but I can't throw them away... they are great for gardening and painting.
Cheers, Dewi

![]() by stomperxj » Tue May 19, 2009 11:51 pm
by stomperxj » Tue May 19, 2009 11:51 pm

![]() by stomperxj » Fri May 22, 2009 10:12 pm
by stomperxj » Fri May 22, 2009 10:12 pm
Users browsing this forum: No registered users and 1 guest