New stand-up tear design
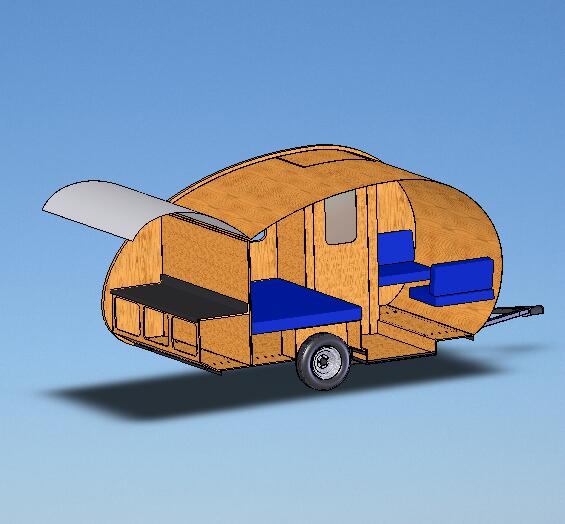
I have been studying the forum for a couple of weeks now and came up with my first attempt at a design, would welcome comments and/or suggestions on it. I have posted a few pictures in my gallery at http://www.mikenchell.com/forums/album_personal.php?user_id=4459.
My main requirements are a full size bed, stand up height for a shower, toilet compartment, rear outside galley, and weight under 1500#. My T1 design would require a custom stepped frame and I am a little worried about the ground clearance of ~7" for the frame rails under the dropped floor. I am looking for suggestions on how to constuct the walls, was thinking of 1/8" interior skin, .75" plywood ribs/insulation, and aluminum skin on the outside. My question is do I need an outside wood skin to put the Aluminum on, and is the .75" thick framing sturdy enough for 6' high walls?
My main inspiration for the design was the Widget, many thanks to Andrew for all the excellent CAD work on all of his designs which are an invaluable reference.
 ...?).
 ...
...