Page 2 of 5

Re: New member, new trailer design!

PostPosted: Mon Jan 08, 2024 8:07 am
by reaver
tony.latham wrote:
If you go the bed liner route, make sure to fiberglass/epoxy it first, or there's a great possibility the plywood will crack. I used Monsterliner over fiberglass/epoxy on my last build.

Tony


Regardless of what I cover the outside with, the entire box will be sealed with epoxy to prevent any water from reaching the wood.

Re: New member, new trailer design!

PostPosted: Mon Jan 08, 2024 11:50 am
by reaver
Ok, while trying to plan out everything I want to build into the trailer, I've begun work on my electrical diagram.

Image

Almost all of this will be run as either 18AWG wire, or 16AWG, with a few components getting larger wire based on what it needs. I'm debating on whether I want to deal with all the relays, or just use switches inline with most of these components. Water pump will likely be on a relay, due to where it will be in relation to the switch to turn it on.

Re: New member, new trailer design!

PostPosted: Mon Jan 08, 2024 2:34 pm
by Pmullen503
A relay should be used when the switch can't handle the load or if you want to a low voltage circuit to switch a high voltage circuit. Otherwise, it makes sense (fewer components that might fail) to just use a switch and perhaps a fuse to protect the circuit from shorts.

Re: New member, new trailer design!

PostPosted: Mon Jan 08, 2024 4:04 pm
by reaver
Pmullen503 wrote:A relay should be used when the switch can't handle the load or if you want to a low voltage circuit to switch a high voltage circuit. Otherwise, it makes sense (fewer components that might fail) to just use a switch and perhaps a fuse to protect the circuit from shorts.


That's certainly one way to use it. I typically put all my switches on a very low amperage circuit, and use that to switch relays to control much higher amperage stuff. Also to automatically switch accessories on/off using an ignition circuit. But, that being said...I'm just not sure any other than the water pump and the diesel heater would benefit from a relay, and even then, it's questionable. My WP pulls AT MOST 5A when it's running. My heater pulls 12-13 or so when the glow plug is heating up (and I'm going with a smaller heater in the new build), so even then, the switches that I plan on using are supposedly rated at 30A. The highest draw device will likely be the diesel heater, and maybe the stereo. Both of which should be well under 30A.

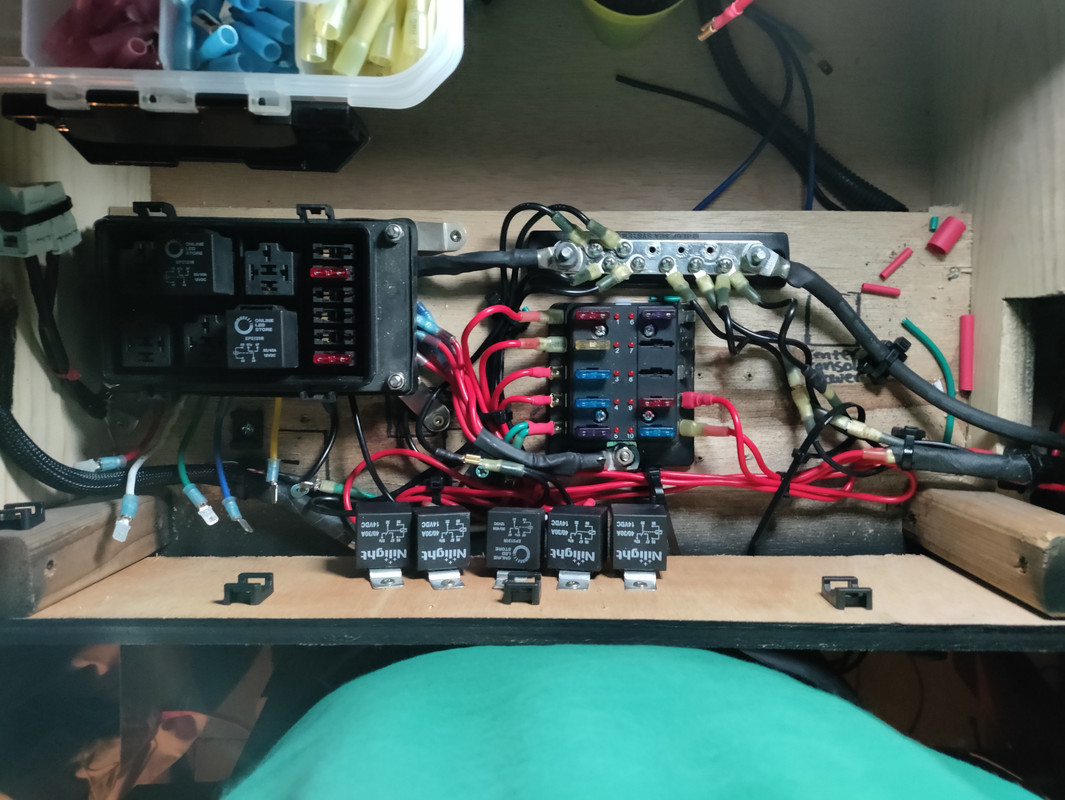
I'm very familiar with 12v systems. I wanted to learn how to do them so that if something happens in the field, i have the skills and knowledge to be able to fix it on the spot. I built the system in my Xterra myself, and it's never let me down.

Image

In the new build. I think I'm going to use something like the Progressive Dynamics PD60. This panel, specifically: https://rvpartsexpress.com/product/prog ... 0b18t2l15/

Two reasons:
1. It has enough fuse slots that I can run everything to it for my accessories
2. It flush mounts to a wall, and looks pretty good, in my opinion. Certainly better looking than a typical marine fuse block.

Re: New member, new trailer design!

PostPosted: Mon Jan 08, 2024 5:36 pm
by tony.latham
the entire box will be sealed with epoxy...


I'm not convinced epoxy alone will prevent the plywood from checking. Adding either 4 oz or 6 oz fiberglass cloth is cheap insurance.

Tony

Re: New member, new trailer design!

PostPosted: Mon Jan 08, 2024 5:50 pm
by Pmullen503
tony.latham wrote:
the entire box will be sealed with epoxy...


I'm not convinced epoxy alone will prevent the plywood from checking. Adding either 4 oz or 6 oz fiberglass cloth is cheap insurance.

Tony


+1 to adding cloth. The wood plys not saturated with epoxy below the surface will continue to expand and contract with temperature and humidity leading to checks. Compared to paint or varnish over bare wood, degraded epoxy saturated wood is much more work to refinish.

Epoxy alone compared to epoxy+glass cloth has nowhere near the longevity and doesn't add appreciable strength.

Re: New member, new trailer design!

PostPosted: Mon Jan 08, 2024 6:54 pm
by saywhatthat
I have found with the litte heaters. you may never need .BUT run air over what you will have on priceless. will dry out inside of small trailer

Re: New member, new trailer design!

PostPosted: Mon Jan 08, 2024 7:41 pm
by reaver
Pmullen503 wrote:
tony.latham wrote:
the entire box will be sealed with epoxy...


I'm not convinced epoxy alone will prevent the plywood from checking. Adding either 4 oz or 6 oz fiberglass cloth is cheap insurance.

Tony


+1 to adding cloth. The wood plys not saturated with epoxy below the surface will continue to expand and contract with temperature and humidity leading to checks. Compared to paint or varnish over bare wood, degraded epoxy saturated wood is much more work to refinish.

Epoxy alone compared to epoxy+glass cloth has nowhere near the longevity and doesn't add appreciable strength.


Whelp, I guess that means I lay down fiberglass as well. How much do you think I'd need, and what's a good recommendation for a product to use? I've never laid down fiberglass in my life, so I'm not sure what to use, or how much of it to use.

Re: New member, new trailer design!

PostPosted: Mon Jan 08, 2024 7:51 pm
by tony.latham
How much do you think I'd need, and what's a good recommendation for a product to use?


I would recommend Raka's non-blush six-quart kit.

https://raka.com/product/non-blushing-epoxy-kits/

Order their pumps at the same time. For glass, order either their 4 oz or 6 oz. Depending on your wall and width.

https://raka.com/product-category/woven-fiberglass-cloth/

Grab a couple of their squeegees and mixing sticks you're good to go.

The trick is to mix small batches, otherwise, it'll go off in the pot.

From my book:

The key to this process is mixing small batches. Epoxy is strange stuff. As soon as it is mixed, it starts producing heat, which grossly speeds up the reaction. After mixing a batch, you’ve got about ten minutes if it remains in the container. But once it’s poured onto the cloth, you’ve got a long time. I would suggest keeping the batches to no more than about a half-cup. My six squirts per batch worked out to be about 5 ounces. Make sure you or your assistant aggressively stir each batch for two minutes. During stirring, you are really only mixing the center of the liquid so make sure you scrape the resin off the sides of the container as you mix.

Pour the epoxy onto the cloth in thick lines and use a plastic squeegee to disperse it. Just work slowly, and methodically. Once the resin is out of the container, there is no need to rush.

As you wet out the cloth, keep in mind that some of the epoxy will absorb into the wood, which can lead to resin-starved fiberglass. The squeegee is your stethoscope. It will vibrate over starved cloth and glide over areas of excess epoxy. Keep looking at the layup from a low angle for dull or shiny spots. If a spot looks whitish, it needs more resin. Properly saturated cloth is transparent. Adding resin to saturated cloth doesn’t increase the strength.

Pay attention to the edges of the wall and ensure you have good saturation. If you have a raised spot in the fiberglass, work it flat with the squeegee.

When you think you’re done, take a twenty-minute break and then check to make sure that some of the cloth hasn’t lifted. You can push those spots down with the squeegee. Additional epoxy can be added as long as it’s still tacky.


I recommend doing the walls while they're flat on the bench.

https://youtu.be/BJZYGY2he1o?si=bLfB2R347j7mPAlq

Tony

Re: New member, new trailer design!

PostPosted: Mon Jan 08, 2024 11:56 pm
by reaver
OK, since I'll now be fiberglassing, any tips you can give me for the best method? I'm not worried about finish, since I'm still planning on skinning with acm. I prefer the look over bedliner, and it's slightly cheaper than painted aluminum sheets, while having the same finish.

Re: New member, new trailer design!

PostPosted: Tue Jan 09, 2024 12:13 am
by tony.latham
reaver wrote:OK, since I'll now be fiberglassing, any tips you can give me for the best method? I'm not worried about finish, since I'm still planning on skinning with acm. I prefer the look over bedliner, and it's slightly cheaper than painted aluminum sheets, while having the same finish.


There are a ton of videos concerning fiberglassing over wood on Youtube. Do a search for 'fiberglass wood strip canoes' to start.

But there are two philosophies, coat the wood with epoxy first and while it's still tacky, add the glass vs. put the glass on and squeegee the resin into it. The latter works well for me. Keep in mind the wood will suck resin out of the glass. You want it saturated, but not much more. Your squeegee is your stethoscope.

Tony

Re: New member, new trailer design!

PostPosted: Tue Jan 09, 2024 8:45 am
by Pmullen503
I always lay the glass down, smooth it out and apply the epoxy and "scrape" which means use some type of squeegee to press the cloth to the wood and remove excess resin. The next coat or two applied with the first coat not fully set.

I can't see how trying to apply glass to a wet surface would work unless the area was pretty small. How would you smooth out the cloth?

Re: New member, new trailer design!

PostPosted: Tue Jan 09, 2024 11:18 am
by tony.latham
I can't see how trying to apply glass to a wet surface would work unless the area was pretty small. How would you smooth out the cloth?


I agree, but it's done, and some advocate for it.

Tony

Re: New member, new trailer design!

PostPosted: Tue Jan 09, 2024 11:21 am
by reaver
What I'm seeing based on research, is that it's much easier to apply the cloth to a dry surface, then coat the cloth with epoxy, while squeegeing it down. Then coat again with a second coat of epoxy. This seems like the easiest way to do large surfaces. I'm also planning on wrapping the fiberglass around the cutouts for doors, and the fan opening. This should prevent almost any chance of water getting down into the framing of the walls.

Now, I'm going to need pass through areas for tail lights, porch lights, and all that jazz. What's the best way to seal the wood up on these holes as well? Getting fiberglass in there will be exceptionally difficult (if not impossible).

Re: New member, new trailer design!

PostPosted: Tue Jan 09, 2024 1:10 pm
by saywhatthat
as you're doing a squaredrop why not a fiberglass panel? no water. no time-wasting frame? If the gap is not that tight no big deal. 50% are more faster to build .lighter.
Harder to tie a shoe than the trailer build. If any damage a few bucks to fix. Under $100 in tools . Too build. Just need panels. DIY fiberglass angle, glue, pop-rivets. A few can foam to blow up the seams
The glass angle on the outside makes the frame. with the 2-inch wet lay up on the inside part of the frame then you fill the gap with can foam makes a strong flexible frame for hard inpack. To build. Cut side profile . tape top panales in .Add angle outside glue and pop rivets on . Can remove rivets after glue drys . Do a 4inch wet lay-up inside seam then fill with can foam
IMG_20220110_163942 s.jpg
IMG_20220110_163942 s.jpg (42.23 KiB) Viewed 609 times