Cut all the required wood with a miter saw.
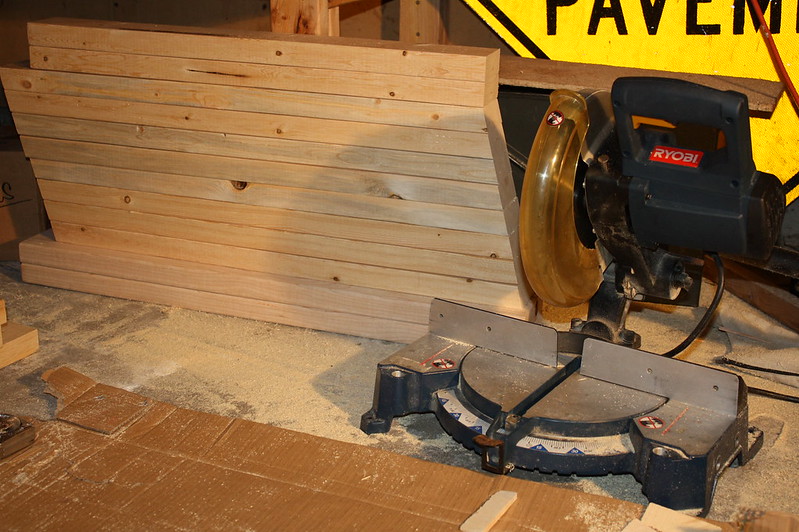
Sawhorse 2x6s and 1x4s by jseyfert3, on Flickr
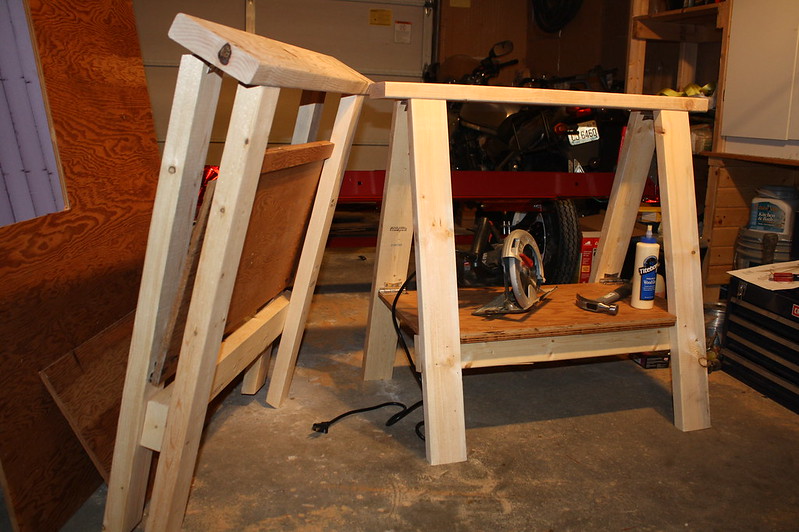
Assebled the 2x4s and 2x6s into the basic shape, then used my circular saw to cut out the plywood shelves. I used some 1/2" ply the previous owners left laying around. The instructions say 3/4" ply and that sounds like overkill. I'd say use what you have laying around.
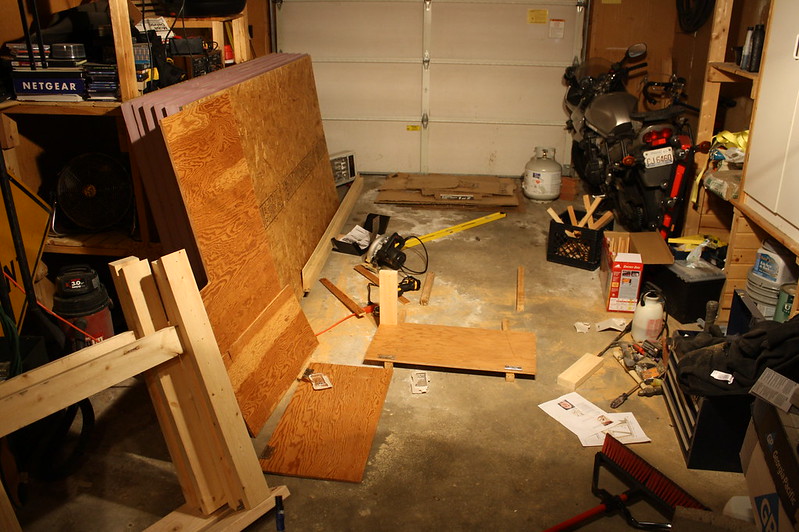
Cutting Shelves and Adding Hinges by jseyfert3, on Flickr
Used some scrap 2x4 pieces as the directions specified to hold the shelf at the right height while screwing in the hinges.
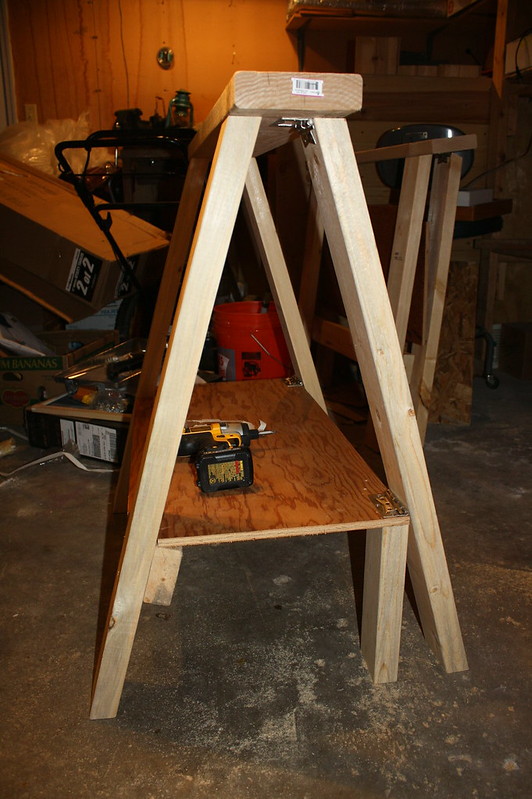
Propped up Shelf to Attach Hinge by jseyfert3, on Flickr
I cut the plywood that "latches" the sawhorses and keeps the legs from opening too much a little wide on purpose, then used a flush cut bit to trim it down once I screwed and glued the plywood lip on.
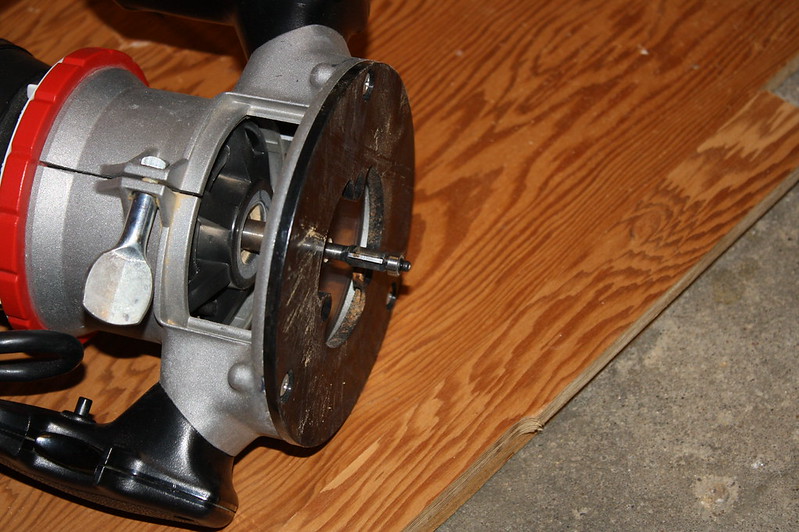
Trimming with a Flush Cut Router Bit by jseyfert3, on Flickr
Ended up with two nice, sturdy, folding sawhorses, ready to help out with any number of projects for years to come.
Completed Sawhorse Set by jseyfert3, on Flickr
If you need a set of folding sawhorses, give these plans a shot.