
This write up is intended to explain everything as a whole when it comes to adding lights or other aux devices to your Xterra by using fuses and/or breaker boxes, distribution boxes and relays.
RELAYS:

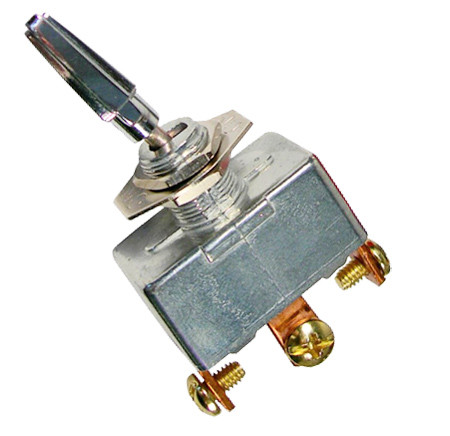
A relay is basically a switch that is activated remotely. The reason you want to use relays is because most switches out there aren't designed to carry a lot of current that is needed for things like roof lights.
So, instead of putting all the power through the switch itself, only a small amount of current is sent from the switch to the relay. The relay itself will turn on, and will handle all the load for the circuit going to the lights. This method is preferred because relays are designed to handle such loads.
This is a common question and is confusing to those who don't understand volts and current. Volts are, well, volts, voltage. Current is measured in Amperes, or, Amps. Think of a water pipe; The pressure in the pipe is Volts, and the water flow rate is Amps. Big lights and winches etc need lots of current (Amps). So even though a circuit is still 12v, there's much more current required and the water is flowing faster in that pipe. The current needs to be flowing fast to turn that winch or power that light. And this current (Amps) is the dangerous part which causes sparks, heat, can burn your skin and can even cause your heart to stop if it flows through your chest. This is why you want as little current going through a switch as possible, and why we use relays!
Here's a basic breakdown of how a relay works. This animation was stolen from another site...
So you can see in the picture above, there's an electromagnet inside the relay that will throw a switch inside. This switch is the part of the relay can CAN handle a high amount of current. The current required from the toggle switch to activate this magnet is very very low.
I would just like to throw in as well, that if you happen to be all wet from rain, or out mudding and your hands are wet, you may get a big shock from your switch if you touch it with wet hands and you're NOT using a relay because all that current is running through it.
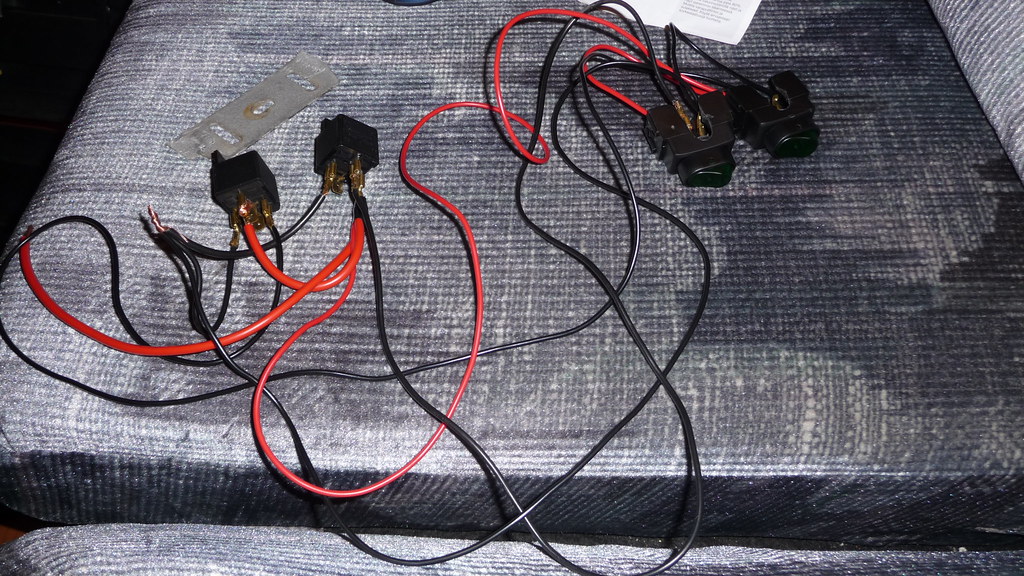
Below is what I made up to run my roof lights. I wanted to control the inner and outer lights separately, so I used 2 switches. Each switch controls a separate relay which will each power a pair of lights:
More on that at the end.
Fuses, breaker/distribution boxes:
First rule is, always fuse as close to the battery as possible using an inline fuse. I could have made mine closer to the battery but it will be fixed one day. Here is mine:
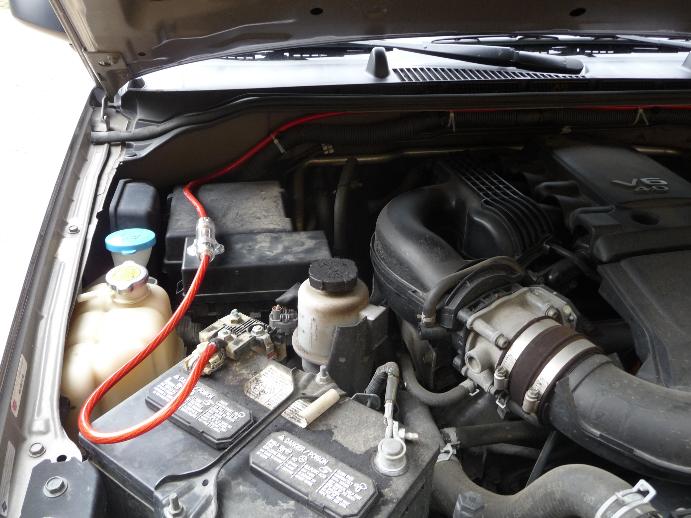
I screwed it onto one of the plastic covers. you can put it wherever you want as long as it's close to the battery:

The reason you want it close to the battery is because if there is a short somewhere, the fuse will blow, but not if the short is between the fuse and the battery.
See this diagram that shows you that by using a fuse at the battery as well as fuse/breaker boxes, you create layers of protection:

Now you can see in the above pic that anything between the battery's positive terminal and the battery fuse is unprotected, which is why it has to be as close as possible. Otherwise, a short there could cause your battery to melt/explode/catch fire, or that length of wire could melt or catch fire.
Everything from the battery fuse, through the firewall and to your fuse/breaker box is protected against anything over 60-AMPS. You can increase or decrease this fuse's rating according to how many things you are powering (Total of all the amp draw with everything on). You can also alternatively have a fuse box under the hood, depends on your setup.
The remaining circuit from the fuse/breaker box to your light (or whatever you're powering) is then protected with 30-AMP. Again, use the appropriate rating. As you can see in this diagram, I have a 40AMP relay being protected by the 30AMP breaker. Doing this will ensure that the relay will never get over 30AMPs running through it, and neither will any of the wiring, the switch or the lights.
Alternatively, you could put the relay before the breaker box, but depending on your setup, it might not work for you, especially if you're using a fused distribution/breaker box.
With layers of protection like this, and having the battery fuse at a higher rating than the fuse/breaker boxes, this will allow a single circuit to blow its own fuse, while not affecting everything else. This is especially handy if you have several circuits hooked up such as front lights, rear lights, compressor, winch etc etc. For example, if your compressor blows its fuse/breaker, your lights will still work.
Breaker/distribution boxes:
You can think of these as splitters. You have your one big gauge wire coming from your battery into the cab, but you have multiple things to wire up, roof lights up front and in back, an amp, a compressor etc etc
You can get a plain old distribution box like this:
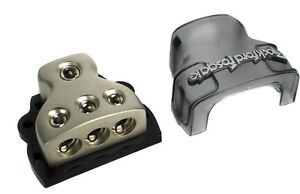
The above pic is a distribution box I had installed in the rear cargo area. But I didn't like that it had no protection, EVEN THOUGH I have a fuse at the battery, I wanted the extra protection.
So I switched to a breaker box like so (except mine had 4 breakers):
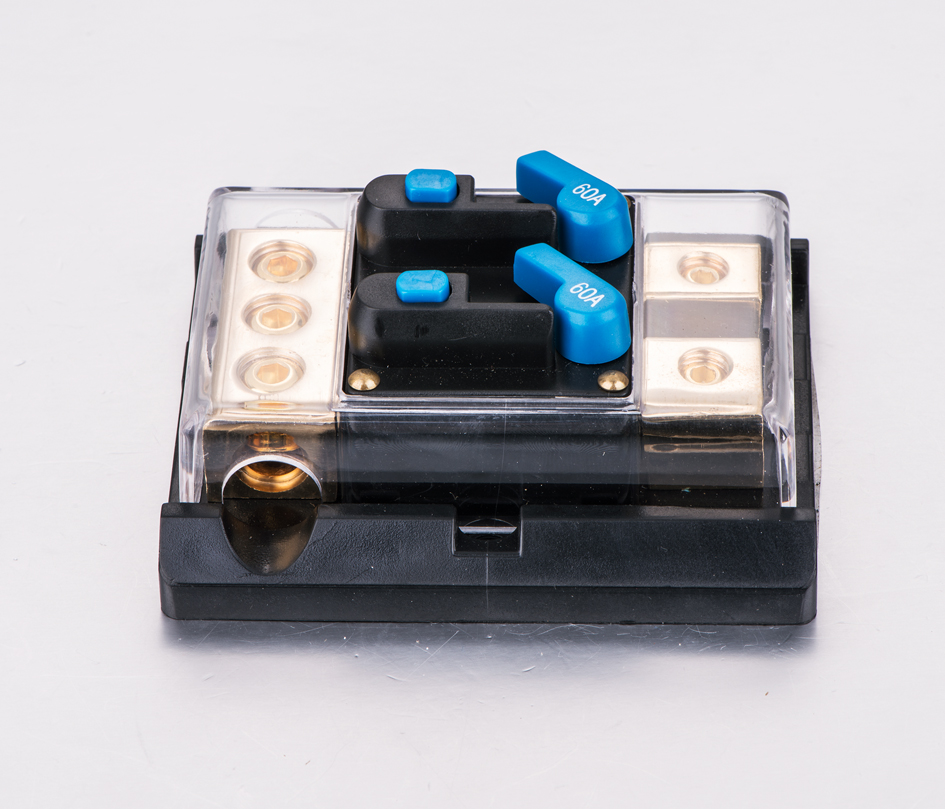
Basically the same idea as a distribution block, but with breakers for each split. You can get similar boxes with fuses as well, but I prefer the breakers. You can get all these boxes at your local car stereo or electronics store, there's tons of different brands. The ones I use have multiple un-fused 4-gauge connections for my main power cable, and multiple fused 8-gauge outputs. This allows me to daisy chain my breaker boxes with 4-gauge, more on that later.
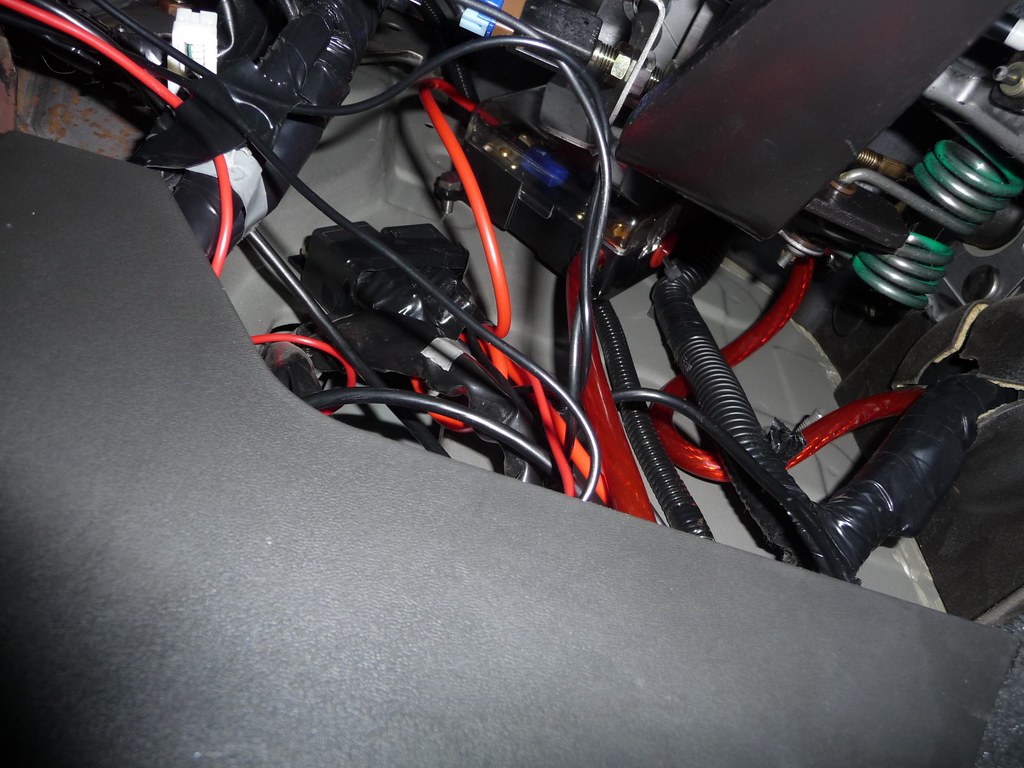
This(below) is a picture of my driver's side footwell. You can see the big red 4-gauge power cable coming in through the firewall (from the battery) on the right side of the pic and going up to the breaker box. From there, I have another red 4-gauge coming back down into the trim, and running down the side of the truck towards the rear cargo area, and to my 2nd breaker box for my rear power. Also pictured just to the bottom left of the breaker box are my 2 relays for my roof lights which get power via the smaller red 8-gauge power wire coming from the breaker box. I've since re-wired this so that each relay has its own breaker.
PUT IT ALL TOGETHER!
I'm not going to get into where you run your wires, or how big of a gauge you need, it's all up to you. As far as I'm concerned, the bigger the better. For my main power running from battery to the rear cargo area, I used a 4-gauge cable. For my lights, I run 8-gauge from the breaker boxes to the lights. But always ask or google it, you don't want to run ten 130W lights off of a single 8-gauge wire...
I also recommend at least 30-AMP relays, if you can get 40, then get those. You can't get relays that handle TOO much power, so be on the safe side and go big.
Don't twist and tape your wires! I know it's easier, but, you should always get the proper connectors, or solder your wires together. When using breaker/distribution boxes, it's less likely that you have to join 2 wires together because you just secure it into the box. If you solder, or whatever you do, use either shrink wrap or electrical tape to cover any bare copper. If that +12v bare copper touches any metal of the Xterra's body, it will short out, hopefully blowing your fuse/breaker and not setting your truck on fire.
Grounding wire is just as important as running your positive power wires. You can combine grounds with no issue, provided the grounding wire is of a big enough gauge. Just remember, power going into the lights = power leaving the lights to ground. Try to keep your ground wires as short as possible for best results. Find a bolt or nut, remove, sand the paint down to bare metal, and attach your ground, and replace the nut/bolt. Seat bolts are good spots for hooking up grounds to amps under the front seats. Using a multimeter between where you want to ground and the outer ring of one of your cig lighters is a good way to tell if you have a good ground. There should be little to no resistance between the cig lighter, and where you want to ground. Make sure if you use this method that you don't stick the probe right into the lighter socket or you might touch the +12v terminal in the bottom of it. If this freaks you out, then don't bother. Most of the metal INSIDE the truck will make a good ground. The only sketchy ground points are the bolts for the roof rack, I wouldn't trust those for a good ground...
Here is a diagram that I made up of everything that's wired into my truck. Sorry it's crappy, I made it with Paint... You can see how I have a main wire trunk running from my battery's positive terminal, to my first breaker box, to the second breaker box, and then to my sub's amp in the cargo area. That's all the 4-gauge wiring. My amp isn't on a breaker because it has its own fuse. Everything else that is wired up is on a breaker and running on 8-gauge wires.

You'll notice with my rear lights, I also added a relay that is connected to my reverse lights. When my reverse lights come on, it triggers the relay and turns on my rear-facing roof lights.
I think that pretty much covers it. As I mentioned before, this is not how to mount lights or where to run wires or anything like that. This is just how to wire it all together logically. If you want to know where to run your wires, there's TONS of threads on this. But really, if you have a good look at where the wire would run, and what parts of trim or dash need to be removed, it gets pretty easy. Just look for screws or give a tug if there aren't any as some parts are just snapped on. Take your time and be gentle and you'll get there.
If anyone has anything else to add, please post up and I'll add it.
A NOTE! I did decide to add this little extra bit in regards to trailers specifically... Since most designs use wood or foam, it's not logical to use any bare metal as a ground. If your trailer has its own separate battery, don't use the trailer as a ground. If you're running all your own wires anyways, run both a positive and negative wire for everything. Just make sure you buy wires in two different colors like black and red so you can tell them apart! I would also advise to run wiring "channels" for all your wiring which can be either a void in the wall, or a small PVC pipe that goes from the front to the back of the trailer. Leave a few pieces of string in them so that in the future, you can fish in more wire if you add something new. Or, do like I did in my diagrams and run a thick gauge wire to the back in a little breaker box so you can add more to it later on.
Cheers!