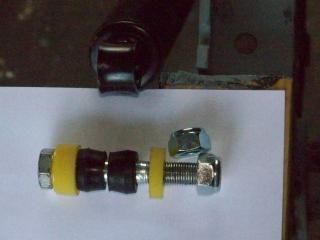
The tapered bushes fit into each side of the shockie, the bolt has a special plastic washer on each side of the bush to position the shockie and a nut is wound down to hold them all in place. The nut is tightened enough to seat the bushes and then the assembly is placed into the bracket that is welded onto the top of the frame. It's then secured firmly with another lock nut.

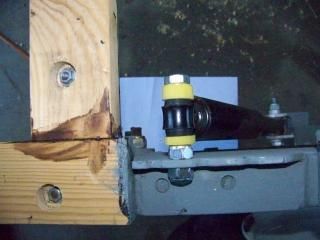
This shows how it all bolts together. The bottom end of the shockie can be seen with the mounting bolt and nut on the right. Two bolts can be seen that hold the wood onto the trailer frame. The bolts appear to be offset in the holes but they are actually exactly in the center of the hole. The wood is 35mm x 70 mm Russian Pine of some kind.

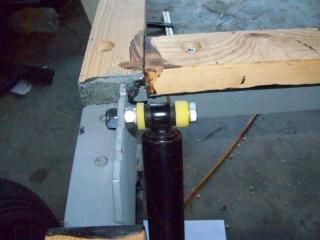
This is a front view and shows more detail of the mounting plate and the clearance between the side of the trailer and the shockie. The method of mounting the shockie was dictated by the length of the shocks that were available. The ones I wanted, the shorter "Monroe" model, are not available here in Australia. Shorter ones would have been so much easier to mount. However, I am very pleased how this has all worked out. Feel free to copy and or utilize any of the design features if you can use them. If anyone would like more detailed info, I can either send you a drawing/s or post them on here.
Kody

