Page 1 of 2

My toyhauler

PostPosted: Sat Apr 24, 2010 12:10 am
by vtx1029
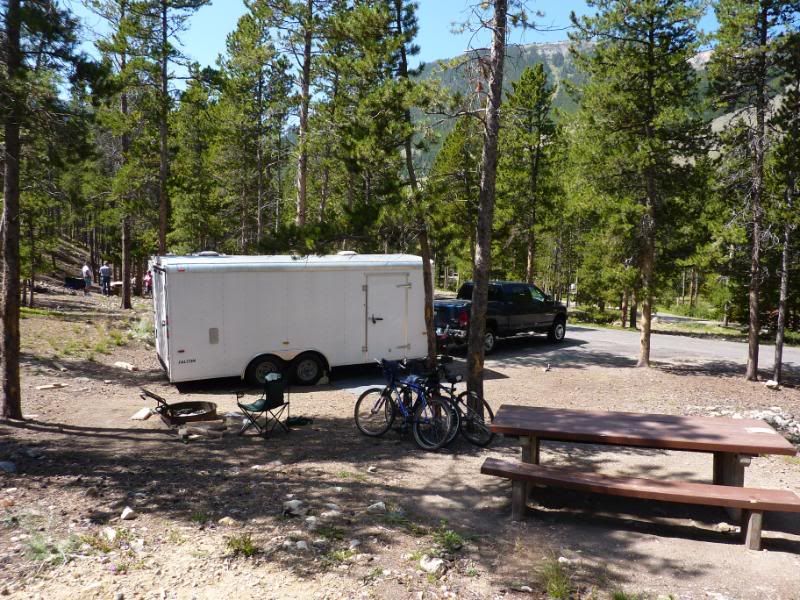
My never ending project is our enclosed trailer/toy hauler its 8.5 X 18. I'm co owners with my dad and brother. We purchased it 3 years ago and have been making up grades every year. My main goal is to get it setup up pretty nice so my non-camping wife will camp with me some time.
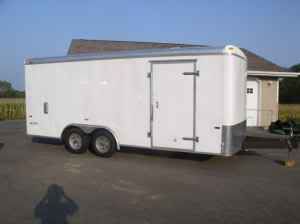
How we got it..
Image
Image
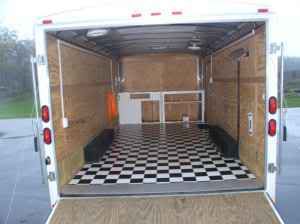
Our first bike trip. Note the kegerator on the right side 8)
Image

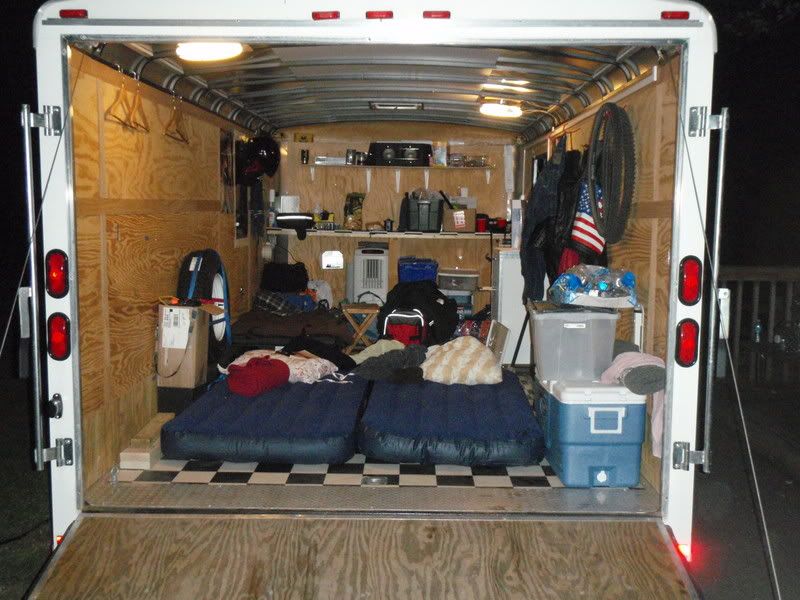
I picked up a used folding couch/bed from a guys toyhauler and in stalled it last fall.

Today my dad and I installed a rear screen like the one below. Should make sleeping with the door down much more enjoyable!

Image

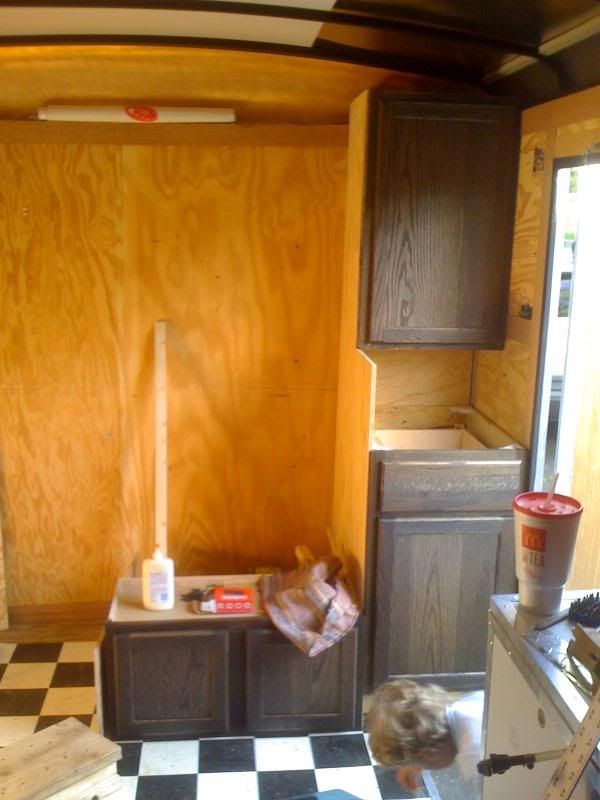
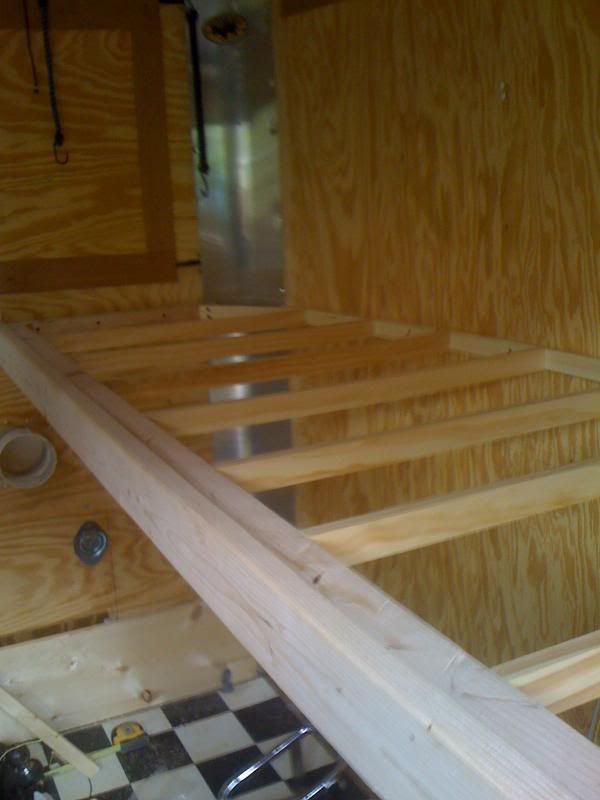
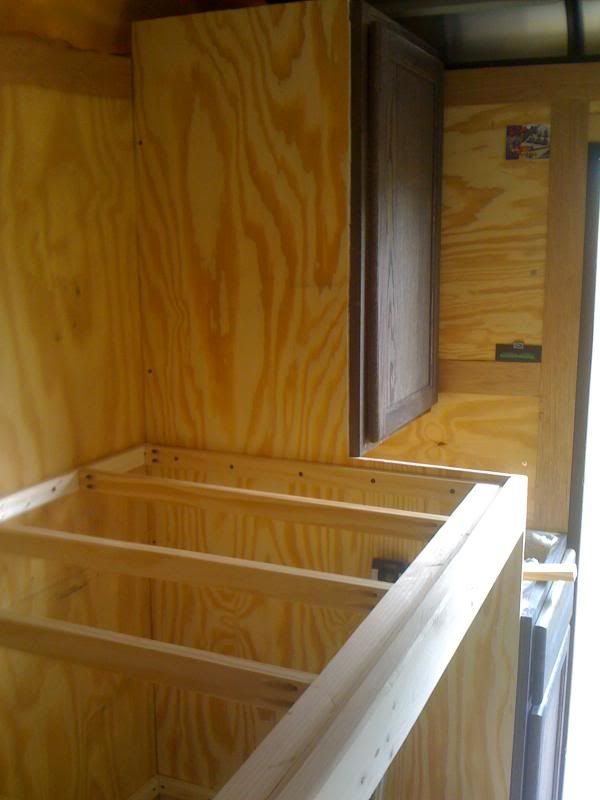
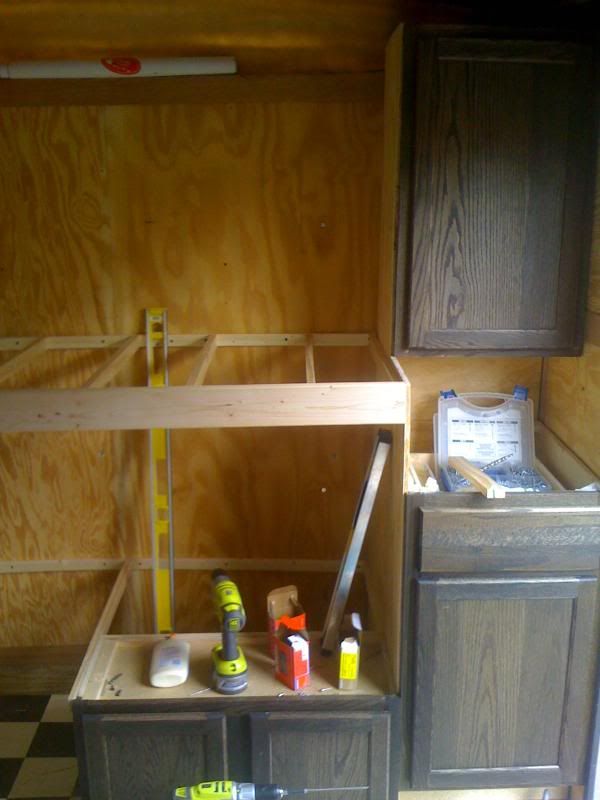
We are also redesigning the front of the trailer adding some cabinets and 2 bunk beds to better use our space :thumbsup:

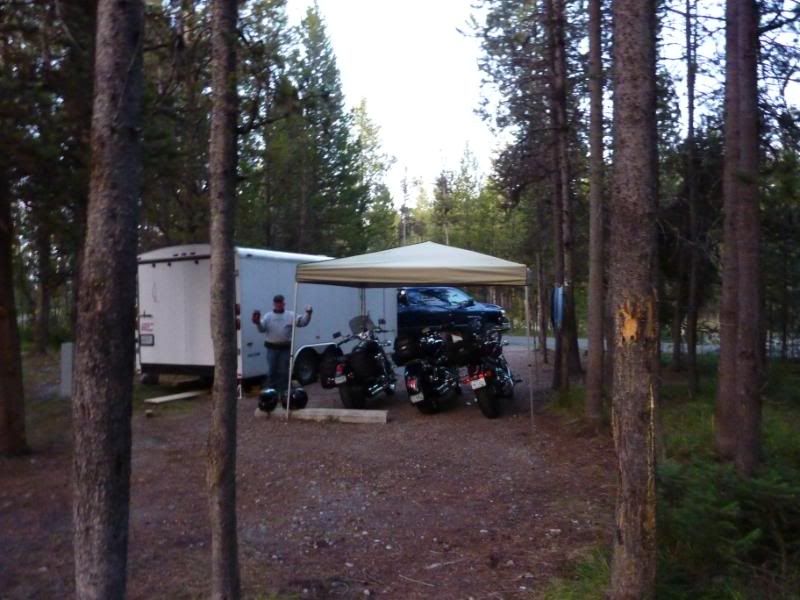
Here's a couple of pictures from our trip to yellowstone last year

Image
Image

PostPosted: Sat Apr 24, 2010 5:40 am
by rxc463
Looks like you got it all under control. Beer, a place to sleep, Beer, your bikes, Beer, and a great trip to boot! Oh yea! and Beer! :applause:

PostPosted: Sat May 15, 2010 8:39 pm
by vtx1029
Some new pictures for you all.

Front cabinets going in, they should provide more useful space for us.

Image

Getting the top bunk framed out. Man I love my new pocket jig! 8)

Image
Image
Image

PostPosted: Wed May 19, 2010 1:38 am
by vtx1029
Got the upper bunk done. It holds me so good enough :lol:

Image

On to the lower bunk. Part of it will be hinged for the motorcycle chock.

Image

PostPosted: Thu May 20, 2010 10:21 pm
by vtx1029
Got some of the lower frame work boxed in. Wow did that stiffen things up!

Image

PostPosted: Fri May 21, 2010 10:24 am
by SirJoey

Dang, how do U get such a perfect fit against that curved wall?

Fantastic work, BTW! :applause:

PostPosted: Fri May 21, 2010 3:20 pm
by vtx1029
SirJoey wrote:
Dang, how do U get such a perfect fit against that curved wall?

Fantastic work, BTW! :applause:


Thanks. Its not that perfect, but its not too hard to get close. I just line up one side of the board and push it into the corner as best you can, then use a compass and mark the shape sometimes it takes a couple of trys :oops: This website kind of explains the technique better then I can

http://www.familyhandyman.com/DIY-Projects/Woodworking/Woodworking-Tools/how-to-scribe-for-a-perfect-fit/Step-By-Step

pocket jig

PostPosted: Fri May 21, 2010 3:35 pm
by Crazylegs
What is pocket jig?

PostPosted: Fri May 21, 2010 5:09 pm
by vtx1029
Its a jig to drill holes so you can attach wood at a 90* angle with out visible screws.

http://www.familyhandyman.com/DIY-Projects/Woodworking/Woodworking-Tools/how-to-use-pocket-screws/Step-By-Step

PostPosted: Sat May 22, 2010 6:35 am
by SirJoey
vtx1029 wrote:This website kind of explains the technique better then I can.

Thanx for the link! Such a simple technique, but it eluded me.
A lot better than the trial & error method I used when installing my floor tiles.
Now my day won't be a total wash, cuz I learned something new! :lol:

PostPosted: Sat May 22, 2010 9:48 pm
by vtx1029
Got my flip down door made. What you guys think look strong enough for a bed? I glued all the joints and plywood on the door but I used a trim nailer to attach the plywood to the frame. I may go back and screw it just for a little added safety. I will also add some vertical supports...

Image
Image

PostPosted: Sat May 22, 2010 10:30 pm
by SirJoey

Dude, that is TOO friggin' much!

LOVE ur work! :applause:

PostPosted: Mon May 24, 2010 10:50 am
by Sngleman
Ooo i like that as well! Great job!

PostPosted: Fri May 28, 2010 9:23 pm
by mdvaden
A question ...

On the undeside of the flip down door or lid, what's the function of the small short pieces?

I can understand how the long pieces ad support. But my mind is not registering how the small pieces would do the same. Or what their function is.

But I'm sure you have a reason, and was curious.

:roll:

PostPosted: Sat May 29, 2010 11:49 am
by rebapuck
I like the bunk beds going in crosswise. Saves chopping up the open floor space.