Denali toyhauler build thread (in progress) 060813

Converting Cargo Trailers into TTTs

Denali toyhauler build thread (in progress) 060813

Postby gregert12 » Tue Sep 25, 2012 4:03 pm

Hey TNTTT,


Here is my trailer build thread which is based on Gadgetman's (I have no where NEAR his ability to make cabinets or a friend to work pro bono.) All this work was completed in a weekend since next week we will be camping at the Carlisle, PA swap meet. As a bonus, pretty much everything I had sitting around the yard. The requirement is to be able to 1- pull in a Jeep TJ (lifted/locked) or 2-get 4 Yamaha grizzly atvs to fit.

<edit 042713> Well, it looks like I skewed from gadgetman's floor plan/living quarters/cabinet ability just a "little bit." :thinking:


Anyway...


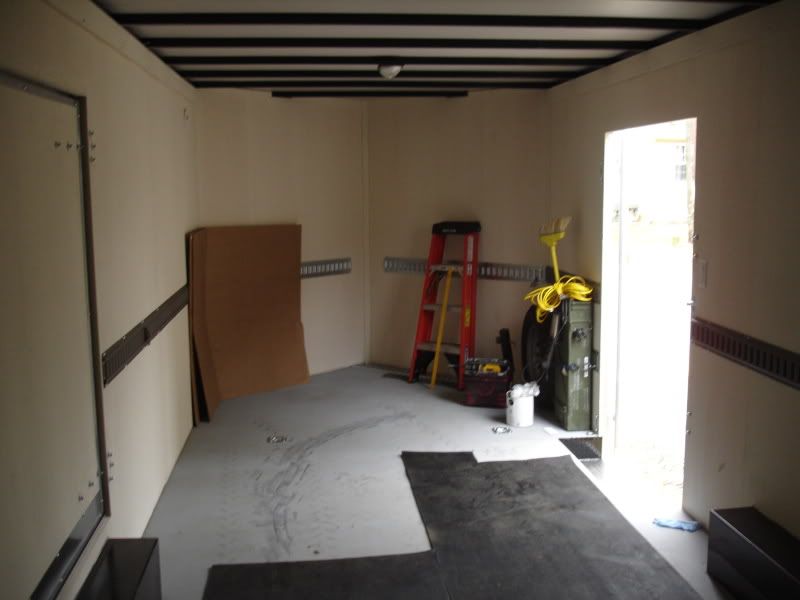
Base model Car Mate 8.5' x 22'
Twin 6000lb torflex axles
+ 6" height
+"get out door" on the opposite side
+4' v-nose for mpg/storage


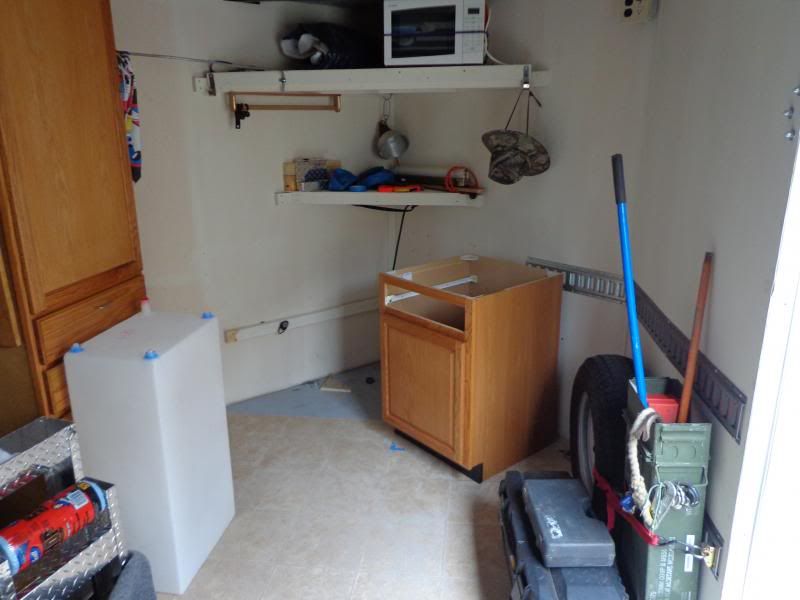
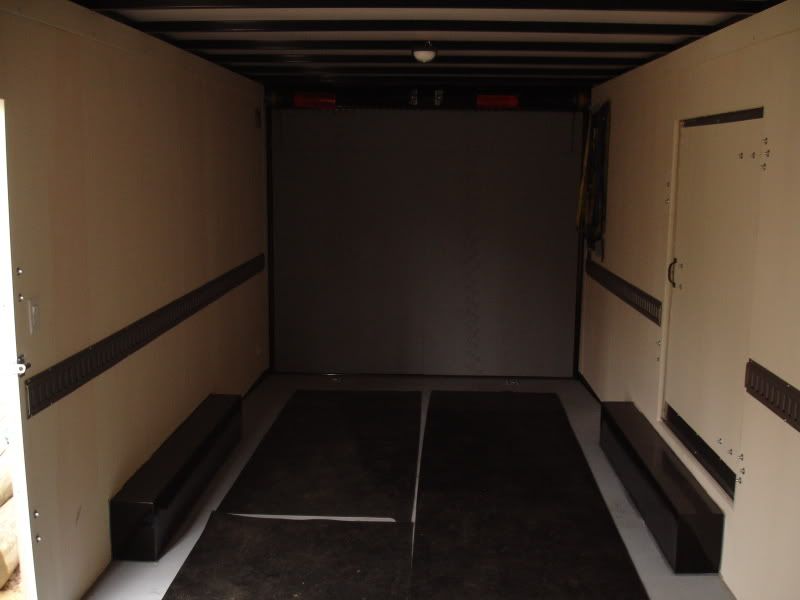
Painted off-white/eggshell from the bare wood...

Railed both sides... 2 layers
Image
Image

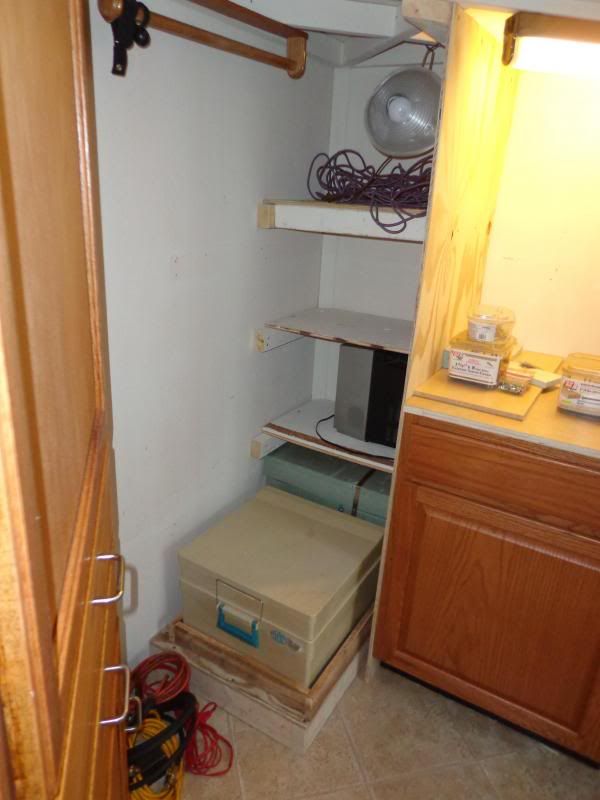
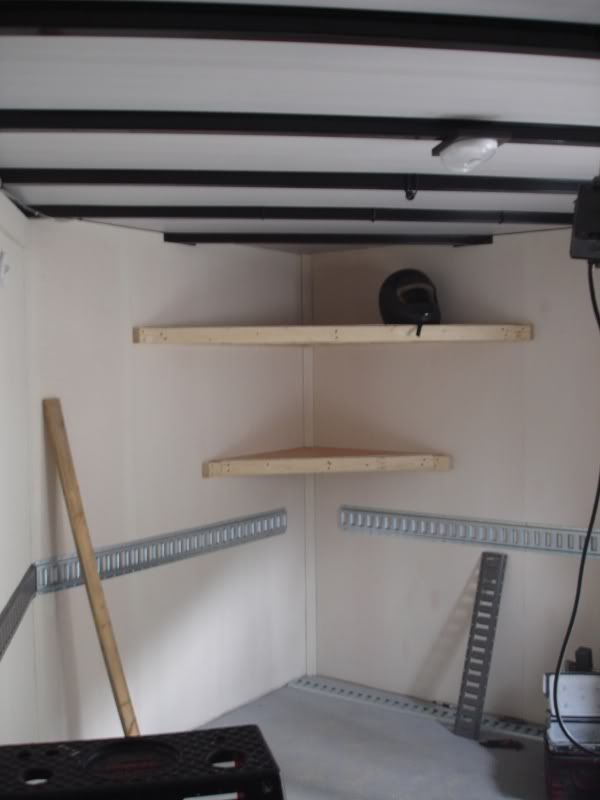
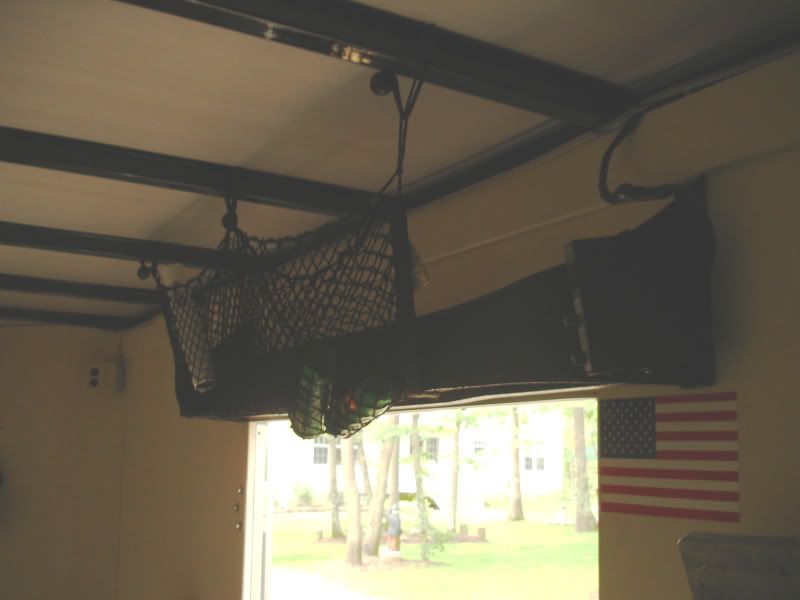
Needed some storage... also ran 45ft of string LED light, for low amp. ext power needed...
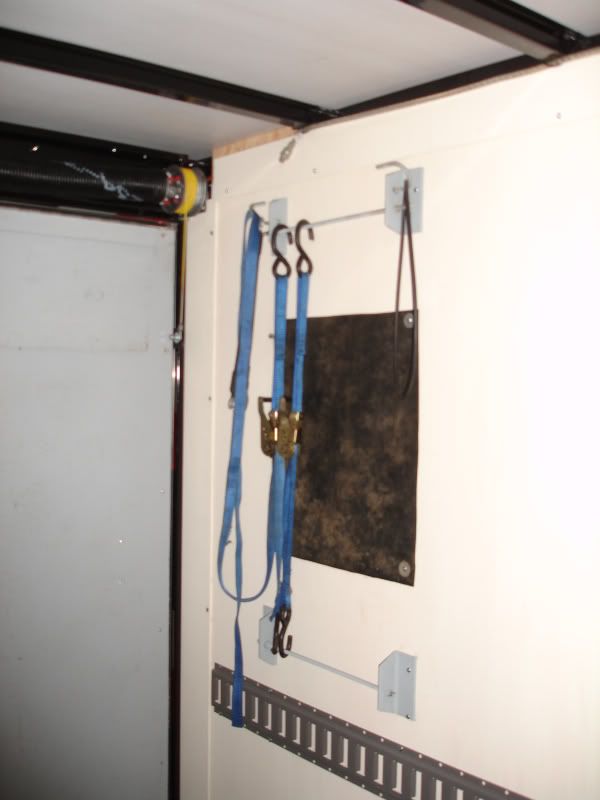
Image

Strap holder...
Image

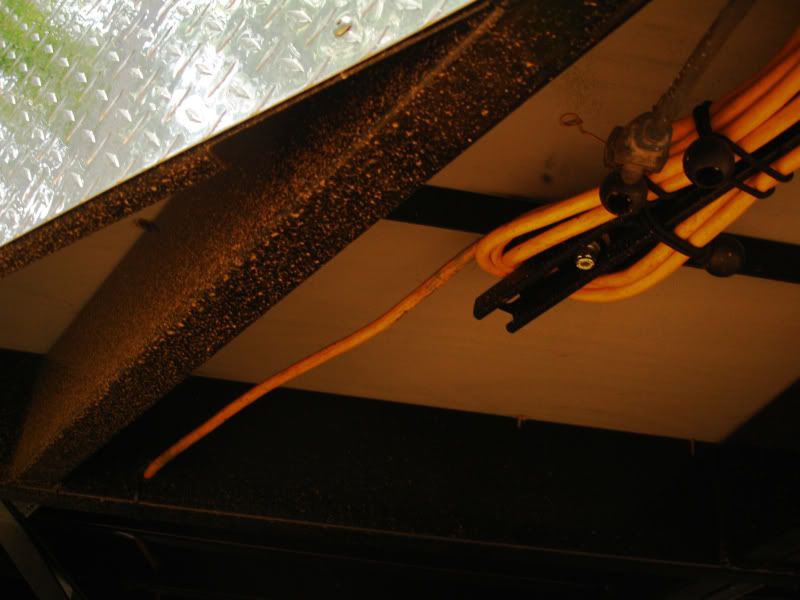
Ran a hard line out of 12/3 for the Honda generator, ran through the channel and custom tie down...
Image

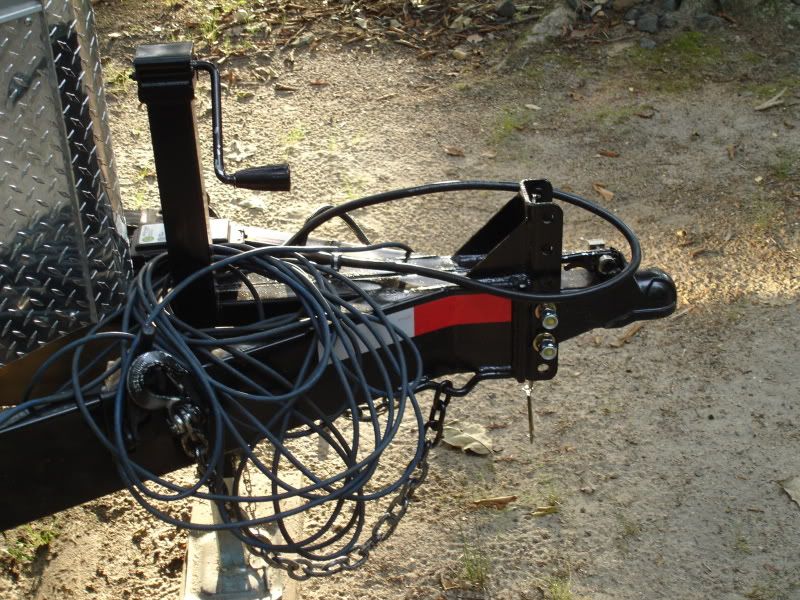
Tongue was 18" longer as per the sales rep since we had to worry about the tailgate vs the jack, now shortened to 6 inches, what a waste of 300. :(
Image

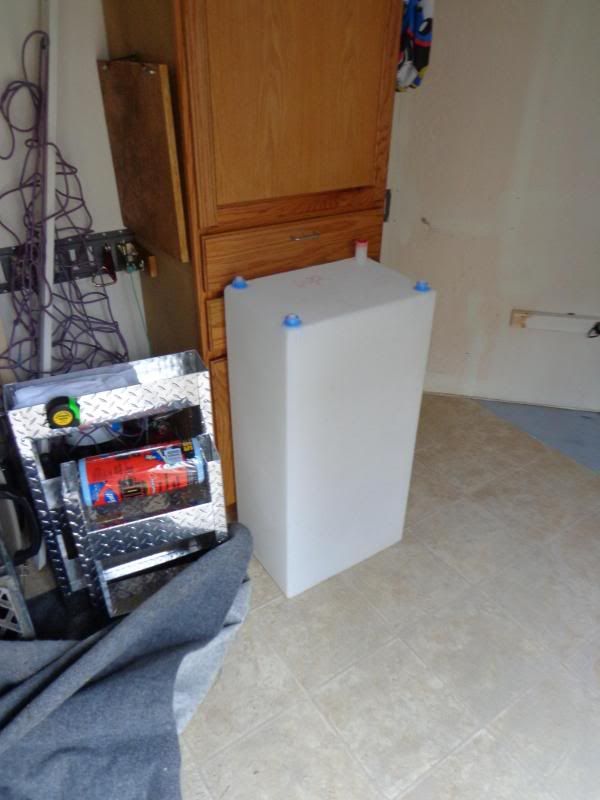
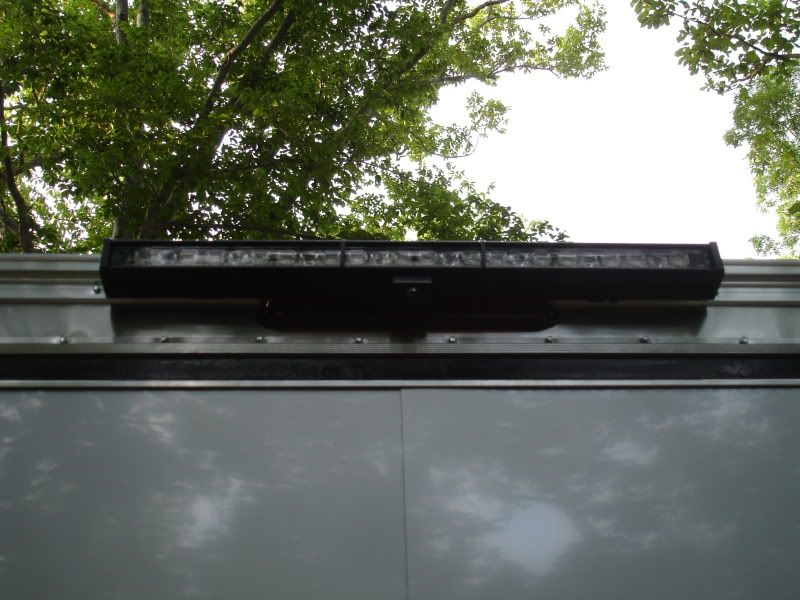
A leftover DiamondBack low profile cab guard from a Colorado works great for storage and as a the light control box...
Image

A little red neck with the signal stick...
Image

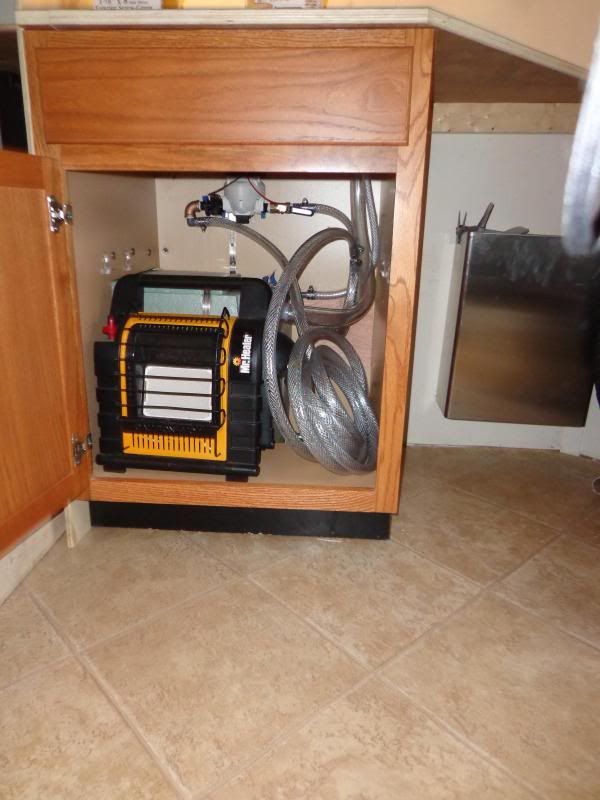
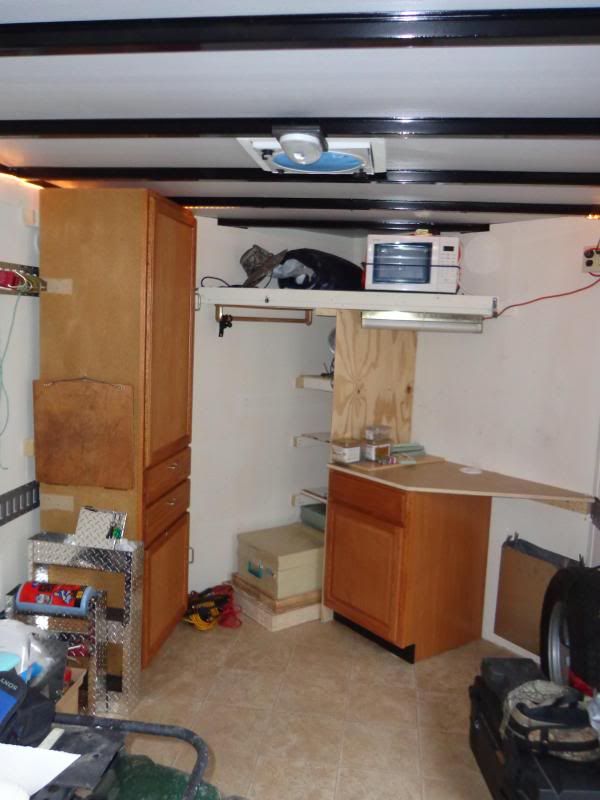
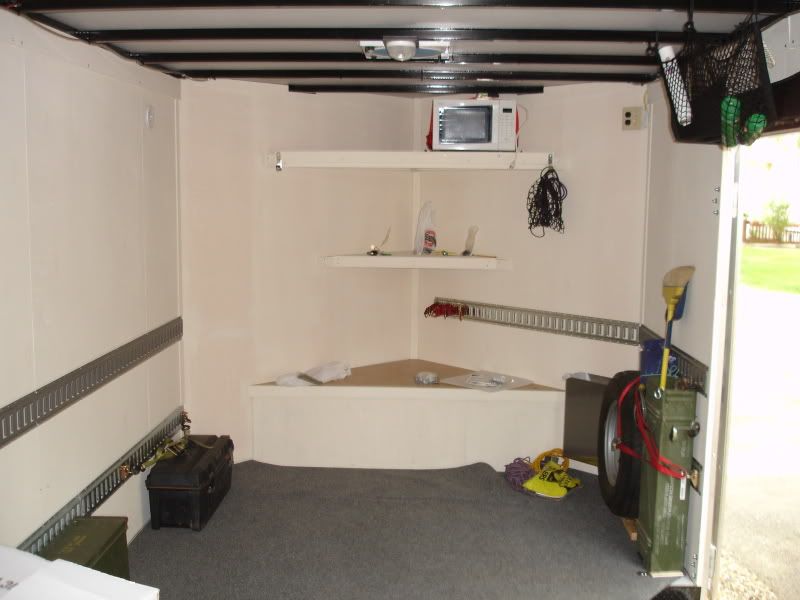
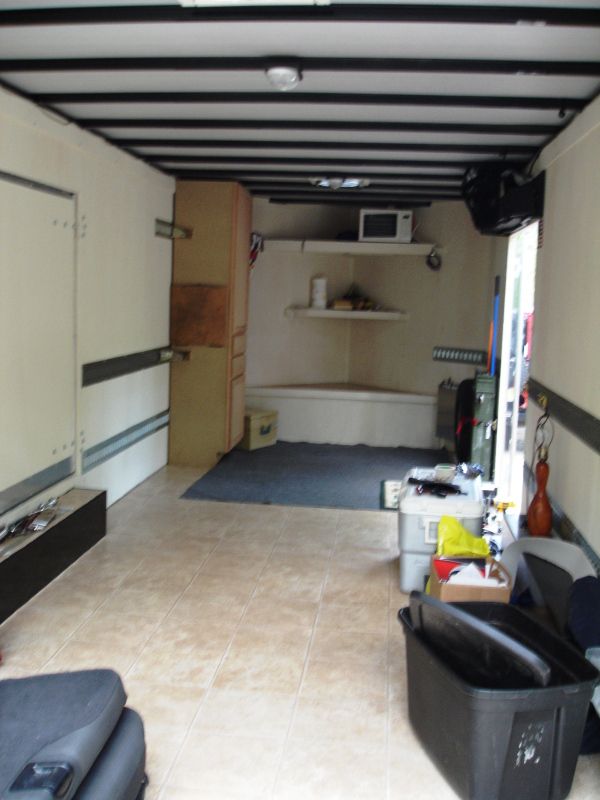
Needed more storage and the micro is mounted up...
Image

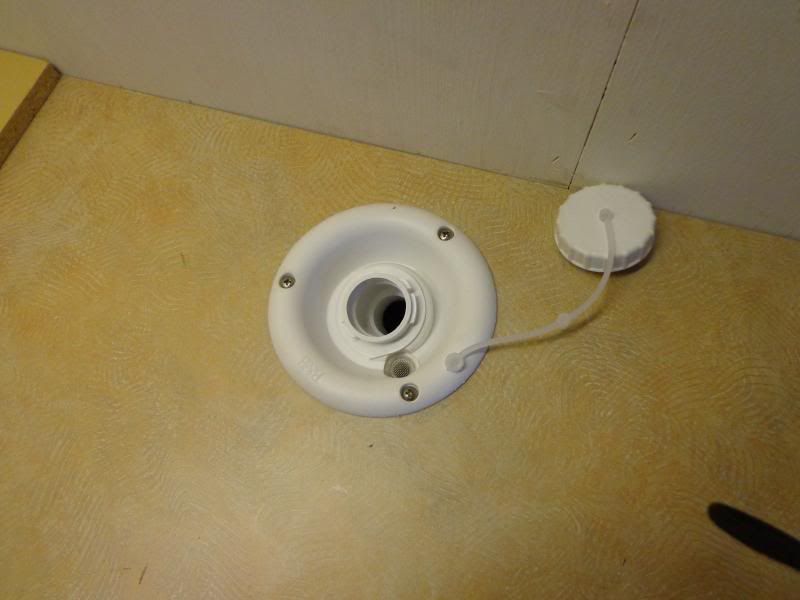
Manual vent mounted 4ft from the back...
Image

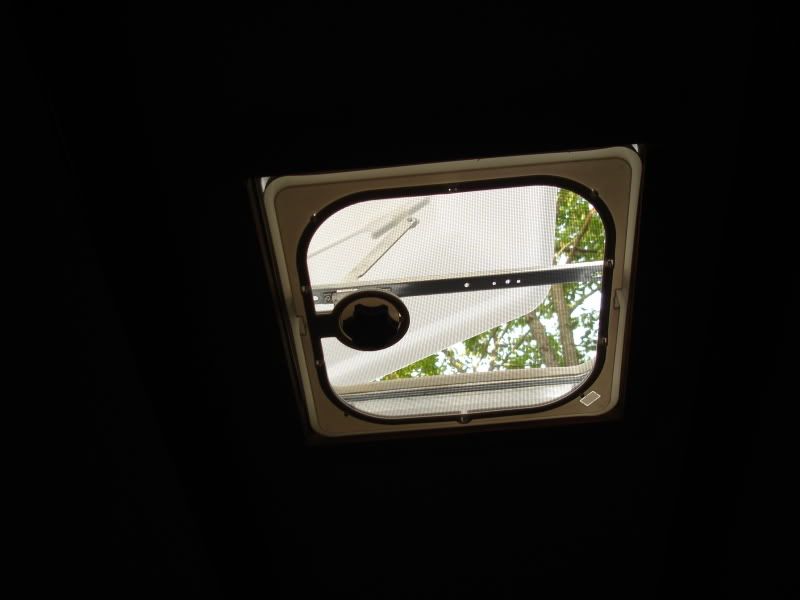
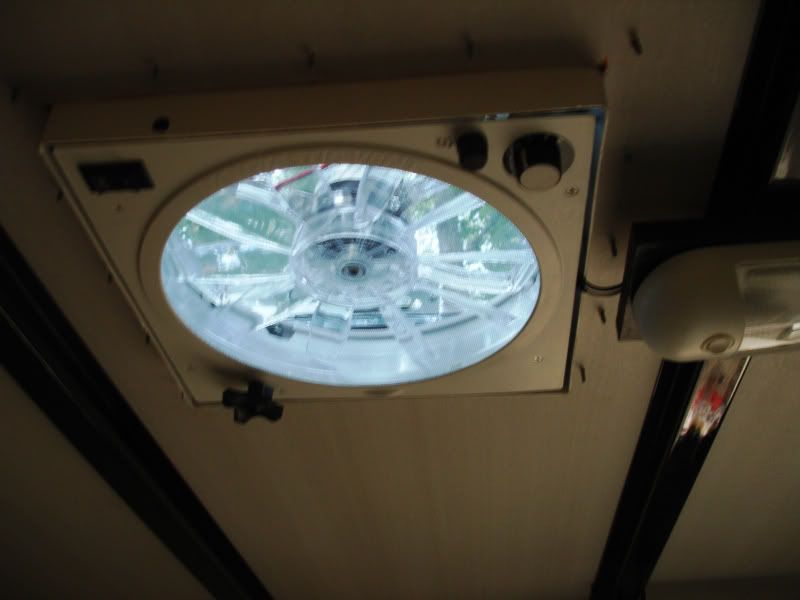
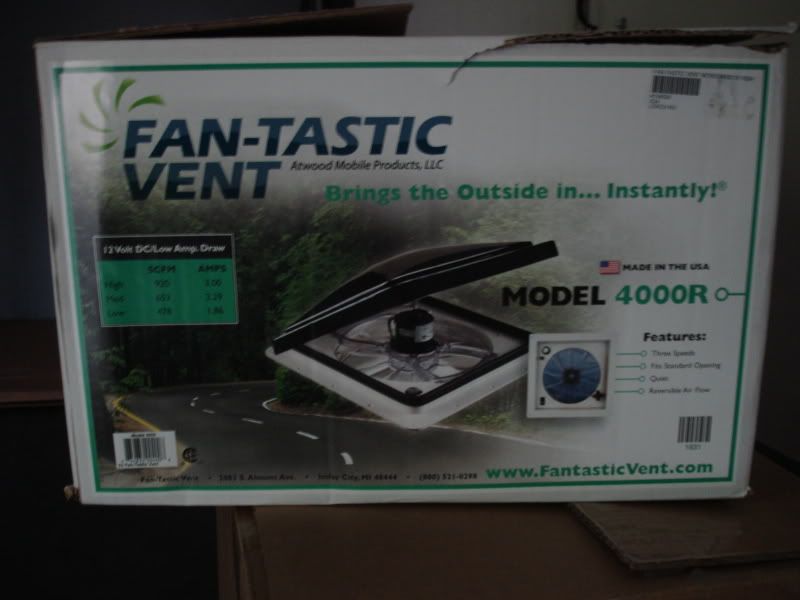
Powered vent 4 ft from the front...
Image
Image

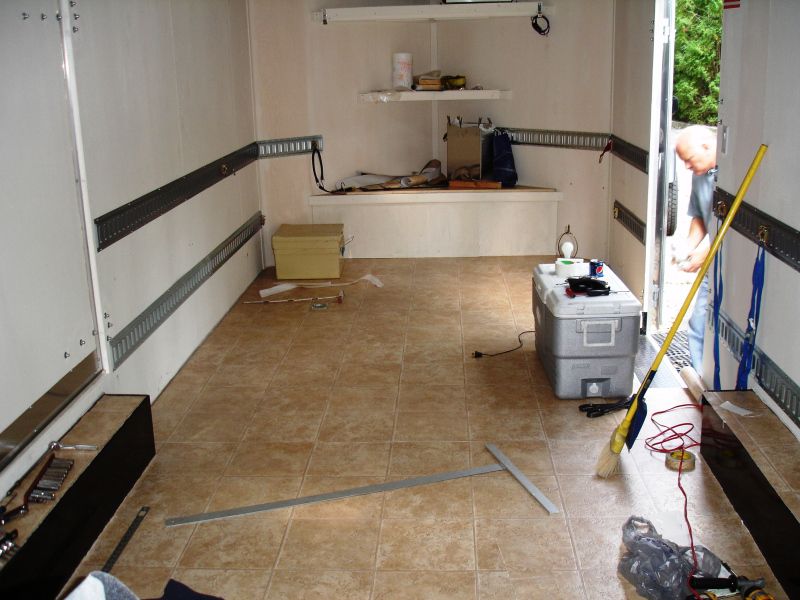
Linoleum the floor, 2qty, 8x12 sheets, perfect width, used carpet tape to hold it down.
Image

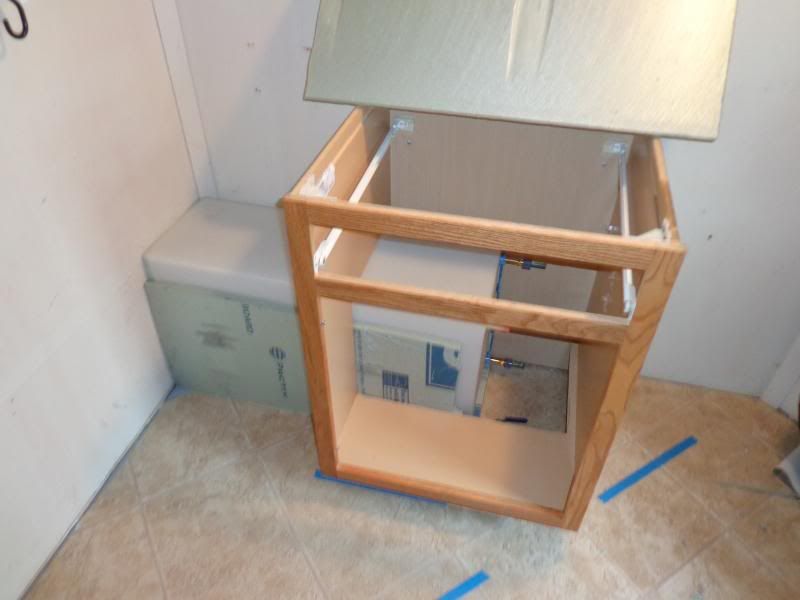
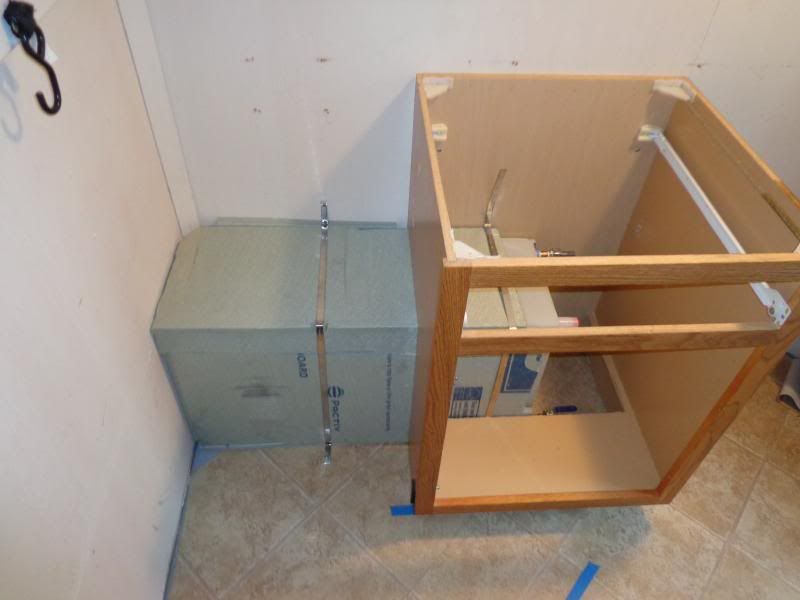
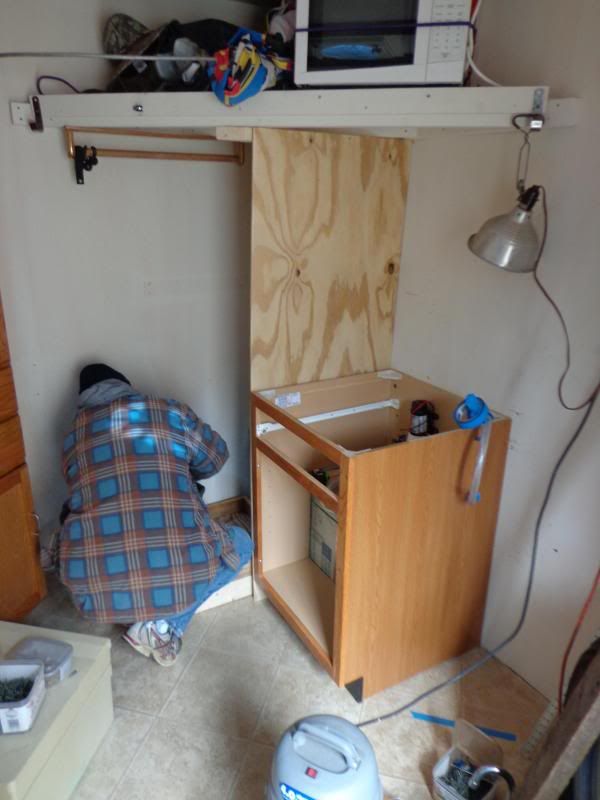
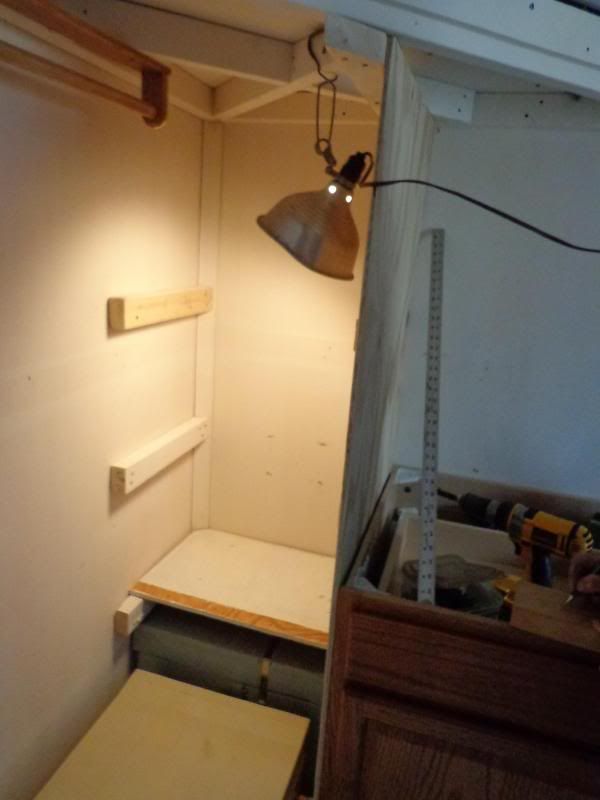
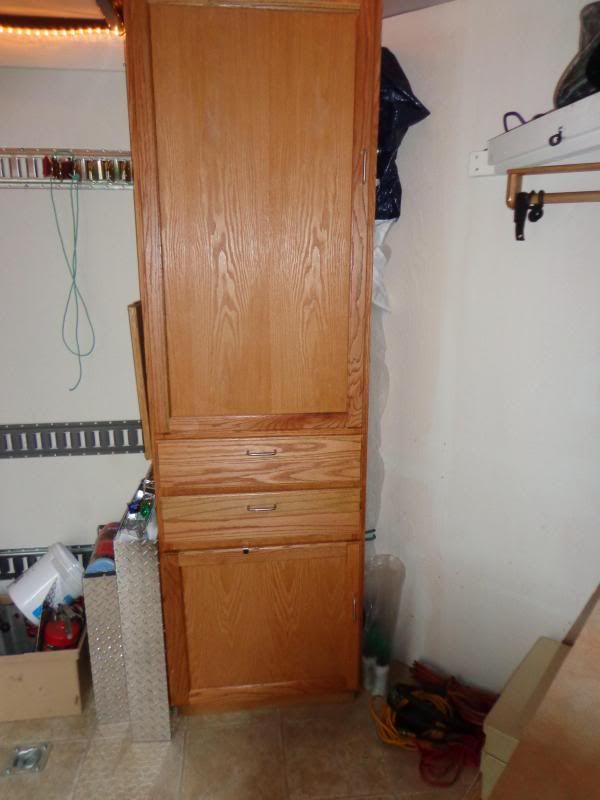
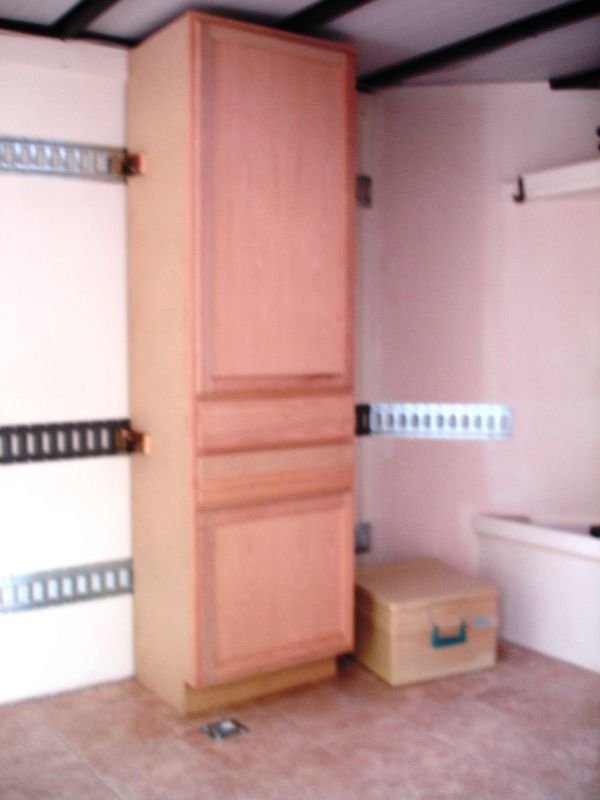
Picked up a 18"x24"x7' cabinet from Home Depot, "scratch and dent" for $150 w/ tax vs $220+. Had to rebuild the back since the staples came out, fix the broken slider drawer (bent wheel) ** to be minwaxed ** Really wanted a 24" depth.
Image

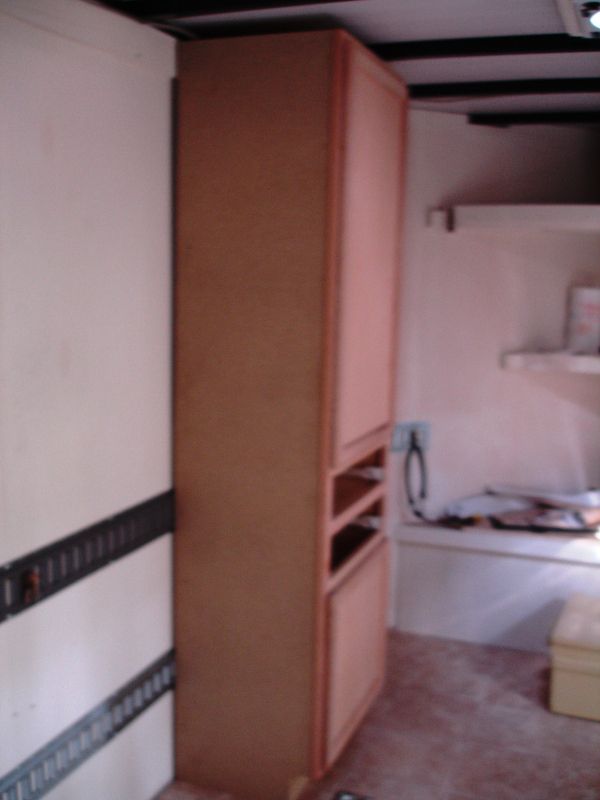
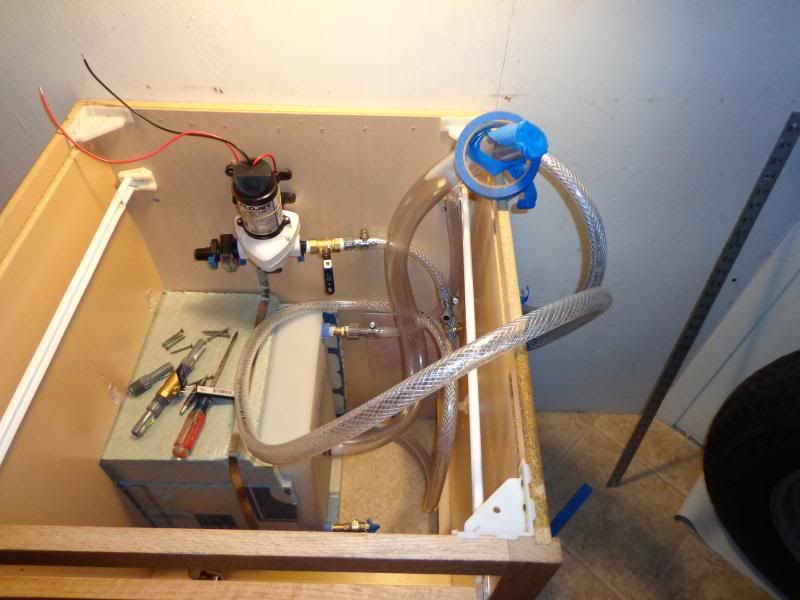
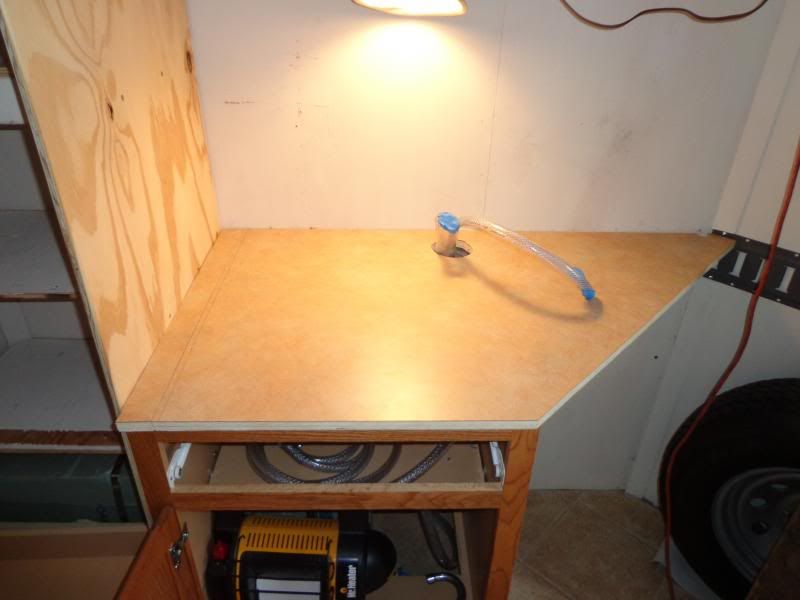
Secured it to the top with the 2x4 brackets (through bolted 2 per bracket, 4 brackets in all) and had it sit out from the "V" for the mini toilet.
Image

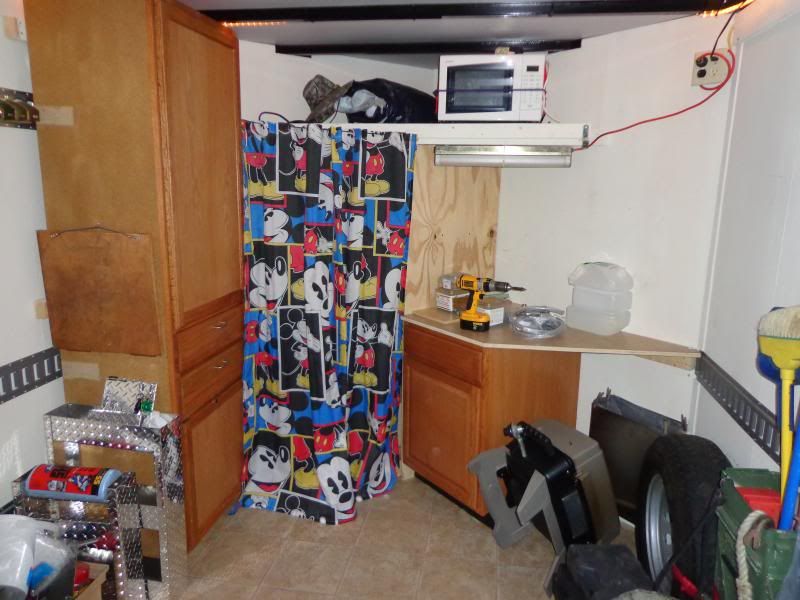
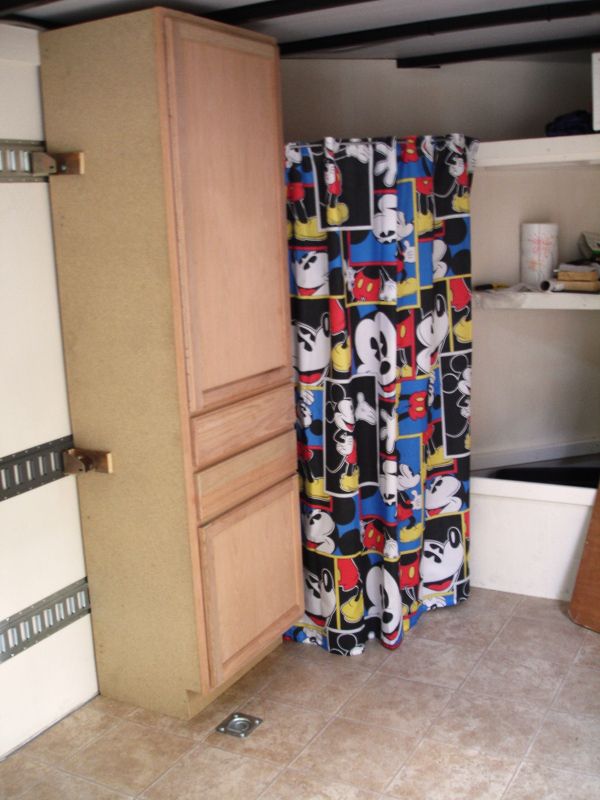
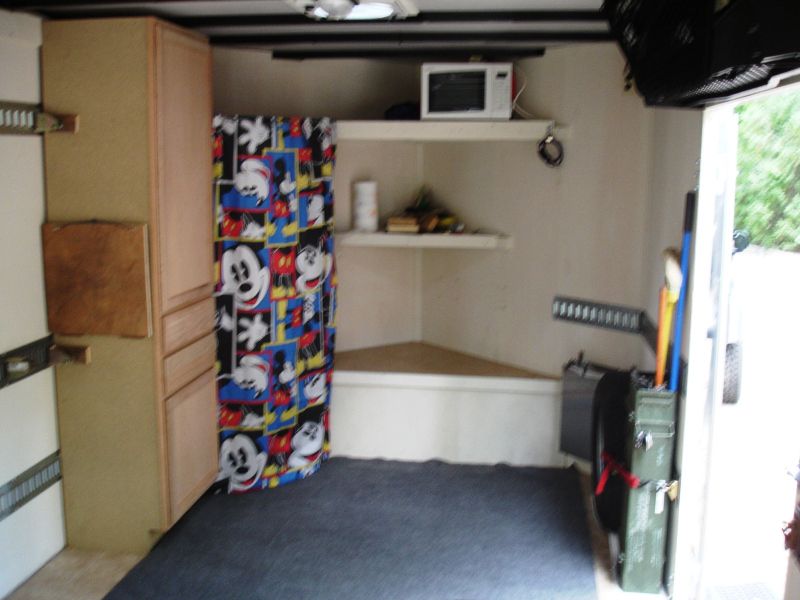
Humm... How can I hide this and create privacy? I got it! Instead of bending rebar and welding brackets, I took a prebent piece of aluminum, 3 wire loom clips, an old bathtub privacy screen and bolted it in. Can't beat free.
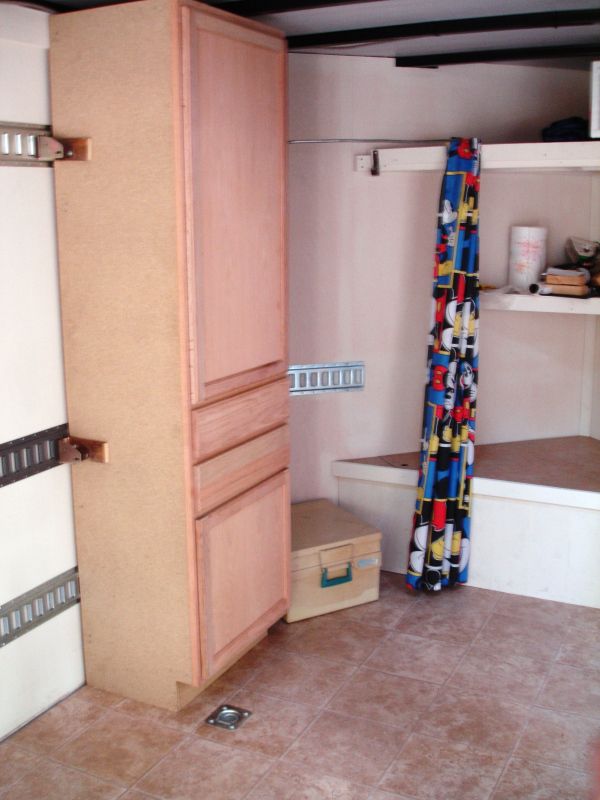
Image

Curtain open..
Image

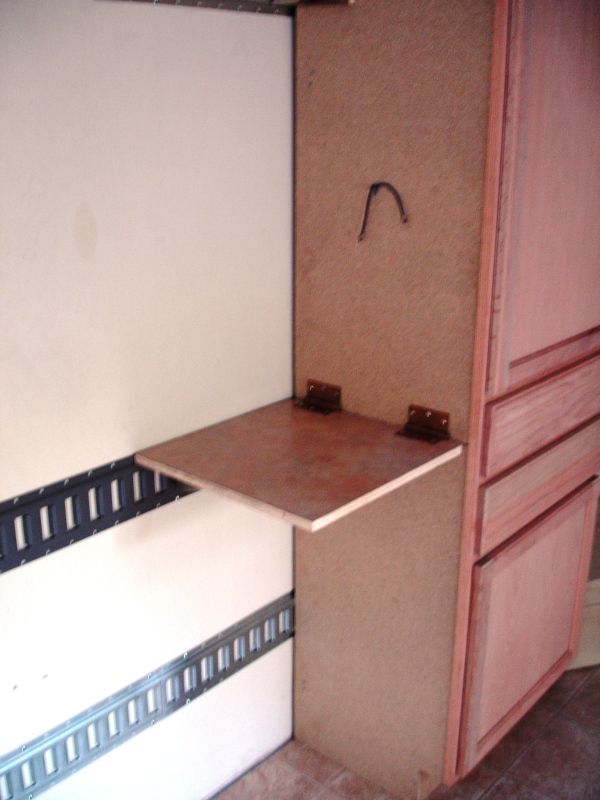
Need a laptop tray for when we are in the back sleeping or outside it. Took a piece of scrap, cut it 17"x17", use 2 brass hinges and bolt it up.

Open------------
Image

Closed with a bungee----------
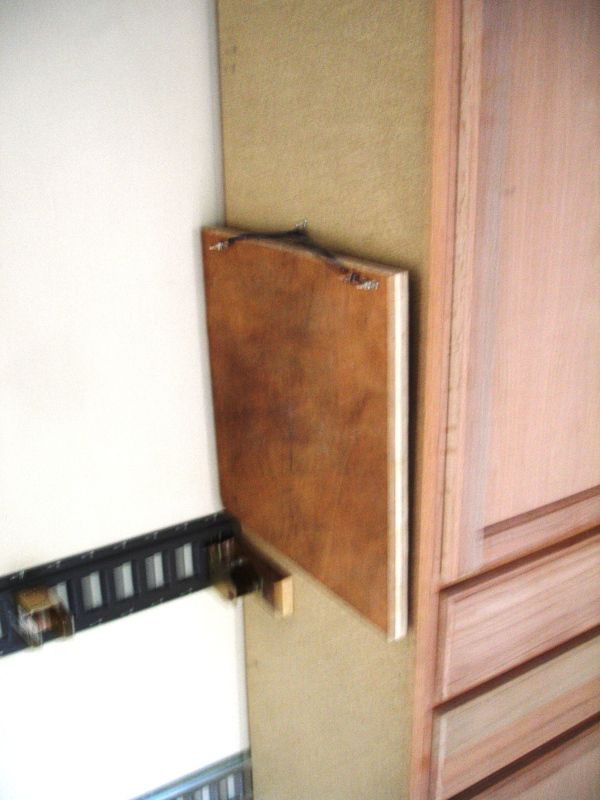
Image

Current setup---
Image
Image


To be finished...

minwax/seal cabinet
find a 12" wide cabinet, for by the door
find a counter top to span the door to the V nose
Last edited by gregert12 on Sat Jun 08, 2013 5:44 pm, edited 5 times in total.
User avatar
gregert12
Teardrop Builder
 
Posts: 34
Joined: Tue Sep 25, 2012 3:44 pm
Location: NJ

Re: Denali toyhauler build thread (in progress)

Postby bc toys » Tue Sep 25, 2012 8:54 pm

nice work on your trailer, thanks for pics , enjoy it
bc toys
2000 Club
2000 Club
 
Posts: 2217
Images: 42
Joined: Sun Jun 28, 2009 2:45 pm
Location: LAS VEGAS NV

Re: Denali toyhauler build thread (in progress)

Postby Accordnc » Sat Sep 29, 2012 9:40 pm

Looks good keep up the good work
Accordnc
Teardrop Inspector
 
Posts: 11
Joined: Tue Sep 18, 2012 6:41 pm
Top

Re: Denali toyhauler build thread (in progress)

Postby pete42 » Mon Nov 12, 2012 8:59 pm

Nice!

pete
User avatar
pete42
Super Lifetime Member
 
Posts: 2203
Images: 13
Joined: Sat Nov 07, 2009 11:52 am
Location: SouthWest Ohio
Top

Re: Denali toyhauler build thread (in progress)

Postby 8ball_99 » Mon Nov 12, 2012 11:06 pm

Nothing wrong with that. Looks like your off to a good start.
8ball_99
500 Club
 
Posts: 623
Joined: Sun Mar 07, 2010 12:34 am
Top

Re: Denali toyhauler build thread (in progress)

Postby revorunner » Tue Nov 13, 2012 6:09 pm

Good job! :applause:
User avatar
revorunner
Teardrop Advisor
 
Posts: 55
Joined: Tue May 22, 2012 9:03 pm
Location: BC Canada
Top

Re: Denali toyhauler build thread (in progress)

Postby eaglesdare » Tue Nov 13, 2012 7:54 pm

good job, but i really had to say i love the curtain! :wine:
Louella
May the foam be with you.
User avatar
eaglesdare
Donating Member
 
Posts: 3168
Images: 13
Joined: Tue Aug 26, 2008 7:06 pm
Top

Re: Denali toyhauler build thread (in progress)

Postby pete42 » Tue Nov 13, 2012 9:10 pm

eaglesdare wrote:good job, but i really had to say i love the curtain! :wine:


I wonder why you like it?................I really know why just kidding.

pete
User avatar
pete42
Super Lifetime Member
 
Posts: 2203
Images: 13
Joined: Sat Nov 07, 2009 11:52 am
Location: SouthWest Ohio
Top

Re: Denali toyhauler build thread (in progress)

Postby gregert12 » Fri Nov 16, 2012 5:20 pm

Hurricane Sandy put a hold on this project since we are fixing up the shore house but my plans are to remove the front vnose section, get a 36", 16" and another 12" cabinet to fill in along the vnose to straight box section, cover the top with fiberglass 4 ply, get a horizontal cabinet on the top, close the one side and make a tray for the porta pot/shower pan made out of a water heater drip pan.

I have been looking at the fold out beds on ebay and bolt on the sides, the misc water fittings +40 gallon tank and an on demand hot water heater
User avatar
gregert12
Teardrop Builder
 
Posts: 34
Joined: Tue Sep 25, 2012 3:44 pm
Location: NJ
Top

Re: Denali toyhauler build thread (in progress)

Postby gregert12 » Mon Mar 18, 2013 5:22 pm

Time for a complete overhaul for the upcoming riding season... (28hrs build time)


new tank (30 gallon) and freebie cabinet.

Tank Info:
One piece seamless construction
Includes 4 fittings:
One) 1 1/4" Dia x 2" T Boss fitting for the water intake
Three) 1/2" Dia screw in fittings
Measurements for Tank (not including fitting): 34 1/2" X 12" X 17 1/2" (tank can sit on all sides except fittings)

Water Pump Info:
Made by Flojet model #03526144


Image

tank and storage bins we picked up at the swap meet
Image

tank test fit location
Image

btm insulation
Image

that will work for space savings
Image

fittings (drain 3/8" barb, fill, vent, 5/8 out to pump)
Image

wrapped with 5/8" poly board closed cell foam, R3 value. strapped down with stainless steel strapping
Image

5/8 line to the pump
Image

(hole in the wall is shore feed)
Image

potential fill spout and vent location (inside fill/vent for tank and ext fill bypasses the tank/pump)
Image

shore feed
Image

Image

mocked up wall for storage on the left
Image

first shelf 2x 1/2 plywood to protect the tank
Image

perfect fit in the cabinet, woohoo! the wrapped cord will be for the water heater
Image

freebie counter top (temp) with fill/vent lines
Image
Image
Image

potential setup
Image
Image
Image

cabinet moved up, to the right of it is the back door screen
Image

with the current portapot location, there is plenty of room
Image
User avatar
gregert12
Teardrop Builder
 
Posts: 34
Joined: Tue Sep 25, 2012 3:44 pm
Location: NJ
Top

Re: Denali toyhauler build thread (in progress)

Postby gregert12 » Sat Apr 06, 2013 8:14 pm

PD4045 AC to DC converter
Image

Image

Image

Image

Image

Image

Image
User avatar
gregert12
Teardrop Builder
 
Posts: 34
Joined: Tue Sep 25, 2012 3:44 pm
Location: NJ
Top

Re: Denali toyhauler build thread (in progress) 040613

Postby Gadget Man » Sat Apr 13, 2013 9:12 pm

Gregert12

Your build Looks great so far. feel free to copy anything from my build. That's the whole idea of posting pictures.
Building cabinets are really not that tough, you just build boxes and put a front faceplate on.

How do you like that Mr Heater ?
My next trailer may be smaller, and I'll just go with one of those for heat.

Gadget Man :beer:
My kids may be smarter than me,
But I know more.
User avatar
Gadget Man
Teardrop Master
 
Posts: 298
Images: 23
Joined: Tue May 10, 2005 4:41 pm
Location: Elk River MN
Top

Re: Denali toyhauler build thread (in progress) 040613

Postby gregert12 » Sun Apr 14, 2013 9:51 am

Gadget Man wrote:Gregert12

Your build Looks great so far. feel free to copy anything from my build. That's the whole idea of posting pictures.
Building cabinets are really not that tough, you just build boxes and put a front faceplate on.

How do you like that Mr Heater ?
My next trailer may be smaller, and I'll just go with one of those for heat.

Gadget Man :beer:


Thanks,

With the trailer not being insulated, the Mr Heater provides more than enough heat. The exterior vent is left open for positive air flow and the Co2 detector is on the floor.
User avatar
gregert12
Teardrop Builder
 
Posts: 34
Joined: Tue Sep 25, 2012 3:44 pm
Location: NJ
Top

Re: Denali toyhauler build thread (in progress) 040613

Postby Gadget Man » Sun Apr 14, 2013 11:47 am

Gregert12

I'm going to re-plumb my entire water system this spring.
I need to raise my pump up higher like you did so its easier to drain and winterize before winter freeze.
My current set-up is with simple barb fittings and vinyl hose. It works just fine, but hard to disconnect and drain.
I'm going to switch to threaded connections.

How many bikes are you trying to fit into your trailer?

Gadget Man :beer:
My kids may be smarter than me,
But I know more.
User avatar
Gadget Man
Teardrop Master
 
Posts: 298
Images: 23
Joined: Tue May 10, 2005 4:41 pm
Location: Elk River MN
Top

Re: Denali toyhauler build thread (in progress) 041313

Postby gregert12 » Sun Apr 14, 2013 3:06 pm

We can fit four, full size, Grizzly 700s from the tailgate to the cabinet with seven inches to spare. This setup should keep 10-15% of the weight on the tongue. In order to get the bikes in, we would take them through the passenger door and use an atv jack to slide them to the back.


Crap, I did not think about winterizing the system. Well the lowest point is the tank since everything will either drain to the outside shore fitting from after the pump and the tank has a side drain which is the farthest towards the rear. If I jack up the trailer tongue the full 25 inches or so, there would probably be a couple cups of water that will not naturally drain out. I'll cross that bridge in the fall. :NC


-Greg
Last edited by gregert12 on Sun Apr 14, 2013 3:13 pm, edited 1 time in total.
User avatar
gregert12
Teardrop Builder
 
Posts: 34
Joined: Tue Sep 25, 2012 3:44 pm
Location: NJ
Top

Next

Return to Cargo Trailer Conversions

Who is online

Users browsing this forum: No registered users and 14 guests