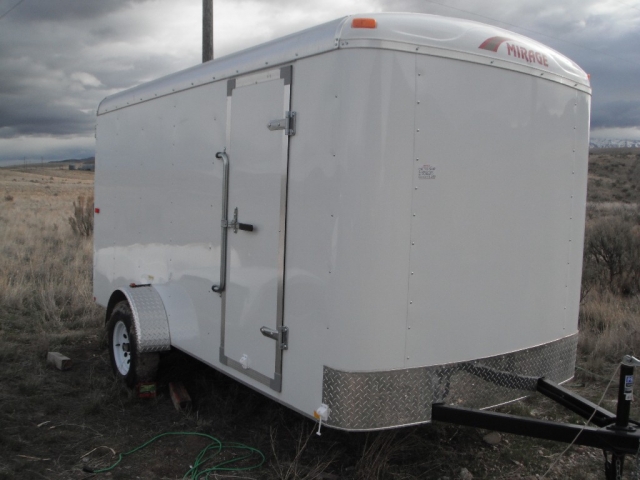
Ok, moving on with the build. I know the title is boring, but I wanted others who have or might purchase a Mirage trailer to be able to find info on one. Plus I like having the size and brand in the title of others' posts so I can refresh my memory about their trailer
I think I will have to name my trailer The Mountain Aire Express or The Escape Pod, as that is what it will be used for. Not only do I enjoy going camping and fishing, but when there is smoke etc where I live, I have to leave and go to higher ground. So the CT will be my "bug out" or "escape pod" trailer. We will have to see which name sticks. Right now I kind of think it will be The Escape Pod.

This will be kind of long and same ole type of construction pictures as most of you have already seen. Many of them seem to be of poor quality and on a slant. Sorry about that!

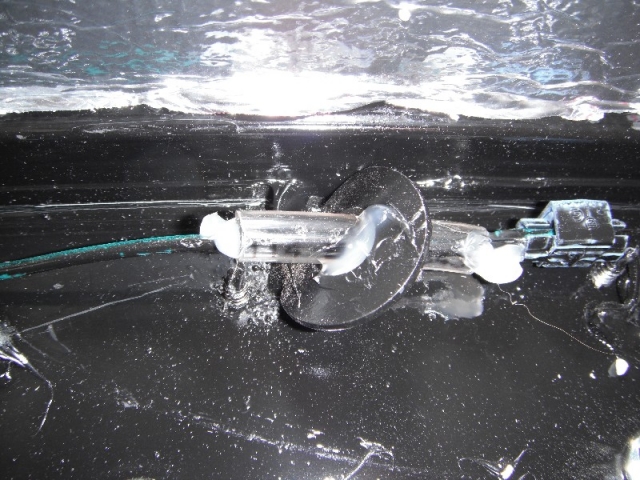
For the wiring through the washers I cut two inch sections of some clear tubing that I had. I split one side of it, slid it over the wires and used a little caulking to hold it in place.
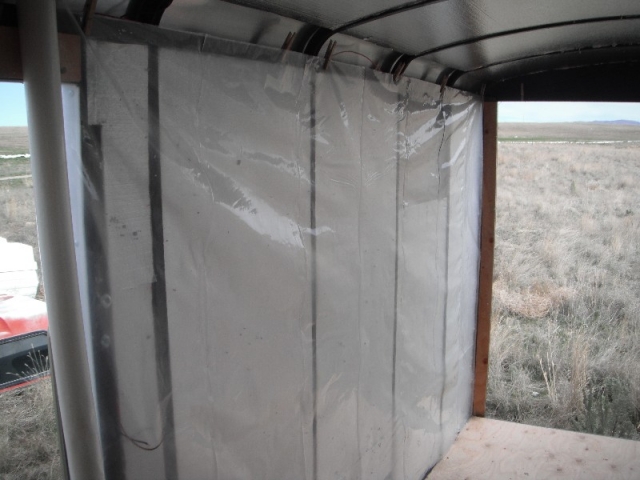
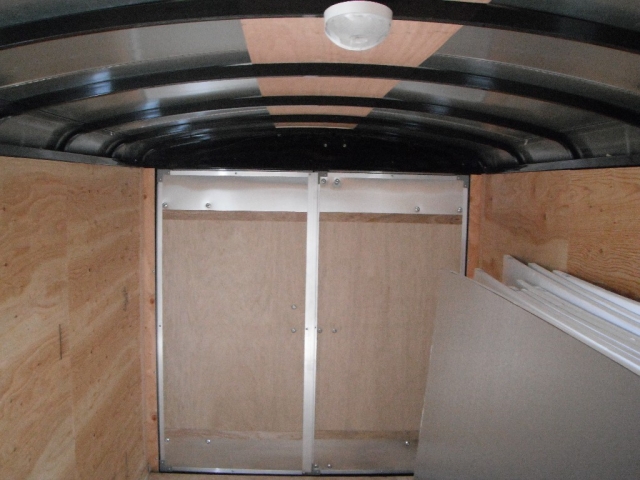
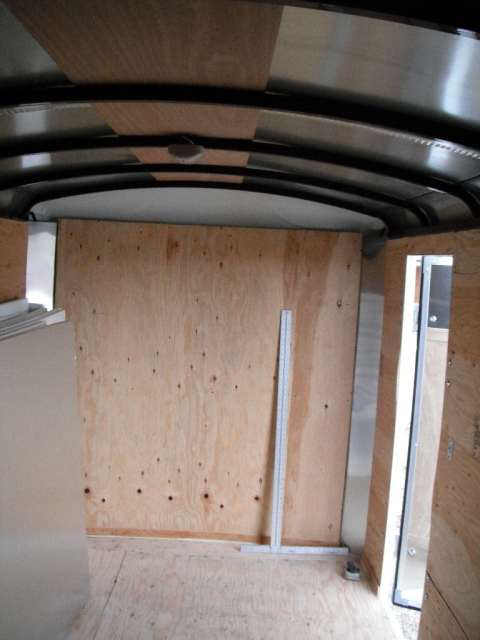
I got the sidewall insulation and vapor barrier on and the walls back up.
While at Harbor Freight I picked up a roll of aluminum tape that worked great for holding and sealing the odd cuts in the insulation for the end caps and side curves of the roof. Good stuff!
Rear end wall insulation
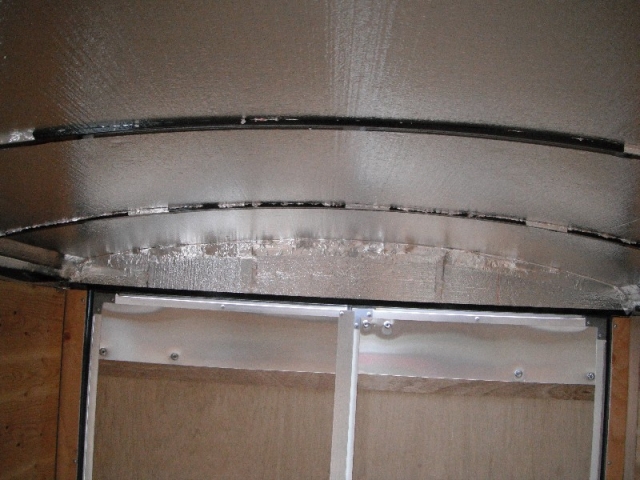
Front cap insulation
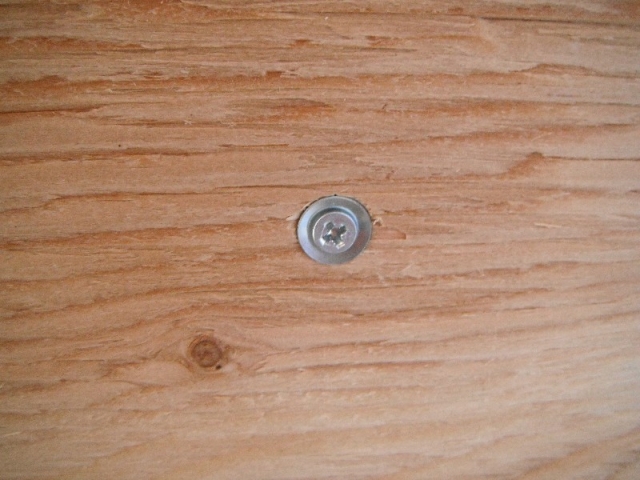
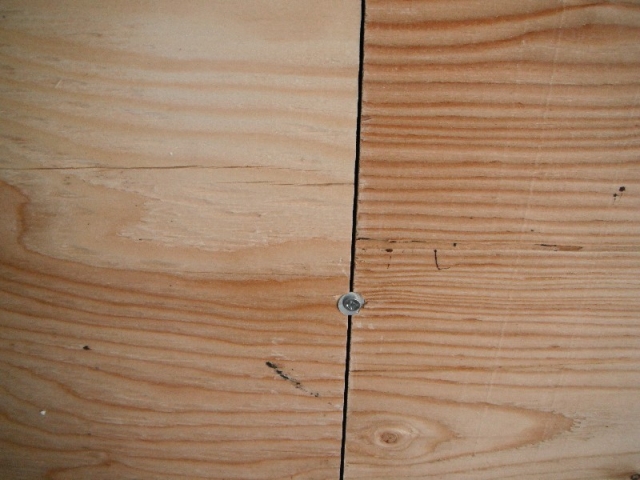
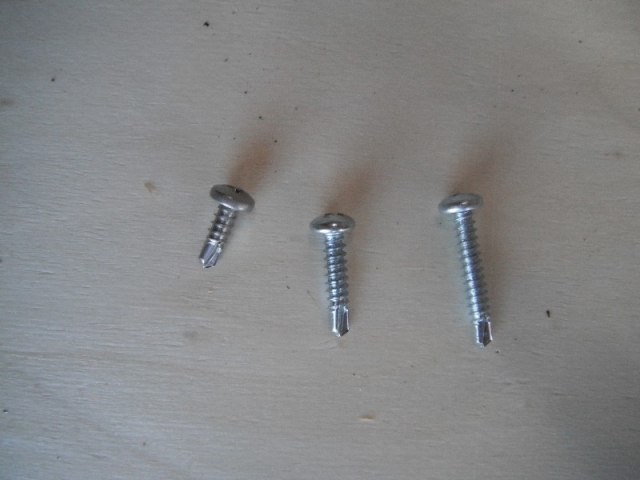
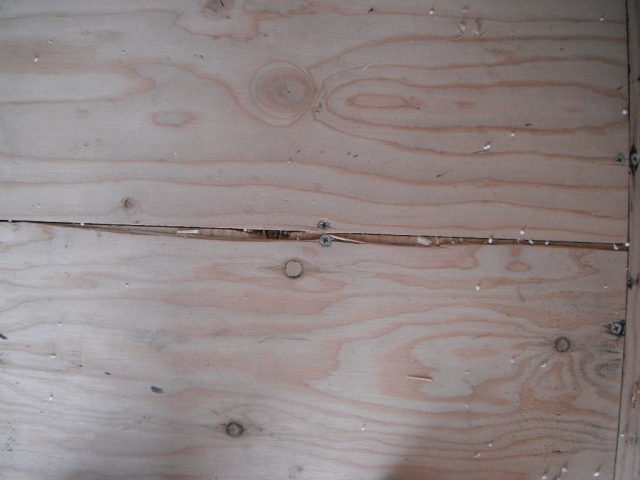
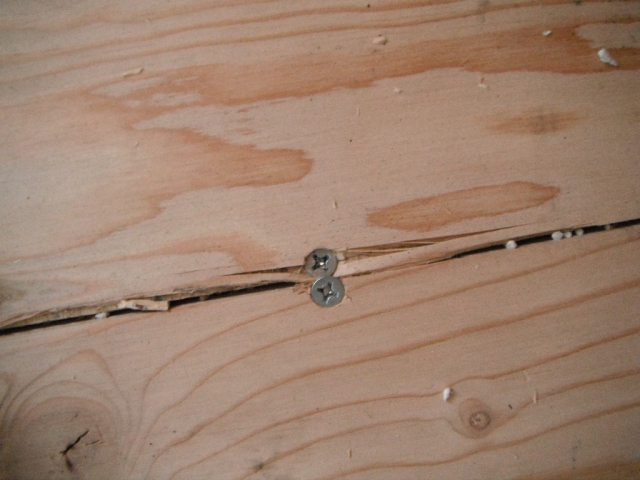
My plywood interior was factory nailed on and after pulling it off there was some damage to the plywood. A good bit of the time the nails ripped right through and left a round hole. With care the overall the damage wasn't as bad as I thought it was going to be, so I was able to reuse the original plywood. I used one inch long screws with small washers to overlap the nail damage. They worked great.
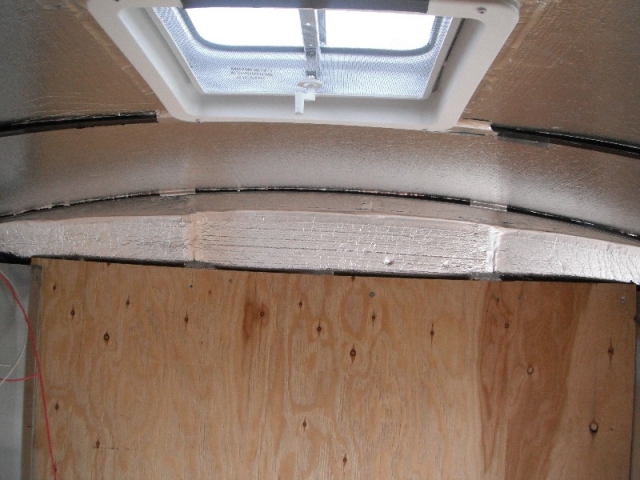
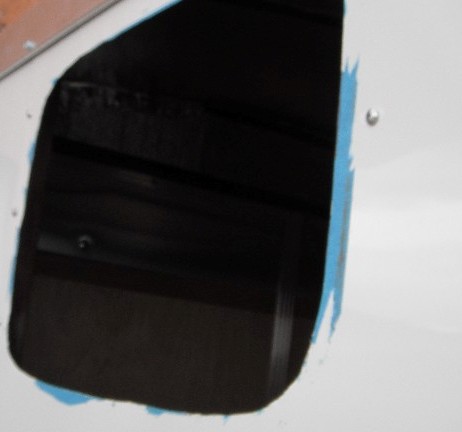
Next I swallowed hard and started cutting holes in the roof and sides for the vent and windows. While I was at Harbor Freight I also picked up some of their blue painters' tape since I didn't want to go back to Home Depot. It was a mistake. The stuff has very weak paper super sticky glue and won't come off even minutes after you put it on. I spent more time getting the tape and glue off than it took to cut the holes!

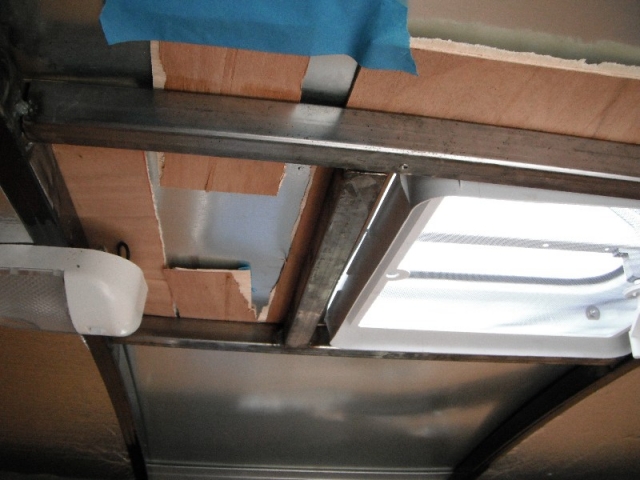
My hubby welded in frames around the vent and above and below the windows. We used some one inch square tubing. so on the windows I cut some quarter inch wood spacers to finish filling in. I also did some half inch blocks next to the ribs. We could have used an all wood frame, but the metal cross pieces will be nice and stiff for the backwoods roads I frequent. Sorry that I don't have any pictures of the window framing. The weather was icky, and we were in a hurry to close things up.
Vent framing
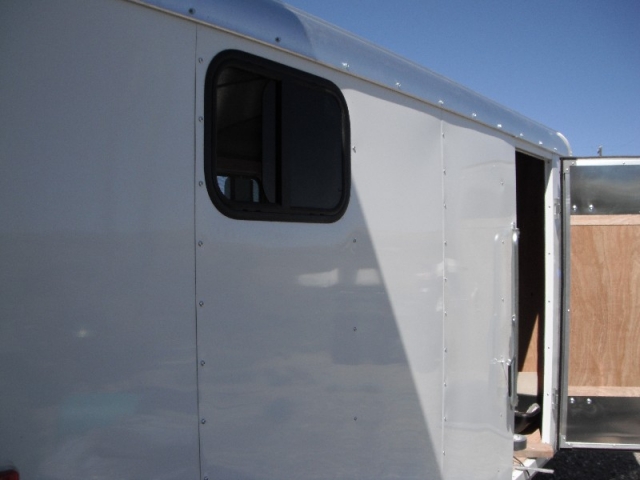
The windows were 21"x14" from Frank Bear and Vintage Technologies. They have a rubber seal, and the trim ring I ordered fit my 1 1/2" thick walls perfectly. One thing I did that made putting them in easier was to predrill the trim ring on to the window with the short 1/2" screws that came with it. That way the holes were prepped for the install. Unfortunately the window screens don't come out so the install is easier with two people. I did have to get longer screws to use in the actual installation. I picked up two sizes, some one inchers and some 3/4" screws. I used three of the too long one inchers to temporarily pull the window in then, I started setting the trim ring in with the 3/4 inch screws. It actually worked very well using the three screw sizes for the different steps.
Outside view of window
Inside view of trim ring
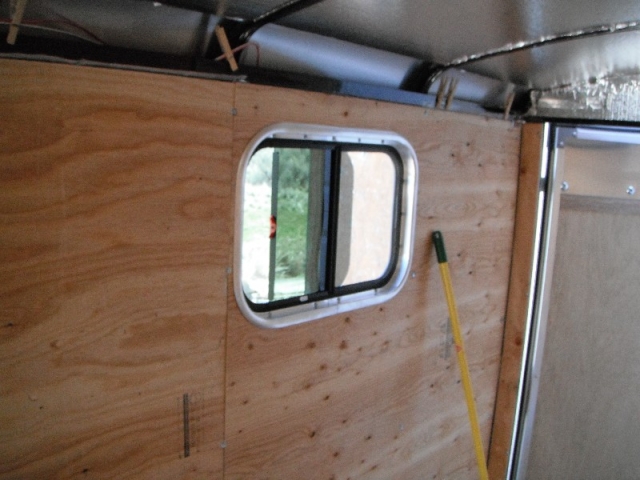
All in all I am very pleased with the windows. They were just right in size to fit between my ribs. Mr Bear was nice to work with, and the windows were a fair price. I like the rubber gasket, and it was especially good to find the right sized trim rings for my walls.
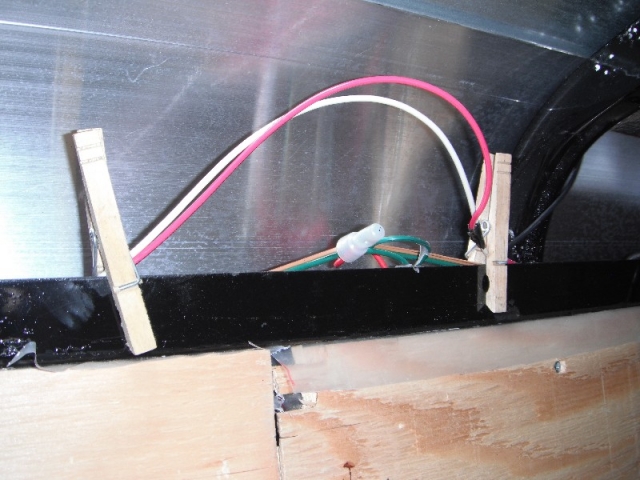
I have started on the rough in wiring, but haven't finished it yet. Clothes pins work great to tame unruly wires until they get tied in.
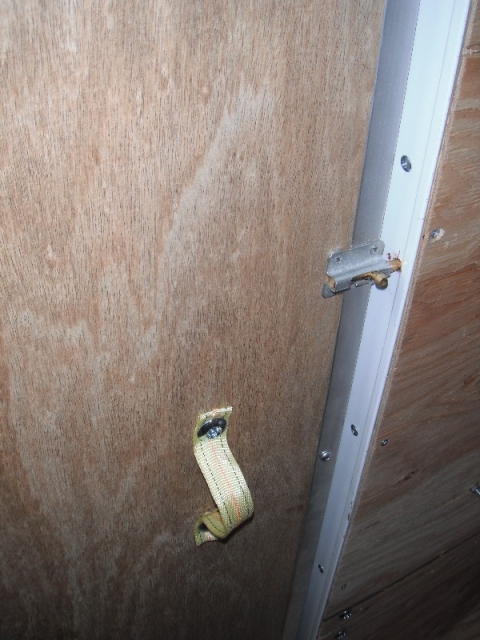
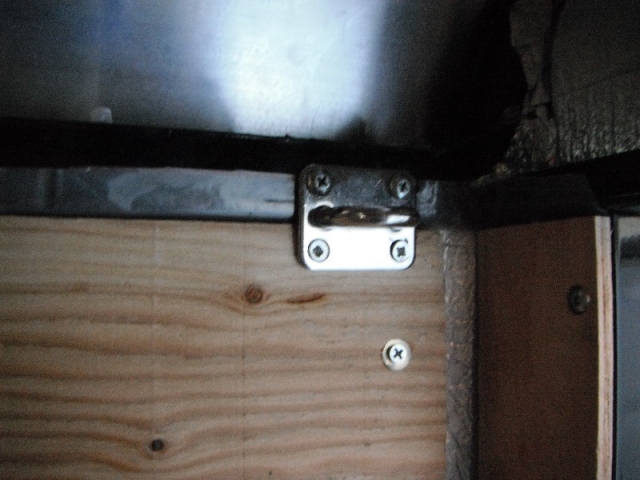
I put in an anti-lockin ring next to the cargo latch.
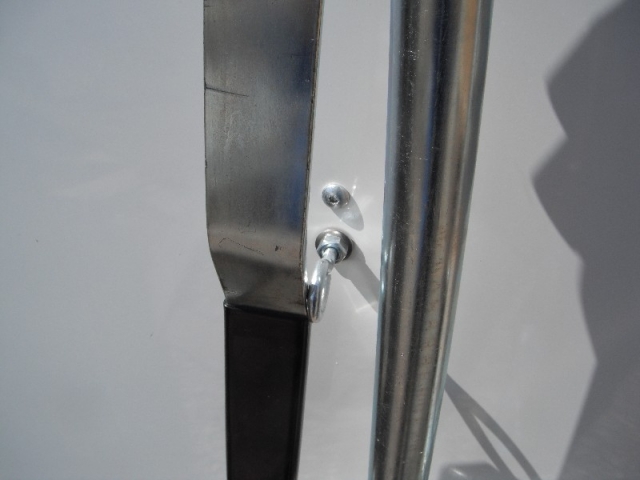
I also put in a temporary handle and interior lock on the side door. I need to have something now as I don't have time yet to put in a rv latch. I burned holes through the webbing just large enough to force it over the cargo latch interior bolts. I looked for an old leather belt to use, but I found the webbing first.

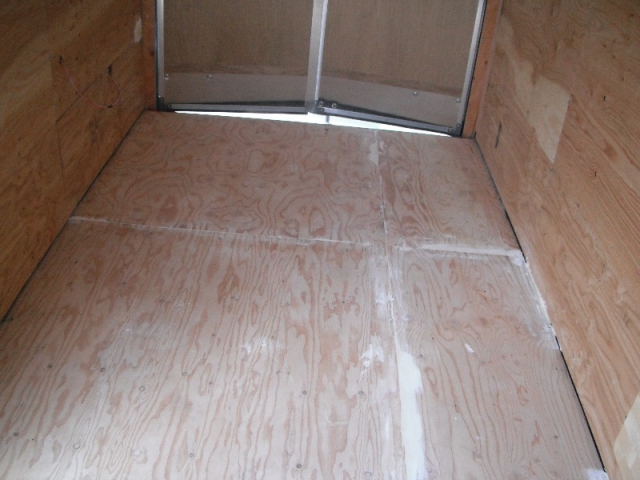
There were a lot of rough areas in the plywood floor so it is going to get painted instead of stained. First step toward that was to fill and sand the rough seams. ---I used Fix All and then a belt sander.
I have already had to leave for two days as fields and weeds are burned for the spring cleanup. So I haven't had time to do my fold up beds yet. I can just use pads and mattresses on the floor, but instead I put in tie points for my hammock diagonally across the trailer.
I like a hammock better, and it may be what I will use for days when I am on my own anyway.

Thanks for looking!

 Thanks so much for posting your pictures.
 LOOKS GOOD!