Page 4 of 5

PostPosted: Thu Apr 08, 2010 2:02 am
by rmclarke
I am still working at it......sporadically.
I'm doing a final fit of the doors and hatch. Still have to figure out how the hatch will latch and decide how to hold it open. Lots of sanding and fairing soon to come...blechh!

Image :pictures: Image
Going for a sort of 'rustic-cabin-on-wheels' feel inside
Image

Image

Image

PostPosted: Thu Apr 08, 2010 8:16 am
by aggie79
Looking really good Richard! Very nice design and execution. Your foot well and table are really ingenious.

PostPosted: Tue Sep 21, 2010 1:31 am
by rmclarke
Well,
it's time for my 6 month check in :oops: ...Teardrop Time is realllllly
slow in this part of Jefferson State... ;) ...
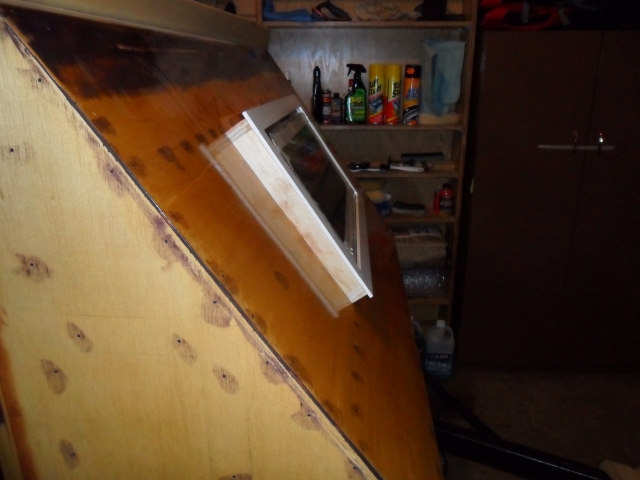
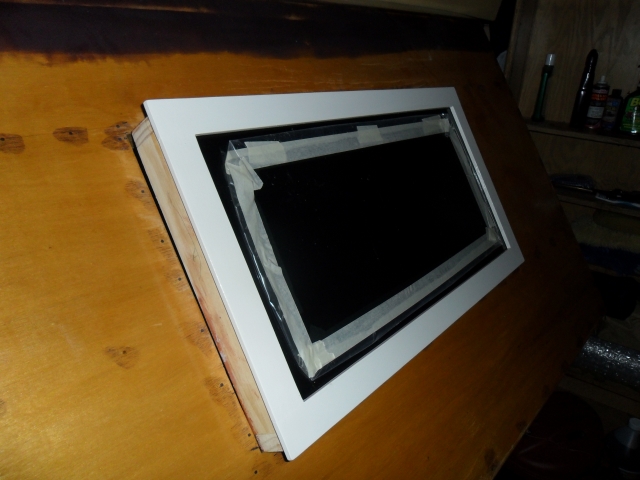
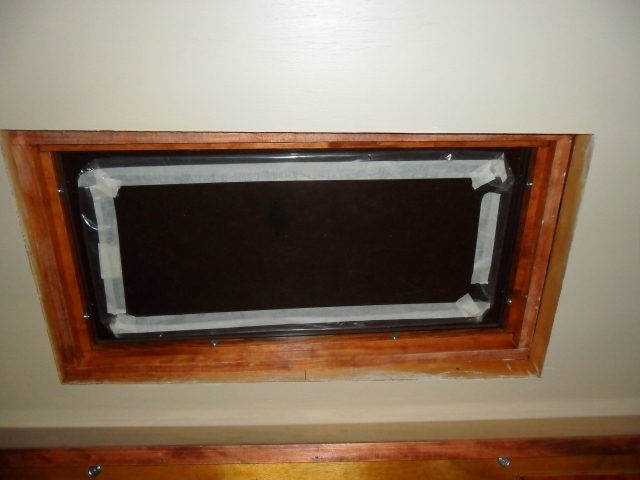
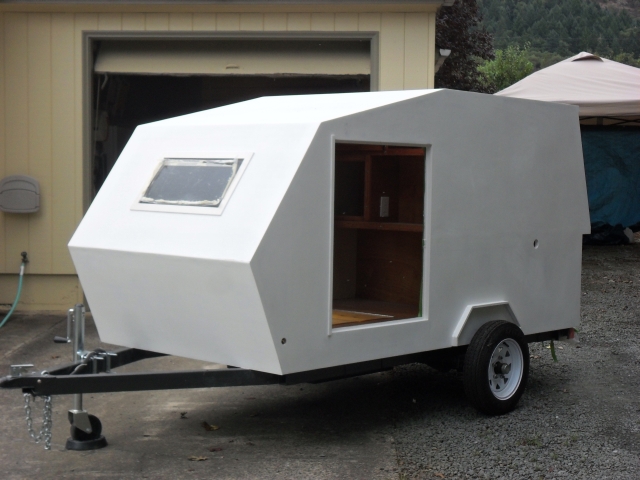
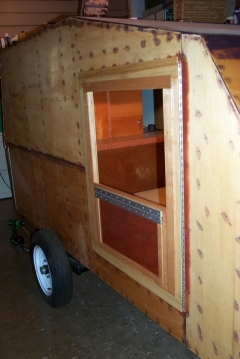
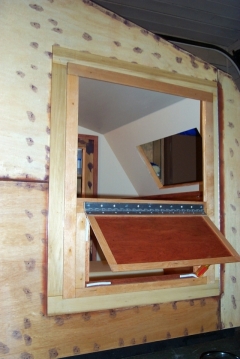
I got my front window put together and I epoxied it into place, but I
made it so I can replace the plexi in the future if needed (and with
plexi, it probably will). I siliconed it inside and out.

Image

Image

Image

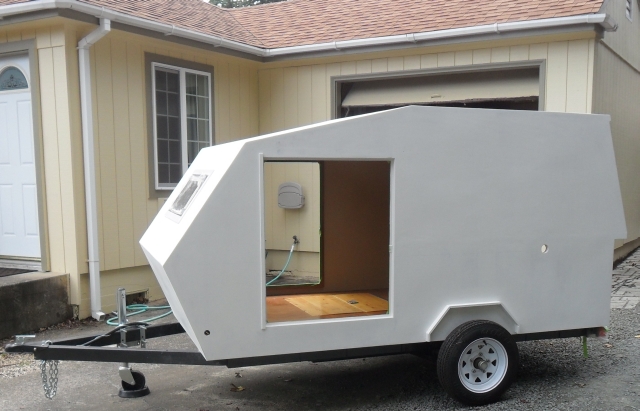
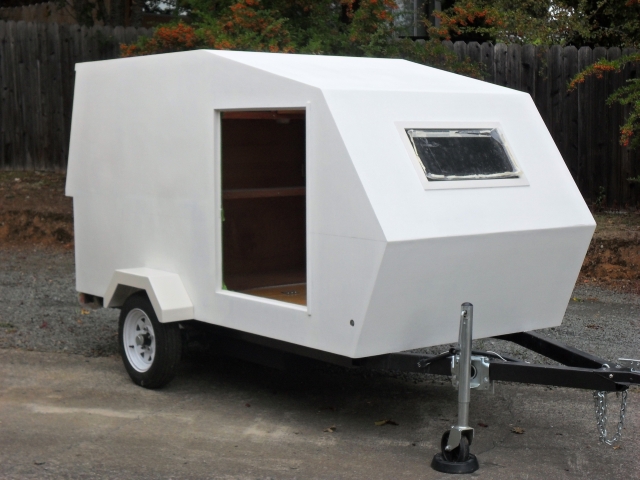
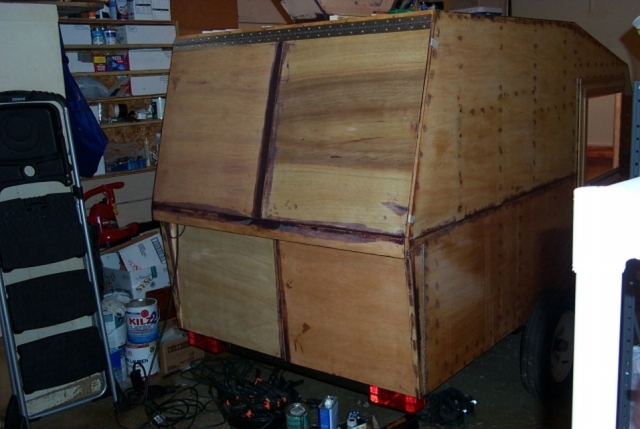
I moved the SunHopper outside under a canopy last month so I could sand
and primer and make all the dust I wanted without jeopardizing my
marriage. This is just before I put it back in the garage:

Image

Image

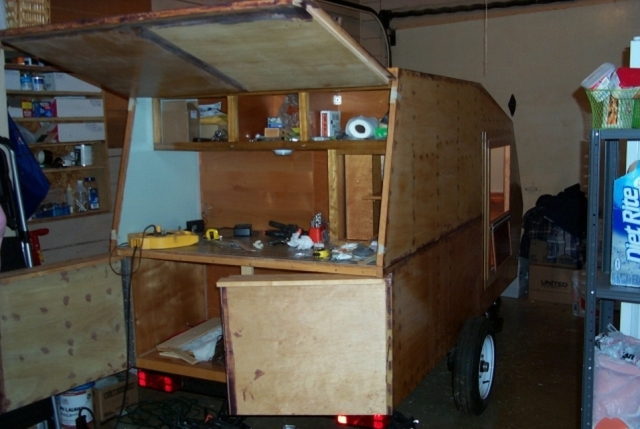
I just set the finished fenders in place to snap a pic or two:

Image

Image

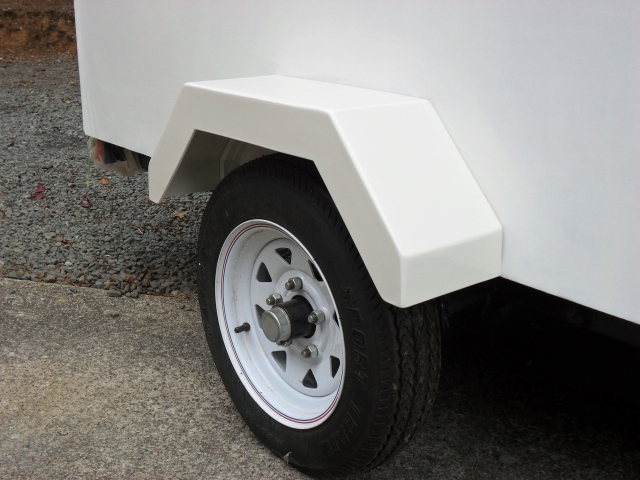
The fenders are painted with the final color the top of the trailer will
be.

Image

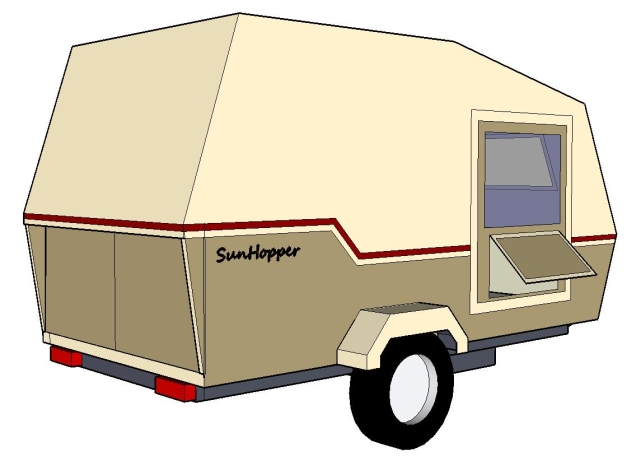
I think I finally settled on the final color scheme. The colors shown
here from SketchUp are not the exact shades obviously, but you get the
idea.

The top color is called 'Chowder' and the bottom color will be a
grayish-brown, i think it was call 'weathered oak' ...I used Lowes
Valspar oil-base primer 2 coats (over the two coats of marine epoxy).
the primer adhered to the epoxy very well (after lots of sanding)...the
top coats will be Lowes Valspar Deck and Floor paint. It'll probably be
a '5-foot finish'..which, after as long as I've been at this, will be
good enough for me.

Image

Image

Still at it,
Richard

PostPosted: Tue Sep 21, 2010 2:44 am
by vtx1029
:applause:

PostPosted: Tue Sep 21, 2010 7:07 am
by myoung
Nice build with careful attention to detail. I'll look forward to watching your progress.
:applause:

PostPosted: Fri Feb 11, 2011 5:26 pm
by rmclarke
Hey....I got stripes! What do you think?

Image

Image

Inside almost done.....

Image

Front headboard with curtains Elaine made.....the cushions are also done (with a solid green fabric) but not installed and the doors will have the same fabric design as the front window

Image

I'm getting purty excited....this thing is almost campable!! :woohoo:

Richard

PostPosted: Fri Feb 11, 2011 10:00 pm
by S. Heisley
It's looking terrific, Richard. :thumbsup: Did you paint the accent stripe on or is it a decal?

PostPosted: Fri Feb 11, 2011 10:09 pm
by bdosborn
Shiny!

:thumbsup: :thumbsup:

Bruce

PostPosted: Fri Feb 11, 2011 10:12 pm
by parnold
Your paint and stripe design is so appropriate! Looks great!

:thumbsup: :thumbsup:

PostPosted: Sat Feb 12, 2011 6:52 am
by rmclarke
Thanks all :)

I'm glad the painting is done...it feels like its all downhill from here

Sharon, I painted the stripe using Rustoleum oil gloss paint, two coats......I taped the edges with Frog tape; that stuff is great, it leaves an almost perfect edge with no bleed under when you remove it.

I was going to buy some decal lettering for the logo plaque I'm making, but I think I might have a hard time matching up the red letters with my painted stripe....so, I might have to hand paint the darn thing..

:roll: .....I seem to keep making work for myself.

Richard

PostPosted: Wed Feb 23, 2011 8:48 pm
by Miriam C.
:applause: :thumbsup: :thumbsup: Wow! I really like the stripe! Beautiful all over! :thumbsup:

PostPosted: Tue Mar 29, 2011 1:25 am
by rmclarke
I installed all of the remaining doors today.. :D (I still have to install the screens inside the doors) and I've got most of the trim done. I don't have my tongue box done yet, but I guess I can camp without it for awhile. (Oh yeah, no logo yet either)
The last of the important stuff is hooking up my front marker lights, installing my hatch latches and my fenders!!

Soooooo close now 8)

Image

Image

Image

Image

PostPosted: Tue Mar 29, 2011 1:56 pm
by bdosborn
Boy that turned out nice, I especially like your fenders. :thumbsup:


Bruce

PostPosted: Tue Mar 29, 2011 4:26 pm
by aggie79
bdosborn wrote:Boy that turned out nice, I especially like your fenders. :thumbsup:


Bruce


Richard,

I agree whole heartedly with Bruce. That is one beautiful teardrop. I love the shape, color scheme, and execution. Magnificent!

Take care,
Tom

PostPosted: Sun Apr 03, 2011 3:11 am
by rmclarke
Bruce, Tom and Auntie M. thanks so much for the kudos. It's been a long build, but lots of fun, too! Just getting real pumped up about camping in it :D

We fit the cushions today (and tried them out, of course)... 8) sorry about the grainy pics...was late and was having camera problems

:oops:
Still no door curtains yet, but we're gettin' there!

Cushions around footwell from starboard side
Image Image

View forward through galley pass through
Image Image

Another view from portside door....of course,the backrest cushions fill in the mattress when the table is down....(I think she likes it :D )
There's tons of headroom in this thing...I think maybe I made it a bit too tall... :thinking: .....oh well I can live with it
Image Image


Future happy campers!!
Image