Explorer Pod Build
It�s time to move from the sketch stage to the build of a new trailer idea of mine. There are a few themes that have bubbled to the top from the feedback on the Explorer Box. First, it looks like a box, hence the name Explorer Box. Second, I don�t want storage shelves, I�d rather use removable storage box to organize my stuff.
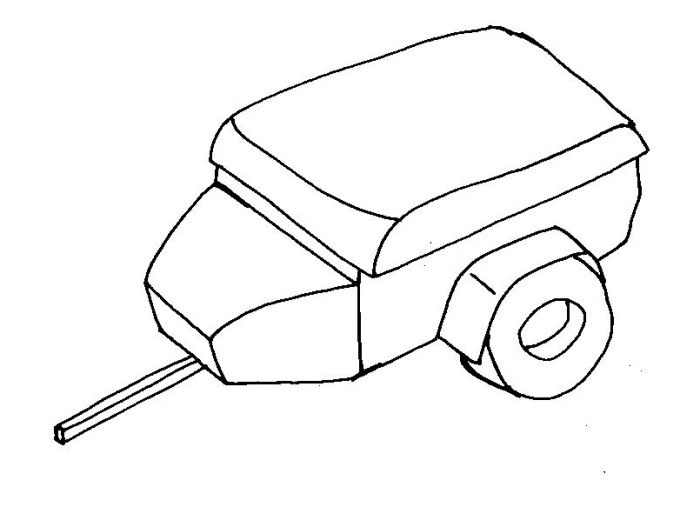
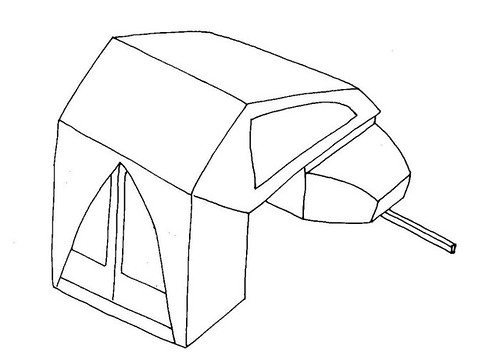
For this one I want more of an off-road look to it and of course be Tent Topped. It�s designed with a main rear storage area sized for Arko-Mils lidded storage boxes and a nose box storage area.
Here are sketches of the basic idea.
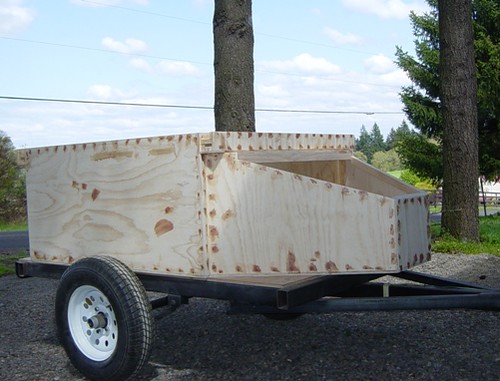
I�m building backwards from what most people do. First, I�m building the trailer box on a flat bed trailer I have, then I�ll build the frame. The basic build approach is to create the main box structure, then the rear overhang and access door area; next move to the front, creating the overhang and the nose box. I�ll then build the nose box lid, seal the inside and put the top on. The final step will be to seal the exterior with Durabak.
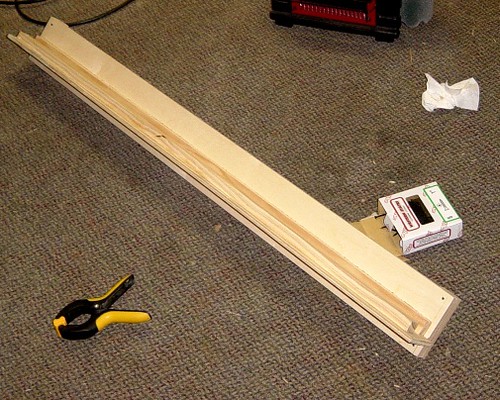
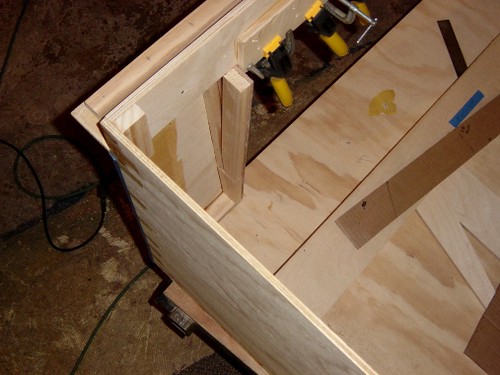
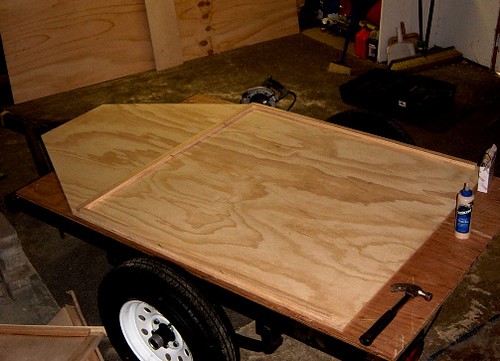
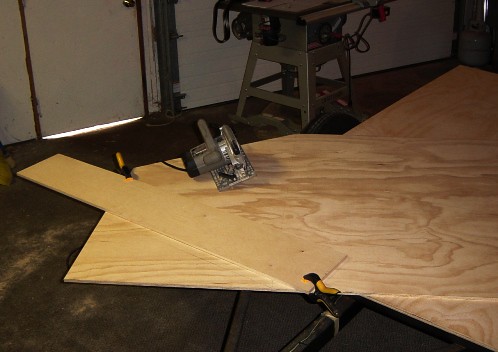
I began by cutting out the floor. The nose box sides have a 60 degree angle and are set in 1�. The 60 degree angle corresponds to the tongue a-frame braces. Next I added the corner blocks to the floor to which the walls will attach.
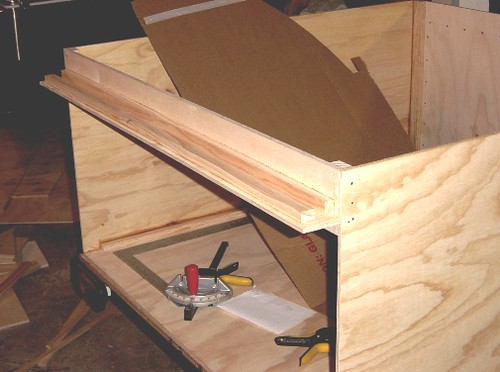
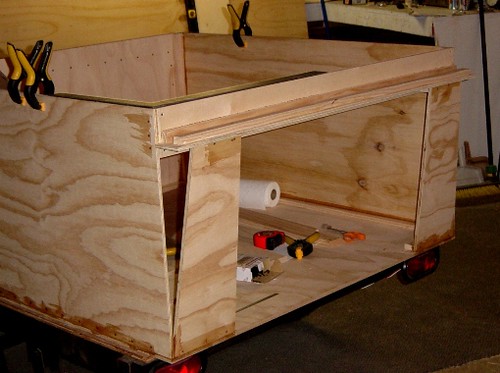
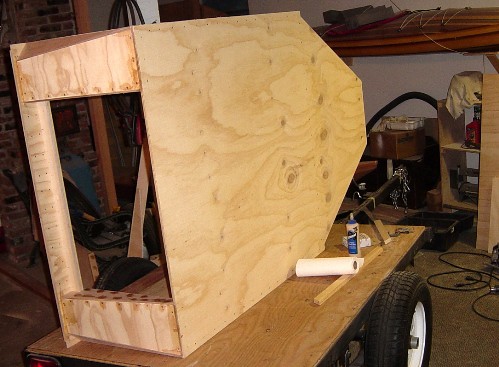
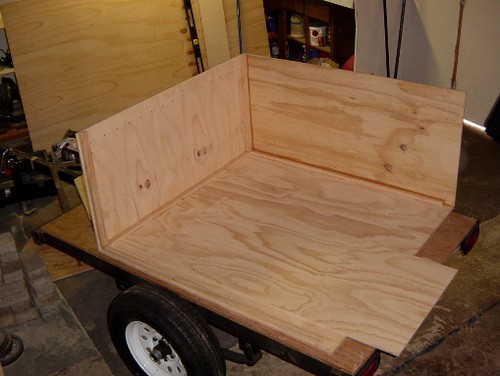
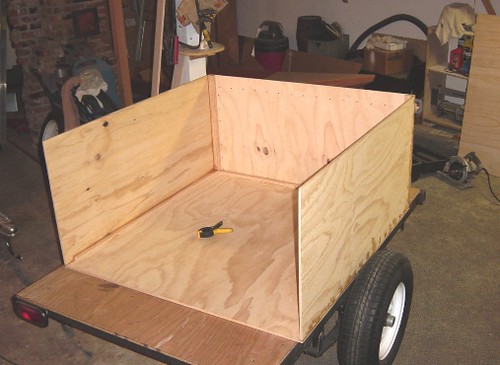
I added the front wall. Before attaching it, I added a portion of the overhang structure. I made the walls 24�, maximizing material usage and providing proper clearance for the Arko-Mils storage boxes I plan on using


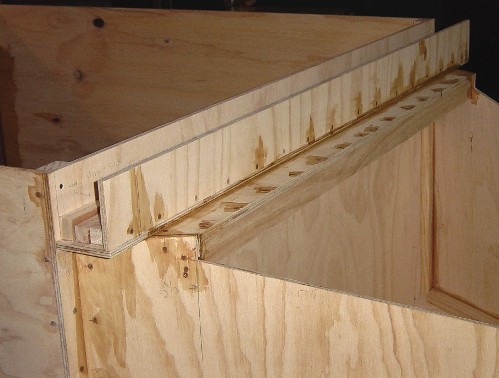
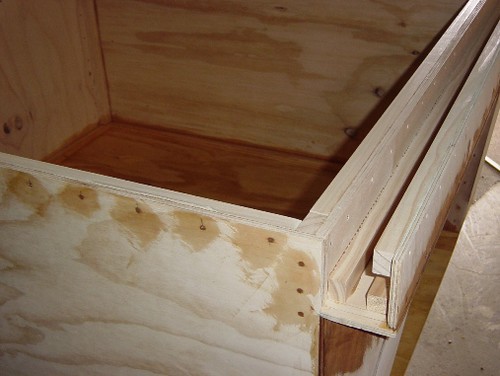
Here is a close up of the front overhang partial built.

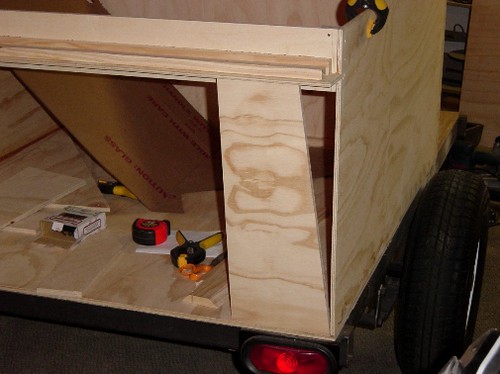
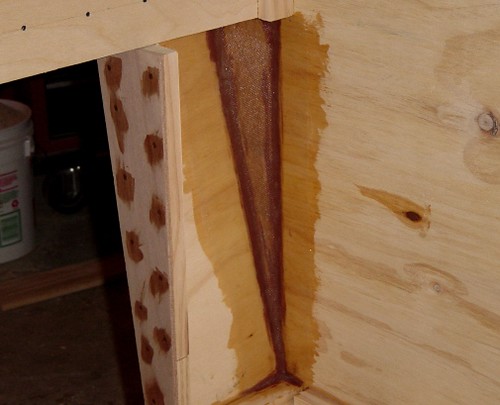
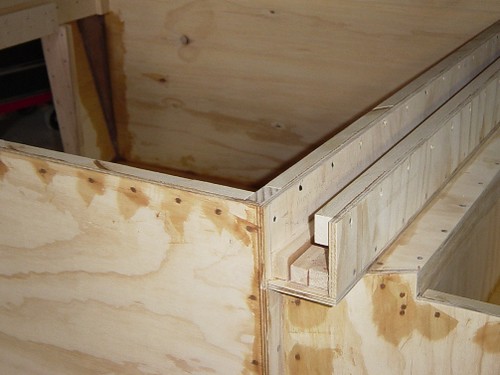
Here is a close up of the corner blocks

That's it for now ...
For this one I want more of an off-road look to it and of course be Tent Topped. It�s designed with a main rear storage area sized for Arko-Mils lidded storage boxes and a nose box storage area.
Here are sketches of the basic idea.
I�m building backwards from what most people do. First, I�m building the trailer box on a flat bed trailer I have, then I�ll build the frame. The basic build approach is to create the main box structure, then the rear overhang and access door area; next move to the front, creating the overhang and the nose box. I�ll then build the nose box lid, seal the inside and put the top on. The final step will be to seal the exterior with Durabak.
I began by cutting out the floor. The nose box sides have a 60 degree angle and are set in 1�. The 60 degree angle corresponds to the tongue a-frame braces. Next I added the corner blocks to the floor to which the walls will attach.
I added the front wall. Before attaching it, I added a portion of the overhang structure. I made the walls 24�, maximizing material usage and providing proper clearance for the Arko-Mils storage boxes I plan on using
Here is a close up of the front overhang partial built.
Here is a close up of the corner blocks
That's it for now ...


 This is a great concept and build. Now I think I am gonna nag you to build a normal Teardrop. Gotta feeling it would be fantastic.