Should look good.

Teardrops n Tiny Travel Trailersor t n ttt for short (tnttt.com) |
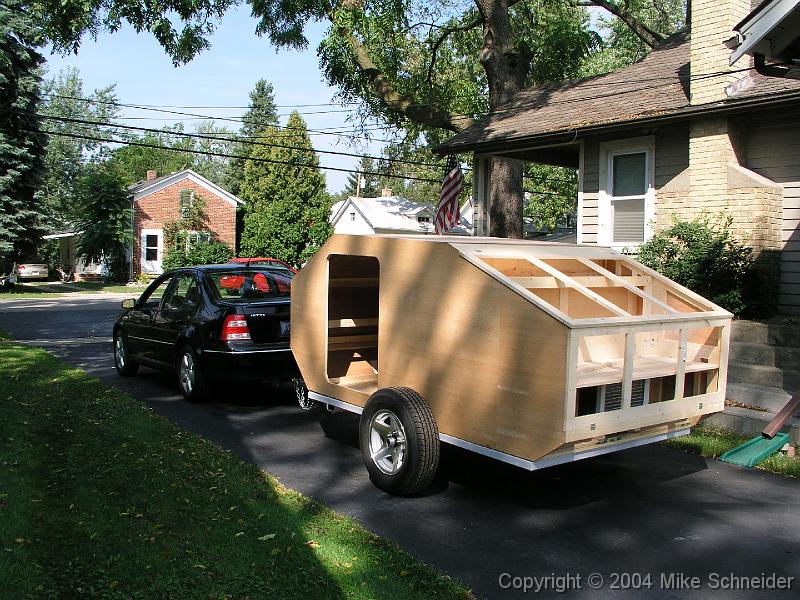
![]() by KCStudly » Fri Apr 26, 2013 3:00 pm
by KCStudly » Fri Apr 26, 2013 3:00 pm

![]() by chrisgrashorn » Fri Apr 26, 2013 8:56 pm
by chrisgrashorn » Fri Apr 26, 2013 8:56 pm
KCStudly wrote:If weight is a concern you could plow out a channel in the back of each board, or even plane the backs down thinning the whole board. Just a thought.
Should look good.

![]() by harleykamper » Fri Apr 26, 2013 9:09 pm
by harleykamper » Fri Apr 26, 2013 9:09 pm


![]() by Steve 70 » Fri Apr 26, 2013 10:32 pm
by Steve 70 » Fri Apr 26, 2013 10:32 pm

![]() by S. Heisley » Sat Apr 27, 2013 1:01 am
by S. Heisley » Sat Apr 27, 2013 1:01 am
Steve 70 wrote:Chris,
Your tear is really coming along and looks great. I like your profile also as I believe it gives you more room.
Keep up the good work

![]() by chrisgrashorn » Thu May 02, 2013 4:34 pm
by chrisgrashorn » Thu May 02, 2013 4:34 pm
![]() by Oldragbaggers » Thu May 02, 2013 6:48 pm
by Oldragbaggers » Thu May 02, 2013 6:48 pm

![]() by chrisgrashorn » Wed May 08, 2013 12:07 pm
by chrisgrashorn » Wed May 08, 2013 12:07 pm
Oldragbaggers wrote:You're really going gangbusters!! Looks good. I think that tongue and groove will look nice. Is it heavy?? What will you put over it??
![]() by Oldragbaggers » Wed May 08, 2013 7:24 pm
by Oldragbaggers » Wed May 08, 2013 7:24 pm
![]() by absolutsnwbrdr » Thu May 09, 2013 8:23 am
by absolutsnwbrdr » Thu May 09, 2013 8:23 am

![]() by chrisgrashorn » Tue Jul 30, 2013 5:38 pm
by chrisgrashorn » Tue Jul 30, 2013 5:38 pm
![]() by Oldragbaggers » Tue Jul 30, 2013 6:02 pm
by Oldragbaggers » Tue Jul 30, 2013 6:02 pm
Users browsing this forum: No registered users and 14 guests