40s 50s teardrop rebuild (finally!!)
19 posts
• Page 2 of 2 • 1, 2
Re: 40s 50s teardrop rebuild (finally!!)
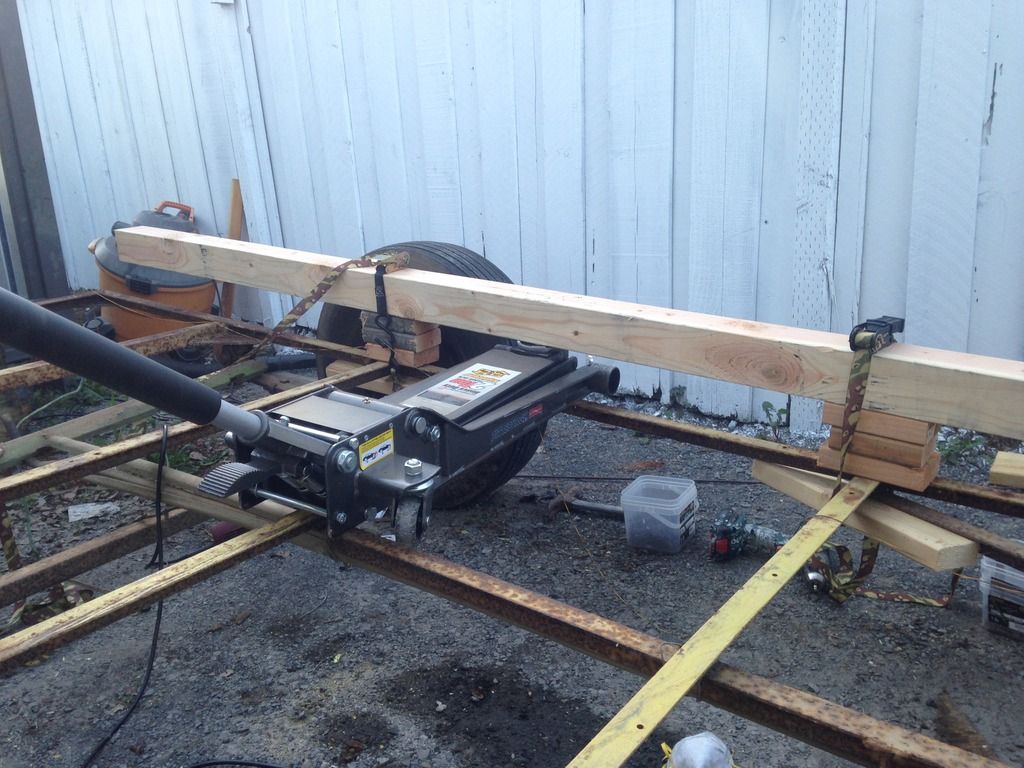
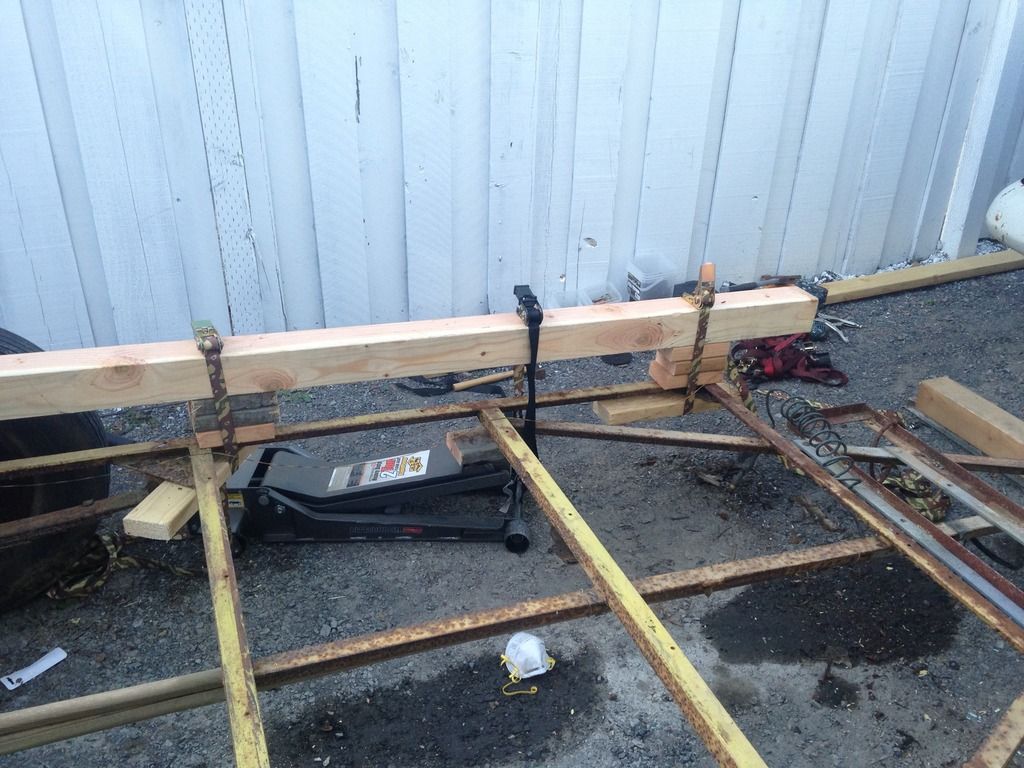
You need to be very careful not to over-stress the frame as trying to fix it could cause more problems than you already have. That being said, a simple hydraulic jack with a chain or cable setup could be fastened in place (chain attached in 2 places, jack in the middle, chain on top) and the jack could then be used to gently "lift" the section needing straightening. I would use some timber to set the jack on and then figure out how much chain you need to fasten for the lift. It won't take much force to straighten the frame with a hydraulic jack, just be careful & do a little at a time, keep checking as you go.
Build log: viewtopic.php?f=50&t=60248
The time you spend planning is more important than the time you spend building.........

The time you spend planning is more important than the time you spend building.........
-

noseoil - 1000 Club

- Posts: 1822
- Images: 670
- Joined: Sun Apr 27, 2014 8:46 am
- Location: Raton, New Mexico, living the good life!
Re: 40s 50s teardrop rebuild (finally!!)
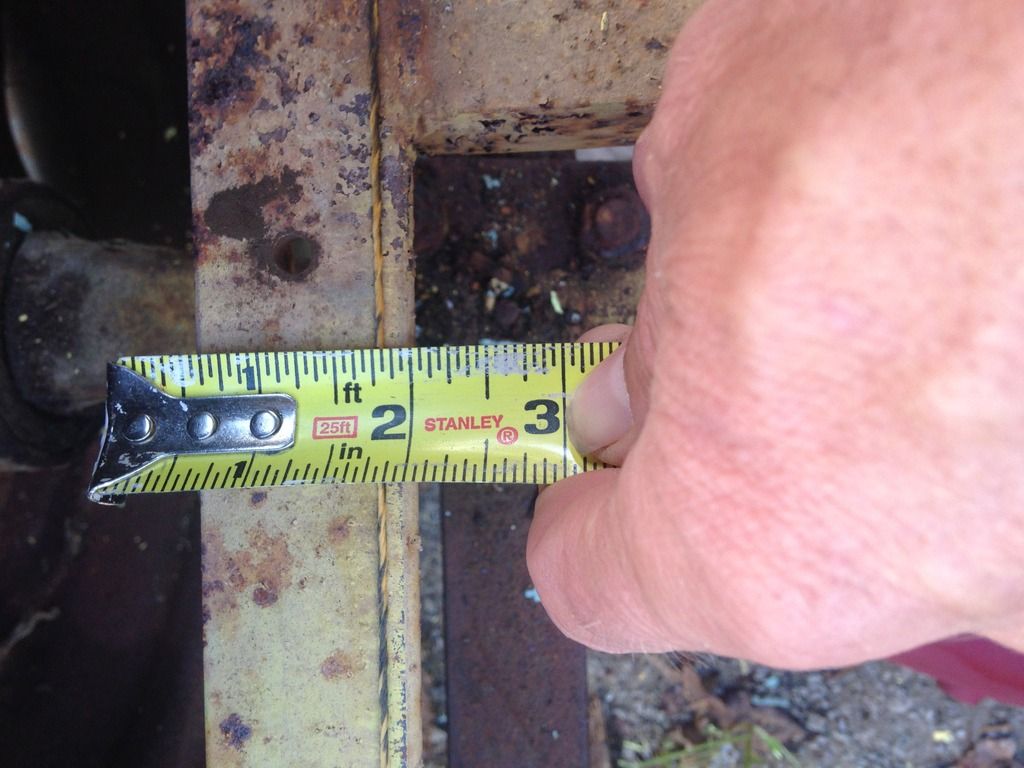
I suspect that the 1/8 inch out of square and slight rail bend are probably the same as when it was built. The bend could be from the heat of welding the spring hanger on, and the 1/8 OOS could have been "close enough".
I wouldn't do too much worrying about it, and like your plan to pull it to the square cabin.
Noseoil makes a good point about doing more damage than good if trying to "fix" it. If you do decide to try the chain and jack method I would put some lengths of 2x4 under where the chain wraps so that it doesn't twist or crush. Also, consider placing a post between the jack and chain to get a steeper angle between the chain and frame. You want to lift the ends up, not pull them toward each other.
Some people have had good luck setting their frames on the ground on blocking and then "gently" driving their truck on, but it is something you would have to approach cautiously.
Again, if you think you can pull it to the cabin at assembly, I would take that approach. I think Aggie79 (Tom) did it that way using pipe clamps on the Silver Beatle.
KC
My Build: The Poet Creek Express Hybrid Foamie
Poet Creek Or Bust
Engineering the TLAR way - "That Looks About Right"
TnTTT ORIGINAL 200A LANTERN CLUB = "The 200A Gang"
Green Lantern Corpsmen
My Build: The Poet Creek Express Hybrid Foamie
Poet Creek Or Bust
Engineering the TLAR way - "That Looks About Right"
TnTTT ORIGINAL 200A LANTERN CLUB = "The 200A Gang"
Green Lantern Corpsmen
-

KCStudly - Donating Member
- Posts: 9640
- Images: 8169
- Joined: Mon Feb 06, 2012 10:18 pm
- Location: Southeastern CT, USA


