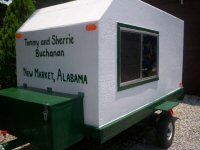
Our coolers tend to live in our tow vehicle. Snacks and beverages for day adventures.
Sent from my SM-G965U using Tapatalk
Climber's Teardrop Build
26 posts
• Page 2 of 2 • 1, 2
Re: Climber's Teardrop Build
Yes Toni, that is the plan now, only green cooler. I had both so I thought I would make it fit either, but the white one is too big.
I have been sporadically working on the TD and haven't posted regularly as I intended, but I have taken pictures to document the process. Here is an update:
Here is the board attached with pocketholes
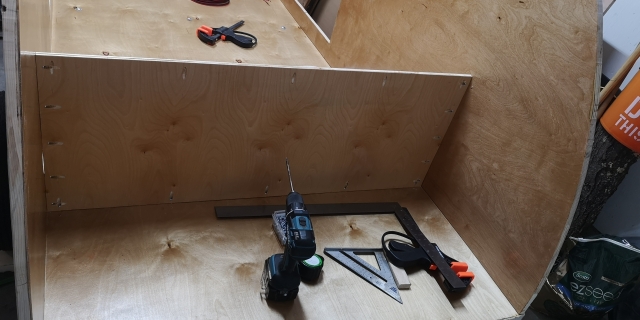
And then I cut another piece of 1/2'' plywood to make the countertop and shelf in the cab
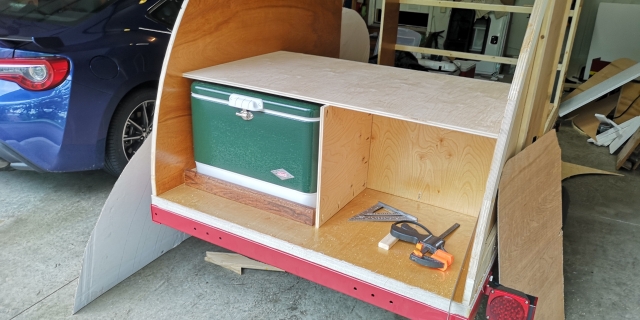
Once I was happy with the size, I added some edge banding with solid maple to the galley side, and to the cabin side I added a lip to hold anything that goes on the shelf.
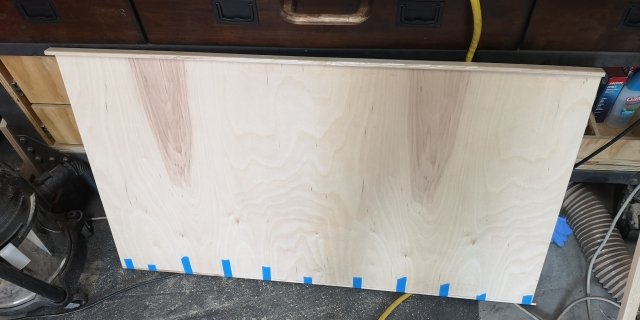
Here it is varnished and pit in place
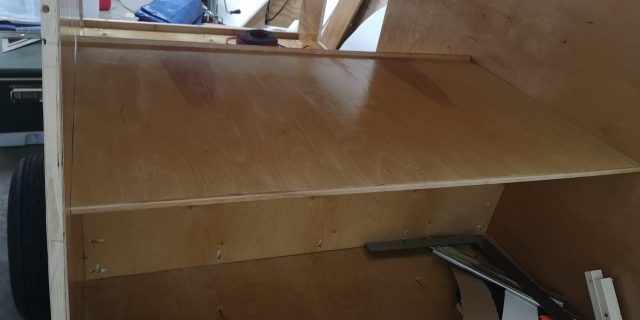
I cut some extra framing to support the countertop on the ends, and screwed it in place with pocketholes. The screws help clamp the frame to the inside of the wall while the glue dries as well.
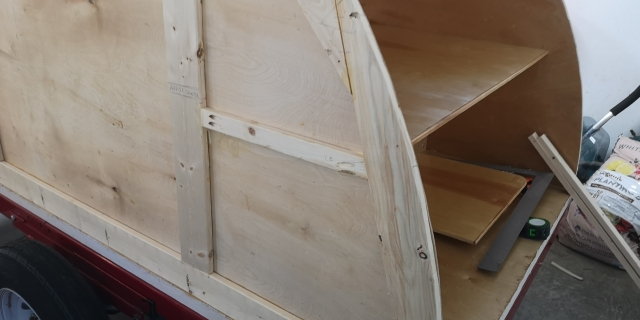
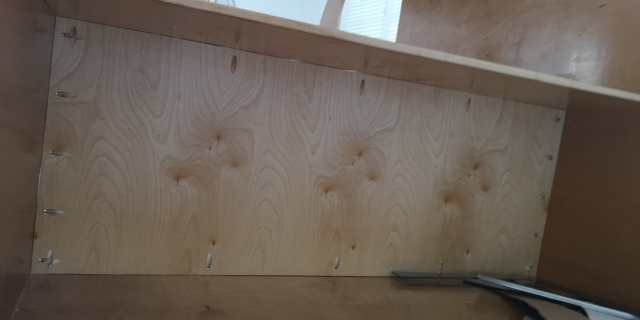
Next I decided where I wanted the partition to be, this determines counter and shelf depth as well as how deep the cabinets can be and how much room they will take up. I added framing the same way I did for the countertop, but vertical.
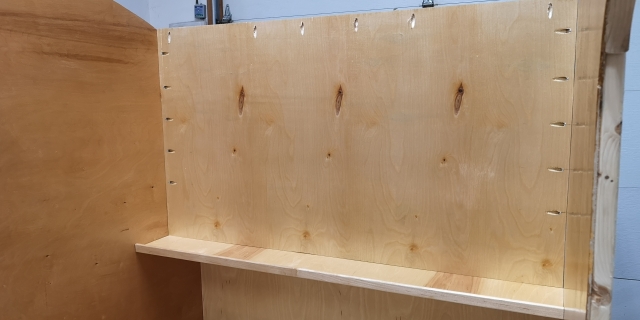
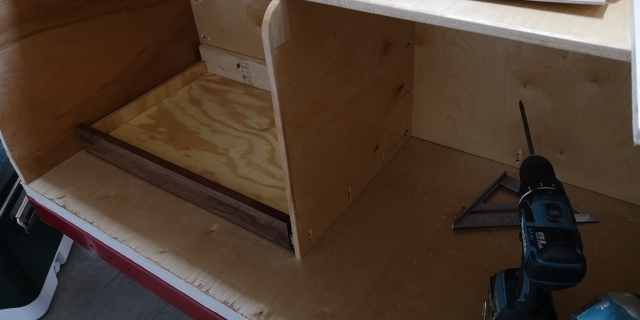
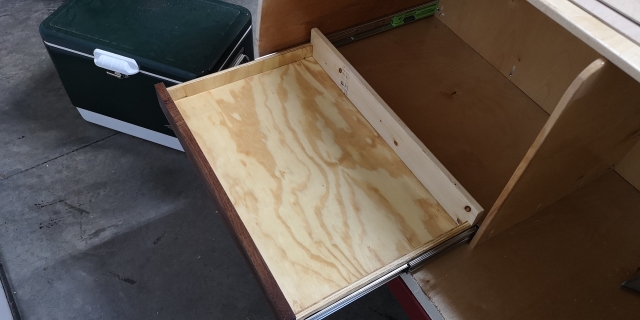
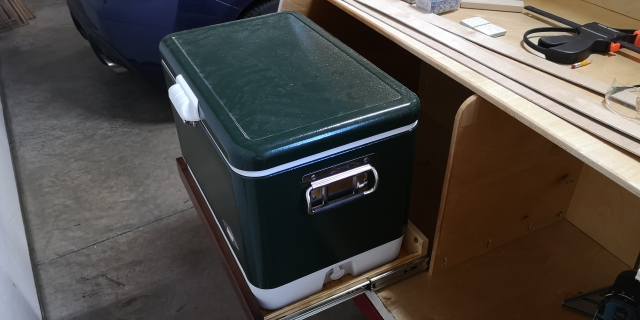
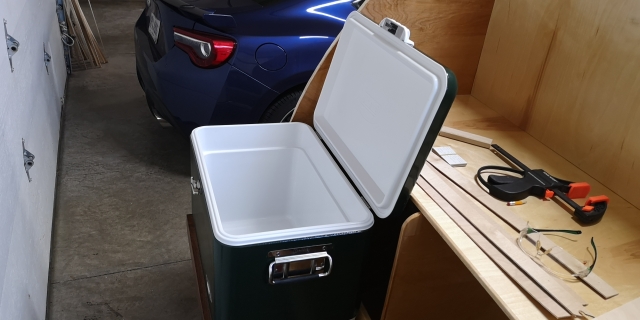
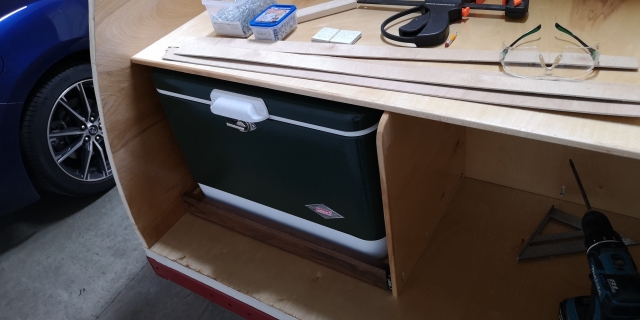
Using the finished cooler drawer and slides, I could screw in the partition for the galley under the counter. Then I installed the drawer and tested the cooler on it. It opens fully and works well. My only worry is it might drag when the cooler is full since it is quite heavy. might need to reinforce the slides or come up wih something else if it is a problem. We shall see...
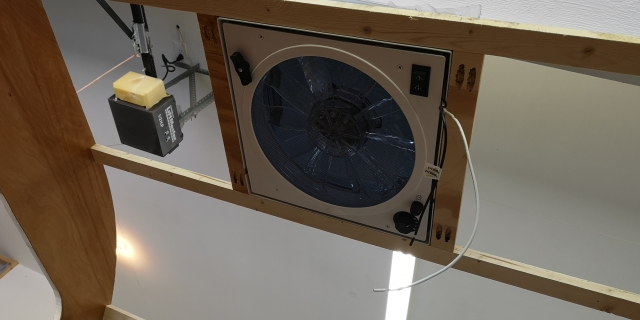
Next I finished up the framing around the window and fan
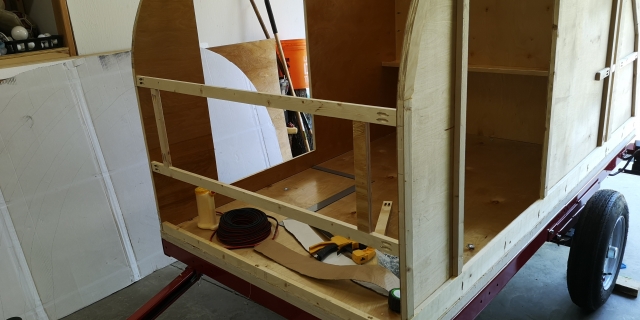
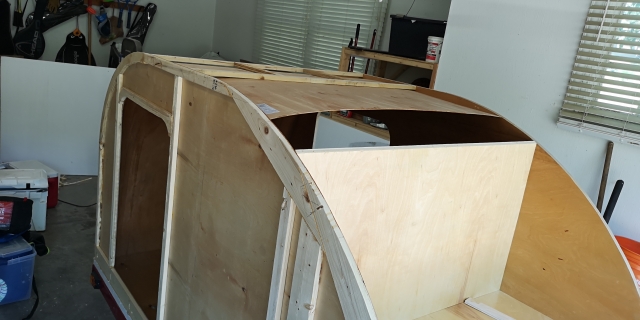
Finally I can put in the ceiling! I varnished a sheet of 1/8'' plywood and ripped it to the correct width (about 46'') and shoved it in from above the galley walls. It was surprisingly easy, as all I had to do was push until the end slotted in the lip of the framing at the head of the cabin. Then more pushing made it tight against the studs across the roof. I saw I would have a gap, but it ends up being inside the cabinets, so the seam won't even be too visible.
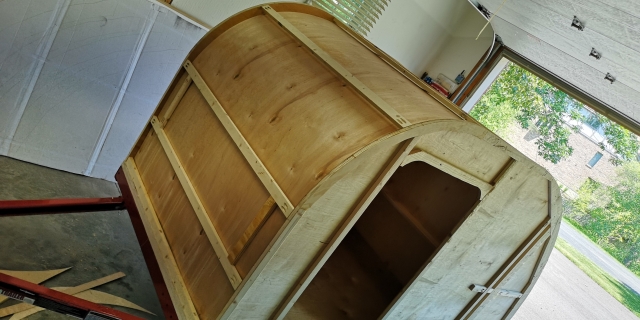
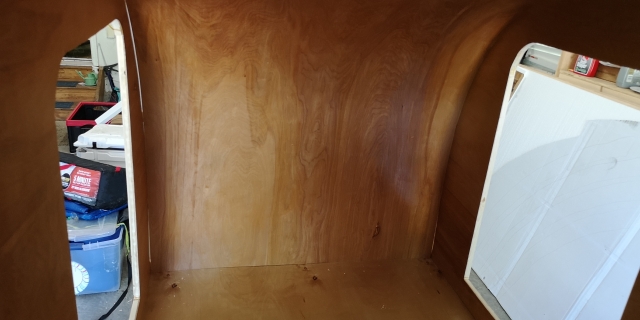
I have been sporadically working on the TD and haven't posted regularly as I intended, but I have taken pictures to document the process. Here is an update:
Here is the board attached with pocketholes
And then I cut another piece of 1/2'' plywood to make the countertop and shelf in the cab
Once I was happy with the size, I added some edge banding with solid maple to the galley side, and to the cabin side I added a lip to hold anything that goes on the shelf.
Here it is varnished and pit in place
I cut some extra framing to support the countertop on the ends, and screwed it in place with pocketholes. The screws help clamp the frame to the inside of the wall while the glue dries as well.
Next I decided where I wanted the partition to be, this determines counter and shelf depth as well as how deep the cabinets can be and how much room they will take up. I added framing the same way I did for the countertop, but vertical.
Using the finished cooler drawer and slides, I could screw in the partition for the galley under the counter. Then I installed the drawer and tested the cooler on it. It opens fully and works well. My only worry is it might drag when the cooler is full since it is quite heavy. might need to reinforce the slides or come up wih something else if it is a problem. We shall see...
Next I finished up the framing around the window and fan
Finally I can put in the ceiling! I varnished a sheet of 1/8'' plywood and ripped it to the correct width (about 46'') and shoved it in from above the galley walls. It was surprisingly easy, as all I had to do was push until the end slotted in the lip of the framing at the head of the cabin. Then more pushing made it tight against the studs across the roof. I saw I would have a gap, but it ends up being inside the cabinets, so the seam won't even be too visible.
-
dvdpeiro - Teardrop Inspector
- Posts: 17
- Images: 228
- Joined: Wed Mar 31, 2021 3:47 am
- Location: Cincinnati, OH
