Northwestern Build - Updated 7/4/2010 - Done!
![]() by starleen2 » Tue Aug 04, 2009 8:03 pm
by starleen2 » Tue Aug 04, 2009 8:03 pm
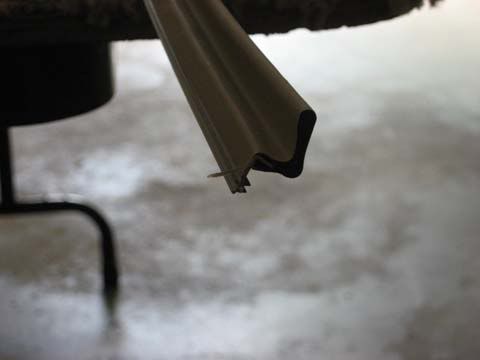
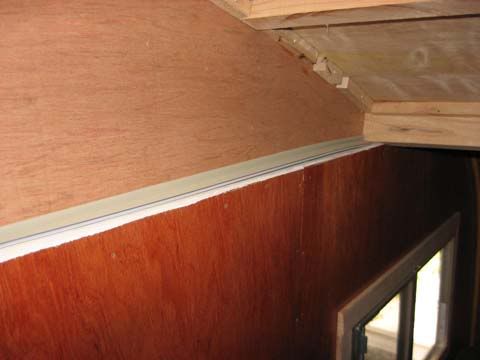
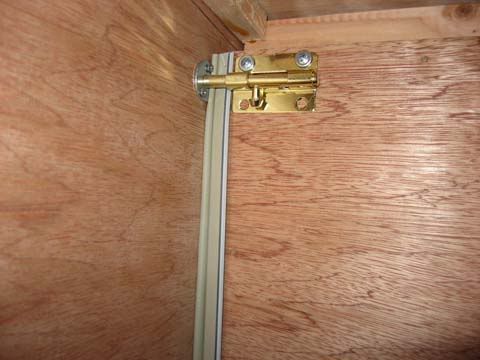
Could you give us a pict of the hatch in the closed position from the inside facing to the rear so we may see what it looks like when closed at the problem area? I don't see how a swing clear continuous hinge is going to work. Are you planning to rest the upper rear wall section of the side rails of the lower section when folded down? Looks like you would have to add someting to the sides to get them to seal to the hatch wall in order for the wall to drop down out of the way?
Last edited by starleen2 on Tue Aug 04, 2009 8:07 pm, edited 1 time in total.
-

starleen2 - 5th Teardrop Club
- Posts: 16272
- Images: 224
- Joined: Sat May 12, 2007 8:26 pm
- Location: Pea Ridge ,AR
![]() by mikeschn » Tue Aug 04, 2009 8:06 pm
by mikeschn » Tue Aug 04, 2009 8:06 pm
You could also cut down your inside walls by 1 1/2", and lower your back wall hinge by the same amount.
Mike...
Mike...
wlivesey wrote:starleen2 wrote:
Let me see if I can offer a solution? perhaps add to the offset to raise the hatch for the needed clearance when closed? Cut a filler strip and attach it where it t gets thinner at the top and ends at 1.25 inches at the bottom. Since you dont have the exterior skinned yet, you can hide the seam
That would work. The only problem is that it kind of goofs up the overall profile of the trailer. It raises the hatch slightly and really changes the way the trailer looks. I don't care for that...
There are several other hinge options out there...
swing clear continuous hinges
flipper door systems http://www.rockler.com/product.cfm?page=34
pocket door slides
The quality is remembered long after the price is forgotten, so build your teardrop with the best materials...
-

mikeschn - Site Admin
- Posts: 19202
- Images: 475
- Joined: Tue Apr 13, 2004 11:01 am
- Location: MI