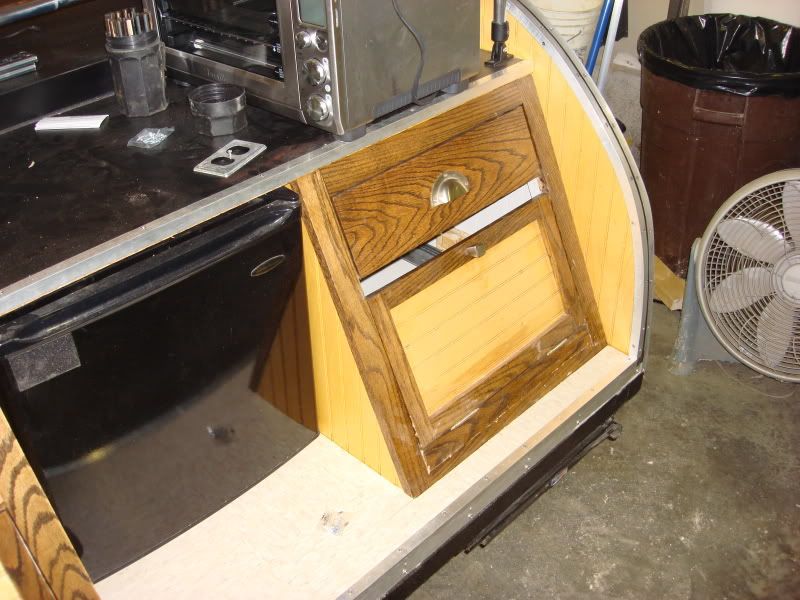
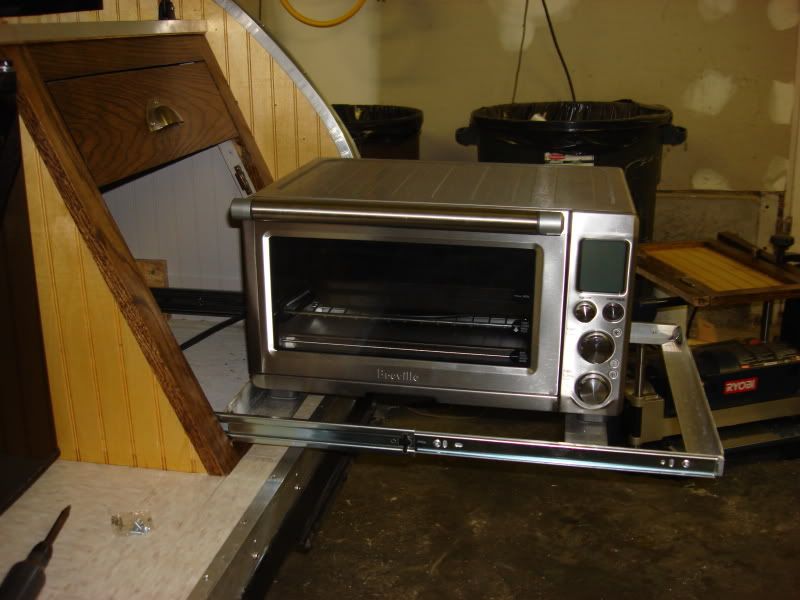
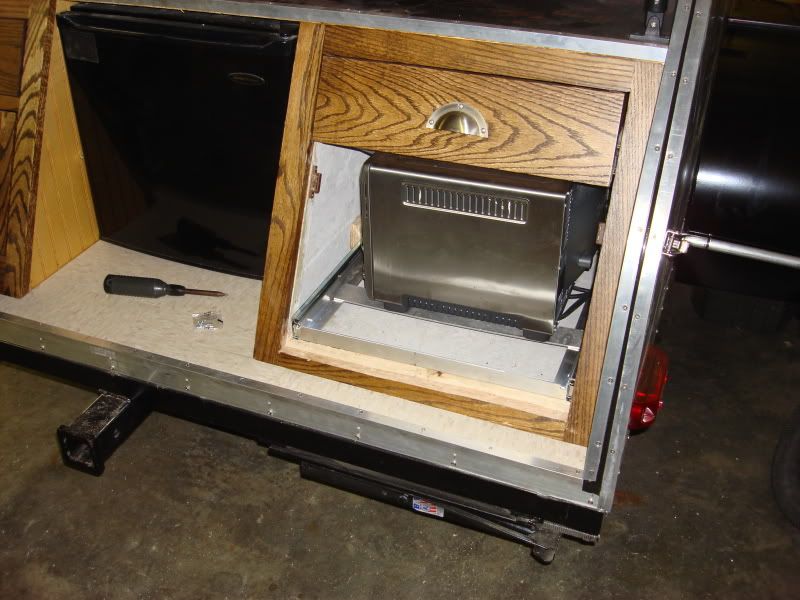
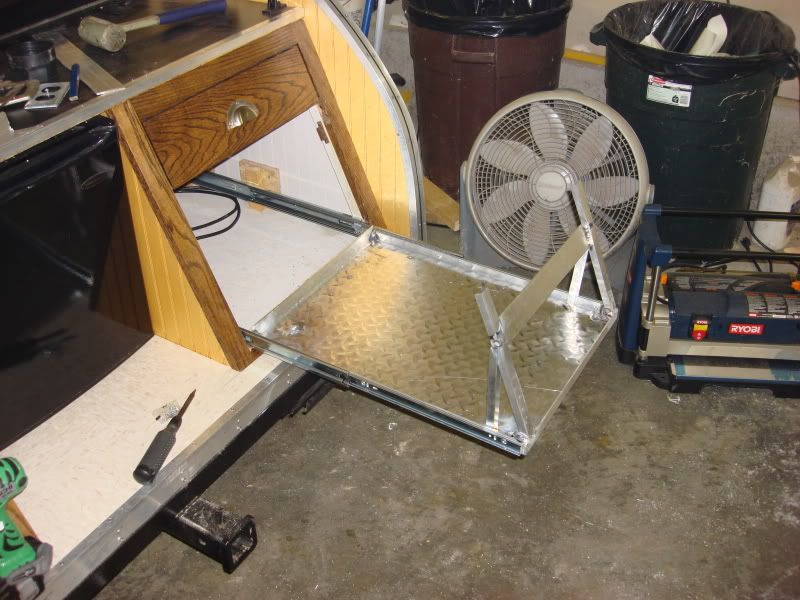
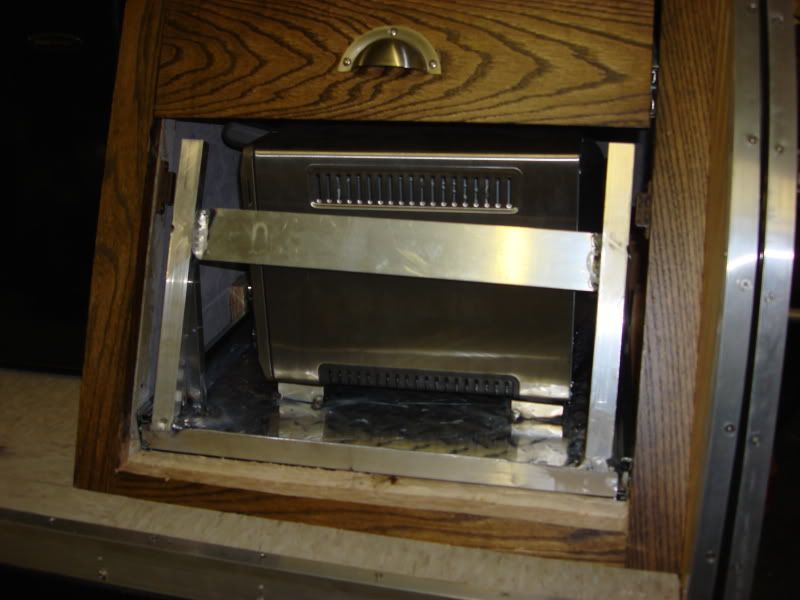
Thanks. I built it before this site existed, would do things a bit different now, but it is quite comfortable. The raised floor under the dinette is removable to access a 32x32 shower stall. I have a PVC shower curtain frame that plugs in under the seats as well as the hand held shower head. I need my hot shower even if I'm in the boonies.
Jim
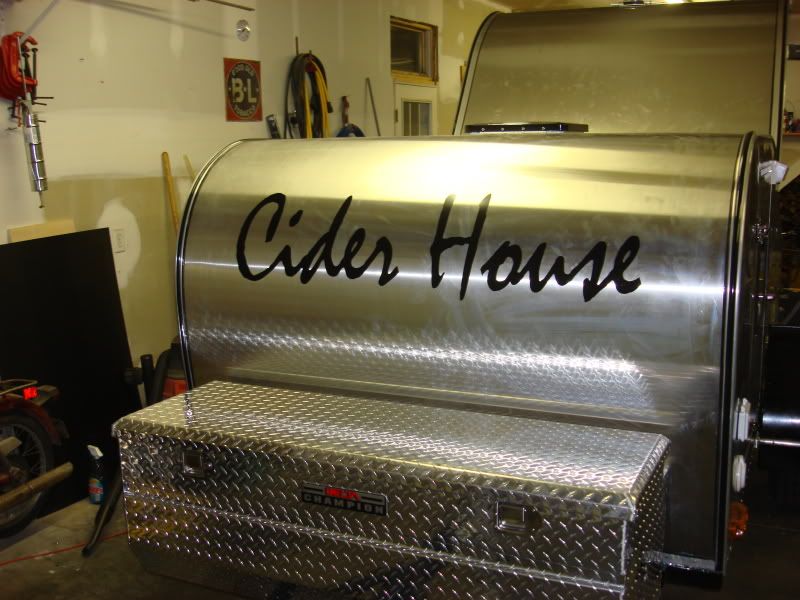
Teardrops n Tiny Travel Trailersor t n ttt for short (tnttt.com) |

![]() by Jiffypop207 » Thu Aug 19, 2010 8:25 am
by Jiffypop207 » Thu Aug 19, 2010 8:25 am
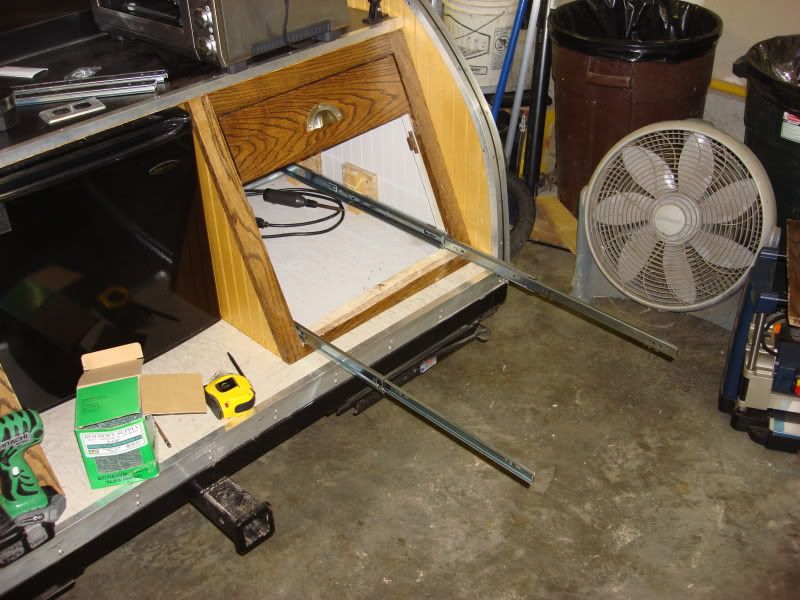
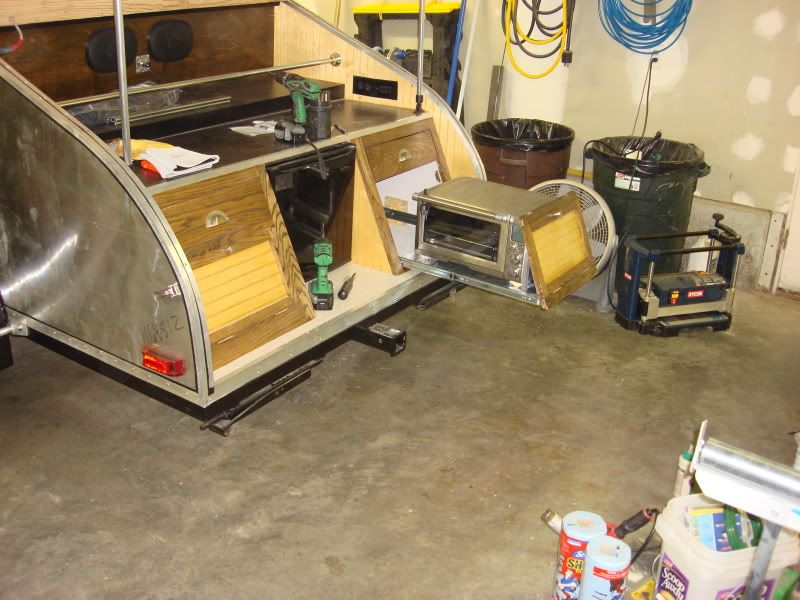
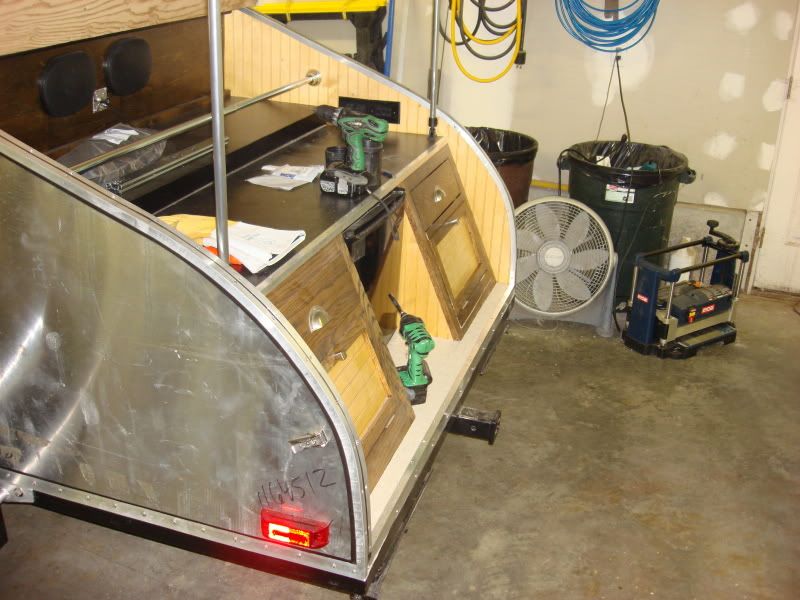
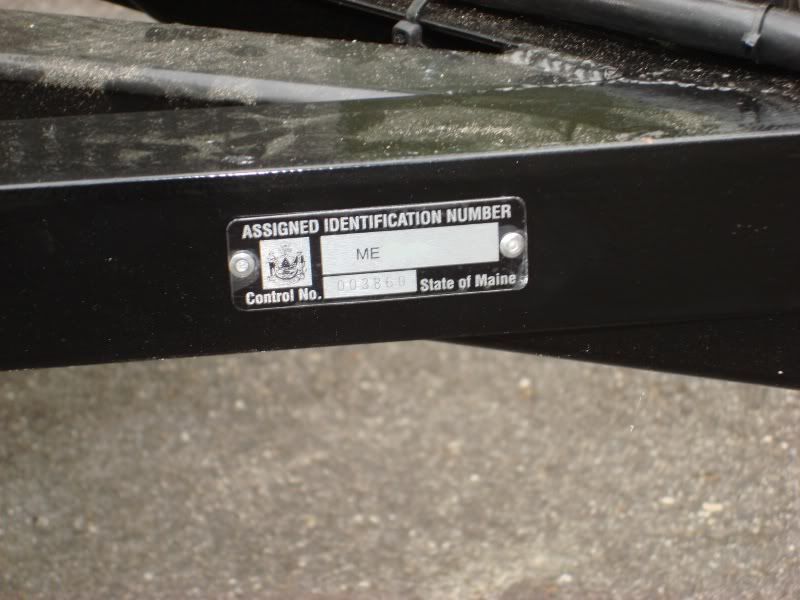
Did not get any construction work done on the TD last night, but did have it inspected by the state earlier in the day. The inspection was very lax. More chatting about the other topics than the safety requirements of the trailer. This is what the inspection was worth to me.
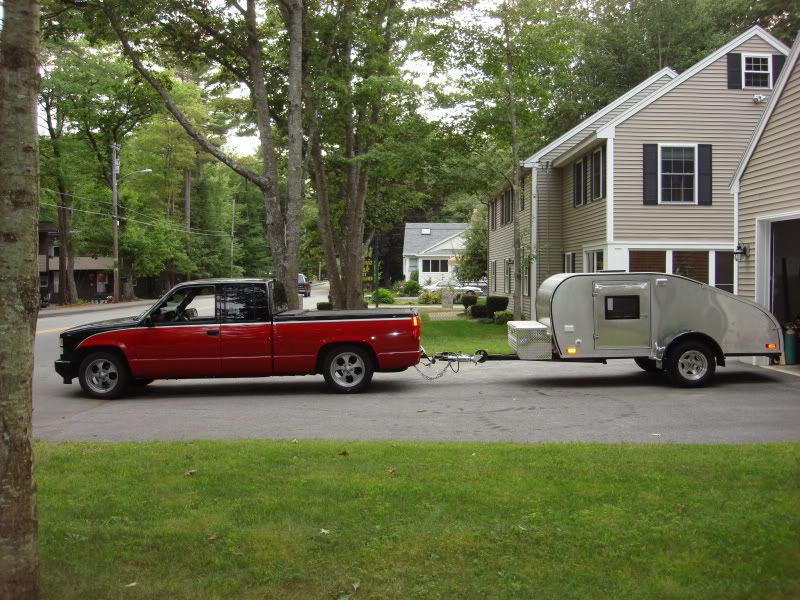
Last night I took the trailer for its first trip if you will, about 45 minutes each way. I drove to Sanford to pick up my Tempurpedic mattress (the inspiration for the TD build) and my friend (furniture store owner) helped me slip it into place. Man it looks good. I thought my wife was going to start camping right there in the parking lot...lol!
Here are a couple pictures of my rig hooked-up. It is not short by any means and may prove to be challenging to maneuver now and again due to the pathetic turning radius of my 1995 Chevy, but that is half the fun in my mind....solving the problem when it arises.
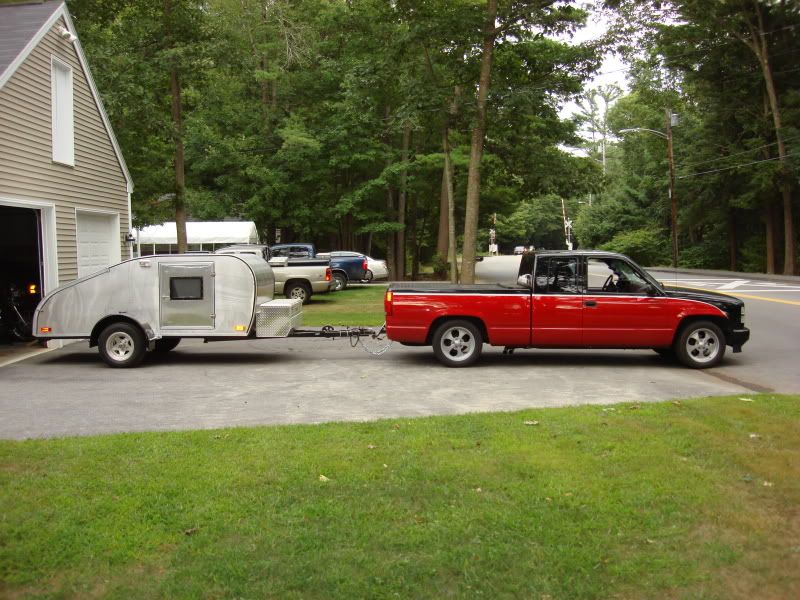
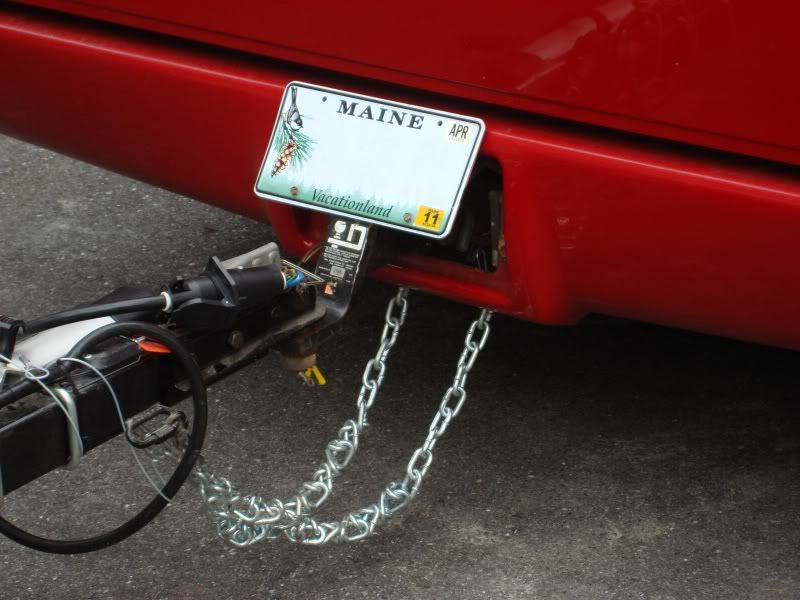
And here is a close-up of the hidden hitch on my truck. Works pretty slick. When the hitch is out the license plate drops down.
Might get some more done over the weekend in between numerous other activities that have been planned.
Adam
Last night I took the trailer for its first trip if you will, about 45 minutes each way. I drove to Sanford to pick up my Tempurpedic mattress (the inspiration for the TD build) and my friend (furniture store owner) helped me slip it into place. Man it looks good. I thought my wife was going to start camping right there in the parking lot...lol!
Here are a couple pictures of my rig hooked-up. It is not short by any means and may prove to be challenging to maneuver now and again due to the pathetic turning radius of my 1995 Chevy, but that is half the fun in my mind....solving the problem when it arises.
And here is a close-up of the hidden hitch on my truck. Works pretty slick. When the hitch is out the license plate drops down.
Might get some more done over the weekend in between numerous other activities that have been planned.
Adam
-

Jiffypop207 - Teardrop Master
- Posts: 205
- Joined: Wed Sep 09, 2009 8:39 pm
- Location: Old Orchard Beach, ME


 Another to be proud of.