TwilightLane Cubbie Build

...ask your questions in the appropriate forums BUT document your build here...preferably in a single thread...dates for updates, are appreciated....

Postby TwilightLane » Thu Apr 08, 2010 10:11 pm

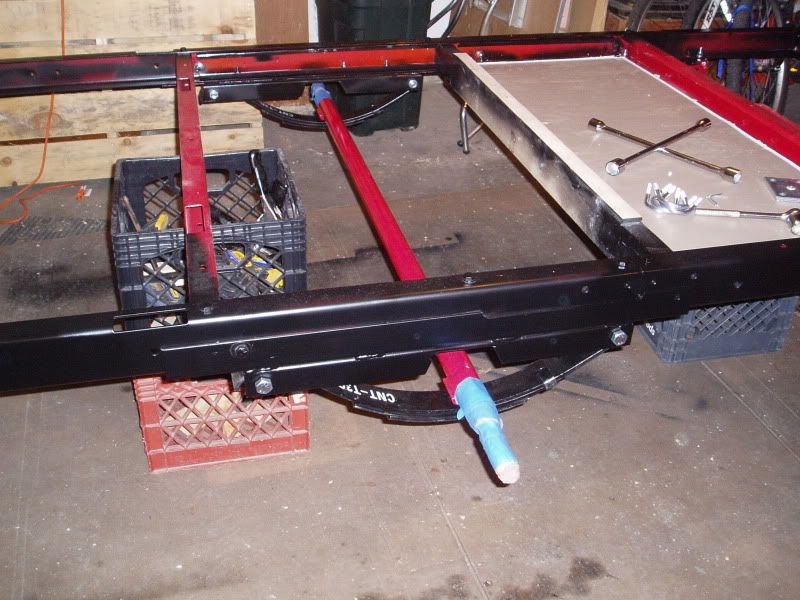
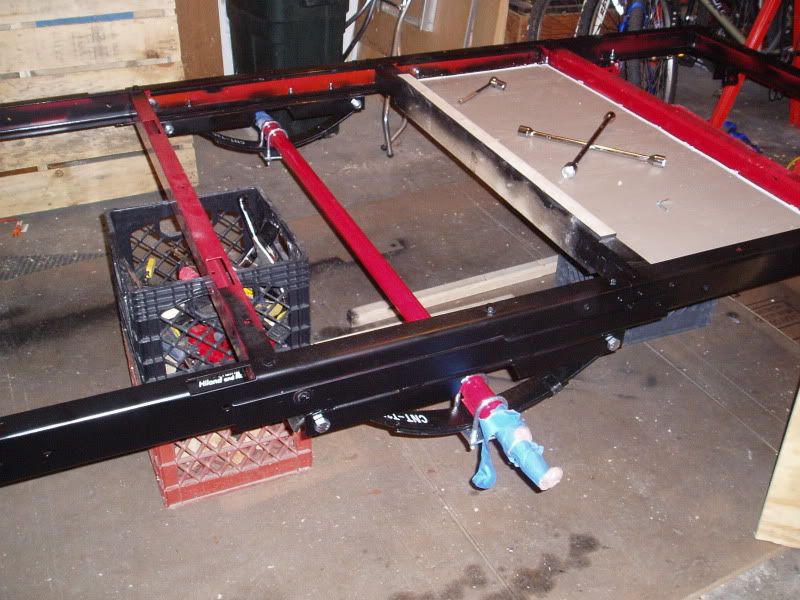
Now to hang the springs. I used the stock bolts for this element.

Image

And positioning the axle:

Image
Rob & Lori
Aspen & Tundra
My Instructable: http://www.instructables.com/id/Teardro ... l-Trailer/
User avatar
TwilightLane
The 300 Club
 
Posts: 484
Joined: Thu May 14, 2009 4:59 pm

Postby TwilightLane » Thu Apr 08, 2010 10:16 pm

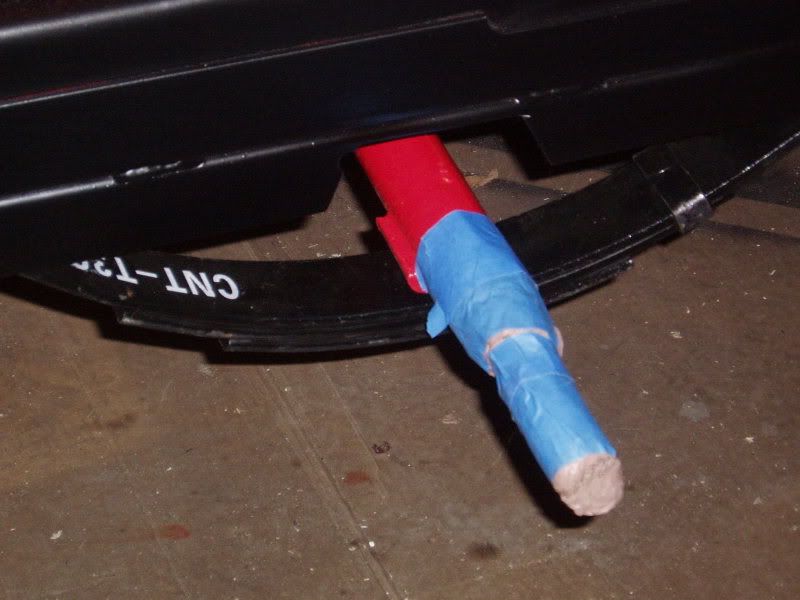
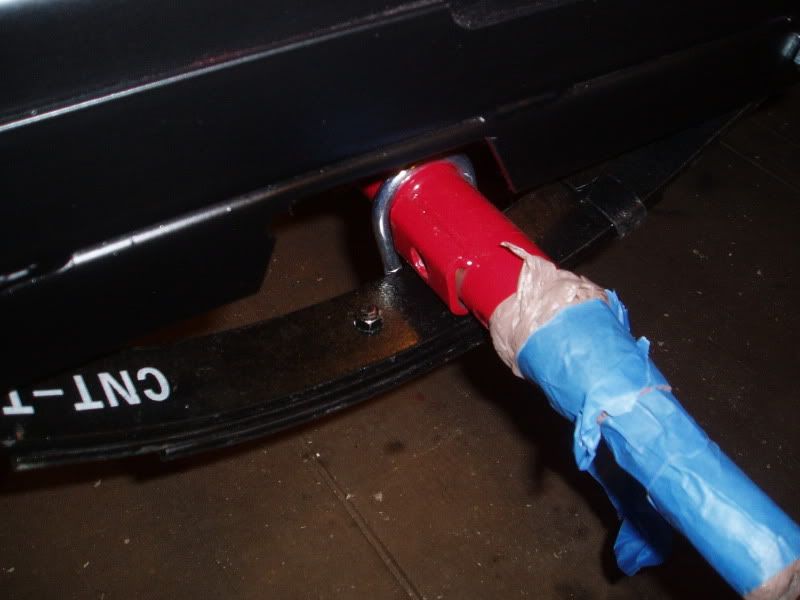
But a problem popped up. The axle kept tipping off the little nub. It wouldn't seat correctly.
Image

Image

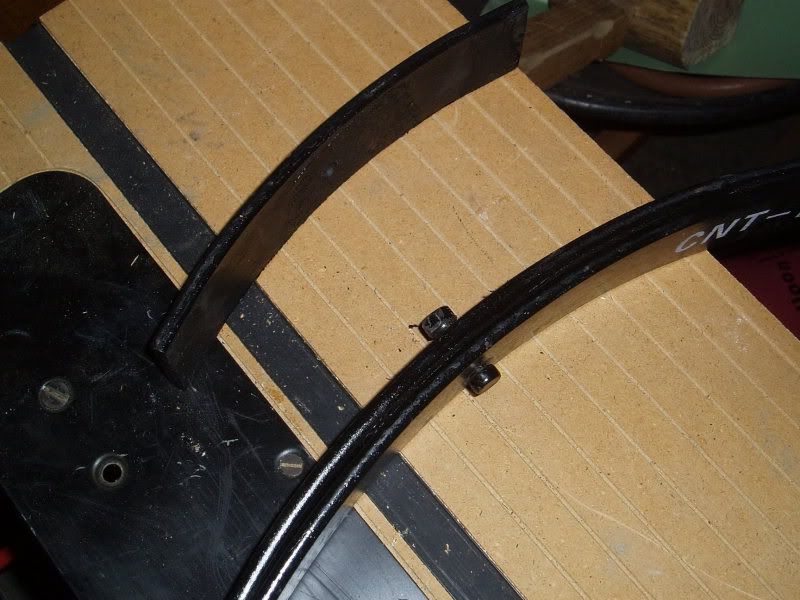
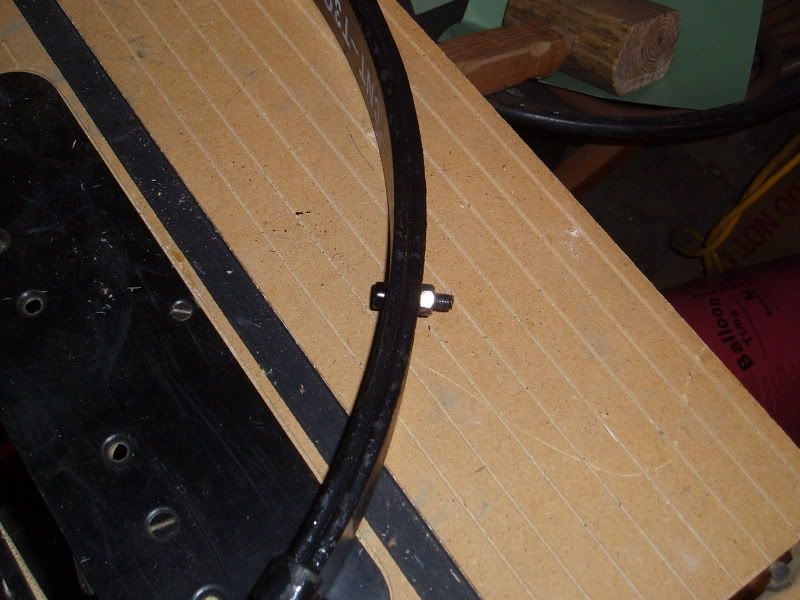
Here is the culprit. The bolt holding together extended too far. This stock location is _under_ the spring, not above it. One of the cubbie mods is to place the axle over the springs - which I was I cut that notch above.
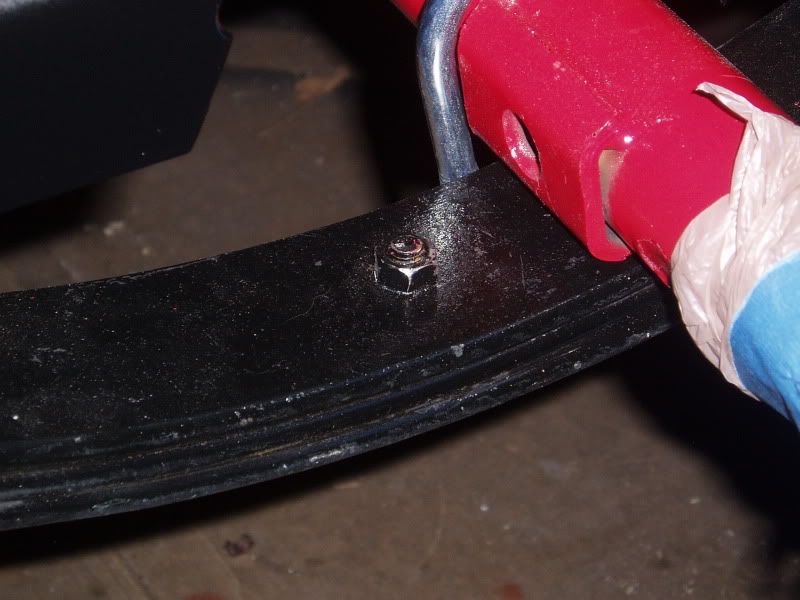
Image

So in the standard layout that bit of thread and bolt shouldn't make contact with the axle.
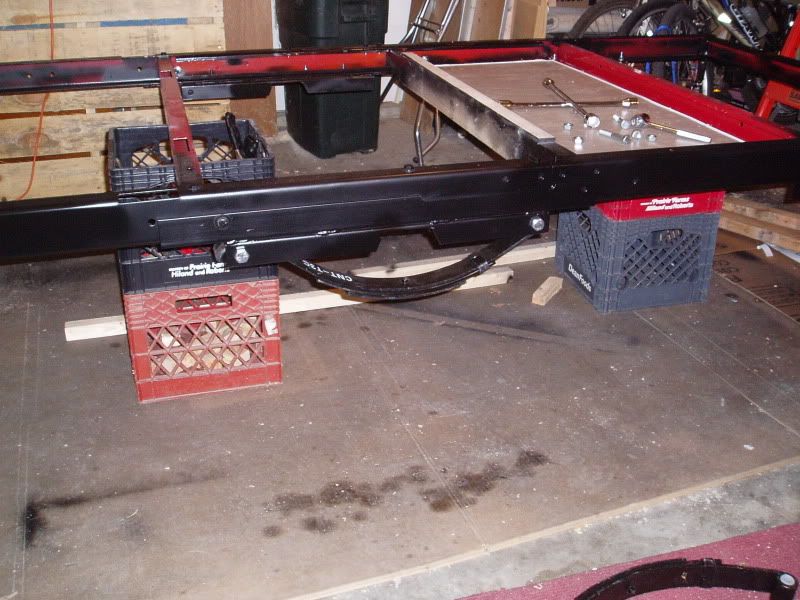
Last edited by TwilightLane on Fri Apr 09, 2010 10:53 am, edited 1 time in total.
Rob & Lori
Aspen & Tundra
My Instructable: http://www.instructables.com/id/Teardro ... l-Trailer/
User avatar
TwilightLane
The 300 Club
 
Posts: 484
Joined: Thu May 14, 2009 4:59 pm

Postby TwilightLane » Thu Apr 08, 2010 10:20 pm

I had been tempted to pull off the shortest leaf from the spring anyway, so I decided to pull it all apart. A half inch socket wrench did the trick no problem.

Image

Image

I pulled out the short leaf, flipped the bolt:

Image

Image

No problem at all. This was surprisingly easy. Vice grips and 1/2 inch socket.
Last edited by TwilightLane on Fri Apr 09, 2010 10:55 am, edited 2 times in total.
Rob & Lori
Aspen & Tundra
My Instructable: http://www.instructables.com/id/Teardro ... l-Trailer/
User avatar
TwilightLane
The 300 Club
 
Posts: 484
Joined: Thu May 14, 2009 4:59 pm
Top

Postby TwilightLane » Thu Apr 08, 2010 10:32 pm

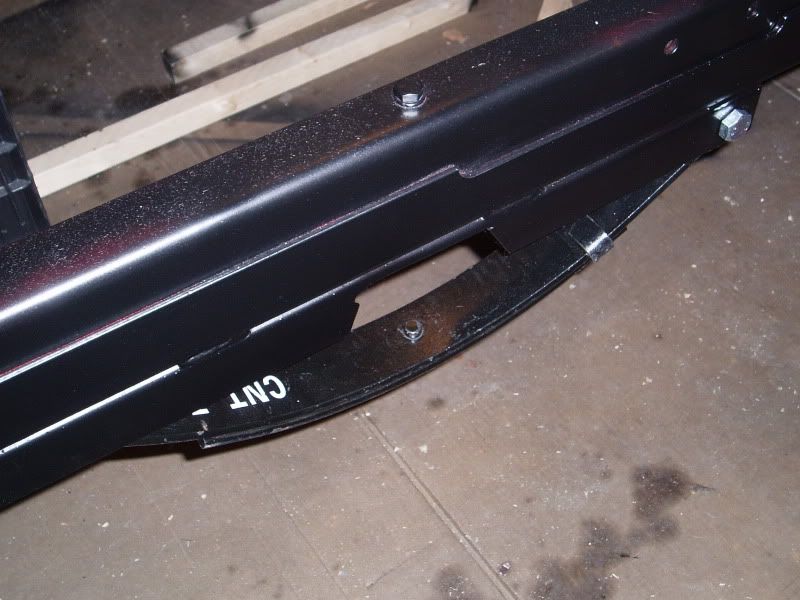
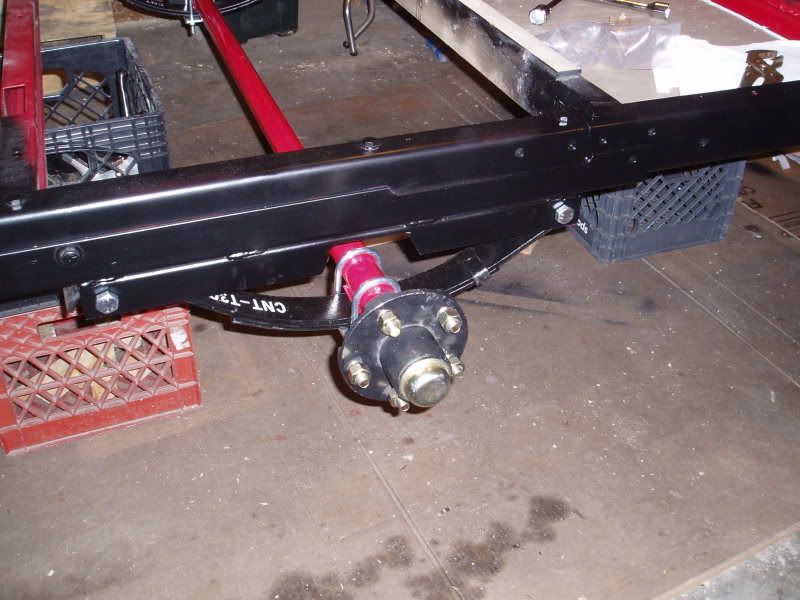
Installed. Two leafs instead of three. Nubbin on top and nut underneath. (And yet more evidence that I can't use spray paint worth a darn - see the red?)

Image

That is better:

Image
Last edited by TwilightLane on Fri Apr 09, 2010 11:00 am, edited 2 times in total.
Rob & Lori
Aspen & Tundra
My Instructable: http://www.instructables.com/id/Teardro ... l-Trailer/
User avatar
TwilightLane
The 300 Club
 
Posts: 484
Joined: Thu May 14, 2009 4:59 pm
Top

Postby TwilightLane » Thu Apr 08, 2010 10:34 pm

The CFO stops in to check status.

Image

She's gonna kill me when she finds out I used this pic. :lol:
Rob & Lori
Aspen & Tundra
My Instructable: http://www.instructables.com/id/Teardro ... l-Trailer/
User avatar
TwilightLane
The 300 Club
 
Posts: 484
Joined: Thu May 14, 2009 4:59 pm
Top

Postby TwilightLane » Thu Apr 08, 2010 10:37 pm

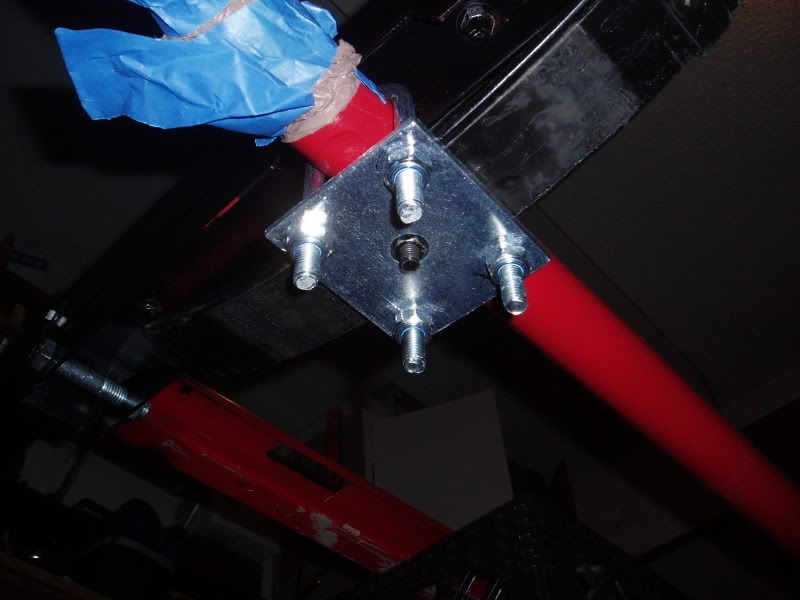
The view from underneath. The threads on those u-bolts extend a lot farther now w only two leaves. Hmmmm.

Image

You can see the bolt holding the leaves together extend through the plate.
Last edited by TwilightLane on Fri Apr 09, 2010 11:02 am, edited 1 time in total.
Rob & Lori
Aspen & Tundra
My Instructable: http://www.instructables.com/id/Teardro ... l-Trailer/
User avatar
TwilightLane
The 300 Club
 
Posts: 484
Joined: Thu May 14, 2009 4:59 pm
Top

Postby TwilightLane » Thu Apr 08, 2010 10:40 pm

Adding the hubs. Used a grease gun and bearing packer and it seemed to work like a charm. I ruined one of the grease seals on my first try at seating it. Good thing I ordered 4. But I figured it out and still have 1 spare. No pics bc of the greasy hands.

Image
Last edited by TwilightLane on Thu Apr 08, 2010 10:48 pm, edited 1 time in total.
Rob & Lori
Aspen & Tundra
My Instructable: http://www.instructables.com/id/Teardro ... l-Trailer/
User avatar
TwilightLane
The 300 Club
 
Posts: 484
Joined: Thu May 14, 2009 4:59 pm
Top

Postby TwilightLane » Thu Apr 08, 2010 10:40 pm

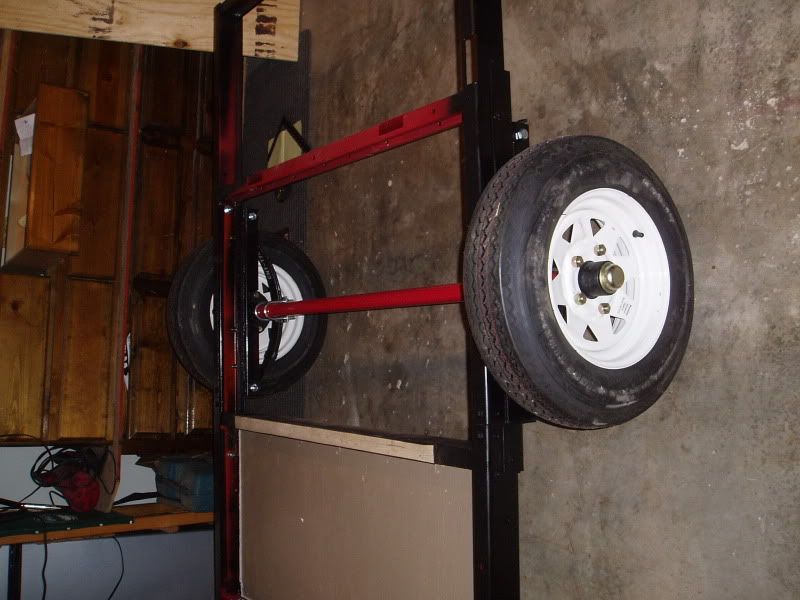
Bolted on the tires.

Image

With the tires on it's obvious those slightly longer threads sticking out under the axle aren't a problem after all.
Last edited by TwilightLane on Fri Apr 09, 2010 10:58 am, edited 1 time in total.
Rob & Lori
Aspen & Tundra
My Instructable: http://www.instructables.com/id/Teardro ... l-Trailer/
User avatar
TwilightLane
The 300 Club
 
Posts: 484
Joined: Thu May 14, 2009 4:59 pm
Top

Postby TwilightLane » Thu Apr 08, 2010 10:44 pm

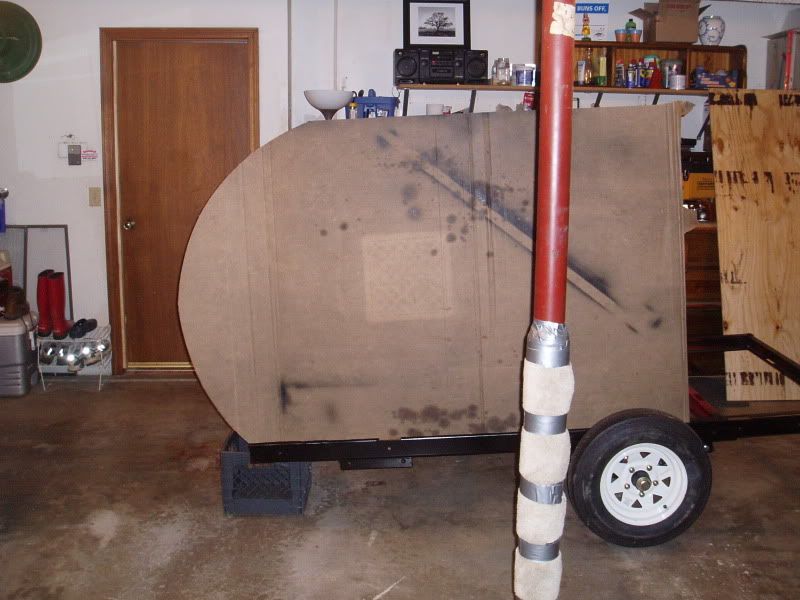
So with the frame a lot more mobile, I cleaned up the garage a bit. A clean sweep later and back to business. I'm building the Kuffle Creek cubbie but I want to stretch it a little bit. So I came up with my own profile. Cut up a piece of cardboard to mock it up the front profile...

Image

Hmmm. We'll see. I'll get some more cardboard to do a full body profile.
Rob & Lori
Aspen & Tundra
My Instructable: http://www.instructables.com/id/Teardro ... l-Trailer/
User avatar
TwilightLane
The 300 Club
 
Posts: 484
Joined: Thu May 14, 2009 4:59 pm
Top

Postby suckerpunched » Wed Apr 21, 2010 12:02 pm

jeeeze.....I think I over simplified mine........
:)
If you see my harley on a trailer,,,,call the police cause it's being stolen...
User avatar
suckerpunched
Teardrop Master
 
Posts: 295
Images: 22
Joined: Sun Sep 21, 2008 11:30 pm
Location: ogden Ut
Top

Postby TwilightLane » Sun Apr 25, 2010 9:36 pm

Well folks, it's been a few days since the last installment. The ol' laptop crapped out and we had to get a new one. I've done a thing or two since we last met. So here goes...
Rob & Lori
Aspen & Tundra
My Instructable: http://www.instructables.com/id/Teardro ... l-Trailer/
User avatar
TwilightLane
The 300 Club
 
Posts: 484
Joined: Thu May 14, 2009 4:59 pm
Top

Postby TwilightLane » Sun Apr 25, 2010 9:52 pm

Well I've added the flooring deck to the trailer. It was kind of a comedy of errors, but 13 bolts and a mess of construction adhesive and we have this:

Image
Rob & Lori
Aspen & Tundra
My Instructable: http://www.instructables.com/id/Teardro ... l-Trailer/
User avatar
TwilightLane
The 300 Club
 
Posts: 484
Joined: Thu May 14, 2009 4:59 pm
Top

Postby TwilightLane » Sun Apr 25, 2010 9:54 pm

Next step to add the hitch.

Image

Detail. I used a big ol' bolt to attach to the frame. This is actually temporary until I get over to my buddies and weld this up.

Image
Rob & Lori
Aspen & Tundra
My Instructable: http://www.instructables.com/id/Teardro ... l-Trailer/
User avatar
TwilightLane
The 300 Club
 
Posts: 484
Joined: Thu May 14, 2009 4:59 pm
Top

Postby TwilightLane » Sun Apr 25, 2010 9:57 pm

I swung by KC Home Trailer Supply, the RV store I'm a BIG fan of, and got two leveling jack-stands. Bolted them up through the 2x6 I used at the back end of the trailer. No sweat.

Image

Image

You can see the pairs of holes above each stand. Those - and the recessed holes for the bolts to the frame - will get bondo'd.
Last edited by TwilightLane on Sun Apr 25, 2010 11:12 pm, edited 1 time in total.
Rob & Lori
Aspen & Tundra
My Instructable: http://www.instructables.com/id/Teardro ... l-Trailer/
User avatar
TwilightLane
The 300 Club
 
Posts: 484
Joined: Thu May 14, 2009 4:59 pm
Top

Postby TwilightLane » Sun Apr 25, 2010 10:07 pm

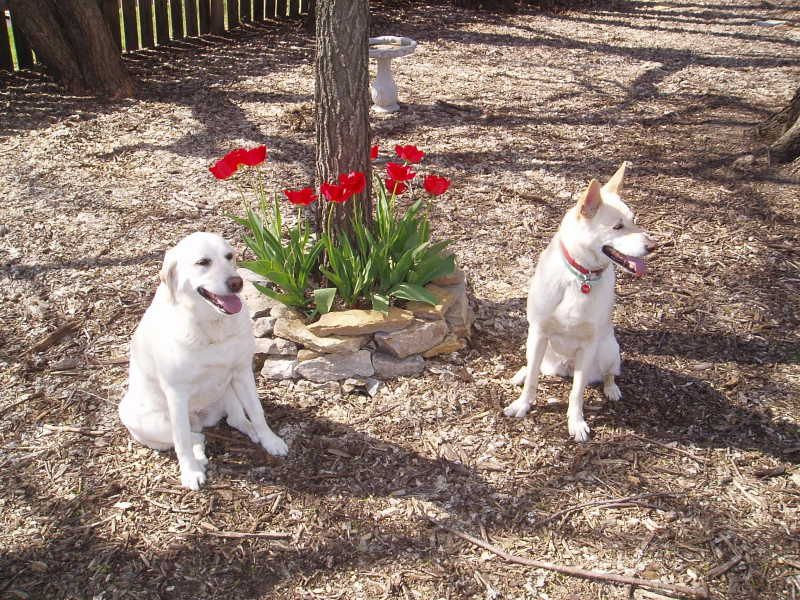
So let's shift gears a little bit. It's a beautiful sunny day and the tulips are blooming. Let's get some action shots of the pups!

Image

Image
Rob & Lori
Aspen & Tundra
My Instructable: http://www.instructables.com/id/Teardro ... l-Trailer/
User avatar
TwilightLane
The 300 Club
 
Posts: 484
Joined: Thu May 14, 2009 4:59 pm
Top

PreviousNext

Return to Build Journals

Who is online

Users browsing this forum: No registered users and 15 guests