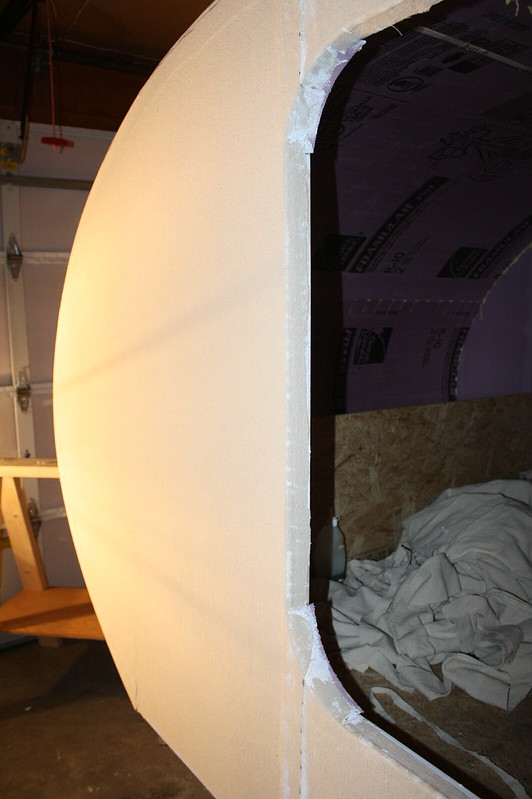
Well, today has been productive, if long. My sister came over again this morning and assisted with further canvasing. With her help we were able to get a lot done. We started by trimming the canvas from the roof and gluing down the overlap with primer. Then we stuck the canvas on similar to how we did the roof. However, do to the seam in the drop cloth, we could not do the entire side with one sheet.It was easy to line up the seam with the front edge of the door though. We rough cut around the door to remove the weight of the hanging canvas.
 Cutting to Allow Folding Over Curve (2)
 by
jseyfert3, on Flickr
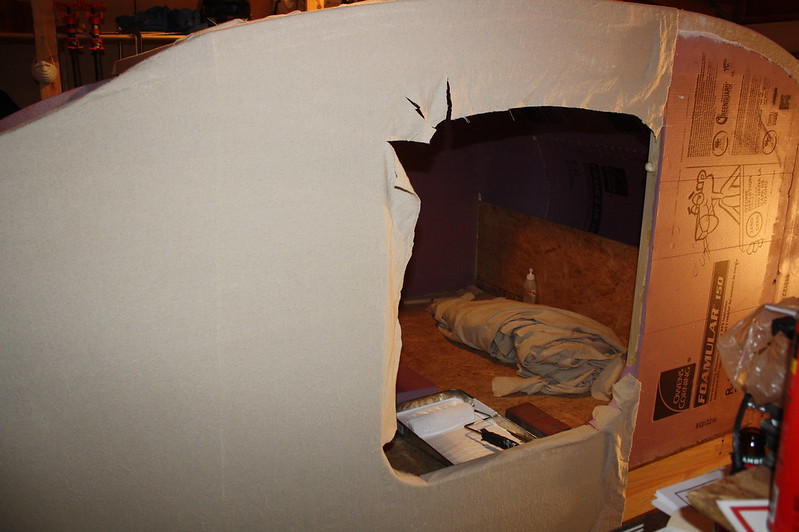
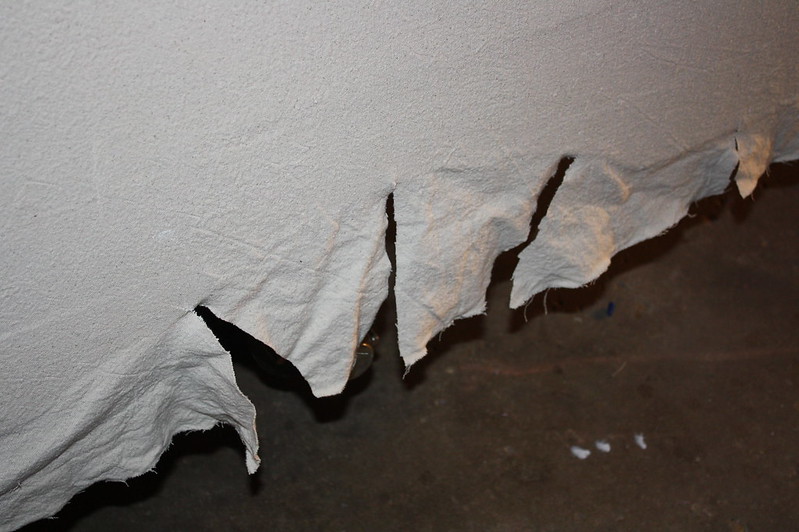
I cut some slots in the curved corners of the door to allow the canvas to curve around the corner.
 Cutting to Allow Folding Over Curve (1)
 by
jseyfert3, on Flickr
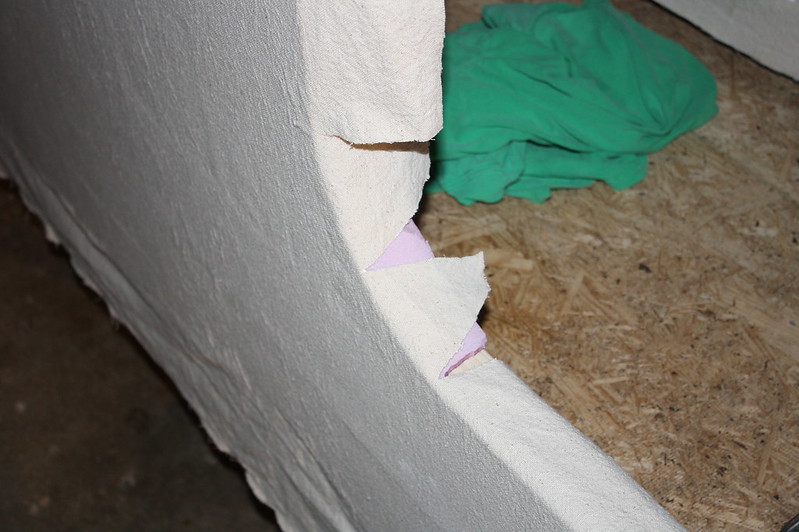
I cut similar slots in the canvas over the wheelwell cutout.
 Cutting to Allow Folding Over Wheelwell
 by
jseyfert3, on Flickr
After the entire wall was completed and the edges trimmed, while my sister glued down the edges I got under the camper and wrapped the canvas up onto the wood. I primed the wood, stuck on the canvas, then primed the outside of the canvas while I was there. This worked fine as unlike the roller a brush doesn't pull the freshly stuck canvas away from the surface, and I really didn't want to go under the trailer a second time just to stick the canvas down, especially as I already have to get under again when it comes time to paint the canvas.
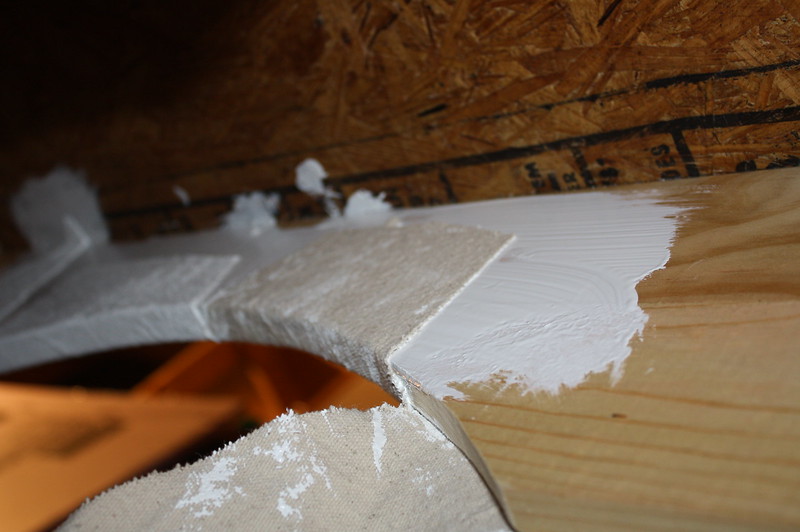
This picture shows the general workflow of the canvas wrap at the wheelwell. Prime some wood, stick canvas, then prime that section of canvas on the outside.
 Three Stages of Completion of Canvas Underhang
 by
jseyfert3, on Flickr
Completed wheelwell from outside. The canvas wraps nicely around curves after cutting the slots in it. The wheel had to be removed to stick up the canvas on the inside of the wood at the bottom. I used a jackstand to support the jack while I was under the camper, just before I took the picture I removed the jackstand and was about to put the tire back on.
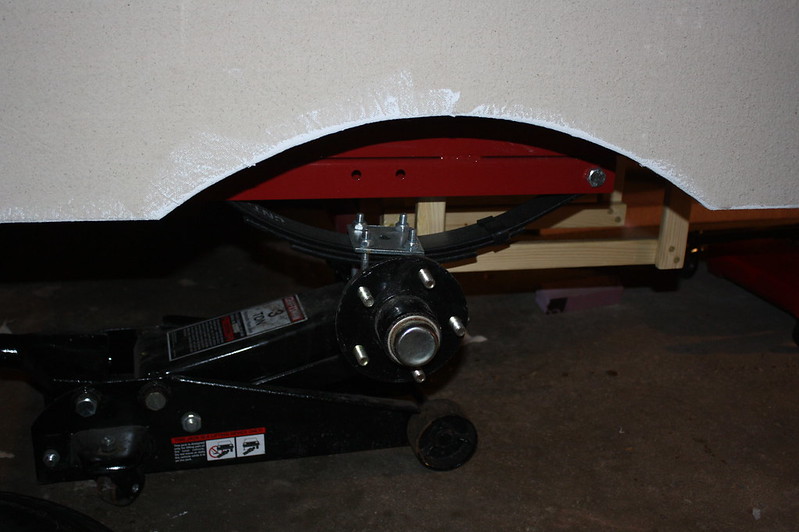 Completed Wheelwell
 by
jseyfert3, on Flickr
The middle seam in the canvas that some of them had (2 of 5 where a single piece with no seam) was rather thick, so I cut the seam out. Anywhere that has a seam on the teardrop is simply made by overlapping the canvas edges about two inches.
 Cutting Out the Seam
 by
jseyfert3, on Flickr
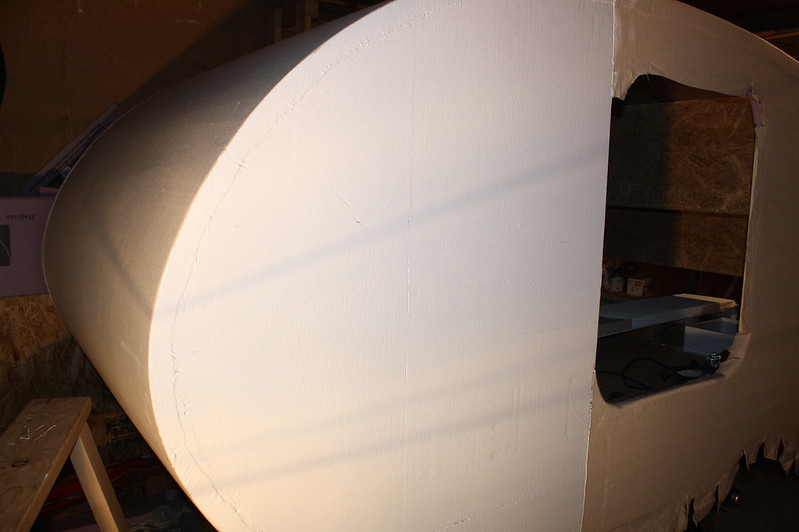
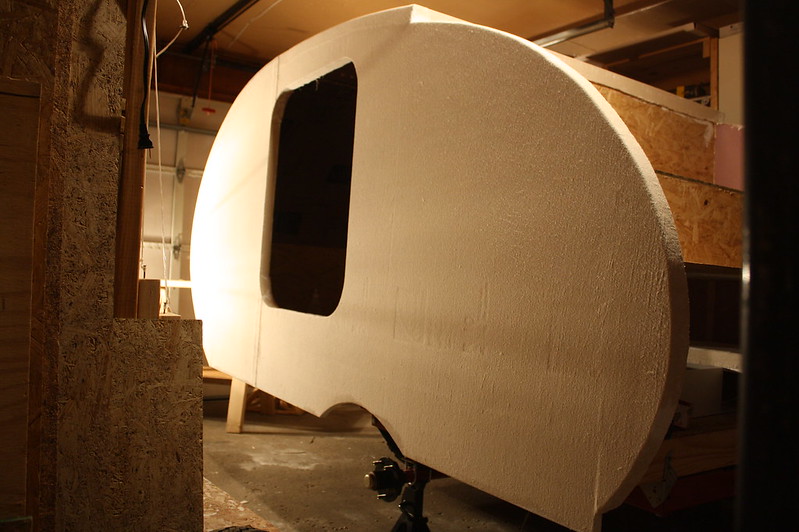
We had to pull the teardrop outside to move it over so we had room to start on the other side. While it was outside I took a picture of the progress quick.
 First Side Canvased
 by
jseyfert3, on Flickr
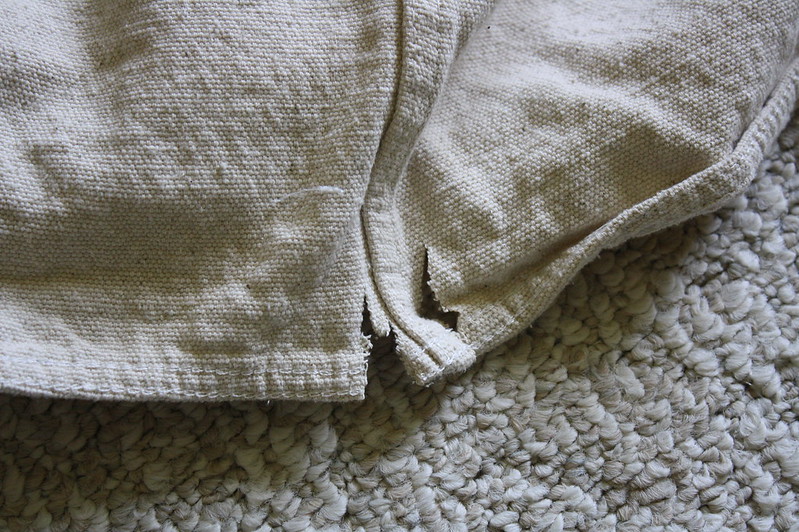
If you saw the indents in the canvas I took a close up picture of them. I will forever have the Owens Corning symbol in my camper, as well as a reminder that I used R10 2 inch thick foam! Next time I'll stick the printed side inwards. Gives it some character though.

 Detail of Indents Showing. Square is the Owen's Corning Symbol
 by
jseyfert3, on Flickr
When I had to leave for work, me and my sister were able to get one of the two pieces on the second side attached, but we didn't have time to even rough cut the edges.
 Progress Before Work
 by
jseyfert3, on Flickr
When I returned from work this evening, I was on my own. After trimming the first piece we applied this morning, I laid up the second piece as I wanted it and used a brick to hold the end at the top of the teardrop as it wanted to fall down. Then I arranged the rest of it, and marked the top of the curve with a marker.
 Laying Out and Marking Canvas
 by
jseyfert3, on Flickr
I removed the canvas, and applied a generous amount of Glidden Gripper to the entire section.
 Glidden Gripper Applied
 by
jseyfert3, on Flickr
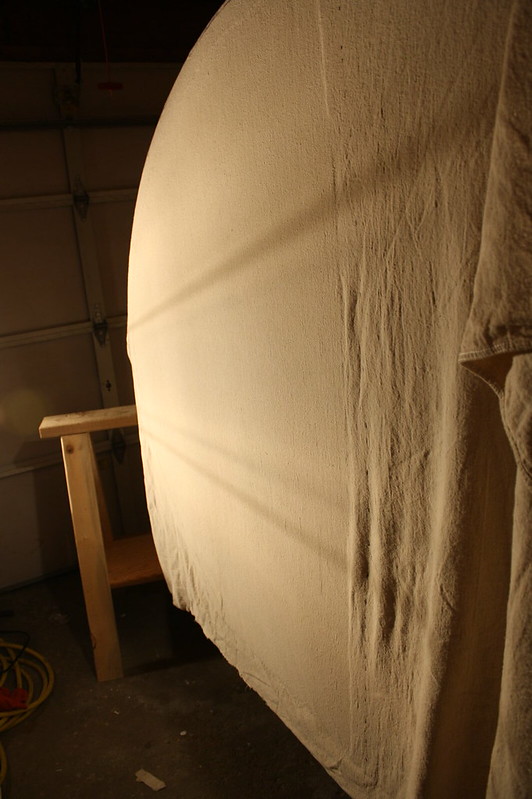
Using the marker line I made on the curve, I stuck up the canvas, again using a brick at the top to keep it from sliding off. Then I began smoothing it down with my hands from the top middle, spreading left and right of the middle as I went down.
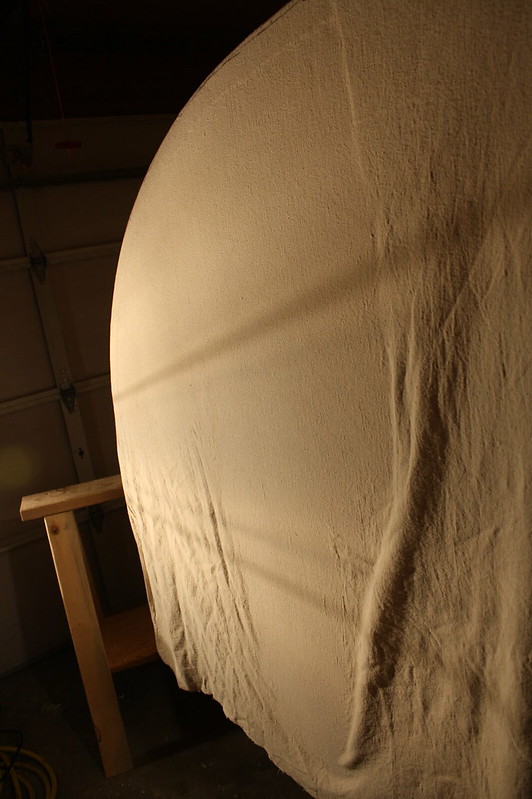 Partially Smoothed Out
 by
jseyfert3, on Flickr
 Completely Smoothed Out
 by
jseyfert3, on Flickr
Once smoothed, I trimmed all the edges.
 Trimmed
 by
jseyfert3, on Flickr
Then used the primer to stick down all the edges. Not just here but the entire side. This, along with trimming the door, took a long time.
 Edges Glued Down
 by
jseyfert3, on Flickr
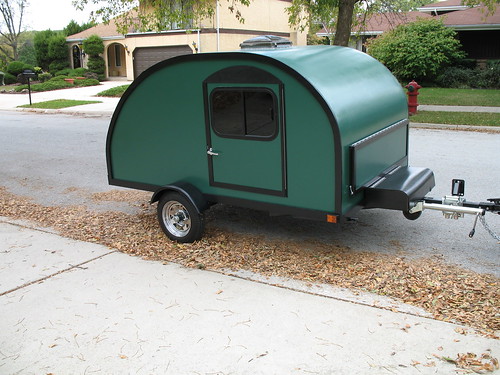
But I was able to get the entire side done, I just stayed up later then I really wanted too.
 Side Two Complete (1)
 by
jseyfert3, on Flickr
 Side Two Complete (2)
 by
jseyfert3, on Flickr
Putting the canvas on was the easy part. Trimming the edges and sticking them down was a bit of a pain and took forever. The part that especially sucked was getting under the camper to stick the canvas to the inside of the wood 1x4 at the bottom of the wall.
The good news is that since everything is stuck on, I can prime the entire thing this morning when I wake up and not have to worry about the canvas coming up or sliding. Most of it will be done with a roller, and it should go pretty fast vs how long it took to do the sides with all the trimming and edge work.


 No, that was just me muddling threads together. Sorry. It's hard getting older.