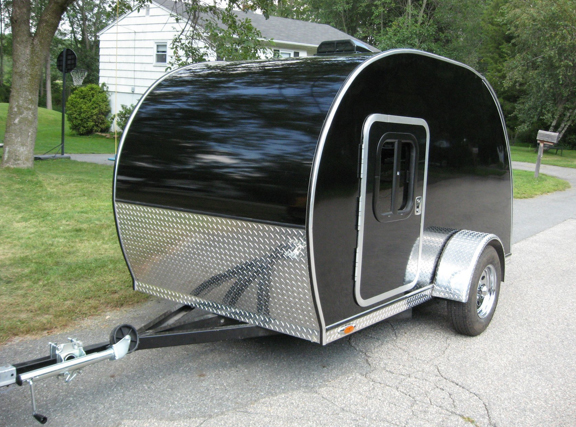
Java Jack wrote:Wow, that looks really good. Looks like a bigger version of my 560.
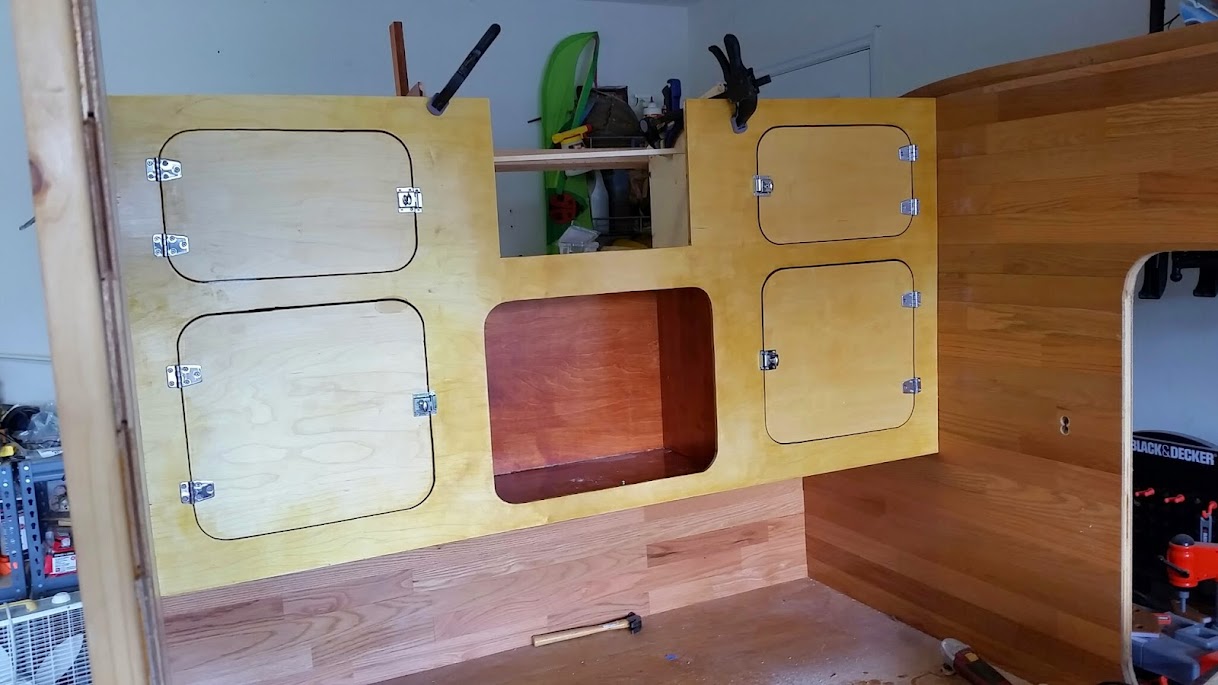
Question, why did you go with the interior cabinet doors opening to the side instead of dropping down?
Also, what prompted you to scale it a little larger? I have thought if I were to build one, I would go slightly larger but the interior, etc would stay the same and the extra space would be used for storage of larger items like a screen tent, camp chairs, etc.
Just curios...it looks great.
Hum... not real sure. Just decided to make them "traditional" doors rather than the way camp inn does them . I had originally planned them the CI way, but Dad (this is a joint venture) said he wanted them on the side, so I figured why not.
As far as why we make it larger.
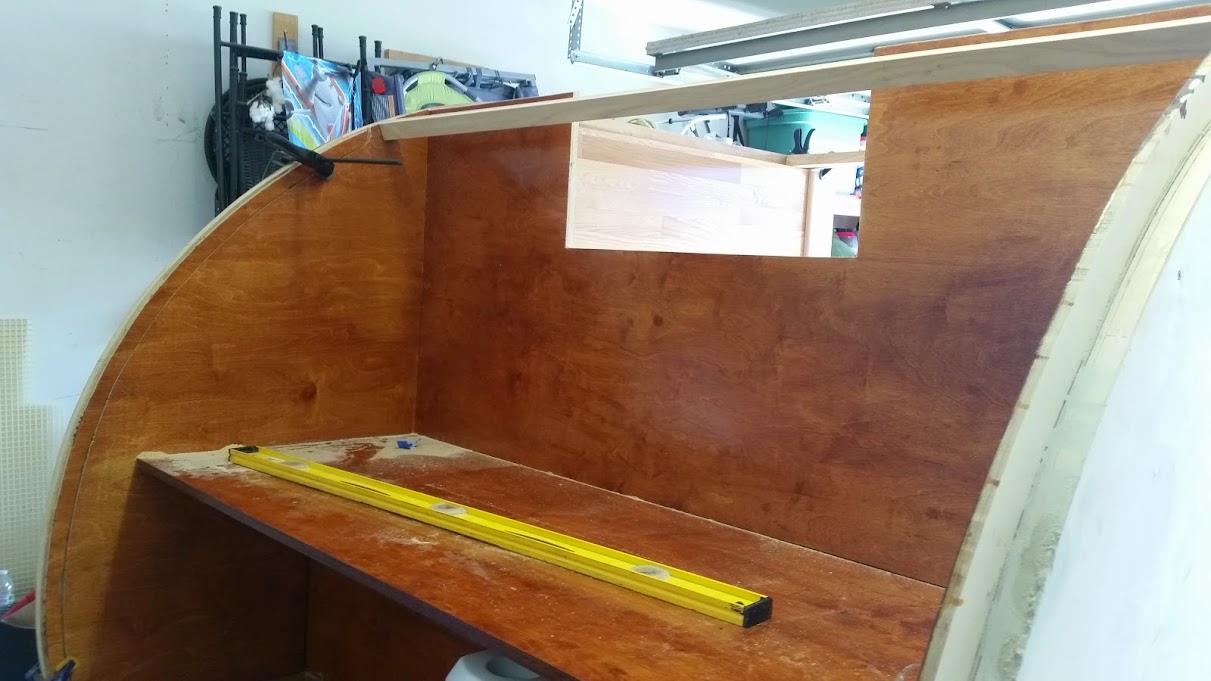
When I first saw the 560 design, it went to the top of the list for designs that I wanted to model our build after. Everything about it seemed to make sense in terms of space utilization, and how we wanted to use the camper (for sleeping only) not hanging out in (like a standy with a table). We like the outdoors, but really like to sleep without being swamped out in the heat of the summer, our prime camping time, since the other half is a teacher. We made a full size cardboard model, and then it was "well let's stretch it a little here.. and a little there. The 6 wide was to give a little more foot room for the bunks, but also for arm room while sleeping for me and the wife.
Once I was at 10' long, I figured why not make it 6" longer? and then the front bunks will have a little more sleeping width, since the length is not really usable for larger people unless they have more shoulder room.
The height (5ft overall) came from a number of trains of thought.
1. I had seen other 6 wide campers, and I didn't like the proportions of a 4 height, the 5' seemed to fit a little better scale (like the 5 wide does with the 4 high). This was a big deal to me, aesthetics, but still a big deal. We were going to all this effort, why not go ahead and go all out!

2. I'm pretty tall, and wanted to be able to sit on my knees in the camper and not hit my head. Plus, extra room above each bunk.
3. We are using a boat trailer (4 in thick side beams). I wanted to cover these with the walls, and that took 2 more inches than a normal camper. Not a huge deal, but it's the nickel and dime effect. So we decided that we had gone this big, why not go ahead and go 5 tall. The cardboard model help here too.. that made me realize that my headroom wasn't going to be what I wanted it at in a 4 tall

Sorry for the long explanation, but that was the thought process that we followed. I know there are stauch supporters of "If you can't stand up in it, then why go over 4 tall", but this was how we arrived at where we are ...
I sometime feel bad that our design is so much like a CI, but I just REALLY like the design. I kept looking at other ways to build the same structure, but their design seems ingenious to me. I guess that is the great thing about TD's (or TTT's), build what you like, the way you like it.