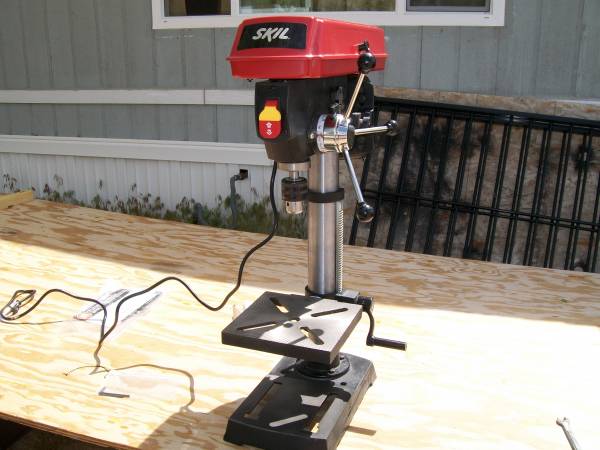
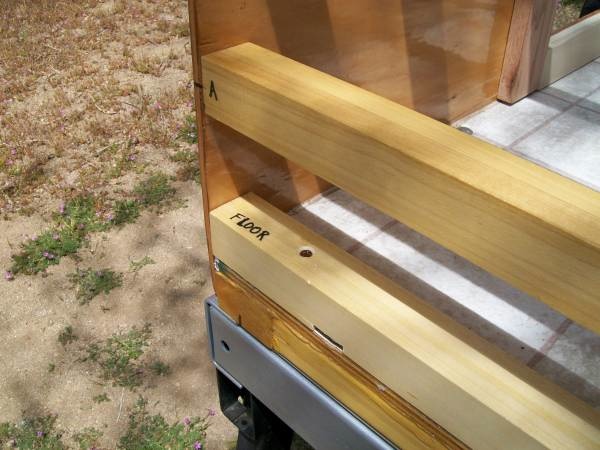
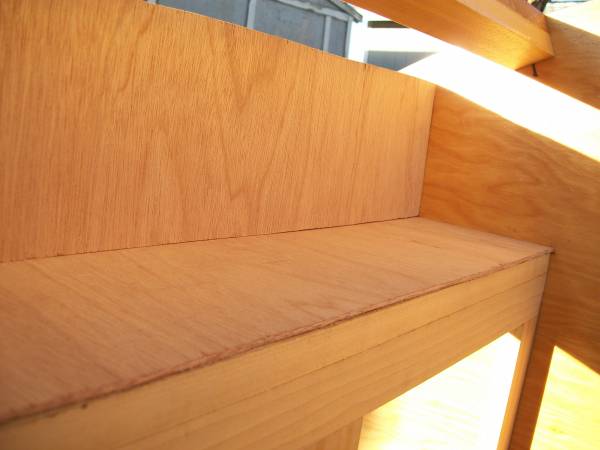
Hi everyone, I got a little done yesterday. First, I need to tell you about the deal I got on craigslist on Saturday. I found a bench-top drill press that I bought for $60. It was just like new and the guy had only used it a couple of times. He still had the box it came in and it was taken apart and inside the box. It only took me about 15 minutes to put it together. I bought it so I could have it for drilling trim pieces later in the build. I used it to drill the mounting holes in the lower floor spar. I counter sunk the holes to have the screw heads below the top surface of the wood. You can see where I had to notch the bottom of the boards to clear the carriage bolt heads that hold the floor assembly to the HF frame. I used my new table saw to make the cuts in the bottom of the floor spar.
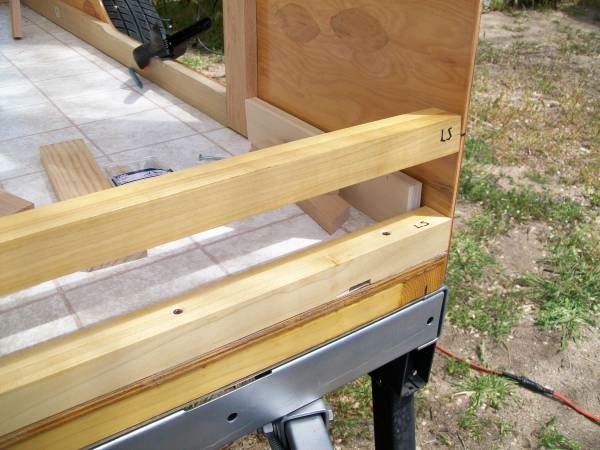
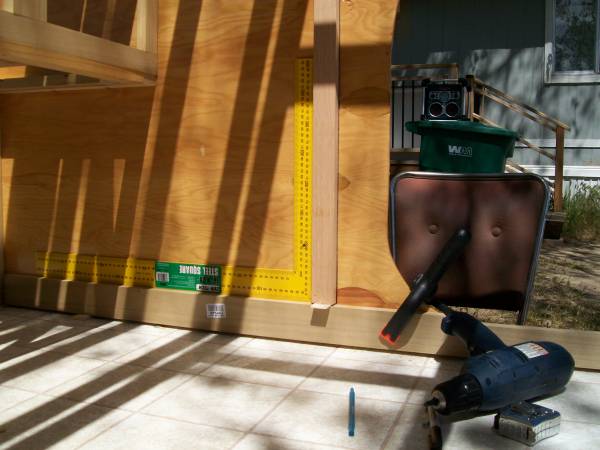
I then started the inside wall studs and ran a piece on 1x3 poplar along the bottom of the walls so I can attach the wall skins later on. I raised the boards up off the floor the using good old paint stir sticks from HD. This keeps them up high enough to keep them out of any water that might find it's way inside the TD's floor since I did not seal the wood first. I then drew the profile with a pen and cut them with my jig saw.
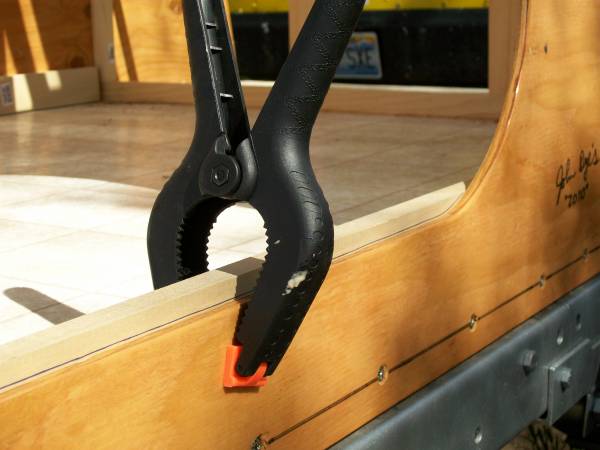

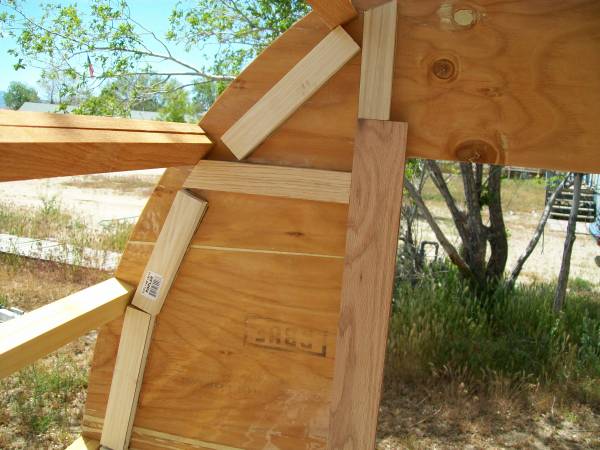
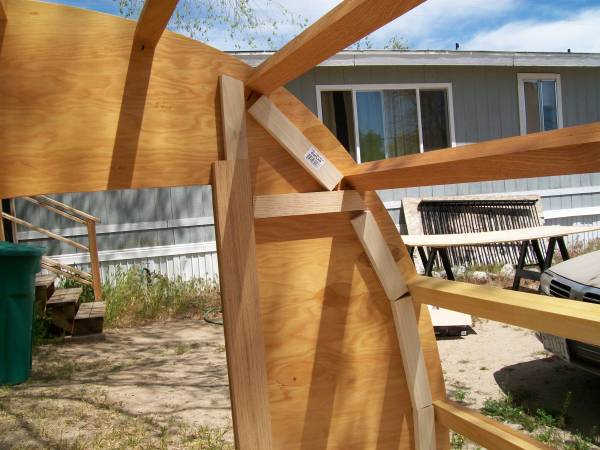
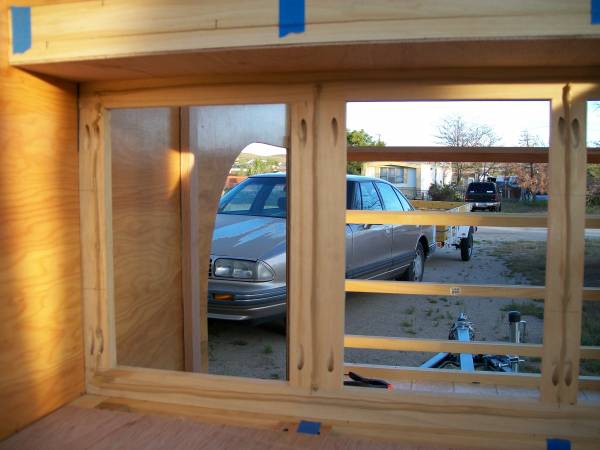
Then I placed the blocking to support the wall skins around the front radius of the TD. I screwed them from the outside of the walls and glued them in place with two #6x3/4" wood screws and PL premium poly adhesive. I used poplar instead of pine so that the brads hold when the wall skins go on to be sure they stay put. I use oak for the hinge side of the door opening for holding power for the screws. I will be making the overhead cabinet like the one in the Kuffel Creek plans, so I used oak there, too.
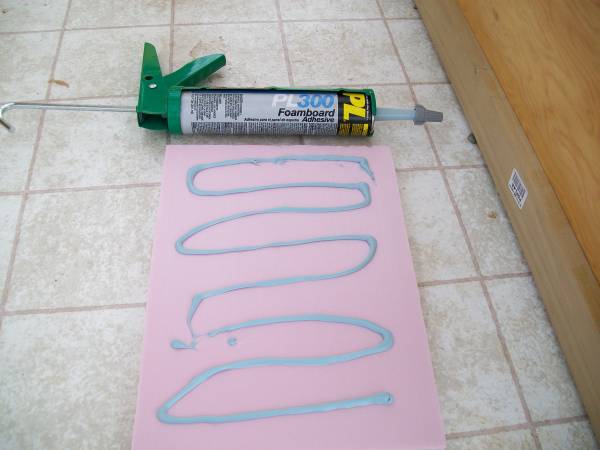
This is the stuff, PL premium poly construction adhesive. I have been using it anywhere I can to "over-build" this first TD. I am not sure where I found out about using these grey electrical wire nuts as a cap/seal for opened tubes of caulk/adhesive. I might have read it on here. If so, thanks for the tip to who's ever idea it was. You have to be careful to cut the tip smaller than you normally would so the wire nut will screw on the end of the caulking tube. It is OK if some of the adhesive oozes out from the cap. This way that is the stuff that dries and the remaining contents of the tube stays uncured & ready for the next time you need some.

I placed an oak wall stud where the face frame of the cabin cabinet will hook to. I used one of the spars as a guide and I will use it to attach the face frame of the cabinet to and set it directly under that. I used one screw at the top of the stud to hold it in place and a framing square to get it plumb before setting the rest of the mounting screws.
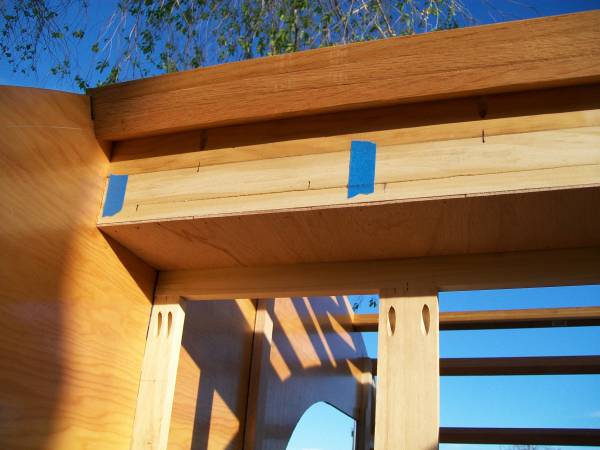
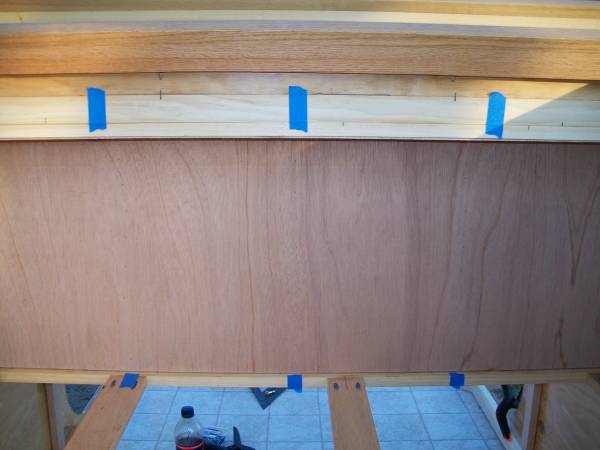
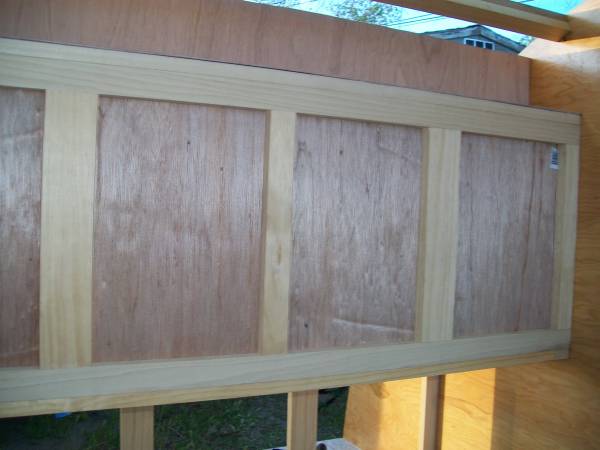
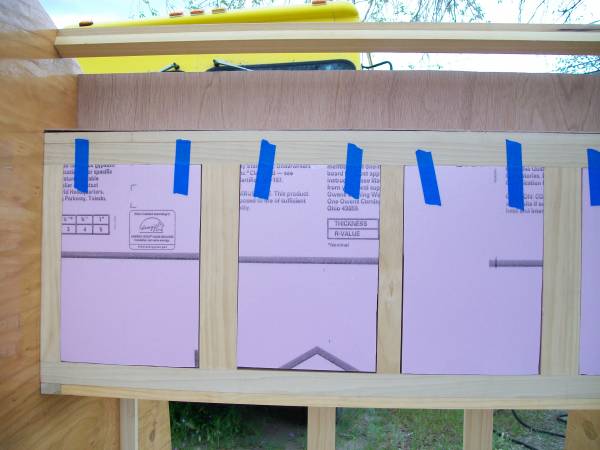
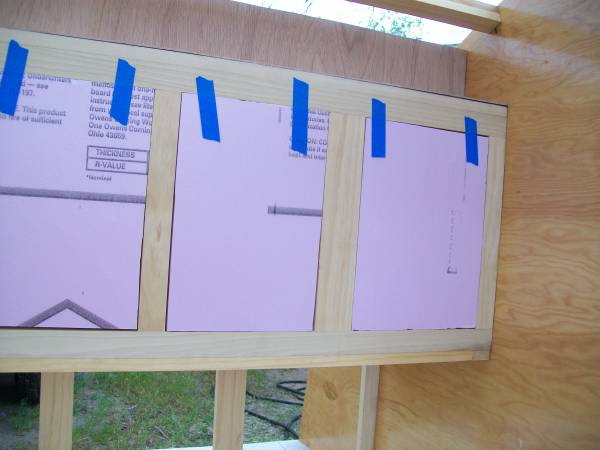
I still had some daylight, so I cut and attached some of the panels that cover the shelves and cabinet frames. The blue tape lines up with the cross pieces in the frame assemblies so I know where to place the brads.
These pieces are only laying there and I need to insulate the voids under them before they get glued and nailed in place.
More adhesive and ready for a panel and brads from my brad nailer.

This picture shows where I need to place the insulation.
That is all I got done yesterday! I wish I had gotten more done. I still have one more day. Stay tuned, I will let you know what gets done today.
Hold the phone. This update is not finished yet !!! The things preceding this part were done yesterday. I started to insulate the bulkheads that divide the cabinets from the cabin & galley this morning. I am stopping due to the chance of rain this afternoon. Instead, I am going to Pam M.'s house to work on her TD with her. We are about neck & neck in our builds now. Here is some pictures of what I got done this morning. Even though it was not much, it is still progress.
Happy Memorial Day to all you tear-droppers out there.