TwilightLane Cubbie Build

...ask your questions in the appropriate forums BUT document your build here...preferably in a single thread...dates for updates, are appreciated....

Postby TwilightLane » Sun Apr 25, 2010 10:19 pm

Well let's move on to those sidewalls!!

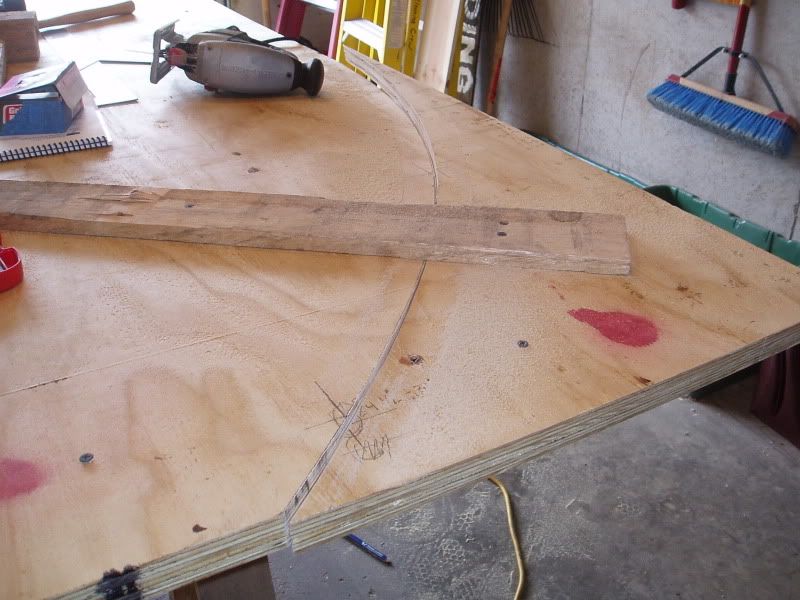
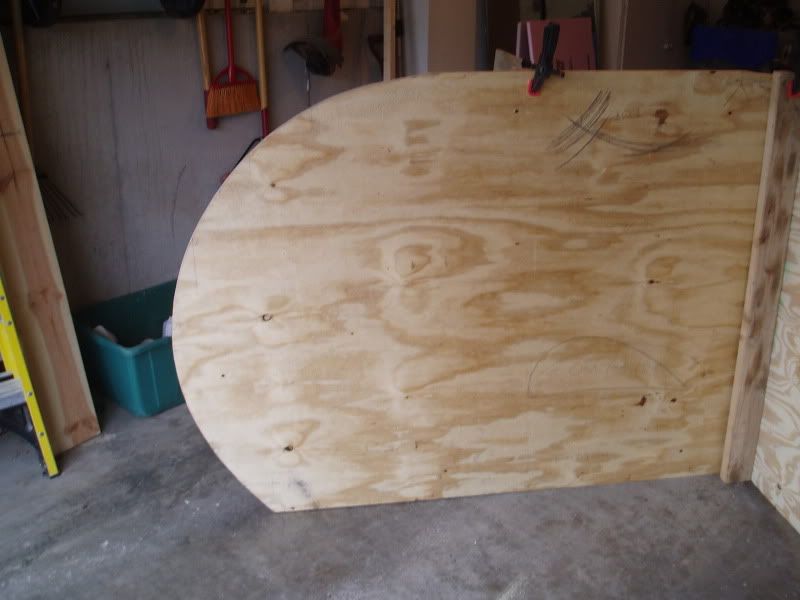
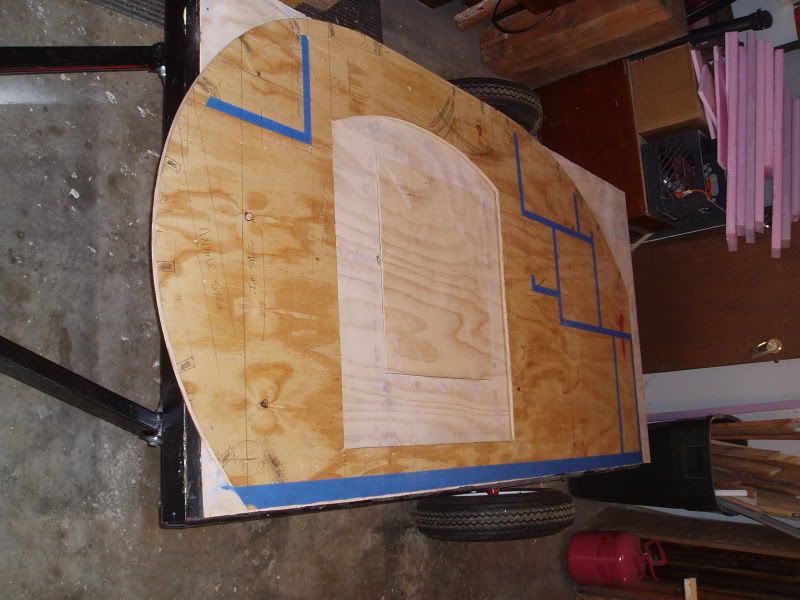
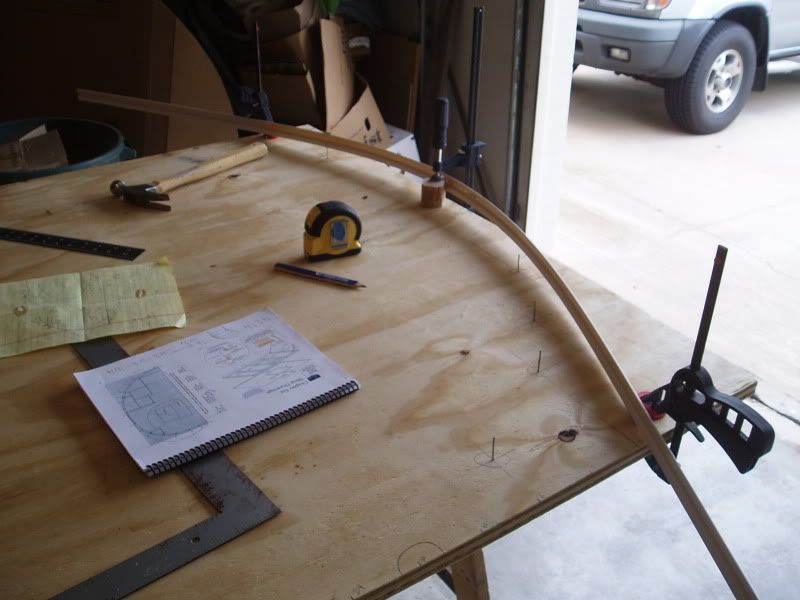
I sketched out my profile using google sketchup. I'm basically using the same backend of the cubbie design. But I'm using a different front profile. The overall length is 8 foot, 9 inches. But the base is still a standard 8 foot. If you want my plans/drawings, just shoot me an email.

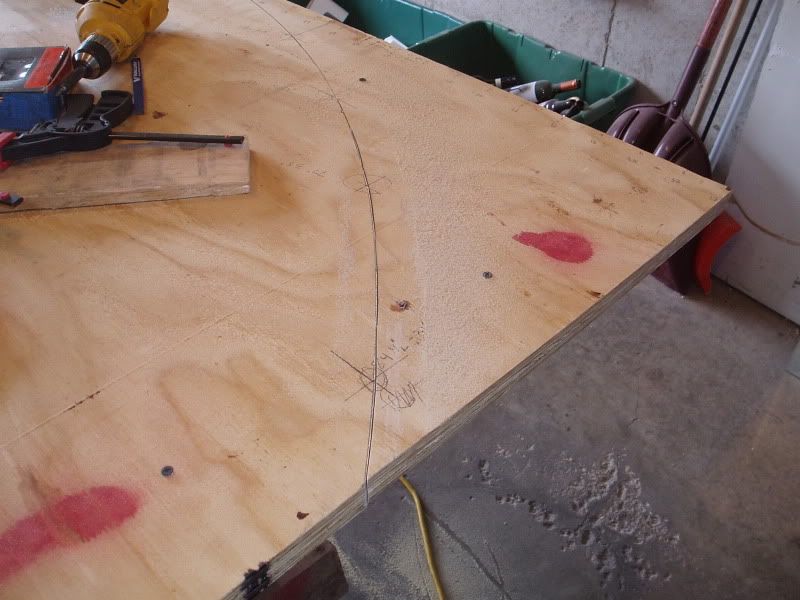
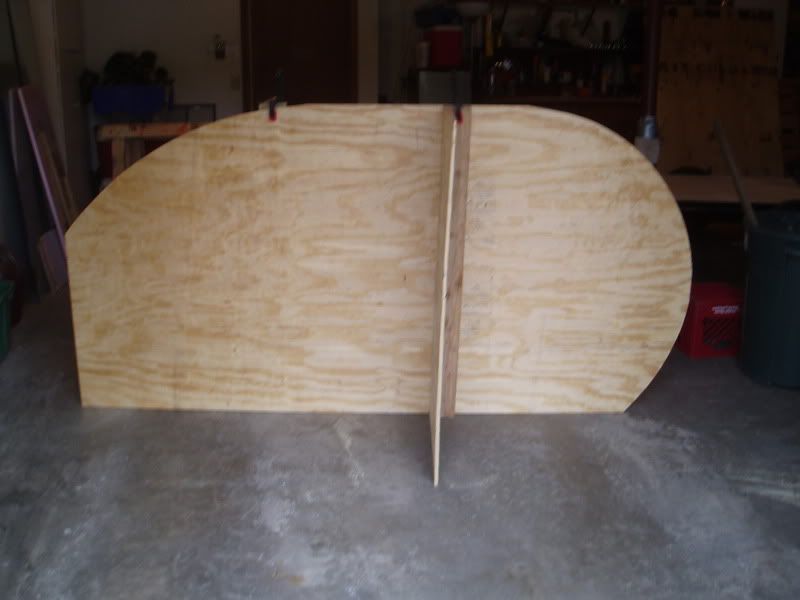
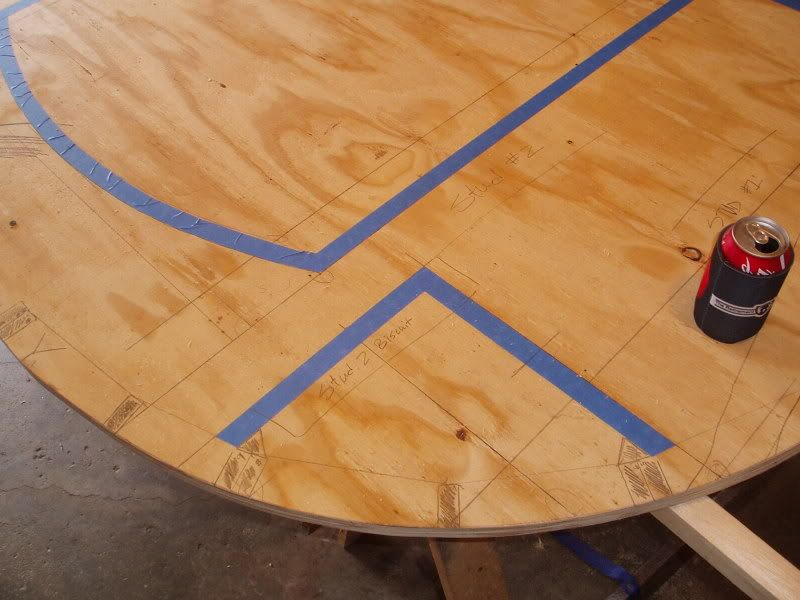
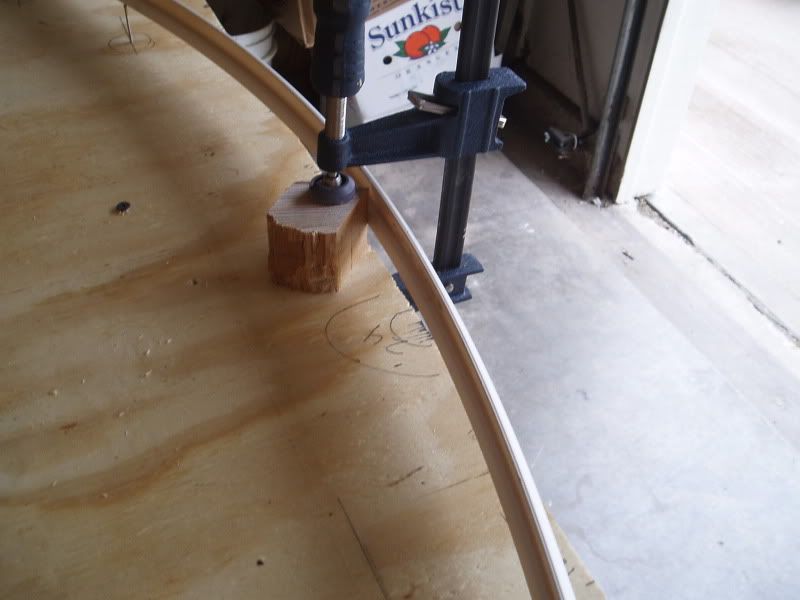
I used a piece of foam molding to help me create/draw the front profile. Very helpful. I also tacked in nails at the various intersections. I didnt match exactly to each intersection. I just found a curve I just liked.

Image

Image

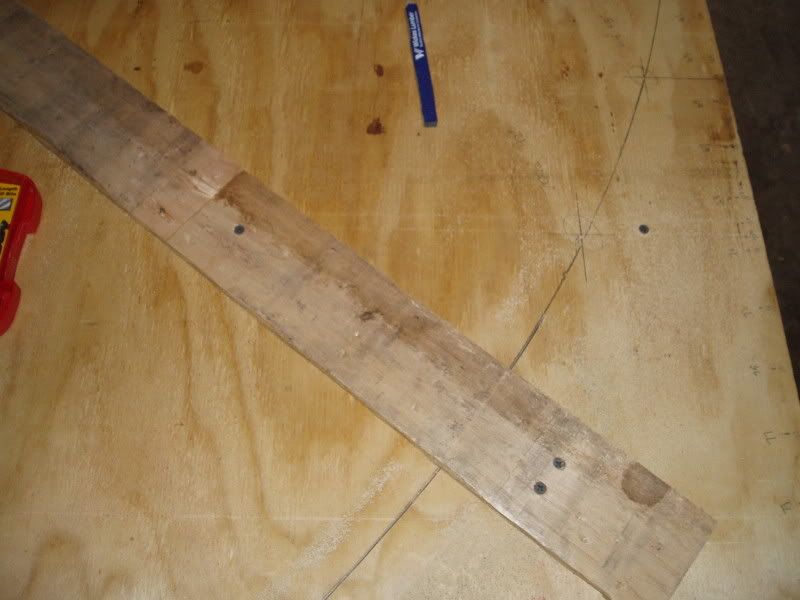
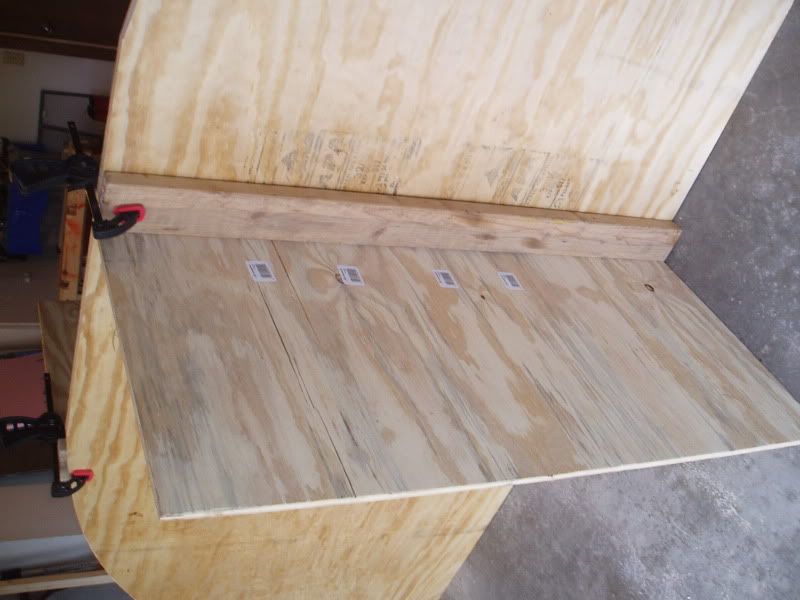
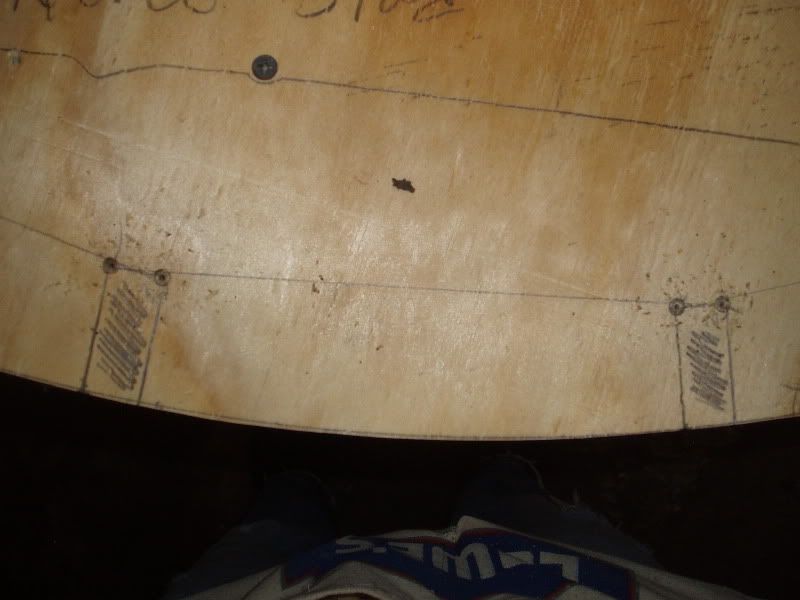
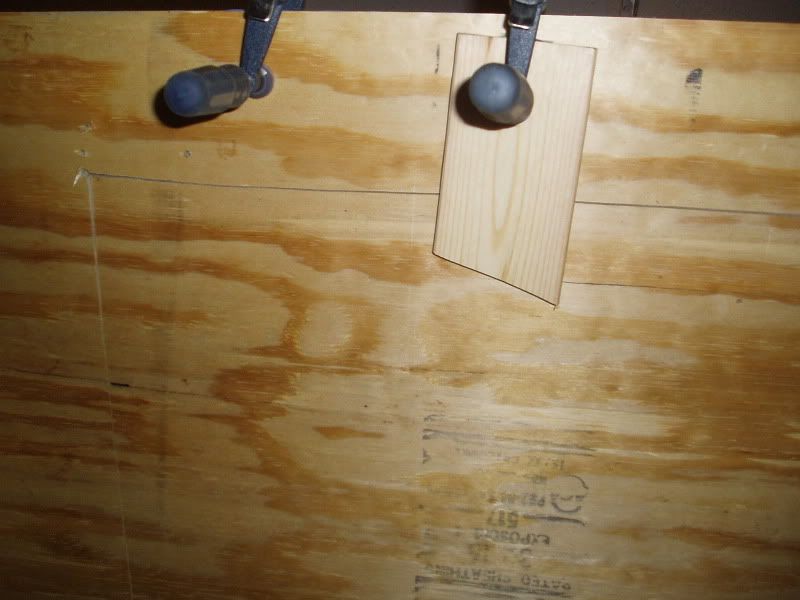
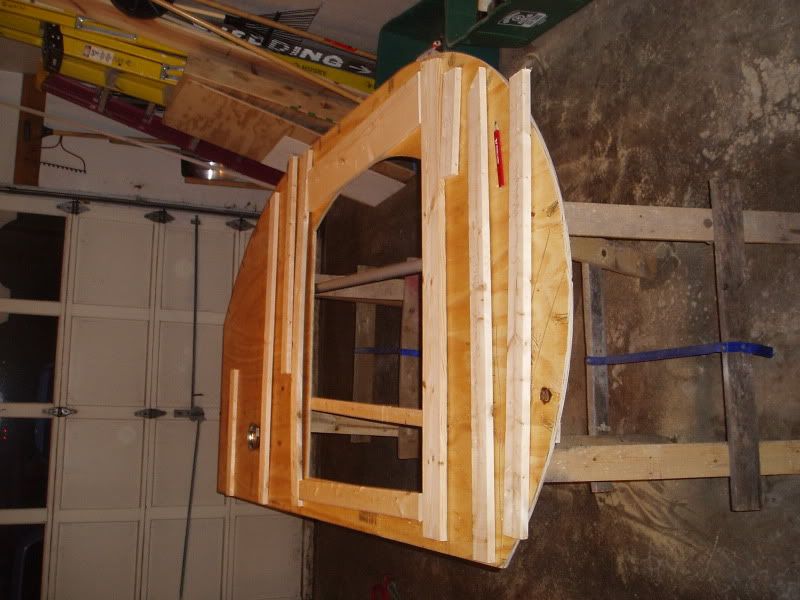
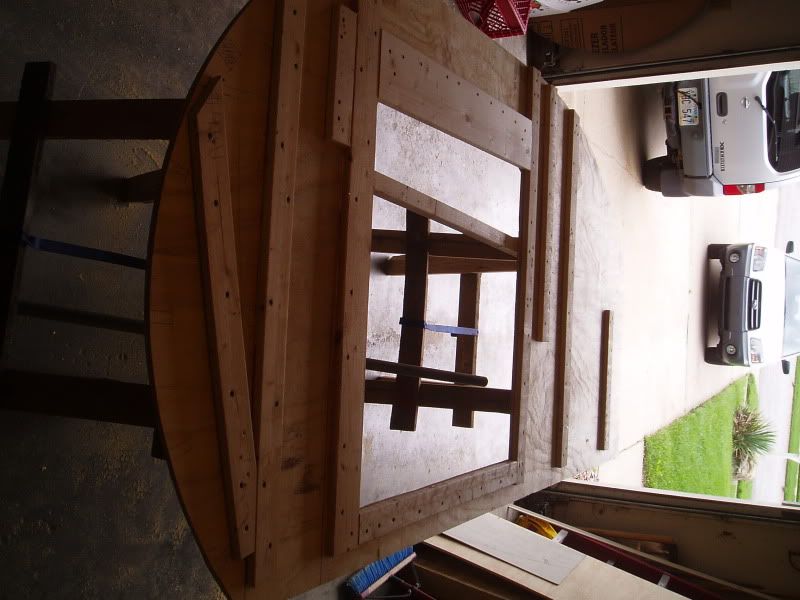
You can see the head of a screw in the second pic. I screwed both sheets of ply (both sidewalls) together. More on that in a bit.
Rob & Lori
Aspen & Tundra
My Instructable: http://www.instructables.com/id/Teardro ... l-Trailer/
User avatar
TwilightLane
The 300 Club
 
Posts: 484
Joined: Thu May 14, 2009 4:59 pm

Postby TwilightLane » Sun Apr 25, 2010 10:22 pm

Here is the back upper corner of the hatch. I've started the curved cut with the jigsaw.

Image

You can see some more of the screws holding the two sheets together.
Rob & Lori
Aspen & Tundra
My Instructable: http://www.instructables.com/id/Teardro ... l-Trailer/
User avatar
TwilightLane
The 300 Club
 
Posts: 484
Joined: Thu May 14, 2009 4:59 pm

Postby TwilightLane » Sun Apr 25, 2010 10:24 pm

Before I finished that cut, I screwed in a support to hold the cut piece. That way it wouldnt tear off at the end of the cut.

Image

Image
Rob & Lori
Aspen & Tundra
My Instructable: http://www.instructables.com/id/Teardro ... l-Trailer/
User avatar
TwilightLane
The 300 Club
 
Posts: 484
Joined: Thu May 14, 2009 4:59 pm
Top

Postby TwilightLane » Sun Apr 25, 2010 10:27 pm

So here is the profile. I'm planning on using a lap joint to add the last 9 inches to the back/hatch profile. Both sheets still screwed together.

Image

Image
Rob & Lori
Aspen & Tundra
My Instructable: http://www.instructables.com/id/Teardro ... l-Trailer/
User avatar
TwilightLane
The 300 Club
 
Posts: 484
Joined: Thu May 14, 2009 4:59 pm
Top

Postby TwilightLane » Sun Apr 25, 2010 10:30 pm

Here is a shoutout to my buddies Joe & Jimmy. They are each working on a ginormous teardrop. Jimmy built these stands to hold the walls vertical. On loan from him.

These made the sanding much much easier.

Image
Rob & Lori
Aspen & Tundra
My Instructable: http://www.instructables.com/id/Teardro ... l-Trailer/
User avatar
TwilightLane
The 300 Club
 
Posts: 484
Joined: Thu May 14, 2009 4:59 pm
Top

Postby TwilightLane » Sun Apr 25, 2010 10:34 pm

Once I got the outer profile sanded and where I wanted, I wanted to layout the shelves, door, etc. I used blue painters tape to mock things up.

The overview:
Image

The shelves:
Image

The door:
Image

That blue stripe along the bottom is the overlap of the wall against the floor decking. You can also read my pencil marks. I marked up everything - where the vertical spars will run in the wall, where the ends of the spars will meet the wall, etc. I made a lot of marks, as you can see.
Last edited by TwilightLane on Sun Apr 25, 2010 10:39 pm, edited 1 time in total.
Rob & Lori
Aspen & Tundra
My Instructable: http://www.instructables.com/id/Teardro ... l-Trailer/
User avatar
TwilightLane
The 300 Club
 
Posts: 484
Joined: Thu May 14, 2009 4:59 pm
Top

Postby TwilightLane » Sun Apr 25, 2010 10:37 pm

Here is a detail of the front shelf.

Image
Rob & Lori
Aspen & Tundra
My Instructable: http://www.instructables.com/id/Teardro ... l-Trailer/
User avatar
TwilightLane
The 300 Club
 
Posts: 484
Joined: Thu May 14, 2009 4:59 pm
Top

Postby TwilightLane » Sun Apr 25, 2010 10:42 pm

After being so careful laying out the elements, I needed to transfer the marks and measurements precisely between both sheets of ply. So I made a bunch of holes.

Image

Image
Rob & Lori
Aspen & Tundra
My Instructable: http://www.instructables.com/id/Teardro ... l-Trailer/
User avatar
TwilightLane
The 300 Club
 
Posts: 484
Joined: Thu May 14, 2009 4:59 pm
Top

Postby TwilightLane » Sun Apr 25, 2010 10:46 pm

Time to pull out the jig saw again. I peeled off the tape where I had made my lines. I used a 1x3 as a straightedge to keep my cuts straight as possible. Still had a little trouble with the blade wandering, but worked pretty well.

Image

Here is how I braced the cutout so it would cut cleanly.
Image
Image
Last edited by TwilightLane on Sun Apr 25, 2010 10:53 pm, edited 1 time in total.
Rob & Lori
Aspen & Tundra
My Instructable: http://www.instructables.com/id/Teardro ... l-Trailer/
User avatar
TwilightLane
The 300 Club
 
Posts: 484
Joined: Thu May 14, 2009 4:59 pm
Top

Postby TwilightLane » Sun Apr 25, 2010 10:48 pm

Now that's a door!

Image
Rob & Lori
Aspen & Tundra
My Instructable: http://www.instructables.com/id/Teardro ... l-Trailer/
User avatar
TwilightLane
The 300 Club
 
Posts: 484
Joined: Thu May 14, 2009 4:59 pm
Top

Postby TwilightLane » Sun Apr 25, 2010 10:51 pm

Once the doors were cut I separated the two sheets of ply. Here is one:

Image

Here is the other. I kept the sheet with all the markings face up so I could transfer info to the blank face on the other sheet.

Image
Rob & Lori
Aspen & Tundra
My Instructable: http://www.instructables.com/id/Teardro ... l-Trailer/
User avatar
TwilightLane
The 300 Club
 
Posts: 484
Joined: Thu May 14, 2009 4:59 pm
Top

Postby TwilightLane » Sun Apr 25, 2010 10:55 pm

I cut and laid out the spars to make sure I had all the pieces. (This is actually the second wall. I didn't take a pic of the first wall.)

Image
Rob & Lori
Aspen & Tundra
My Instructable: http://www.instructables.com/id/Teardro ... l-Trailer/
User avatar
TwilightLane
The 300 Club
 
Posts: 484
Joined: Thu May 14, 2009 4:59 pm
Top

Postby TwilightLane » Sun Apr 25, 2010 10:57 pm

Here is everything glued and screwd to the wall. Looking sharp.

Image
Rob & Lori
Aspen & Tundra
My Instructable: http://www.instructables.com/id/Teardro ... l-Trailer/
User avatar
TwilightLane
The 300 Club
 
Posts: 484
Joined: Thu May 14, 2009 4:59 pm
Top

Postby TwilightLane » Sun Apr 25, 2010 10:58 pm

Here is a detail of the curved top of the door. I'll use my router to cut the shape.

Image
Rob & Lori
Aspen & Tundra
My Instructable: http://www.instructables.com/id/Teardro ... l-Trailer/
User avatar
TwilightLane
The 300 Club
 
Posts: 484
Joined: Thu May 14, 2009 4:59 pm
Top

Postby grizz » Mon Apr 26, 2010 2:06 am

Awesome build.

Love the use of tape.

I also rarely draw and plan to such fine detail, I tend to just make it up as I go along.
Greetings from England.

Rian.


Hoping to get it all done in time.
User avatar
grizz
1000 Club
1000 Club
 
Posts: 1210
Images: 29
Joined: Mon Sep 21, 2009 2:37 pm
Location: Rochester, Kent, UK
Top

PreviousNext

Return to Build Journals

Who is online

Users browsing this forum: No registered users and 2 guests