I am now even further behind making entries to show my progress, almost 11 months now. When I have had time I had been working on the trailer rather than making entries.
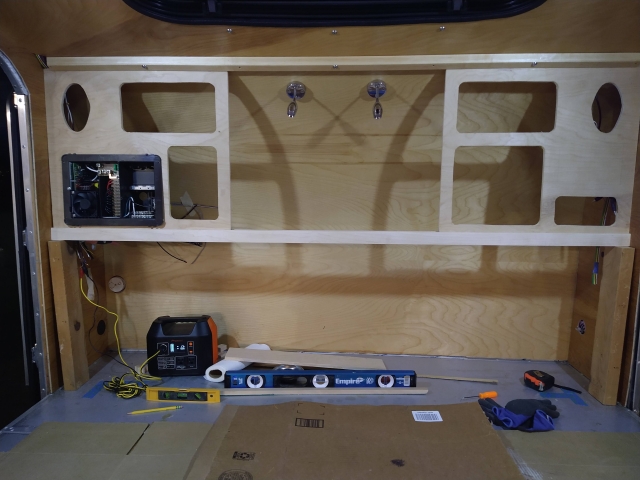
After getting the ceiling and wall skins in the next step was to start cabinets in August 2020. I had to figure out how to configure the front cabinets with a flat side facing the "bedroom" that coincided with the structural supports and could hold the electrical PD4045 panel, the stereo, speakers, reading lights and have useful shelves. I tried some ideas with cardboard mock-ups for the panel and lining it up with one of the horizontal steel ribs in the ceiling where the ceiling skins came together, just forward of the side doors.
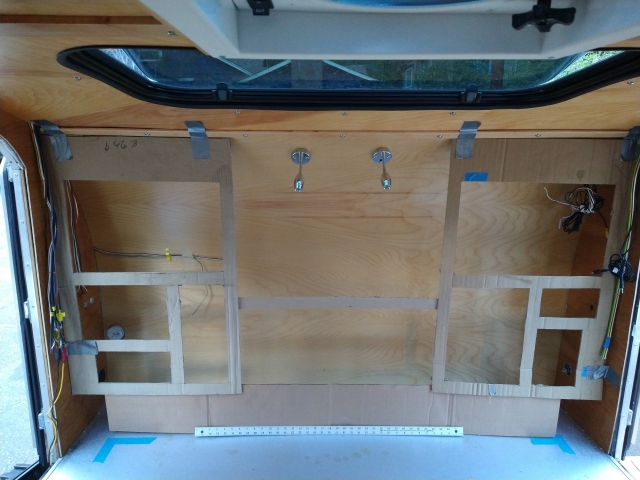
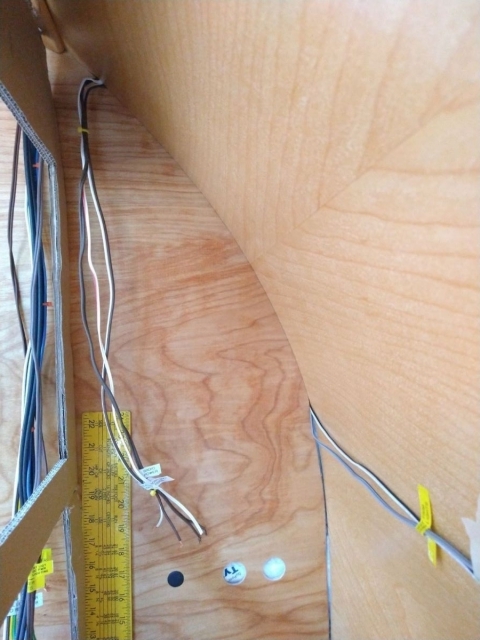
Lots of wiring from the rear hatch and ceiling came forward of the door and emerged either at the top of the skin and hung down toward where the PD4045 would eventually go.
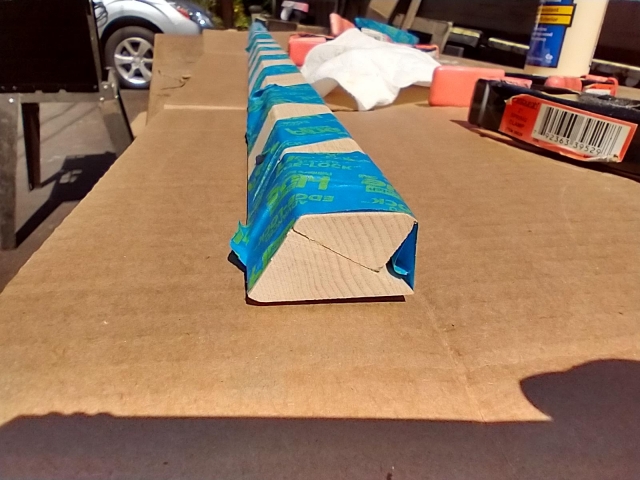
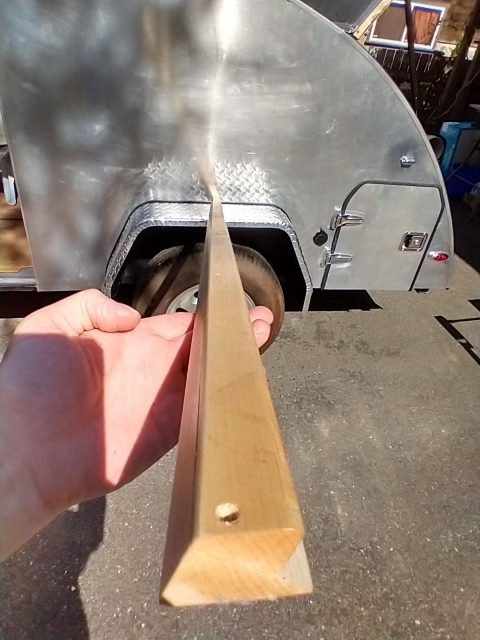
I had to devise a way to attach to the upper structural support and provide a molding to cover the joint where the ceiling skins met. I took a 1x2" solid maple stock and ripped it diagonally and flipped them around and glued them back together to give a vertical edge on which to hang the cabinet fron panel that would be made from 1/2" birch plywood.
This is how it looked glued and ready to install (although upside down).
Here are the plywood panels hanging from the top bracket to see how they fit with a PD4045. Note that the real panels are upside-down compared to the cardboard mock-ups since this seemed to work better to manage the depth that narrows down at the top and leave more storage room in the big rectangular sections.
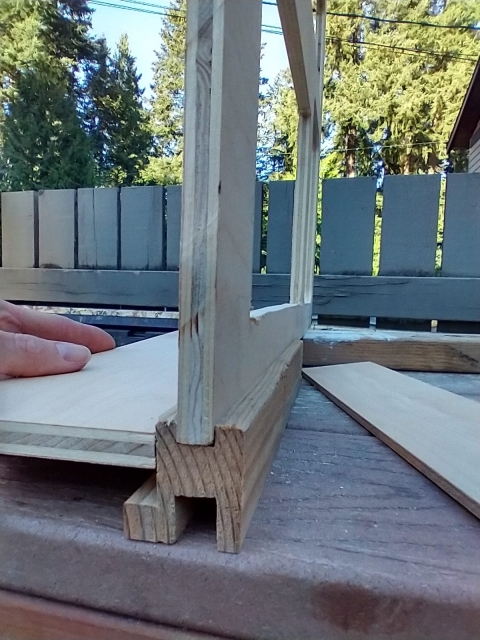
The horizontal piece is a fir 2x2 mock-up frame member with a dado on top to hold the panel an a wider dado on the bottom to accommodate sliding doors underneath and a notch on the back to hold up the internal shelf. I later made the real one out of maple (with 2 1x2s glued together since I couldn't find a 2x2).
Here is a buildup with a horizontal shelf. The small strip on the wall in the center pulls the skin into the curve and screws into the ribs - this is just temporary since I decided to remove the reading lights out near the speakers in the upper corners after I was told that the reading lights in the middle look like creepy crab eyes!

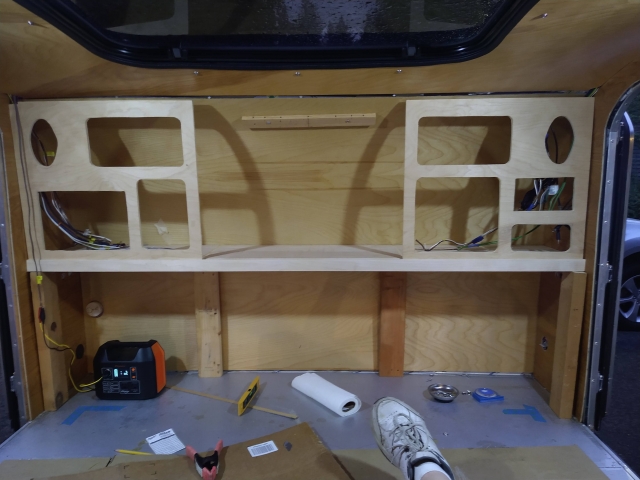
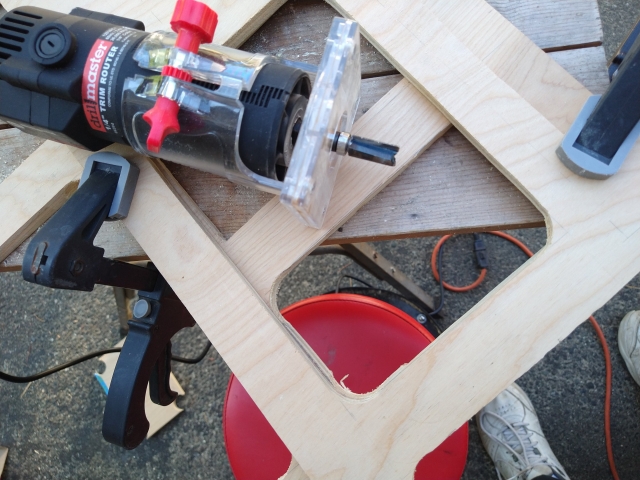
Other than the dedicated spaces for the PD4045, speakers and stereo, the other holes are just to make good use of what remains. I thought of putting doors on them but they were too small to bother so they are just cubby holes. Their edges and corners were irregular so I had to trim one precisely then used it as a template to refine the others with a trim router. The shelf in each cubby hole is about 3/4" below the opening so that way I hope stuff doesn't fall out too easily.