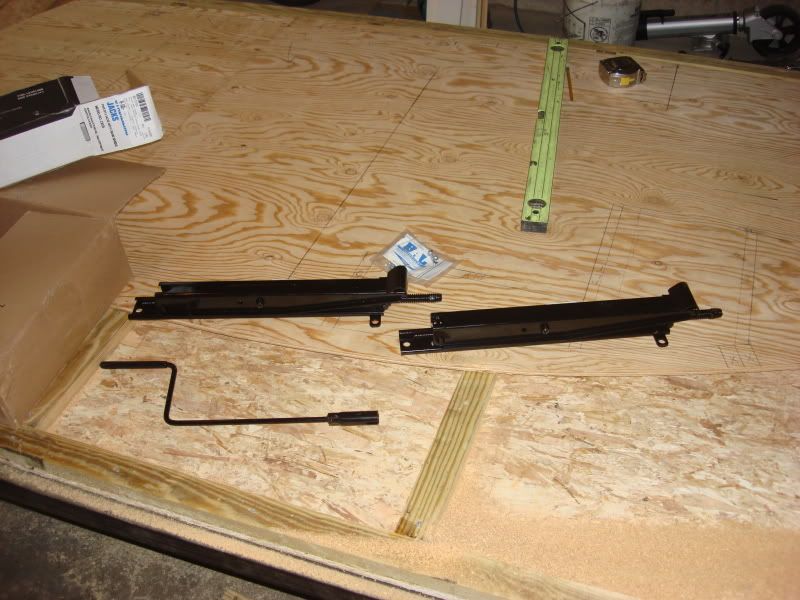
Well my stabilizers finally came in yesterday.
And my axle did come yesterday, but despite requesting no signature from the shipper (I knew I would not be home for the delivery, gots to work), I arrived home to find that oh so fantastic FedEX door tag, "sorry we missed you." Called the number on the back to schedule pickup at there facilities (a whole 5 miles from my house) and the agent states that it would not be available yesterday for pick up, my assumption anywho, and they would send it back out for delivery today.

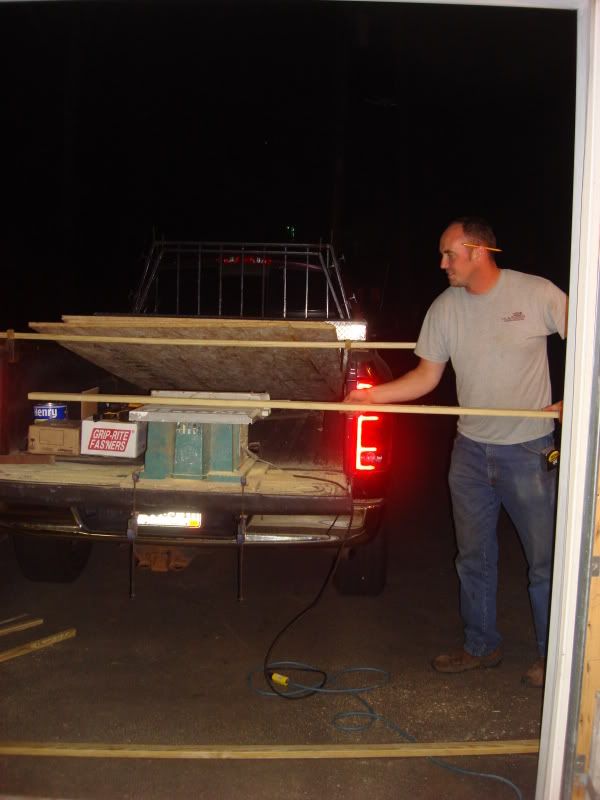
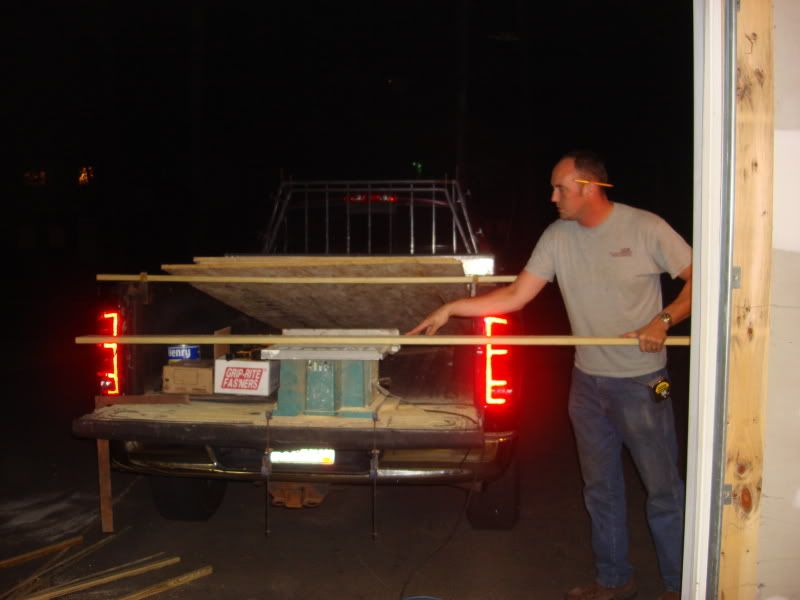
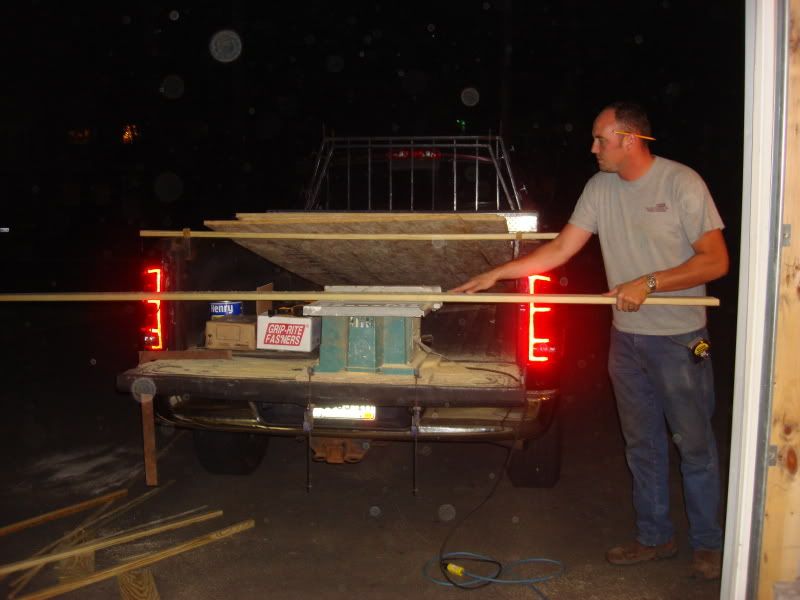
I was like, NO, leave it there I will come get it or else I would be making the same exact call today and would be without the axle for another day. Well went there this morning and we have axle.
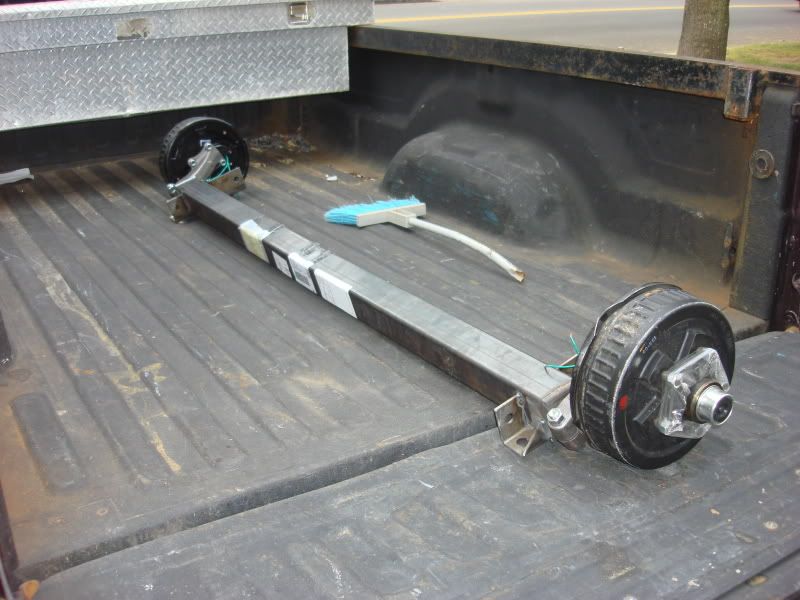
Thew it in the truck and verified the measurements I gave the gentleman who took my order. Spot on.
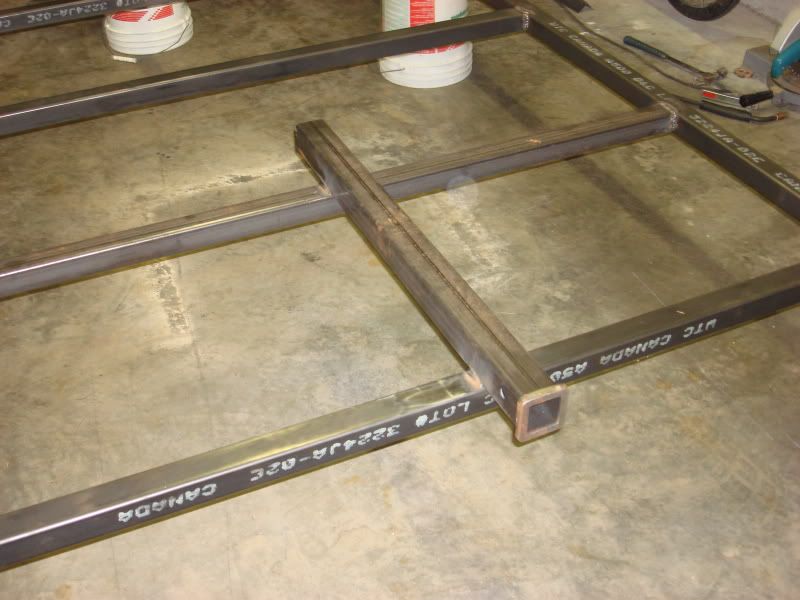
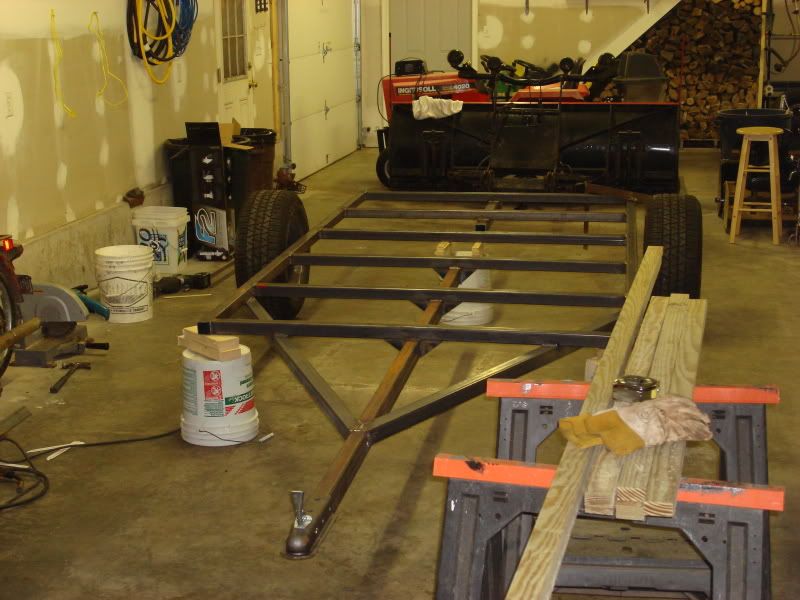
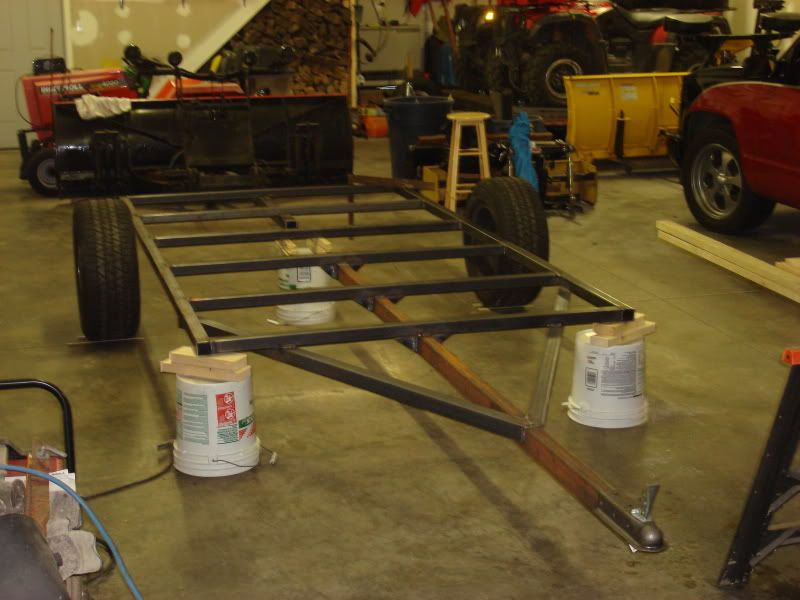
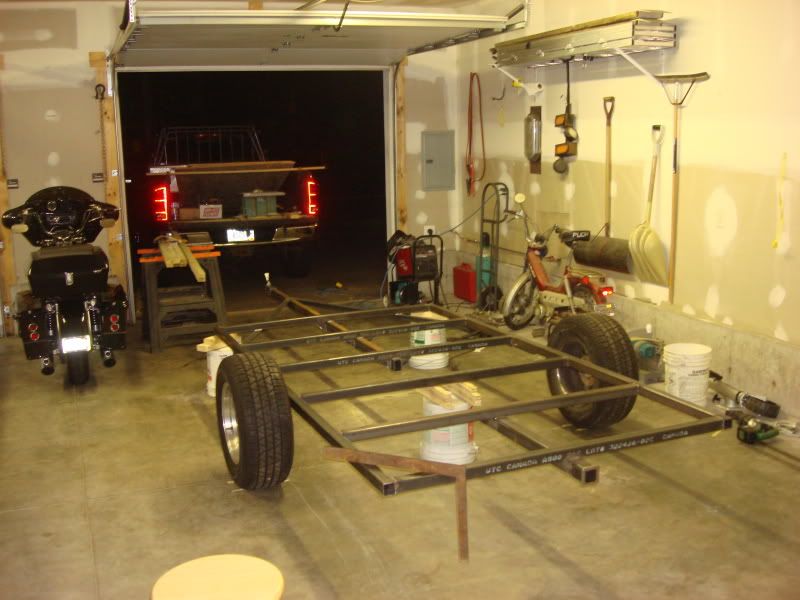
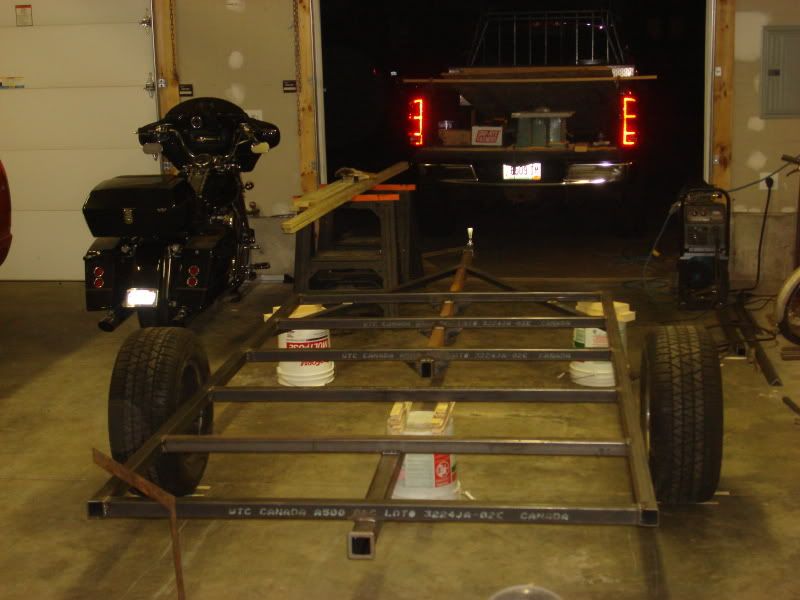
Now, since I started all this wall and floor work I am torn. Do I give up my work table (trailer frame) or just continue on my wall work. I will probably dig out the trailer I guess so I can finish it up. May still be able to paint it this weekend. I guess that would be best so I can work on the wall stuff and bottom coating while the frame paint is drying.
So I guess the plan when I get home tonight is to un-bury the frame, sweep up some serious sawdust, make some axle brackets like Thomas used on his TD for easy axle removal if required in the future, get the axle in place and weld up the brackets, mount the stabilizers, install a couple mounting tabs for the tongue box, cap off some tube ends, flatten some welds, and then the frame will be ready for paint prep.


 ???
???


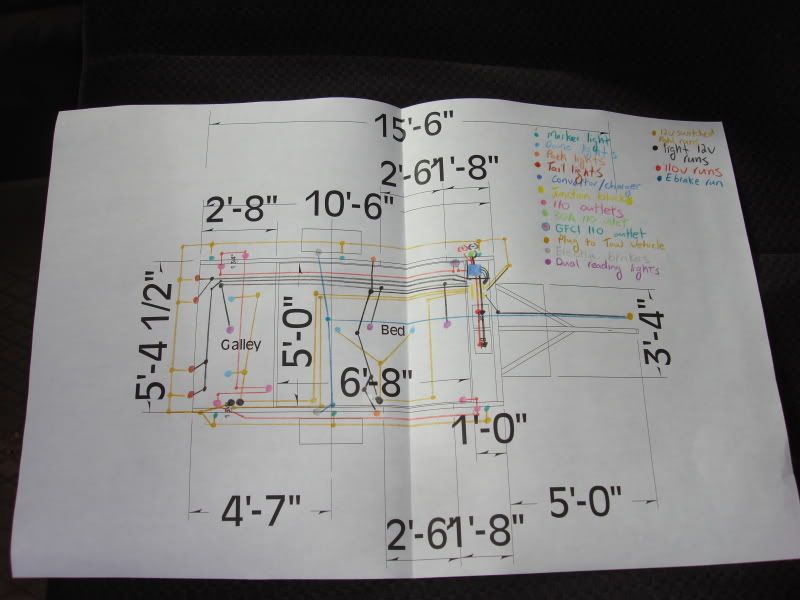
 So here is a picture of my electrical layout. Actual wire routes are not accounted for, but just wanted to note what would be connected to what, switched, voltage etc. The only change I plan from this is to have three different runs for the 110 outlets. 1 for the fridge, one for the galley/interior outlets, and 1 for the exterior outlets. 1 would be fine i am sure, but this way will allow me to better diagnose a problem if one should ever arise. I will wire all three runs with gfci in mind.