TwilightLane Cubbie Build
![]() by TwilightLane » Tue Mar 09, 2010 11:02 pm
by TwilightLane » Tue Mar 09, 2010 11:02 pm
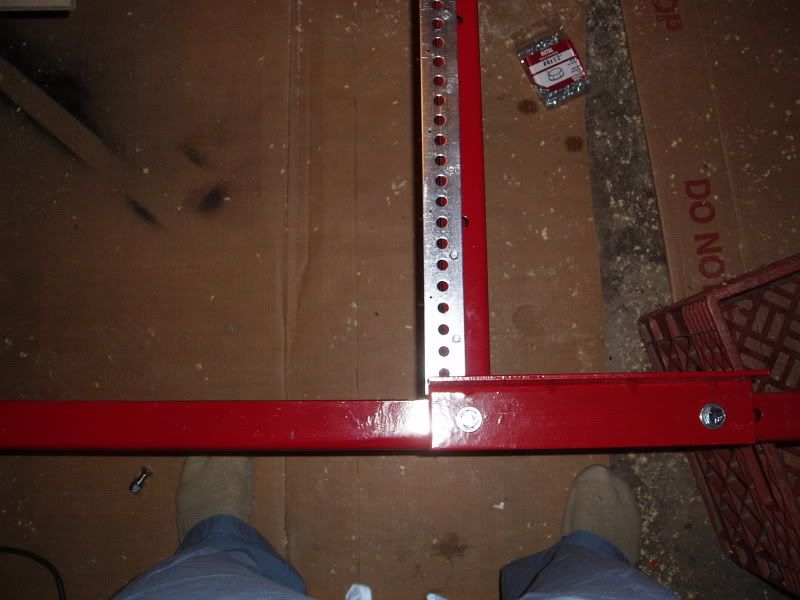
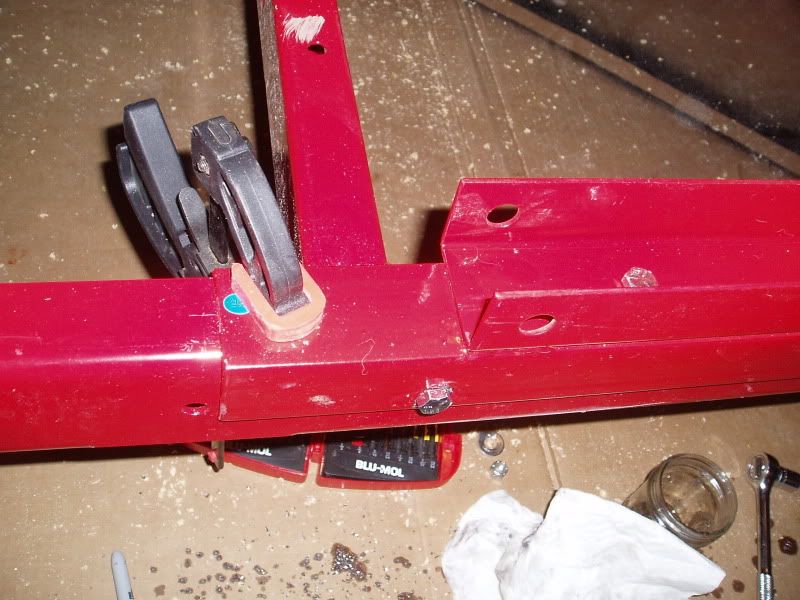
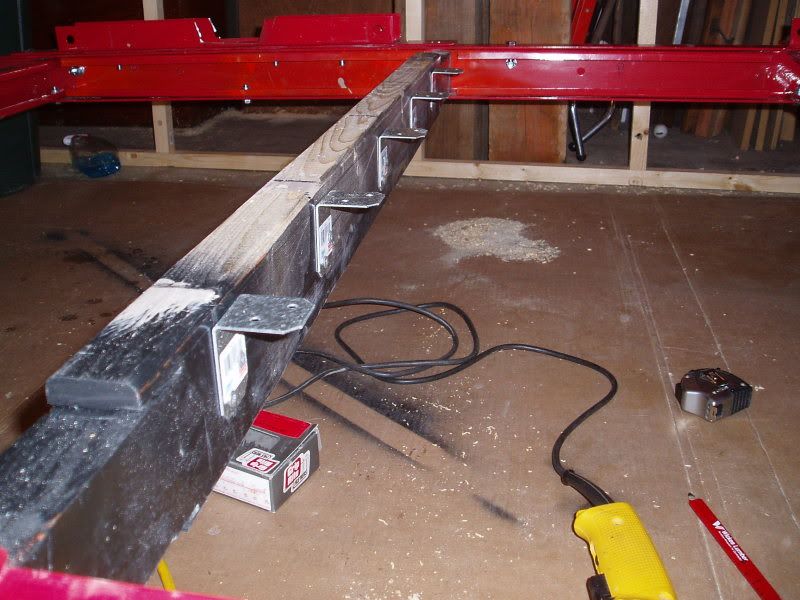
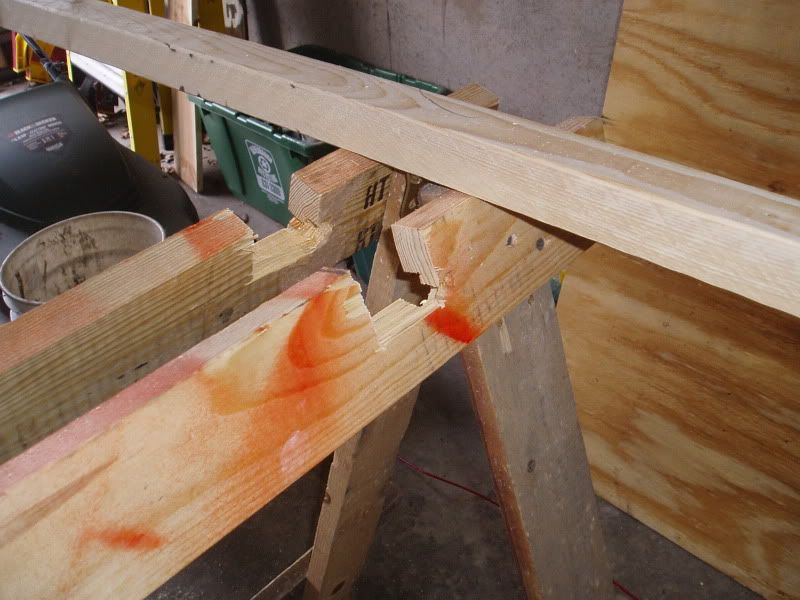
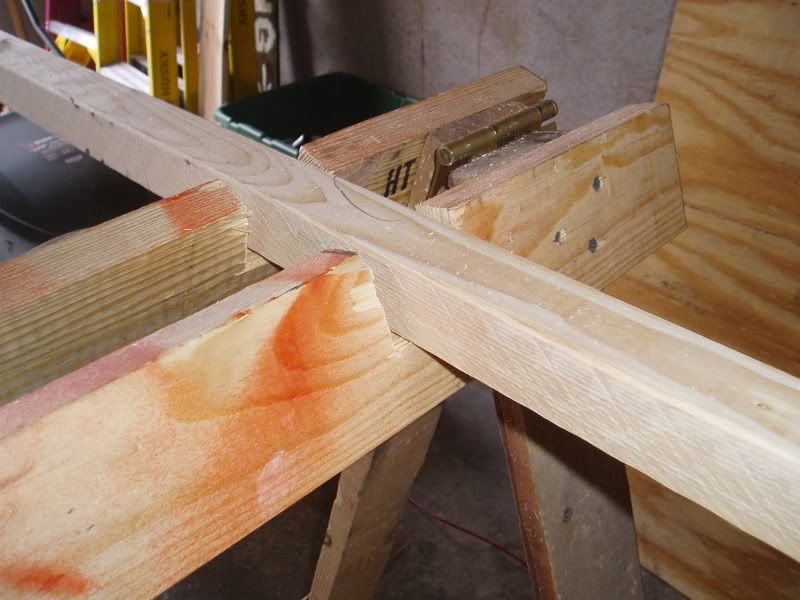
I used a 2x6 at the tail end of the trailer. I plan to connect stabilizers to that piece. I happened to have the 2x6 lying around. Ahemdumpsterdivingahem. It's even already painted w primer!
Last edited by TwilightLane on Wed Mar 10, 2010 12:38 pm, edited 2 times in total.
-

TwilightLane - The 300 Club
- Posts: 484
- Joined: Thu May 14, 2009 4:59 pm
![]() by TwilightLane » Tue Mar 09, 2010 11:06 pm
by TwilightLane » Tue Mar 09, 2010 11:06 pm
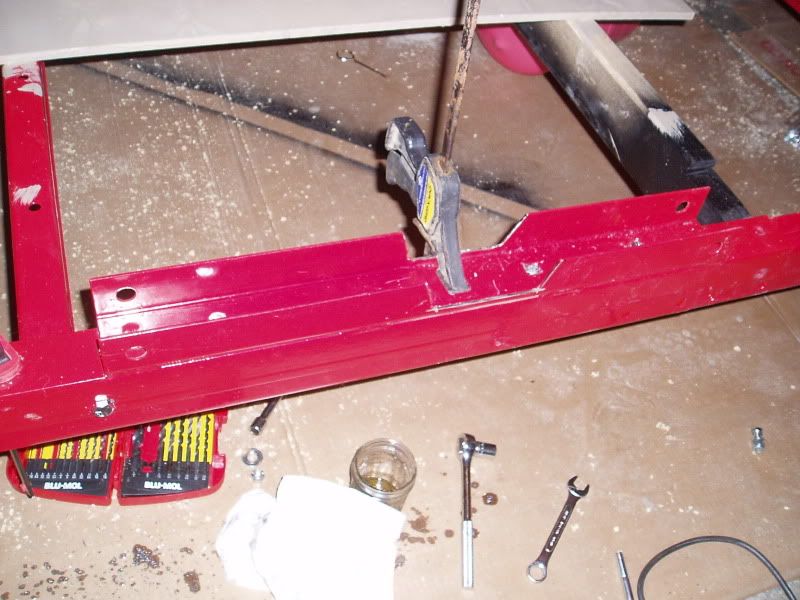
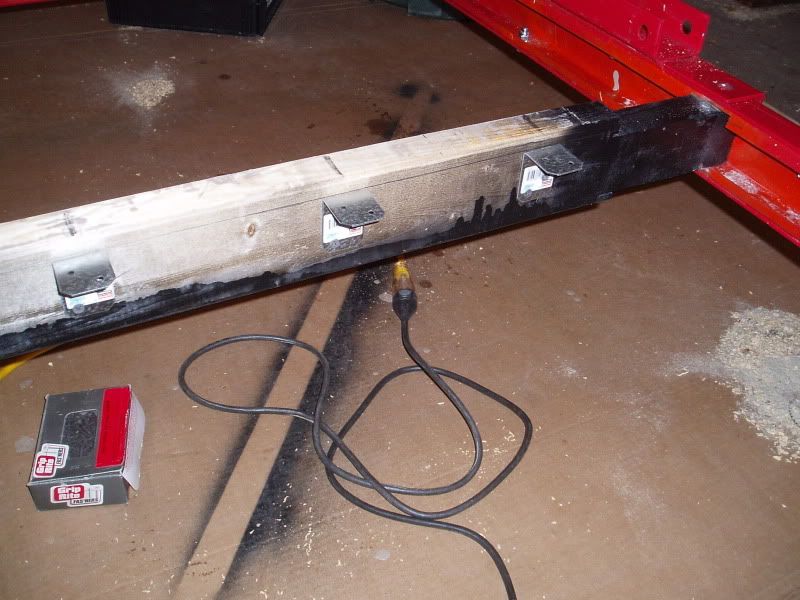
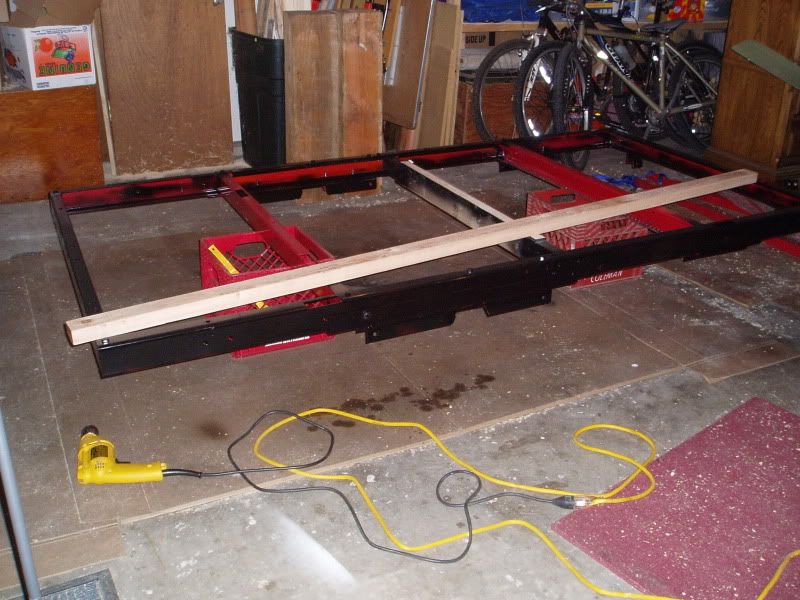
Here is the subfloor all pieced together. I had to hit the wooden crosspiece on the trailer frame with the belt sander to get it to lay right.
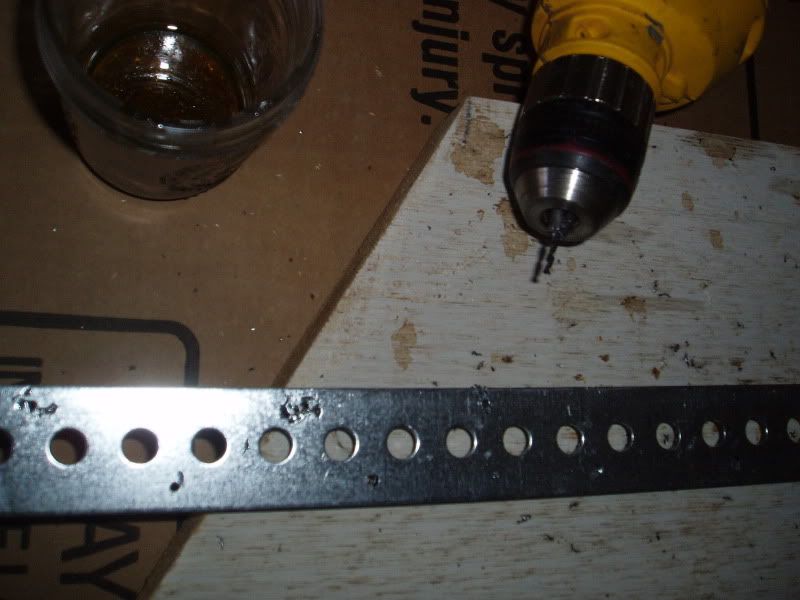
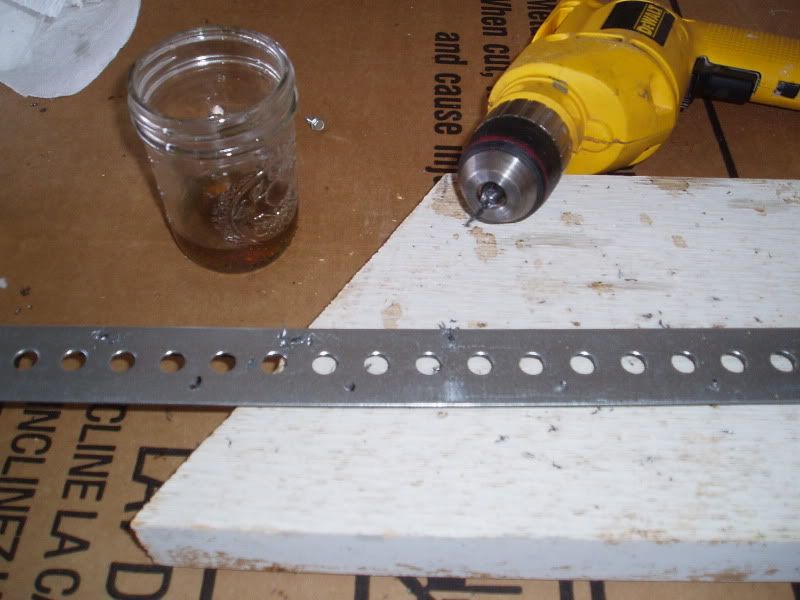
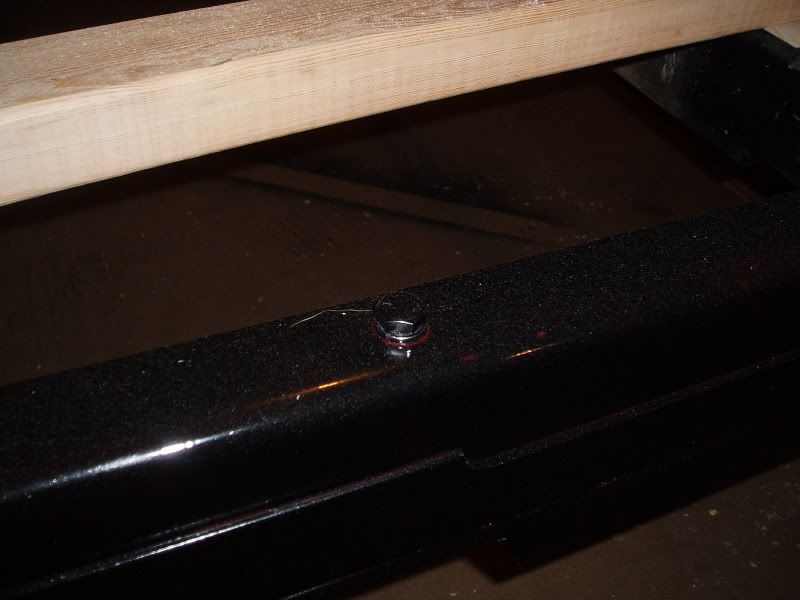
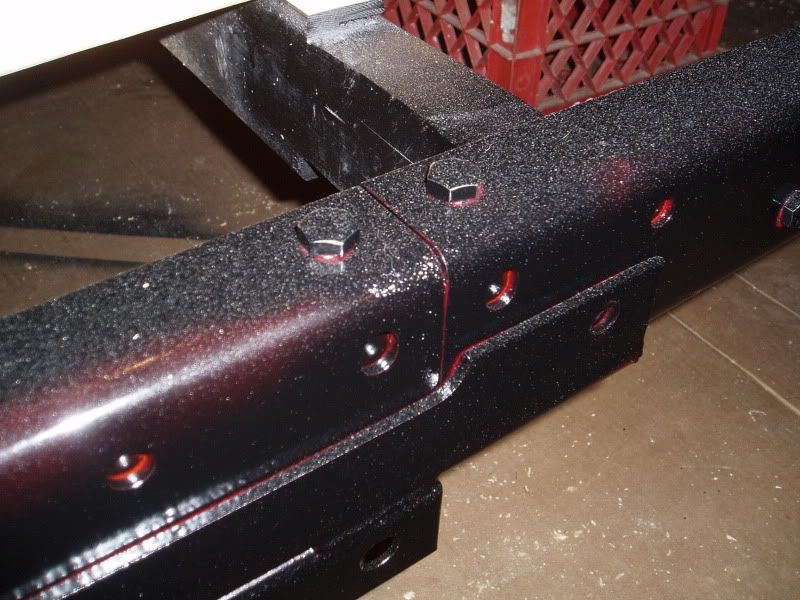
Once it was all lined up, I clamped it to the frame and slapped it w a rubber mallet to see where the bolts impeded mating the trailer and subfloor frame. I used my drill to make some shallow holes where there were marks from the bolt heads. Pretty easy work.
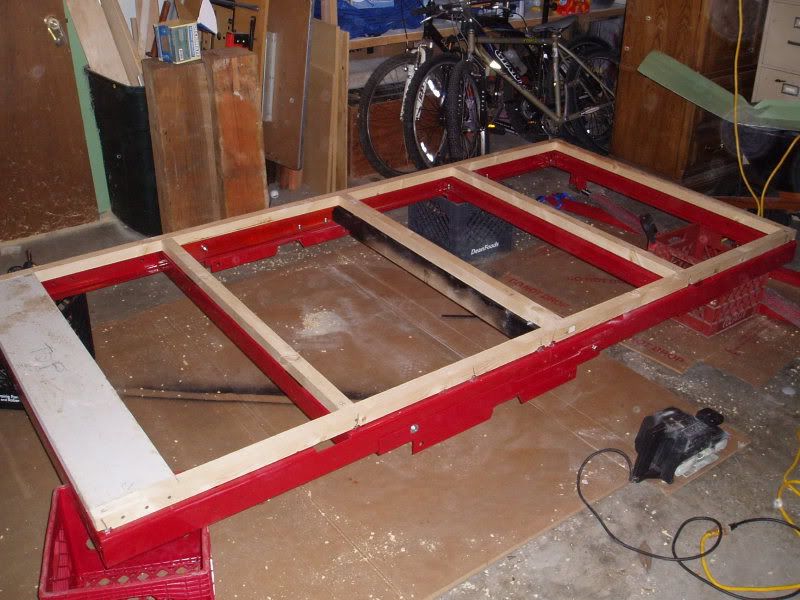
Once it was all lined up, I clamped it to the frame and slapped it w a rubber mallet to see where the bolts impeded mating the trailer and subfloor frame. I used my drill to make some shallow holes where there were marks from the bolt heads. Pretty easy work.
-
TwilightLane - The 300 Club
- Posts: 484
- Joined: Thu May 14, 2009 4:59 pm