Cheers Deryk

I've resized a load of the photos, and as we love photos it must be
time for an update ... Things have moved along with the build, and as summer approaches, I decided it was going to be a much more pleasurable build if i was out in the sun

The caravan was emptied, and stripped to a bare chassis in a couple of days.
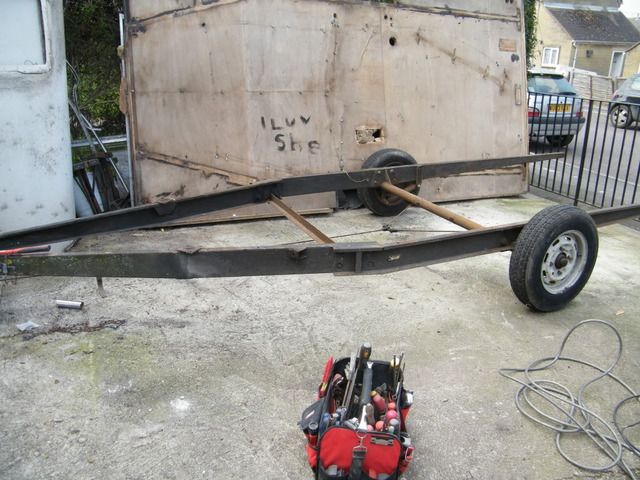
The chasis was shortened by re bolting the tongue closer to the axle, and trimming off the rear end.
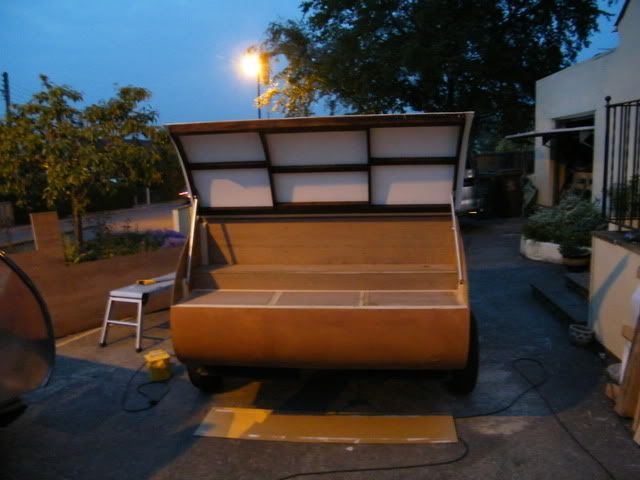
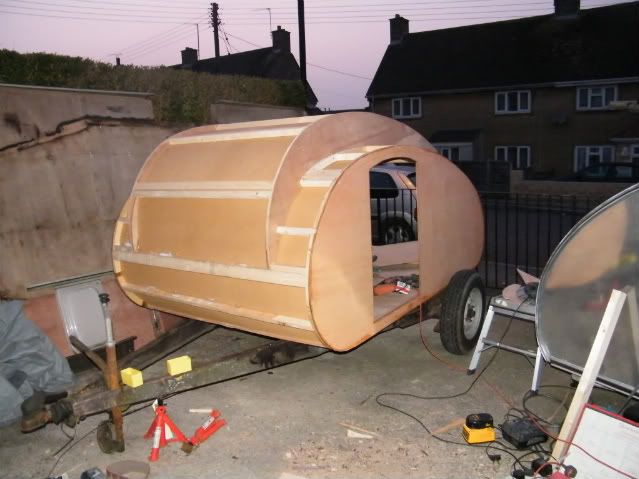
With the sides cut out already, It didn't take long to put the walls and floor together.
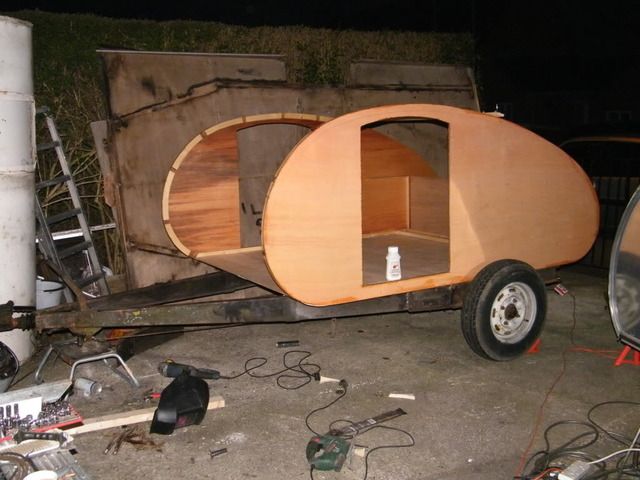
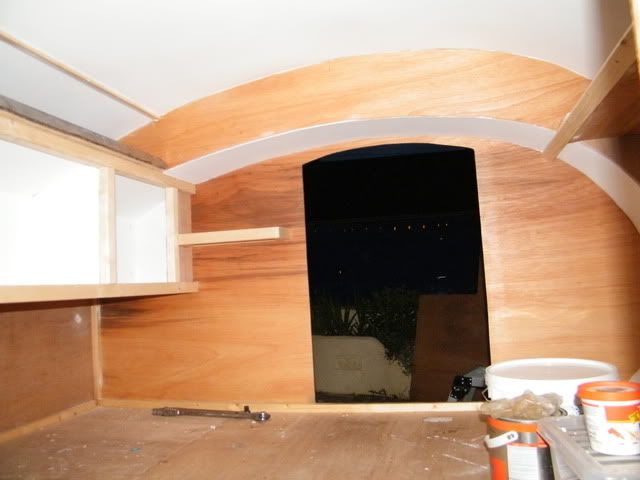
By the end of the next day, the Trolley top was in place, along with most of the internal boards
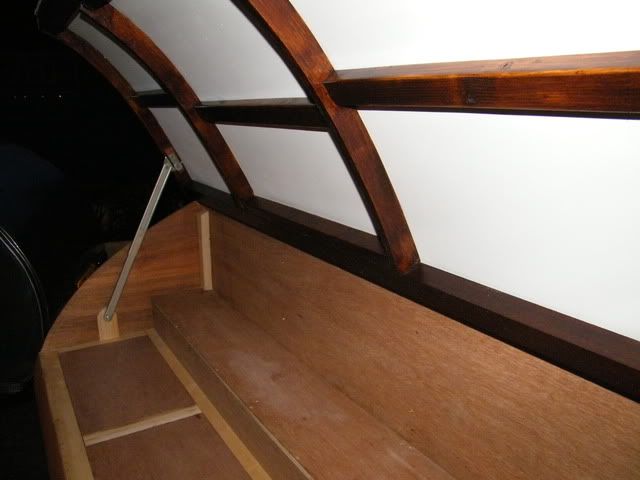
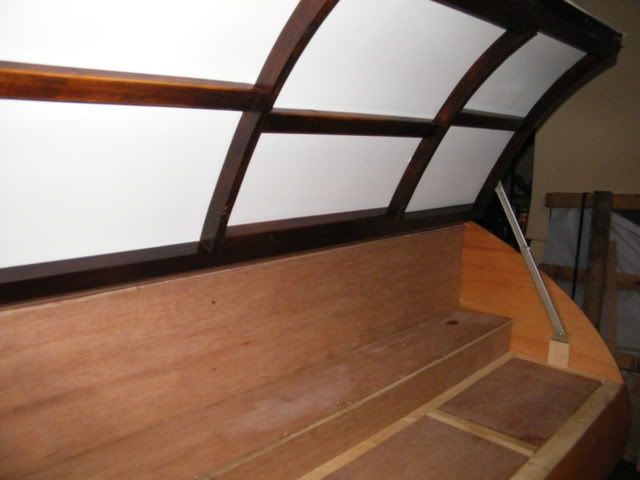
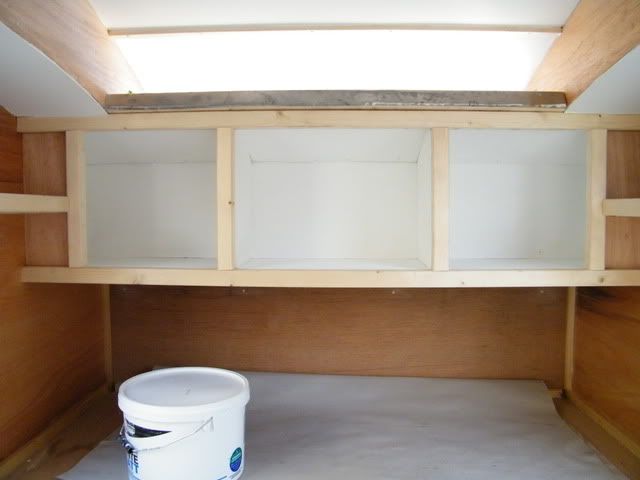
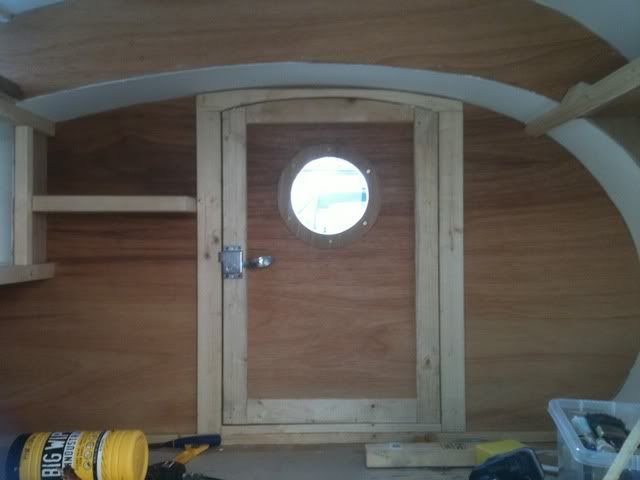
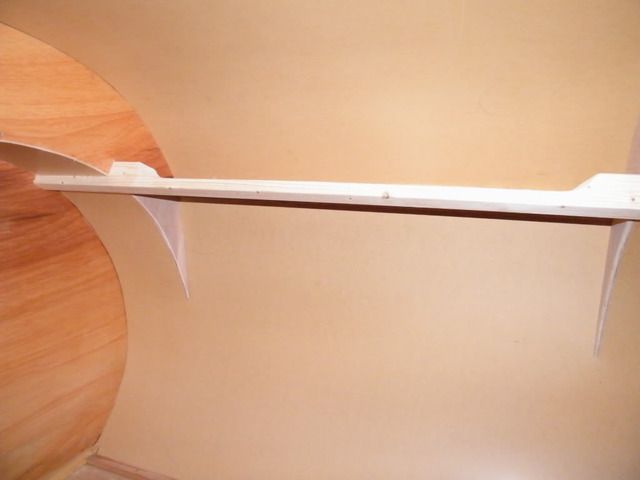
I put the front shelf in, and shaped the timber to give better access,
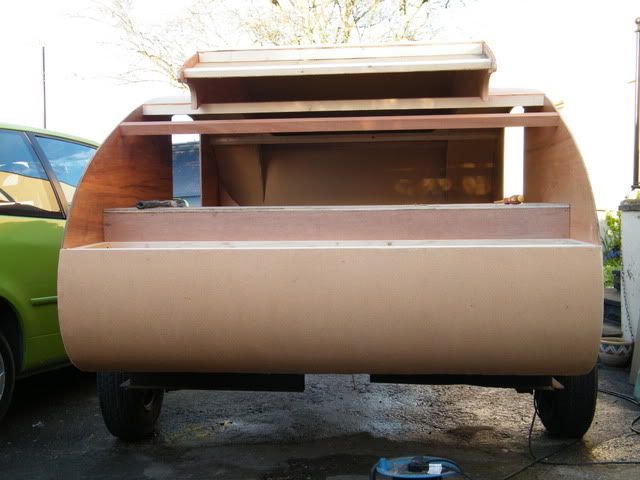
The back end has been skinned with hardboard and the bulkhead's fitted. Also fitted the hardwood cross member to pick up the hatch hinge.
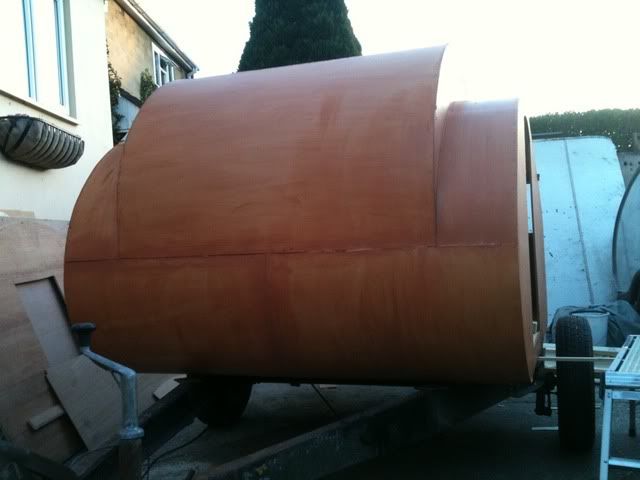
With the insulation finished, the external boards have been fitted and given a couple of coats of water proof stain. Ready for the aluminium


I've shaped the rear trolley top timber, and found somewhere local that supplies hurricane type hinges .......less than £100 for 5m (16ft)


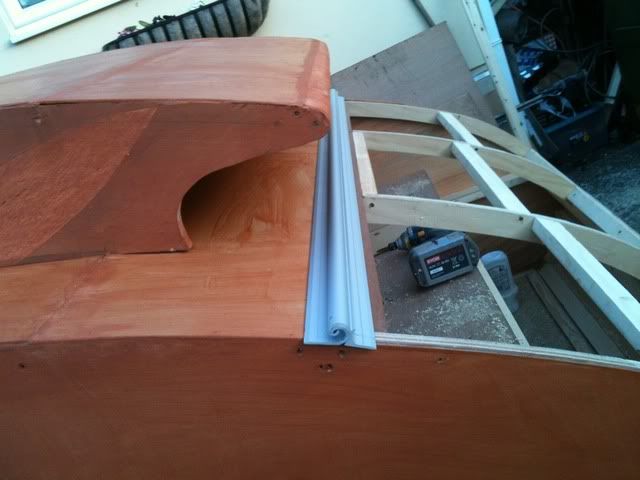
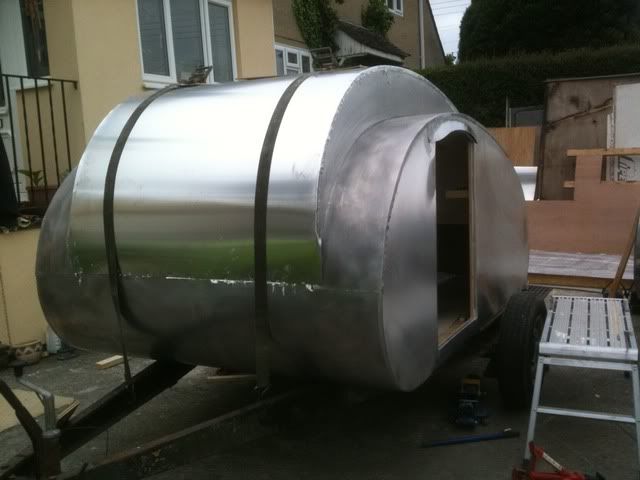
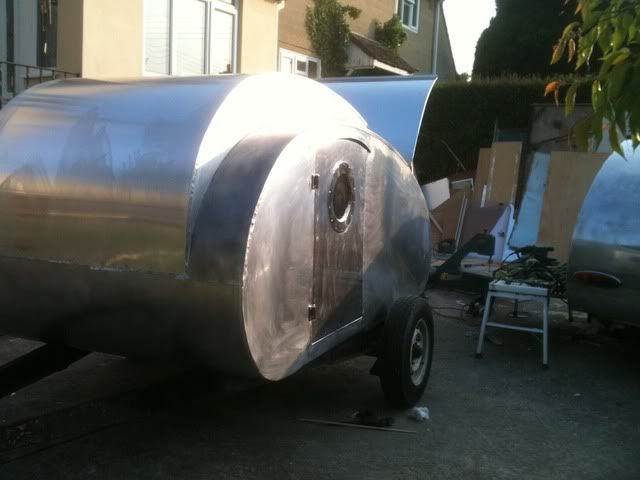
Now we're nearly up to date, I started fitting the aluminium over the weekend.
I had some aluminium left over from the last build, so i thought I'd see what I could do with it.
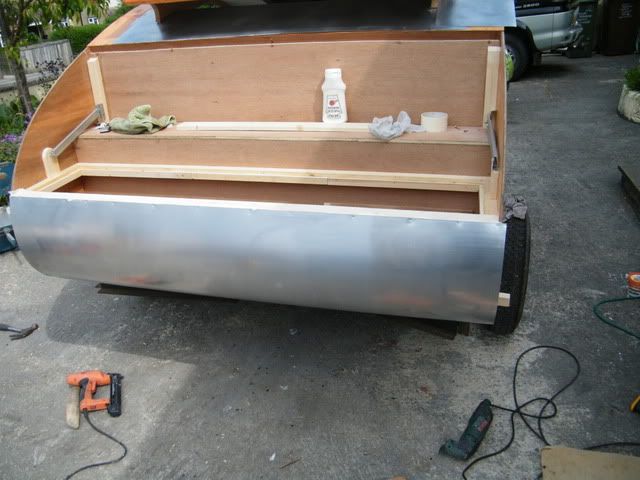
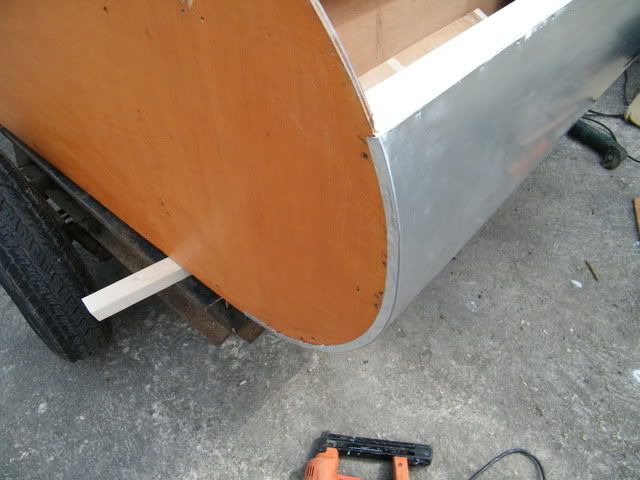
First job was the lower front section... I've used a scotchbright pad on the polisher to remove the mill finish before fitting the sheet. Its a lot easier doing flat sheet than trying to get the polisher around the chassis.
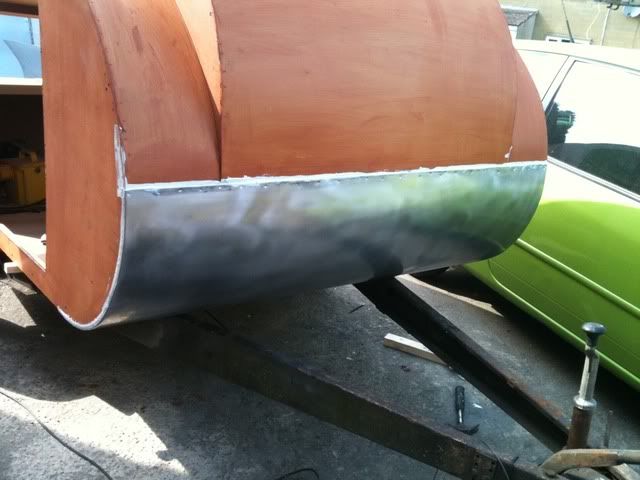
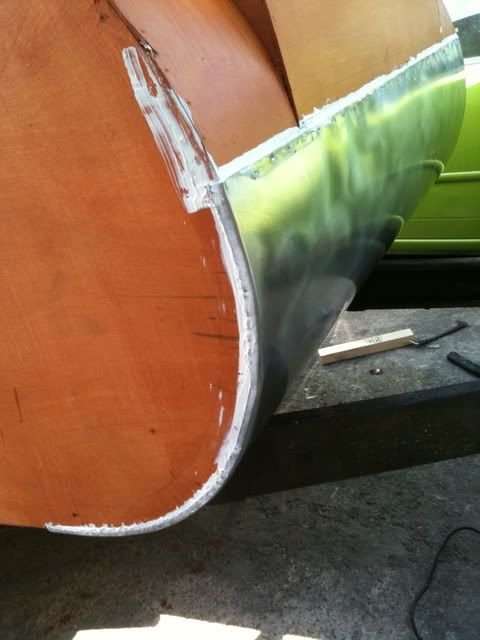
I've used plenty of polyurethane sealer , making sure all the edges are sealed , and then dressed the edges around the sides.
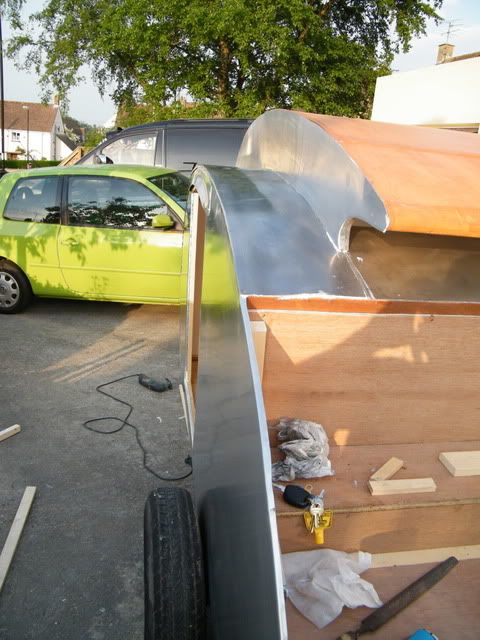
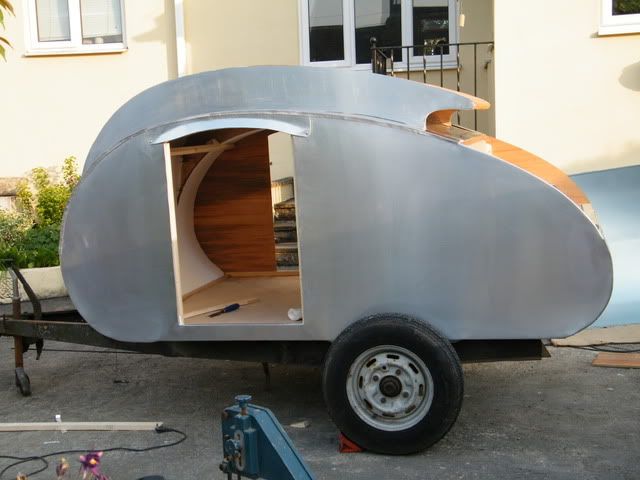
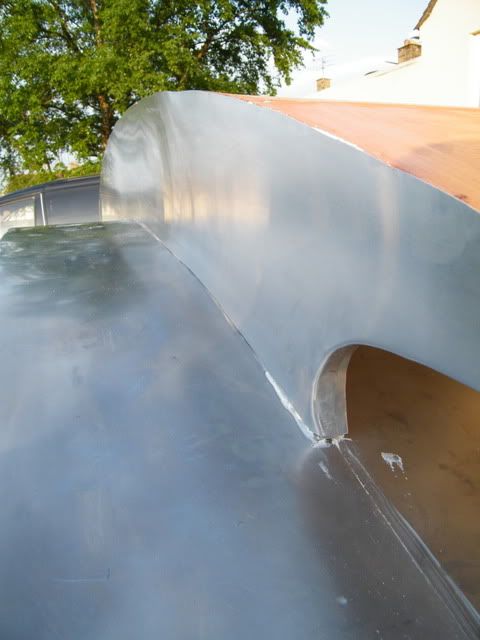
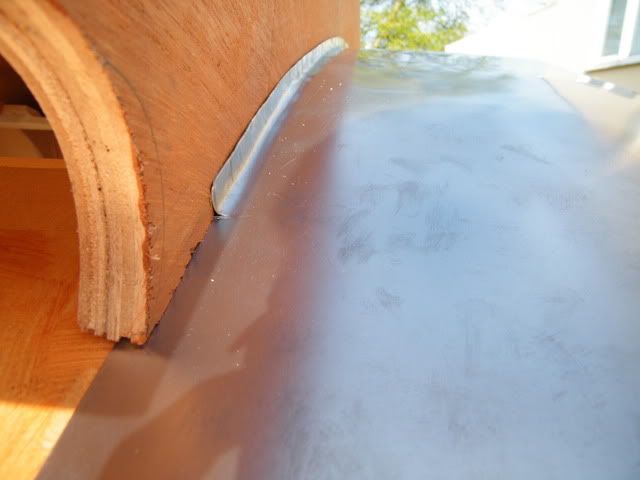
Then onto the either side of the trolleytop. I wanted to create an up stand to ensure we don't get any water in next to the trolleytop. The aluminum sheet was cut an inch wider to alow it to be dressed up on one side and over the lower side on the other.
I used an piece of 1/2" ply to dress the up stand , forming the right hand side on the left, and visa versa.
Here's a shot of the left (near side) up-stand being formed on the right hand side of the roof. The small cut is to allow the aluminium at the back to tuck under the rear of the trolleytop.
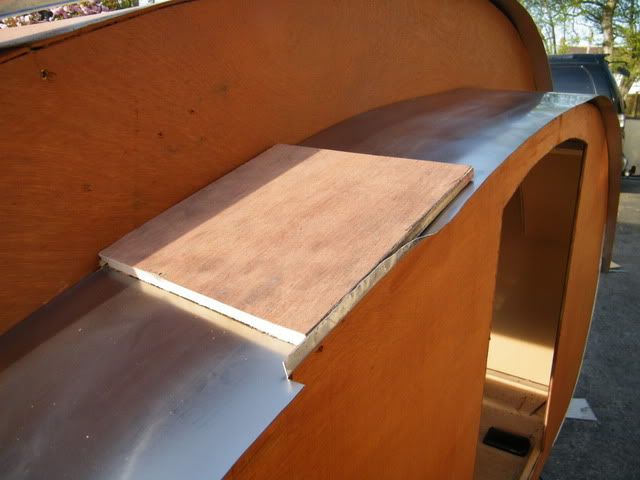
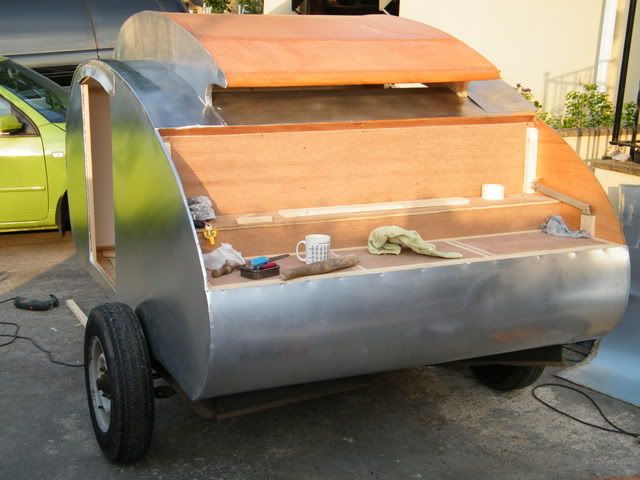
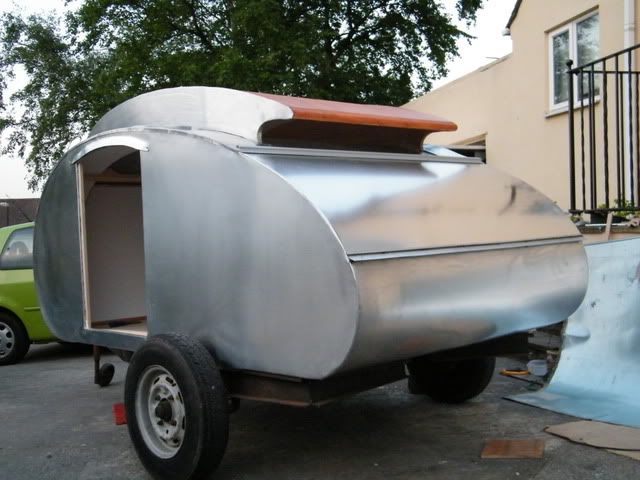
Here's a shot of the rear of the right side. This sheet sits on top of a piece going behind the trolleytop, with a good 4" overlap. I need to have the side on before these pieces can be sealed and fitted proper like.
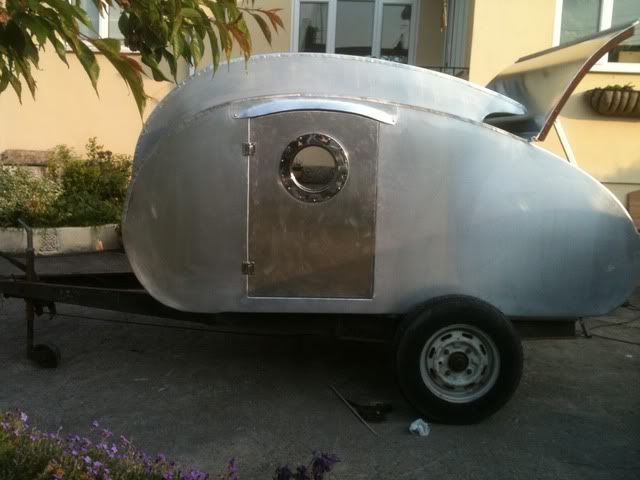
The front finishes over the lower sheet, and will be finished with a cover strip
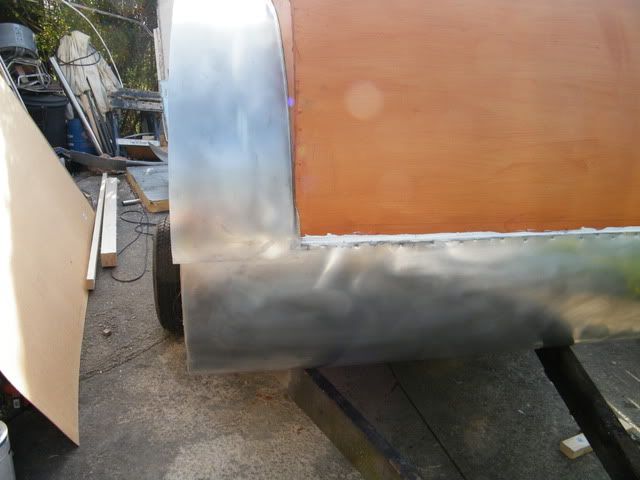
I'll have to get on and order some ali sheet for the sides.
We're away in the teadrop this coming weekend, but I'll keep you updated on the progress.
Cheers, Dave.


 No signs of it so far.....fingers crossed the polish has created enough of a barrier to protect the aluminium.
