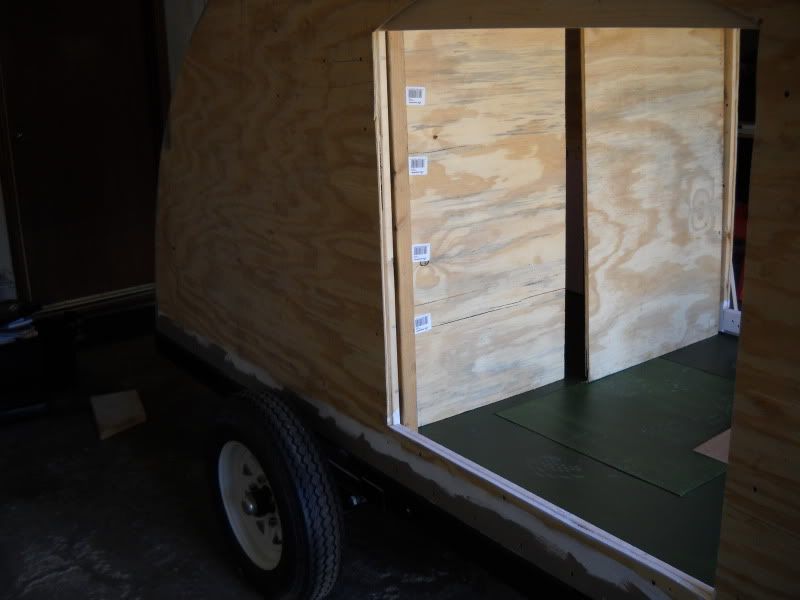
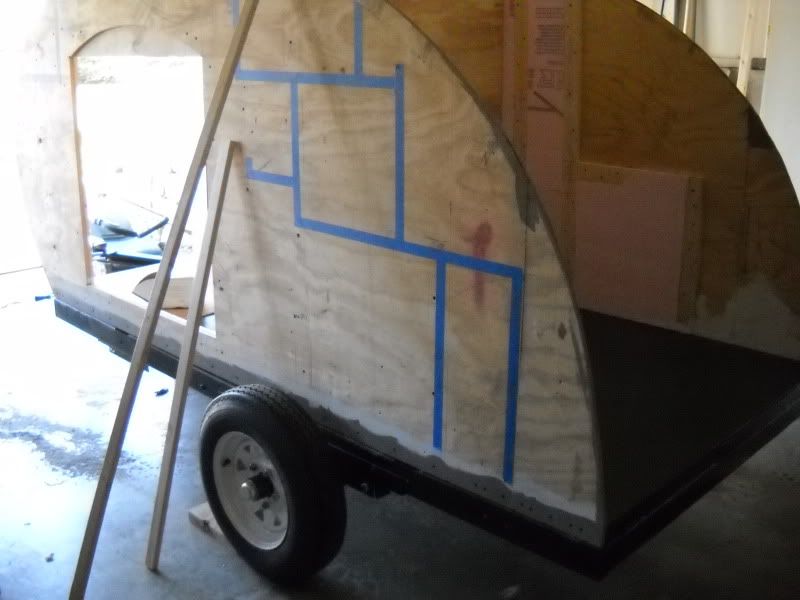
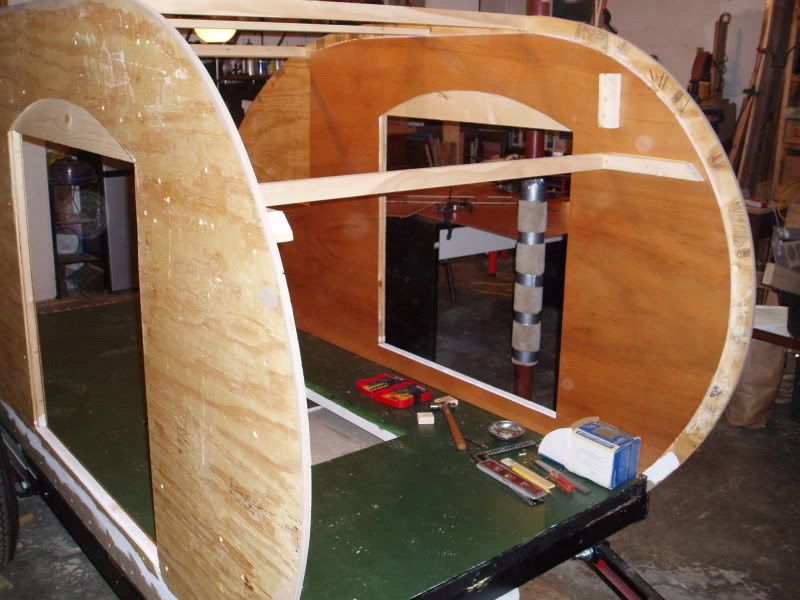
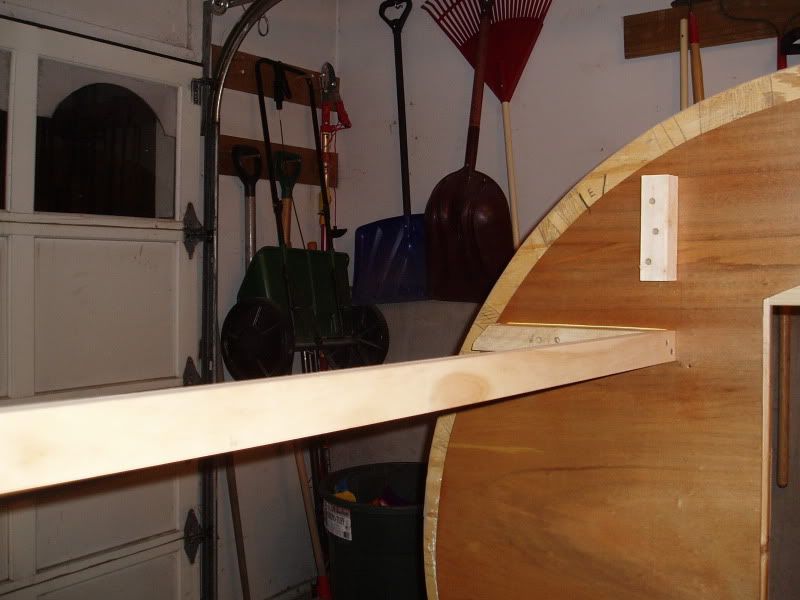
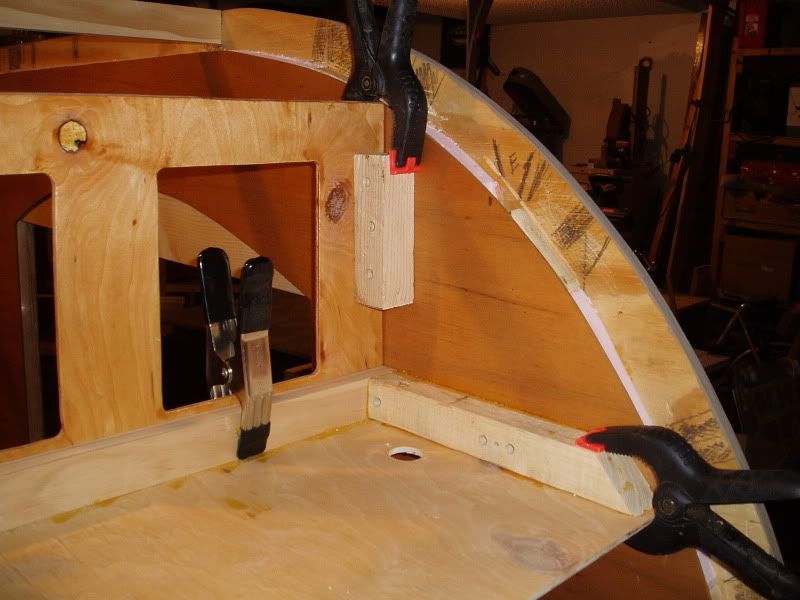
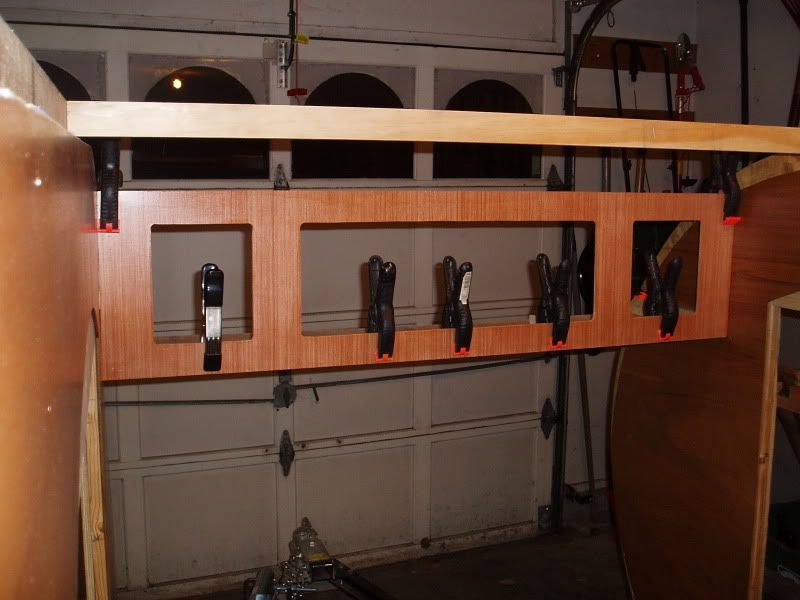
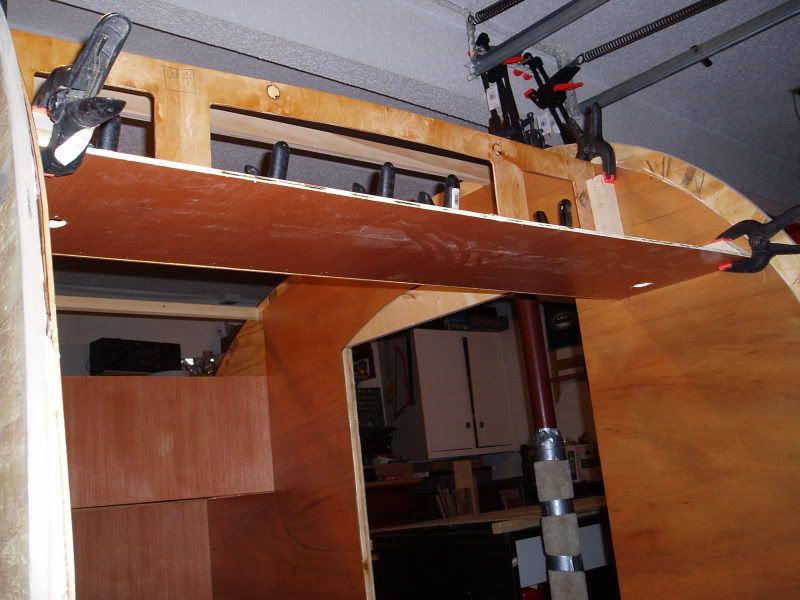
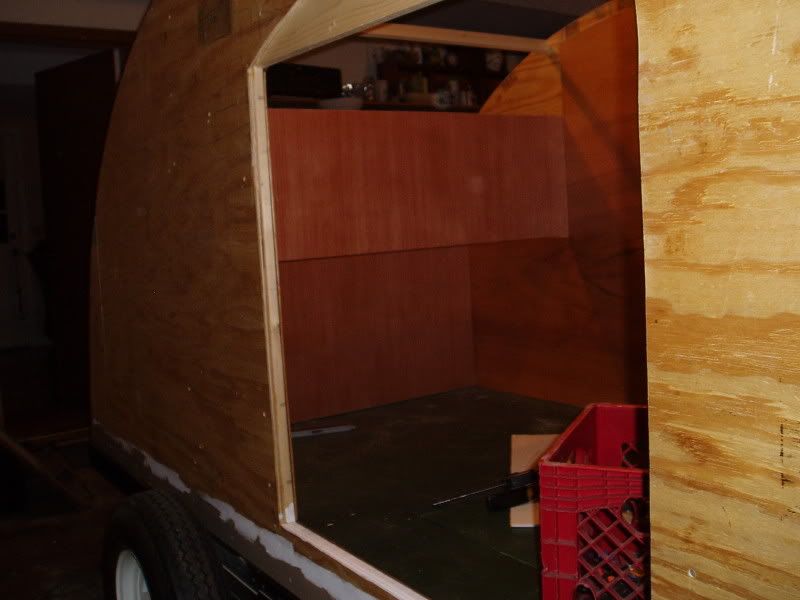
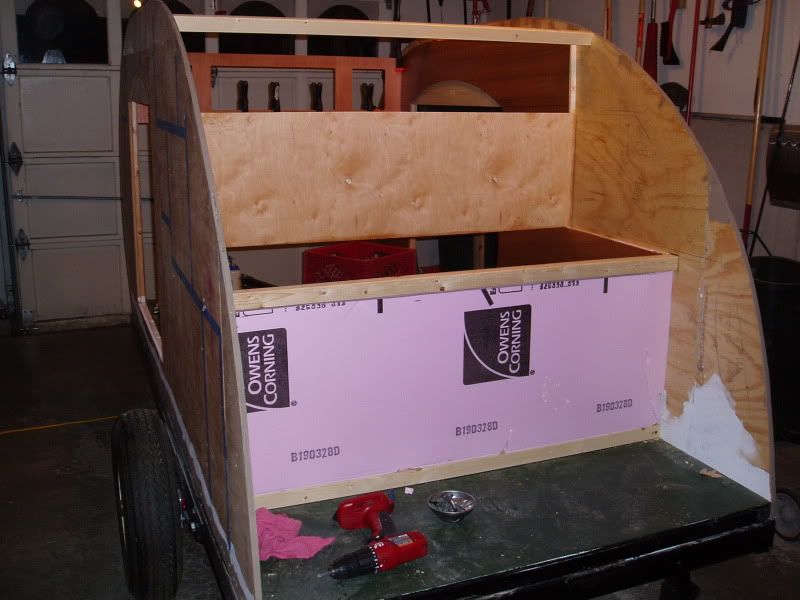
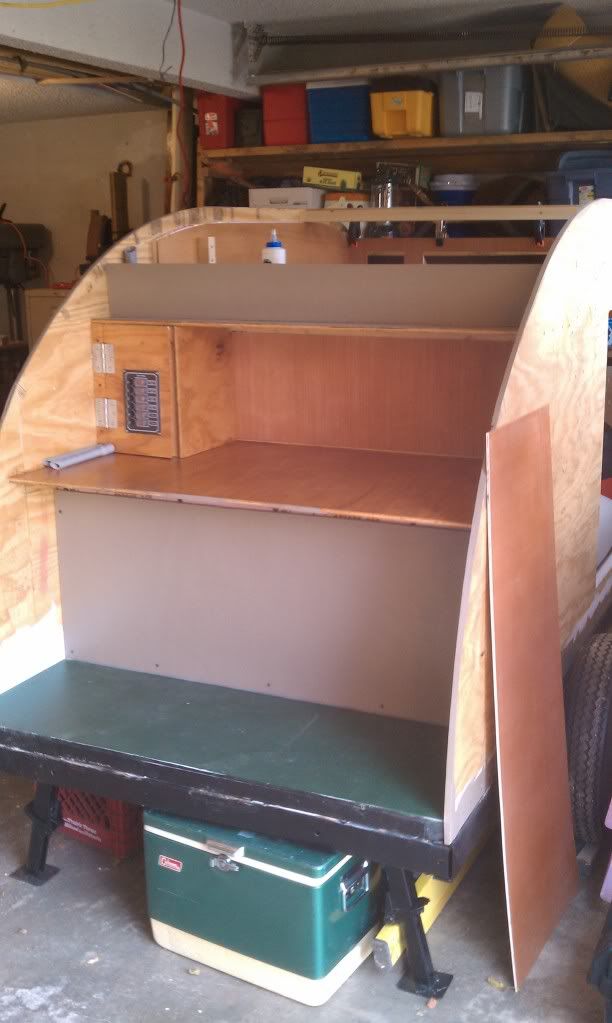
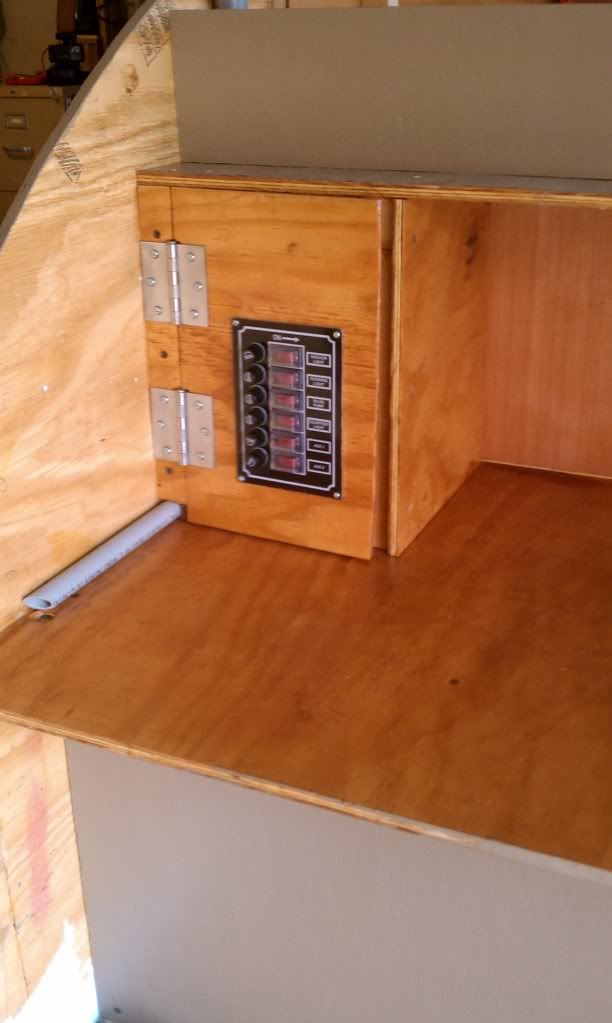
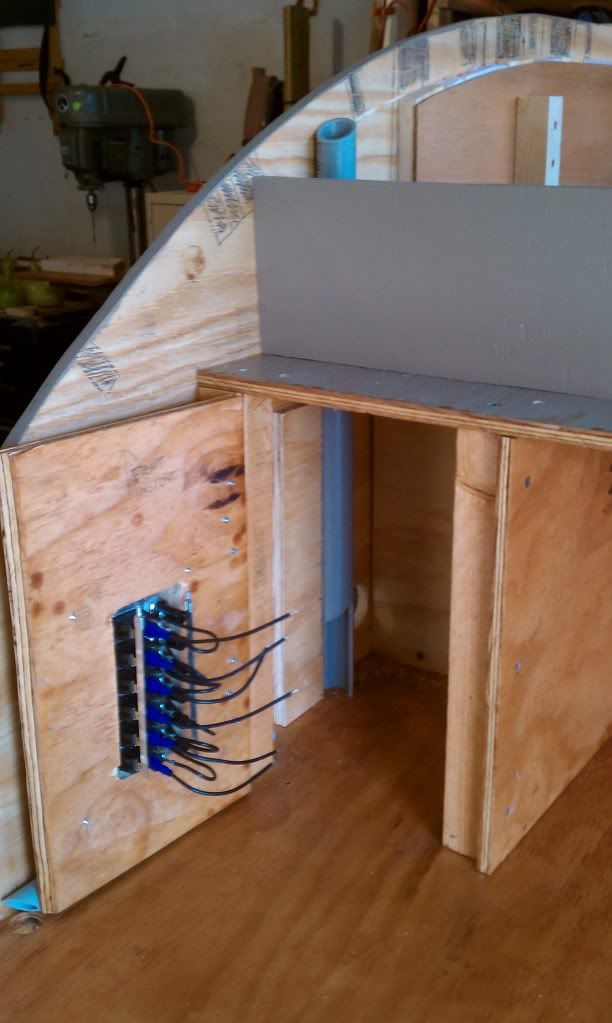
TwilightLane Cubbie Build

...ask your questions in the appropriate forums BUT document your build here...preferably in a single thread...dates for updates, are appreciated....

Postby TwilightLane » Wed May 19, 2010 10:38 am

I'm firm about having it done in prep for the fall. I have a trip to CO in mind to visit my in-laws and spend time with wife in the mountains (her natural habitat!!).

It's going to be touch and go over the summer, depending on how busy work turns out to be. Neither one of us are warm weather people, so I'm not in a big hurry to have it done until fall. We'll see. You'll have to come over and check it out! I live near 83rd and Lackman.
Rob & Lori
Aspen & Tundra
My Instructable: http://www.instructables.com/id/Teardro ... l-Trailer/
User avatar
TwilightLane
The 300 Club
 
Posts: 484
Joined: Thu May 14, 2009 4:59 pm

Postby Darren » Thu May 20, 2010 11:00 am

TwilightLane wrote:I'm firm about having it done in prep for the fall. I have a trip to CO in mind to visit my in-laws and spend time with wife in the mountains (her natural habitat!!).

It's going to be touch and go over the summer, depending on how busy work turns out to be. Neither one of us are warm weather people, so I'm not in a big hurry to have it done until fall. We'll see. You'll have to come over and check it out! I live near 83rd and Lackman.


I had a feeling that's about where you lived. I drive down Lackman a lot now that Renner has all the traffic circles.

It was hard for me to build over the summer also. Just to hot in the garage. Let me know when you're working on it or if you need a 3rd hand.
Image
User avatar
Darren
the camper formerly known as Victor Star
 
Posts: 1356
Images: 161
Joined: Sat Dec 03, 2005 12:09 am
Location: Shawnee, Kansas (KC)

Postby TwilightLane » Tue Oct 26, 2010 10:30 pm

Hiatus is over! Time to start slapping this thing together.

The walls attached:

Image

Image

Those wall-looking things in the middle are braces on loan from a friend.

Image
Rob & Lori
Aspen & Tundra
My Instructable: http://www.instructables.com/id/Teardro ... l-Trailer/
User avatar
TwilightLane
The 300 Club
 
Posts: 484
Joined: Thu May 14, 2009 4:59 pm
Top

Postby TwilightLane » Tue Oct 26, 2010 10:33 pm

Next attach the inside skins:

Image

You can see how the blue tape outlines mock up the cabinetry.
Rob & Lori
Aspen & Tundra
My Instructable: http://www.instructables.com/id/Teardro ... l-Trailer/
User avatar
TwilightLane
The 300 Club
 
Posts: 484
Joined: Thu May 14, 2009 4:59 pm
Top

Postby TwilightLane » Tue Oct 26, 2010 10:36 pm

Working on the overhead cabinet. Here is the outline:

Image

And the bracing:

Image

Image
Last edited by TwilightLane on Tue Oct 26, 2010 10:39 pm, edited 1 time in total.
Rob & Lori
Aspen & Tundra
My Instructable: http://www.instructables.com/id/Teardro ... l-Trailer/
User avatar
TwilightLane
The 300 Club
 
Posts: 484
Joined: Thu May 14, 2009 4:59 pm
Top

Postby TwilightLane » Tue Oct 26, 2010 10:37 pm

Dry-fitting the pieces:

Image

Image
Rob & Lori
Aspen & Tundra
My Instructable: http://www.instructables.com/id/Teardro ... l-Trailer/
User avatar
TwilightLane
The 300 Club
 
Posts: 484
Joined: Thu May 14, 2009 4:59 pm
Top

Postby TwilightLane » Tue Oct 26, 2010 10:41 pm

Another view:

Image
Rob & Lori
Aspen & Tundra
My Instructable: http://www.instructables.com/id/Teardro ... l-Trailer/
User avatar
TwilightLane
The 300 Club
 
Posts: 484
Joined: Thu May 14, 2009 4:59 pm
Top

Postby TwilightLane » Tue Oct 26, 2010 10:42 pm

Starting on the cabinetry:

Image

Image
Rob & Lori
Aspen & Tundra
My Instructable: http://www.instructables.com/id/Teardro ... l-Trailer/
User avatar
TwilightLane
The 300 Club
 
Posts: 484
Joined: Thu May 14, 2009 4:59 pm
Top

Postby TwilightLane » Sun Nov 21, 2010 10:27 pm

Well I guess it has been a while since I've updated the build thread. I've got a lot done on the galley.

Image
Rob & Lori
Aspen & Tundra
My Instructable: http://www.instructables.com/id/Teardro ... l-Trailer/
User avatar
TwilightLane
The 300 Club
 
Posts: 484
Joined: Thu May 14, 2009 4:59 pm
Top

Postby TwilightLane » Sun Nov 21, 2010 10:36 pm

Working on the electrical box.

Image

Image
Rob & Lori
Aspen & Tundra
My Instructable: http://www.instructables.com/id/Teardro ... l-Trailer/
User avatar
TwilightLane
The 300 Club
 
Posts: 484
Joined: Thu May 14, 2009 4:59 pm
Top

Postby TwilightLane » Sun Nov 21, 2010 10:38 pm

Wiring the porch lights. First a hole through all the way through the way. I had left a channel to run the wires.

Image

Image

And a switch on the inside. It's not secured which is why it's still a little cock-eyed.

Image
Last edited by TwilightLane on Sun Nov 21, 2010 11:23 pm, edited 1 time in total.
Rob & Lori
Aspen & Tundra
My Instructable: http://www.instructables.com/id/Teardro ... l-Trailer/
User avatar
TwilightLane
The 300 Club
 
Posts: 484
Joined: Thu May 14, 2009 4:59 pm
Top

Postby TwilightLane » Sun Nov 21, 2010 10:43 pm

I put in a short wall at the back of the 'closet.' I lined it up with a spar.

Image

Blocked and braced at the edges, angle bracket in the middle. Glue in the channel formed by the spar and the top of the wall.

Then ran the wires for the two 12-volt outlets.

Image
Rob & Lori
Aspen & Tundra
My Instructable: http://www.instructables.com/id/Teardro ... l-Trailer/
User avatar
TwilightLane
The 300 Club
 
Posts: 484
Joined: Thu May 14, 2009 4:59 pm
Top

Postby TwilightLane » Sun Nov 21, 2010 10:45 pm

I was happy how the wire wrapping met up with the opening in the grey wire chase. Perfect.

Image
Rob & Lori
Aspen & Tundra
My Instructable: http://www.instructables.com/id/Teardro ... l-Trailer/
User avatar
TwilightLane
The 300 Club
 
Posts: 484
Joined: Thu May 14, 2009 4:59 pm
Top

Postby TwilightLane » Sun Nov 21, 2010 10:48 pm

I joined up to more 3/4 x 1-1/2 spars with the previous. This is where the hinge will sit.

Image
Rob & Lori
Aspen & Tundra
My Instructable: http://www.instructables.com/id/Teardro ... l-Trailer/
User avatar
TwilightLane
The 300 Club
 
Posts: 484
Joined: Thu May 14, 2009 4:59 pm
Top

Postby TwilightLane » Sun Nov 21, 2010 10:50 pm

I've also been working on the spar across the inside of the closet that will hold the LED lights.

Image

Image

Image

From the backside, gauging how it will all line up:

Image
Last edited by TwilightLane on Sun Nov 21, 2010 11:24 pm, edited 1 time in total.
Rob & Lori
Aspen & Tundra
My Instructable: http://www.instructables.com/id/Teardro ... l-Trailer/
User avatar
TwilightLane
The 300 Club
 
Posts: 484
Joined: Thu May 14, 2009 4:59 pm
Top

PreviousNext

Return to Build Journals

Who is online

Users browsing this forum: No registered users and 10 guests