
Teardrops n Tiny Travel Trailersor t n ttt for short (tnttt.com) |
Dusty Mark's 5 x 10 Build
Tray
![]() by Dusty Mark » Mon Apr 01, 2019 1:29 pm
by Dusty Mark » Mon Apr 01, 2019 1:29 pm
I actually have to yank on the tray to get it open, so I never worried about a latch to hold it closed. The tray is light and it has never opened on the road. If it ever needs securing, it would need to be low profile so it wouldn’t be a knee knocker.
- Dusty Mark
- Teardrop Master
- Posts: 210
- Images: 395
- Joined: Mon Feb 29, 2016 6:57 pm
ARB 63-Quart Cooler Install
![]() by Dusty Mark » Tue Apr 02, 2019 2:00 pm
by Dusty Mark » Tue Apr 02, 2019 2:00 pm
I made good progress on installing the ARB 63-quart cooler.
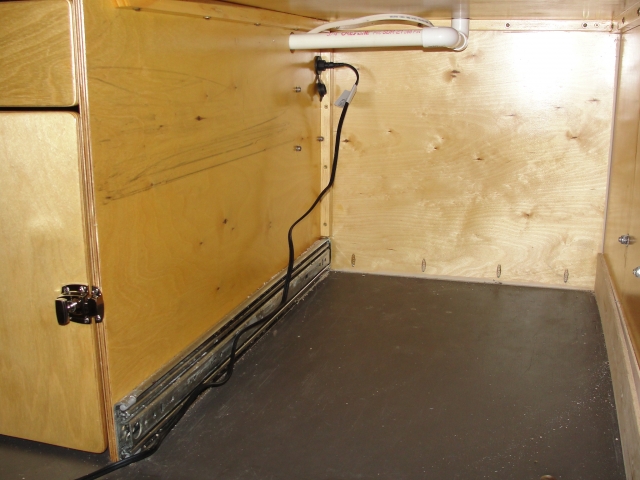
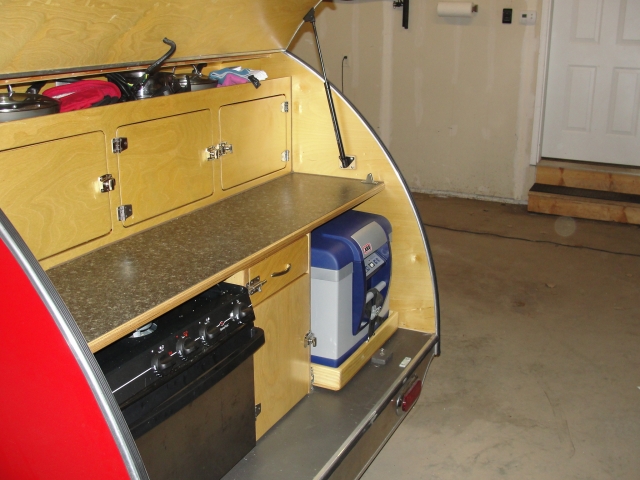
I had limited options to access 12-volt power. I'm thankful that I had extra space to work with behind and above the cooler tray. (Notice those 500-pound drawer slides?)
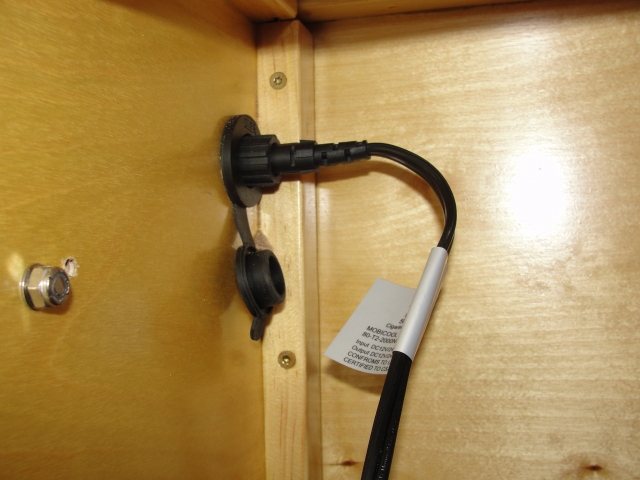
Close-up of the ARB 12-volt receptacle. The plug screws into the receptacle!
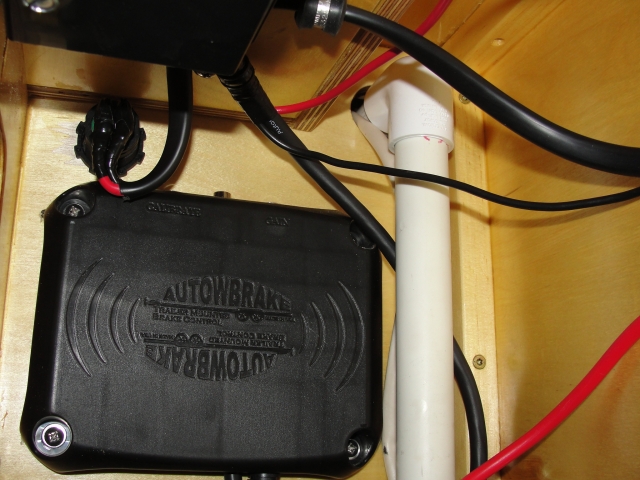
I was able to enter the battery compartment above the Autowbrake controller and below the trailer wiring junction box.
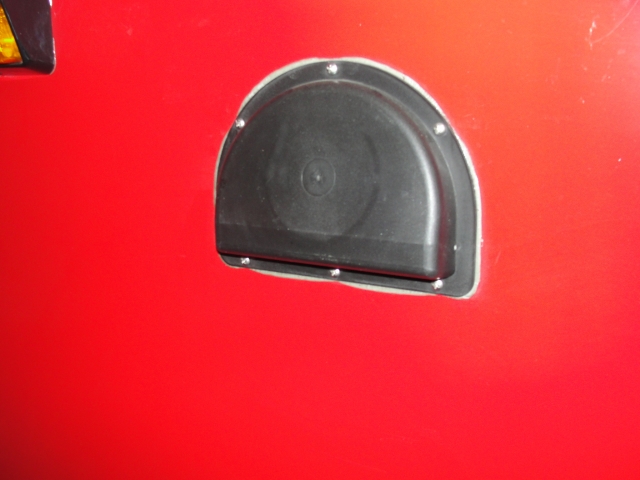
ARB recommends a minimum of 1" clearance all around and adequate ventilation. I'll install another vent like this. This is on the driver's side at the dog kennel and it's never leaked.
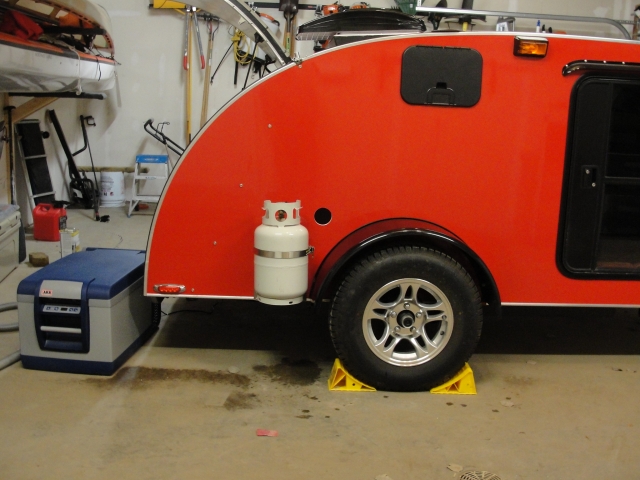
I used a template to ensure an accurate placement before taking a 3-inch hole saw to the camper! (This is a good shot of my fenders after I raised them 1 1/2" this weekend. NOTE: torsion axles settle over time, so install your fenders 1 1/2" to 2" higher than you expect.)

Yes, I'm sure the vent will fit in this location...

I made the new tray 3" longer than the old one. This allowed us to open the lid all the way and still clear the countertop edge. An added benefit was that it gave me clearance to place my receptacle lower than I originally thought to enter the battery compartment at a good spot.
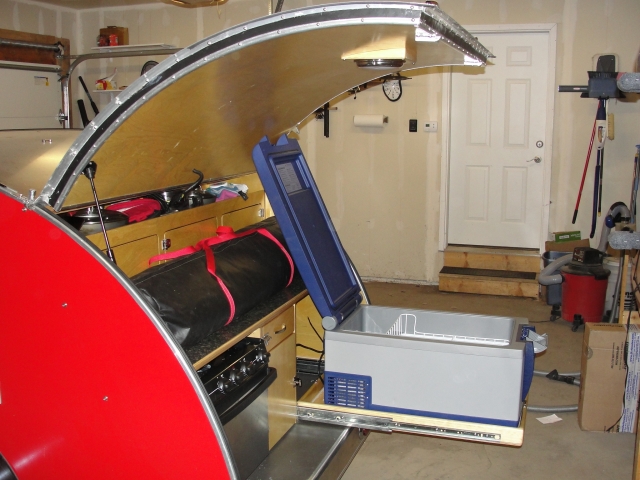
The cooler lid clears the galley hatch and the countertop edge. The new cooler did fit in the original tray, but the lid only opened part way and required you to hold it up while digging in the cooler. Can you believe I considered proceeding with that option? My wife didn't even challenge me on it...I must have been pretty grumpy at the time.
Tucked back in the travel position. The door closes with maybe an inch of clearance to spare. I was thankful for the curved shape of the cooler as it allowed me to position the cooler pretty far forward.
Remaining steps = fasten the ARB travel cover (this has extra insulation), fashion some cleats to strap the cooler in a precise position, attach the vent, and zip tie the power cord in place. We're looking forward to no longer having to dig through ice on our trips!
I had limited options to access 12-volt power. I'm thankful that I had extra space to work with behind and above the cooler tray. (Notice those 500-pound drawer slides?)
Close-up of the ARB 12-volt receptacle. The plug screws into the receptacle!
I was able to enter the battery compartment above the Autowbrake controller and below the trailer wiring junction box.
ARB recommends a minimum of 1" clearance all around and adequate ventilation. I'll install another vent like this. This is on the driver's side at the dog kennel and it's never leaked.
I used a template to ensure an accurate placement before taking a 3-inch hole saw to the camper! (This is a good shot of my fenders after I raised them 1 1/2" this weekend. NOTE: torsion axles settle over time, so install your fenders 1 1/2" to 2" higher than you expect.)
Yes, I'm sure the vent will fit in this location...
I made the new tray 3" longer than the old one. This allowed us to open the lid all the way and still clear the countertop edge. An added benefit was that it gave me clearance to place my receptacle lower than I originally thought to enter the battery compartment at a good spot.
The cooler lid clears the galley hatch and the countertop edge. The new cooler did fit in the original tray, but the lid only opened part way and required you to hold it up while digging in the cooler. Can you believe I considered proceeding with that option? My wife didn't even challenge me on it...I must have been pretty grumpy at the time.
Tucked back in the travel position. The door closes with maybe an inch of clearance to spare. I was thankful for the curved shape of the cooler as it allowed me to position the cooler pretty far forward.
Remaining steps = fasten the ARB travel cover (this has extra insulation), fashion some cleats to strap the cooler in a precise position, attach the vent, and zip tie the power cord in place. We're looking forward to no longer having to dig through ice on our trips!
- Dusty Mark
- Teardrop Master
- Posts: 210
- Images: 395
- Joined: Mon Feb 29, 2016 6:57 pm


