RRJR wrote:Sorry for your troubles. I can relate to this as many times my first attempt didn't work out the way I wanted.
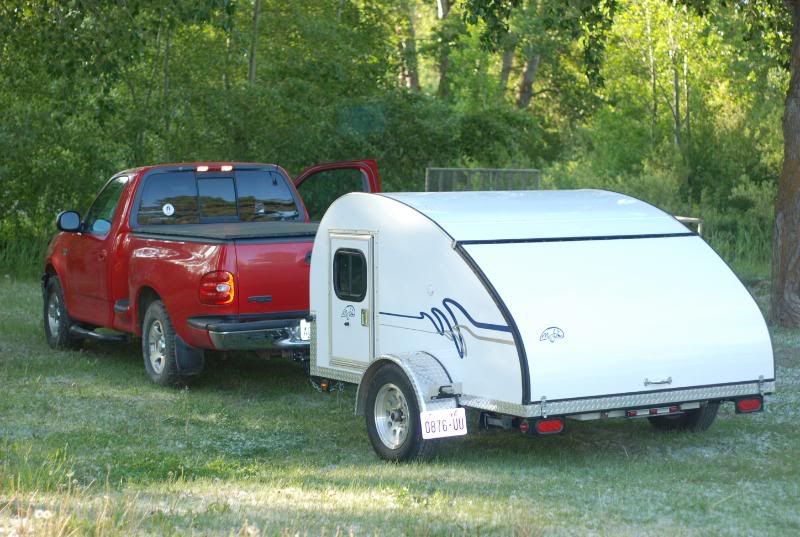
This is only my opinion and I'm more than likely wrong, but looking at your pictures, I don't think your problem is the clearance between the top of the tire and the bottom of the fender. It looks more like a tire sidewall clearance issue.
If you took the wheels off the axle you could look at the tire sidewall and see exactly where it made contact.
The way the fender brackets angle back towards the tire, even if you space the bottom of the fender 3.5 inches from the top of the tire the bolt head for the bracket to cabin connection is moved very little from its original location.
If you could somehow counter sink the bracket into the sidewall of the body it would give you more clearance. But then you would have to drill new holes through the top of the fender or get longer brackets.
RRJR, you are completely correct!

I just checked and there are marks on the side wall of tire.

Now for the fix, I need to shorten the leg of bracket that turns along the wall.
If I space the fender and tire 3.5" and shorten the brackets, it appears to have enough space between tire and bolt on the wall.


 I hope I can get it right the next time...


