It's been a long time since I posted pictures, so here is what the trailer looks like today.
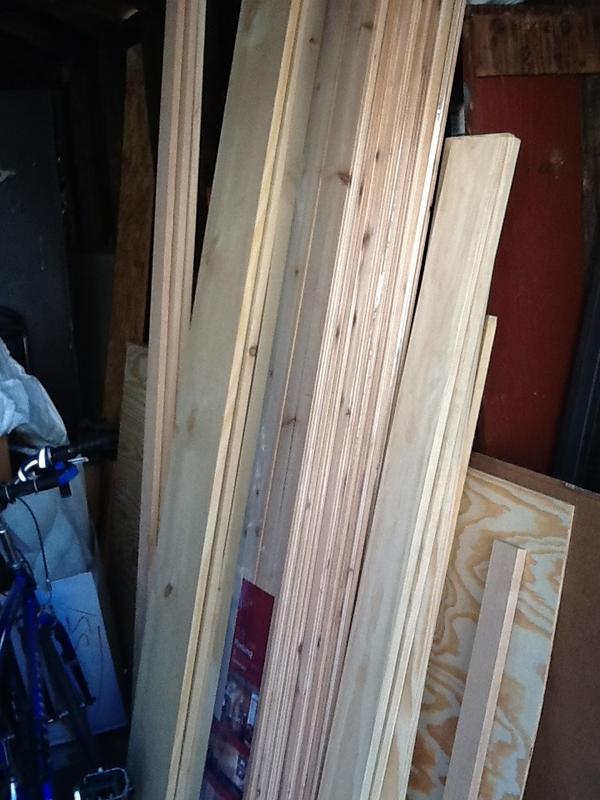
First, this is the pile of wood that makes my workshop smell amazing. From left to right: oak bed slats, pine boards for the convertible bed/benches, knotty cedar planks (1/4 inch thick with tongue and groove edges), pine for interior trim. Behind is pine plywood which is hiding birch plywood and 10 sheets of white 0.04 aluminum.
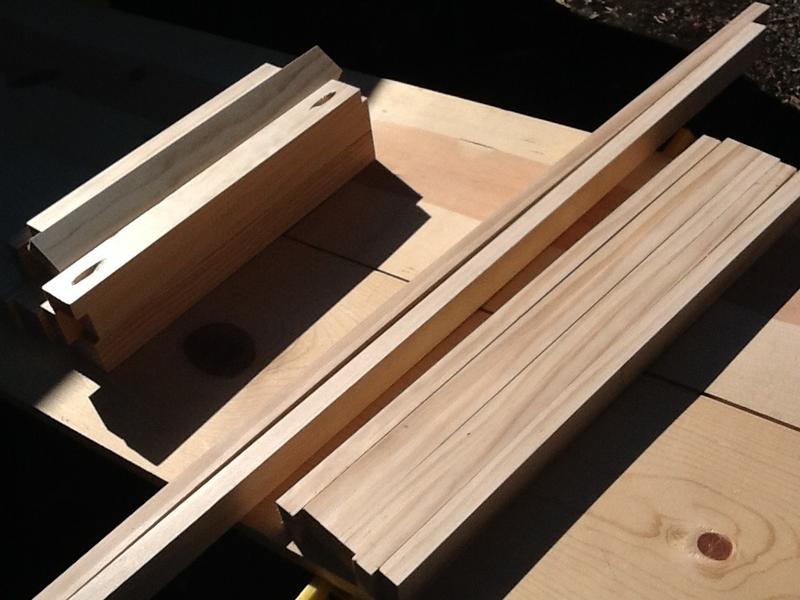
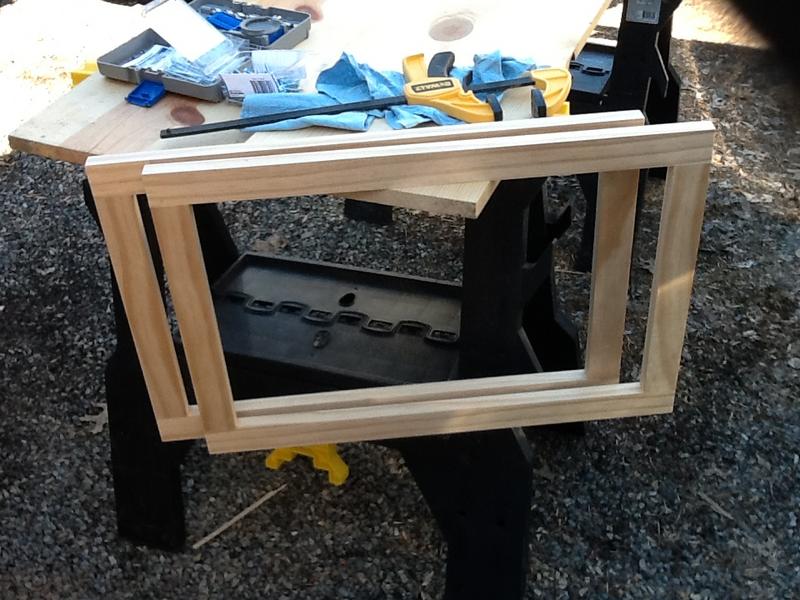
I've been working on building window frames for the interior that need to be in place before I can put the cedar planks up on the walls. Parts being prepped:
And assembled:
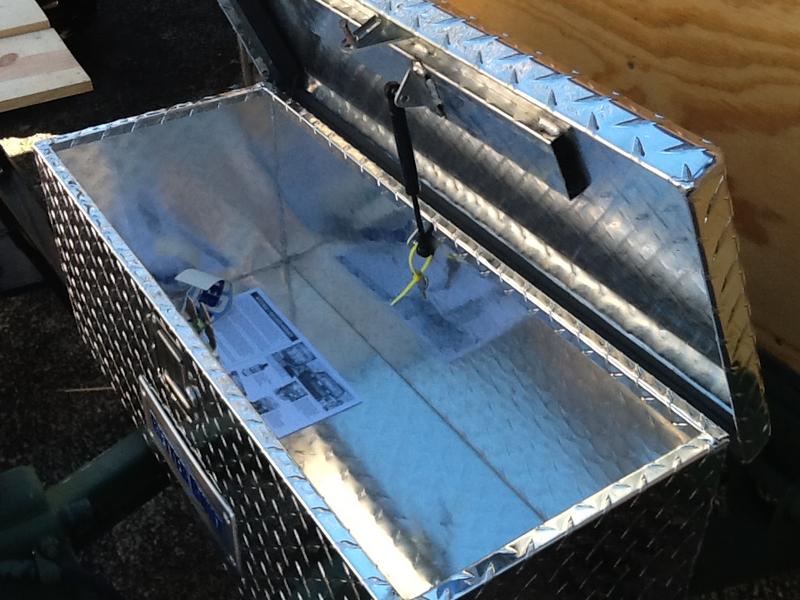
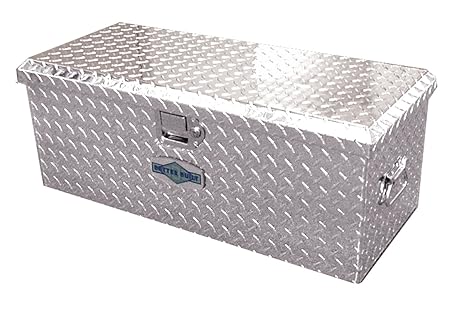
Here is the new battery box sitting on the trailer tongue:
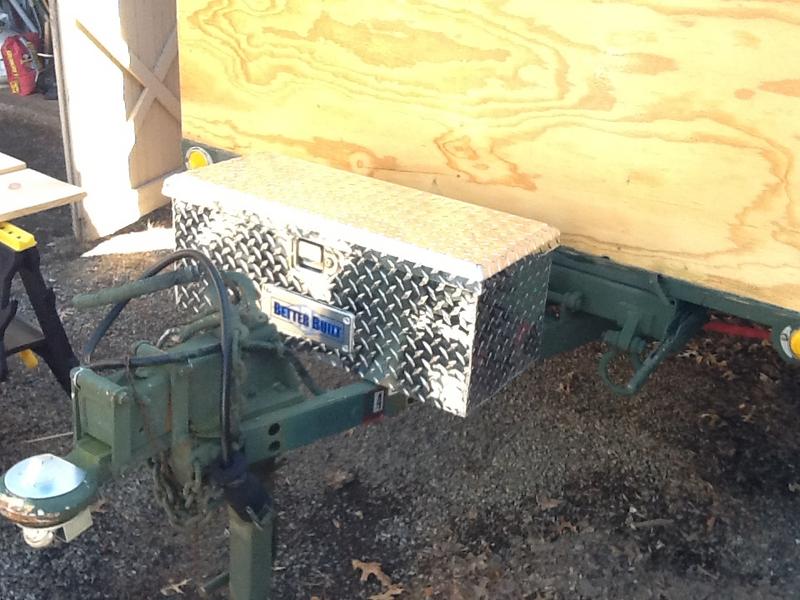
It's nice and deep and should have no problem holding three batteries. A fourth battery could fit, but I am not planning on getting another one.
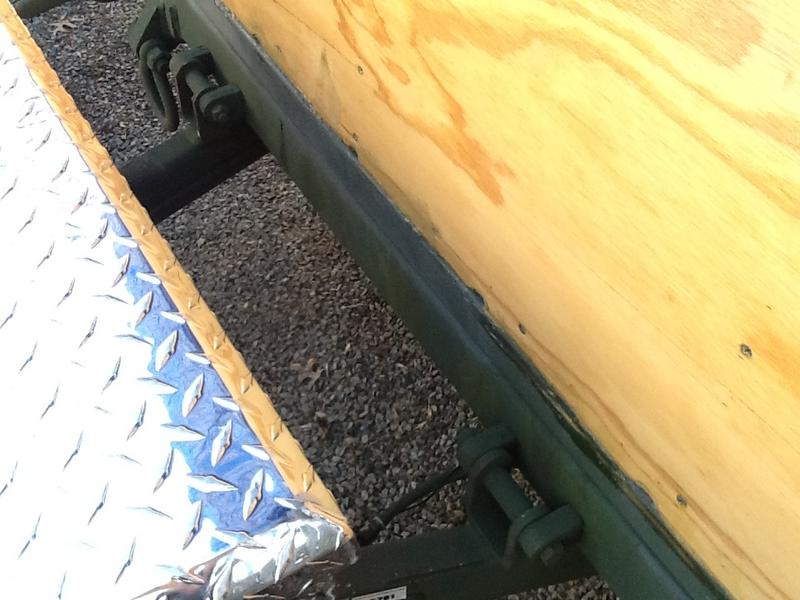
Here is the gap between the trailer and the box that will need to be spanned by some sort of flexible conduit. The gap is about 8 inches wide. I'm open to suggestions, but am looking at the conduit used on outdoor air conditioners and household generators.
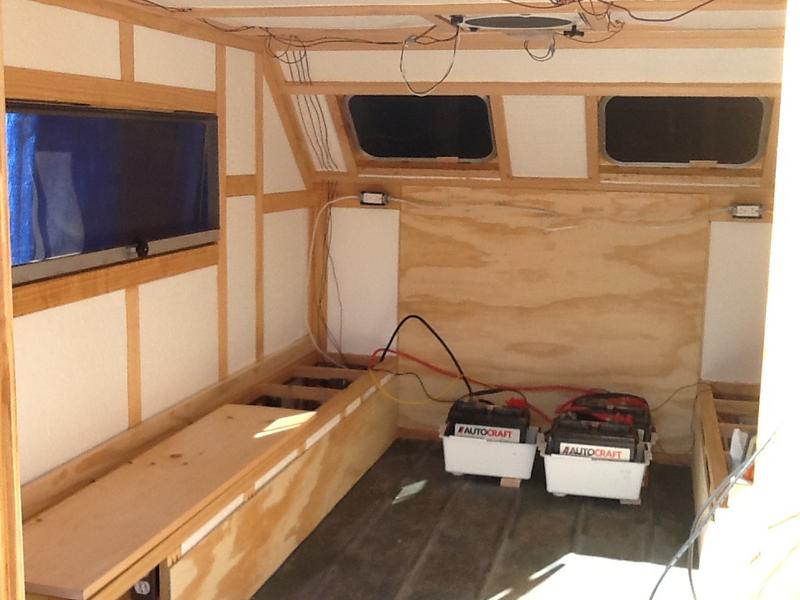
Here are some interior shots. This one shows the batteries temporarily housed indoors.
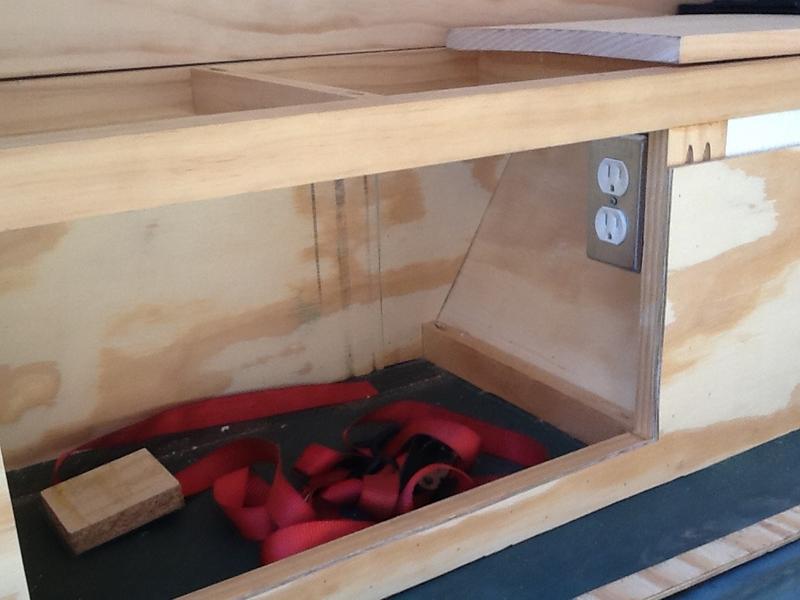
Here is a closeup of the port side shoe cubby. The outlet hidden in there is to run a space heater in cold weather (connected to shore power or a generator).
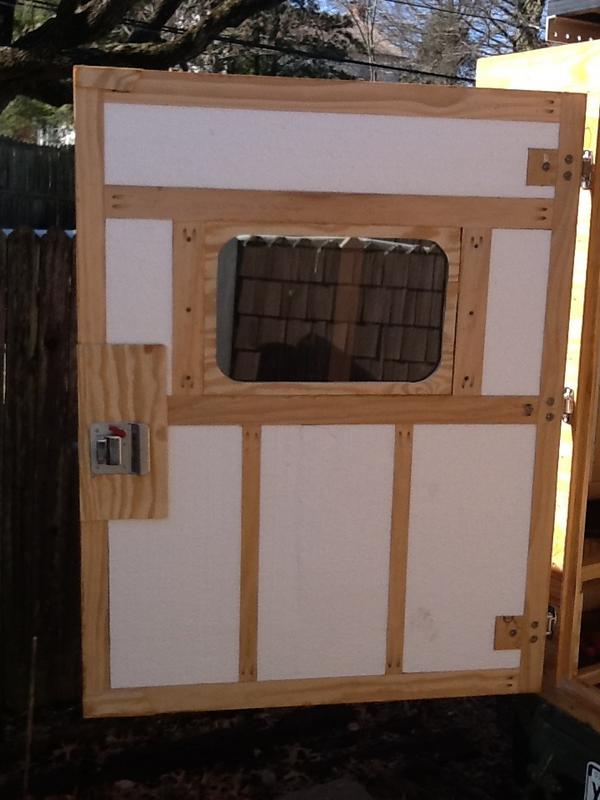
The rear door without the interior paneling. You can see my DIY trim ring for the window. One of the rectangular frames in an earlier photo will secure the trim ring and the window firmly to the door.
The solar panel is a good size for the width of the roof. The cables will go through the roof using waterproof glands, but for now the open door works well!
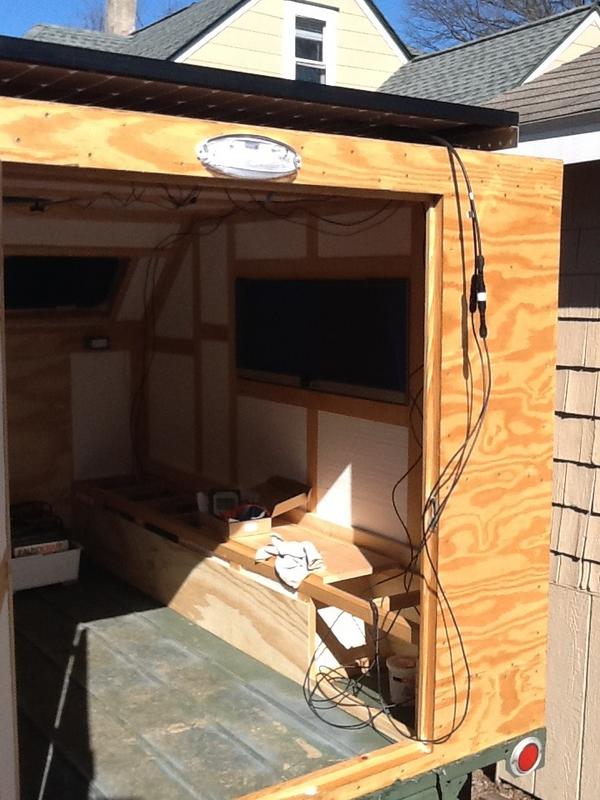
The solar panel brought the batteries to near full, so the charge amperage at the time of this photo is suitably constrained to a trickle even though it is very sunny out.

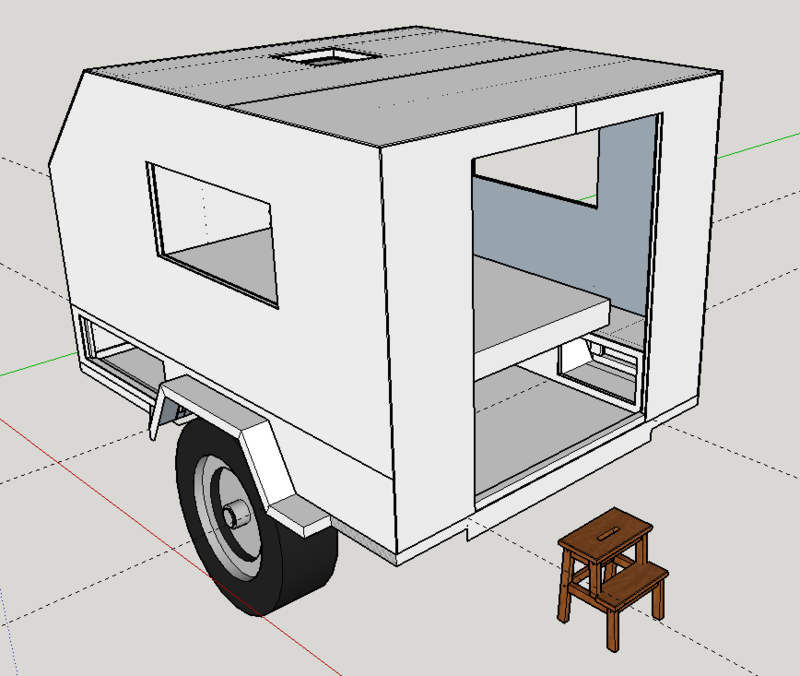
Finally, here is a photo of the trailer taken last fall so you can see the overall shape of the build. Today the trailer was covered by a blue tarp.
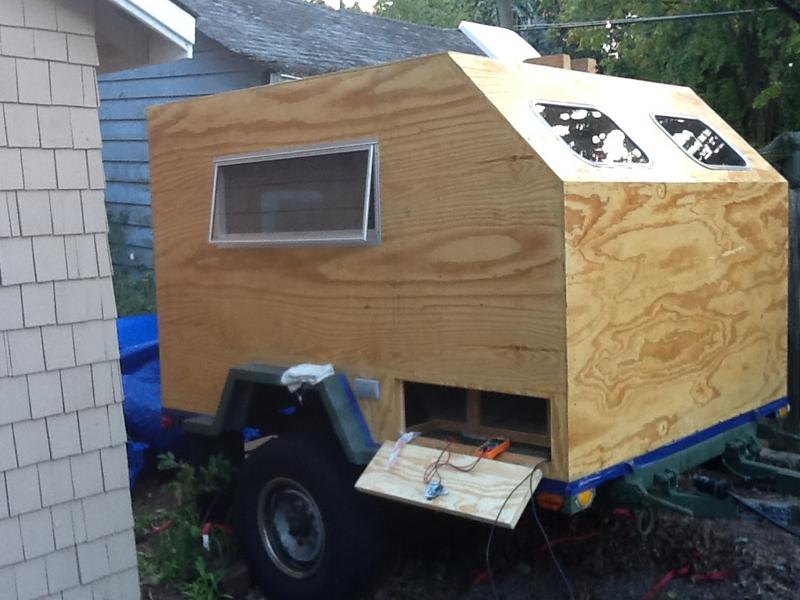
Not too far off my original sketch!


 You've gotten a lot done and it's looking great!