Wow! I've been really bad about keeping my build up to date. My "to do" list every day was so long I could never get to it. But, I've been making good progress, so let me bring you up to date.
After installing the headliner, I put in the struts and blocking to support the roof.
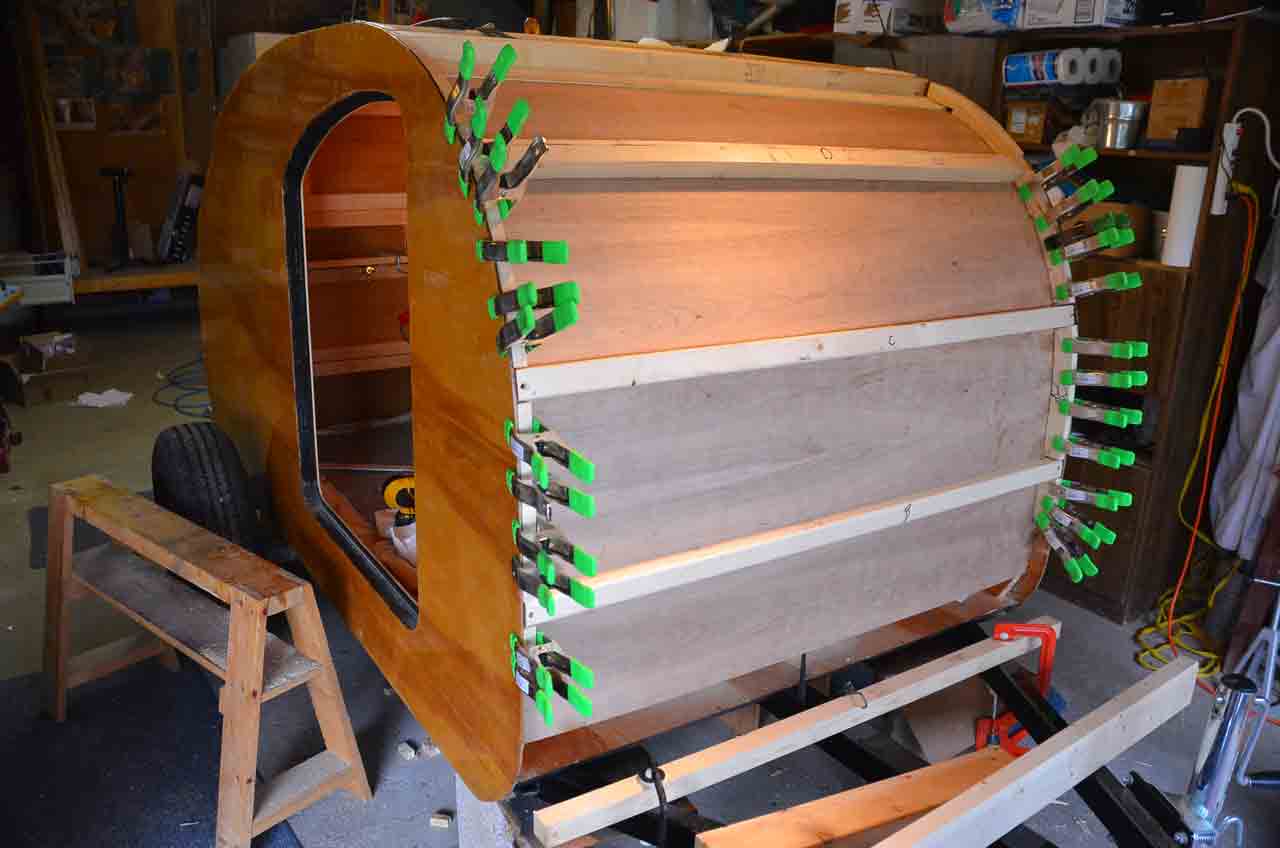
Here's the view from the galley:
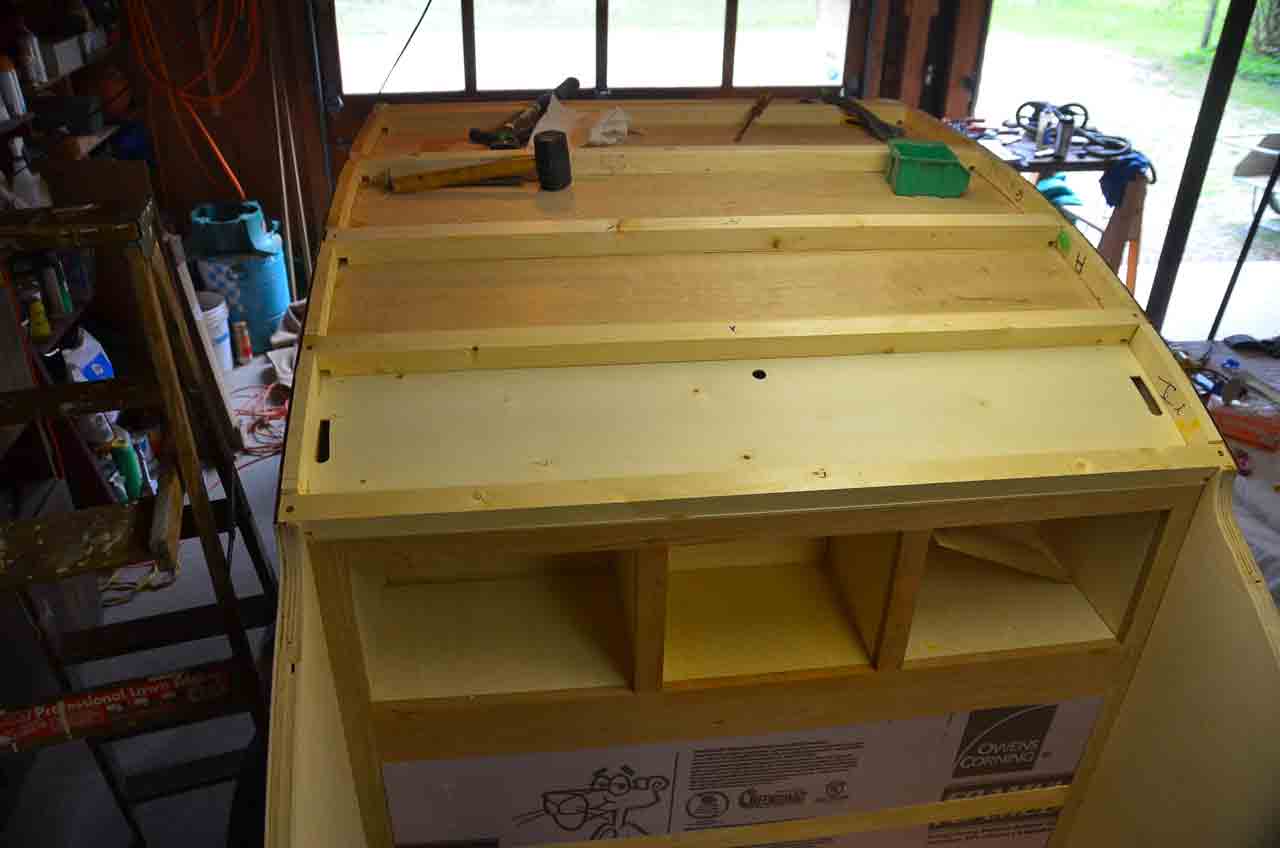
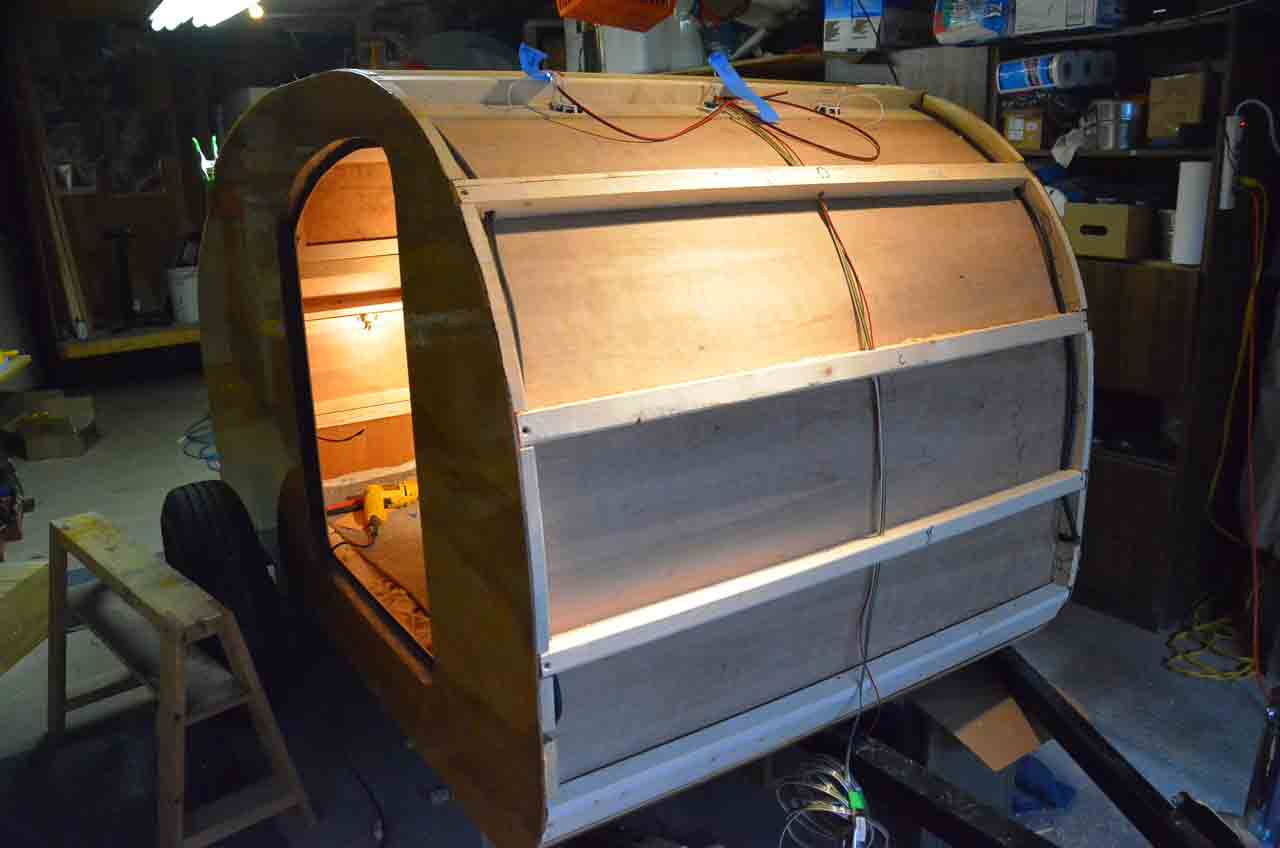
Then it's time to start on the wiring:
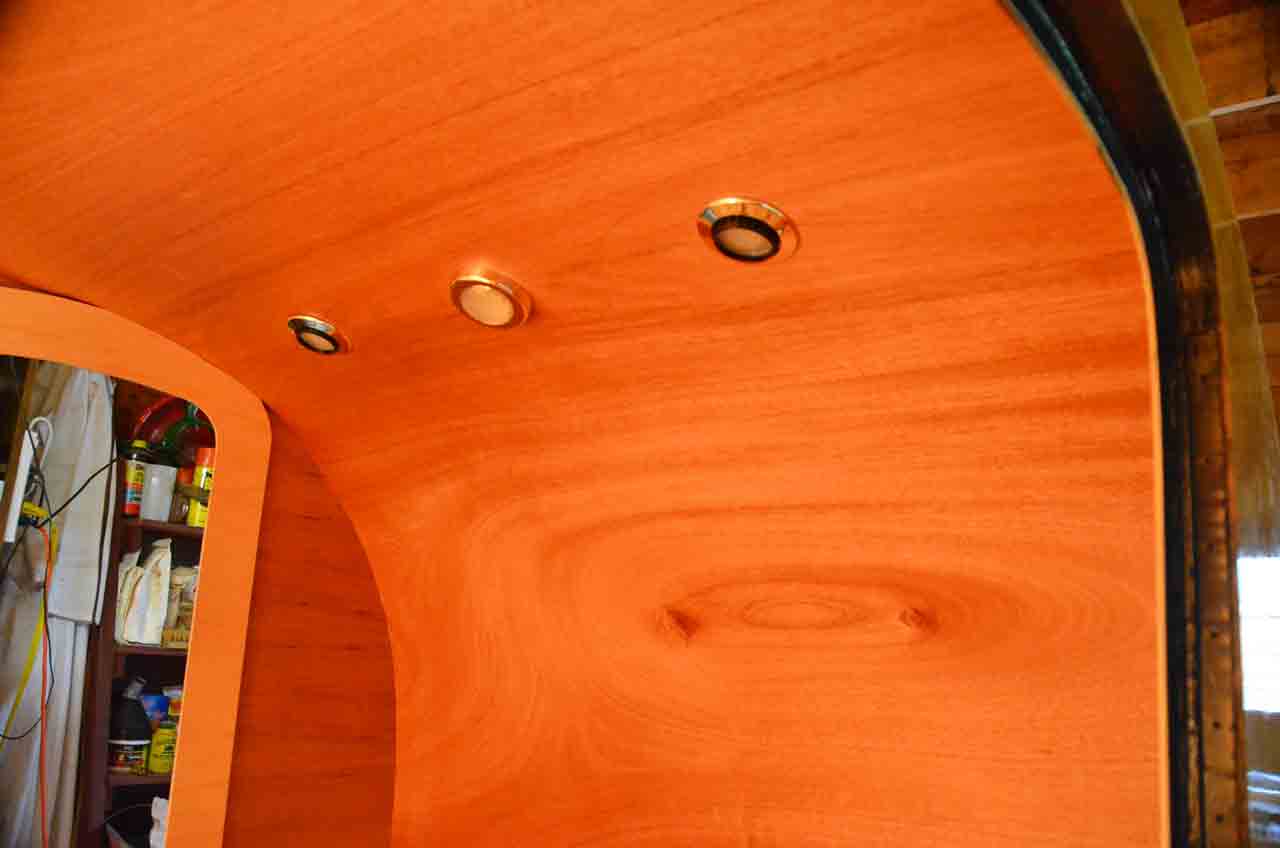
LED lights from Sailer Sam:
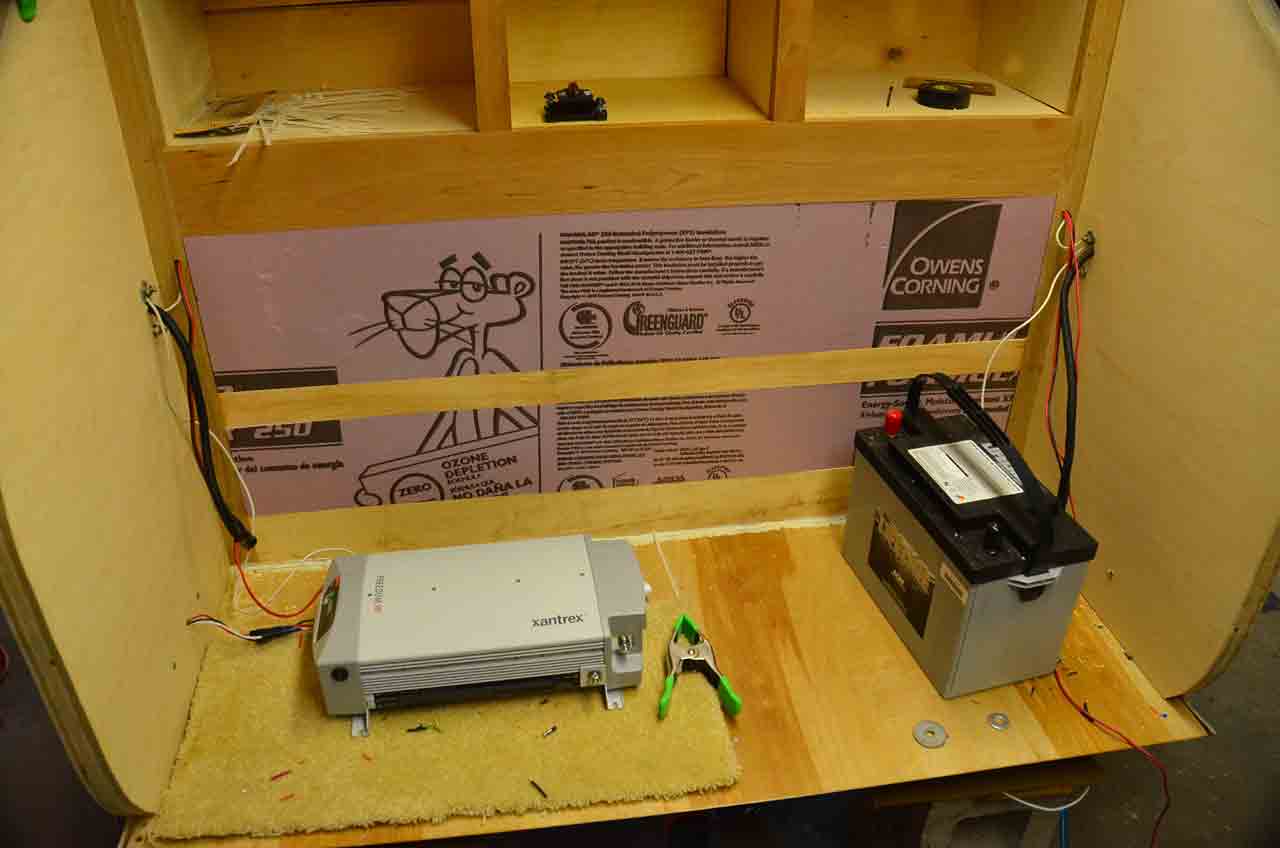
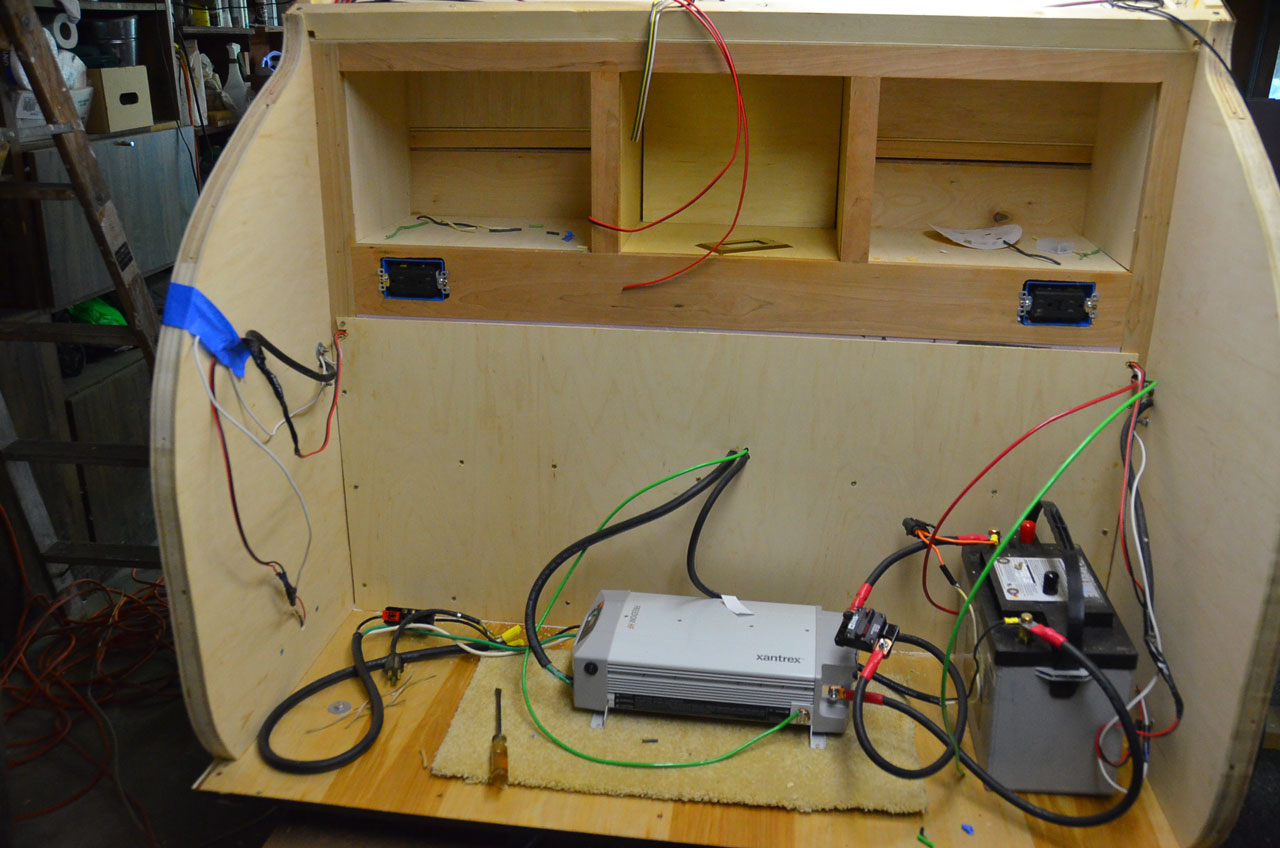
Big battery and big inverter. Going to take up more galley space than I'd wanted them to:
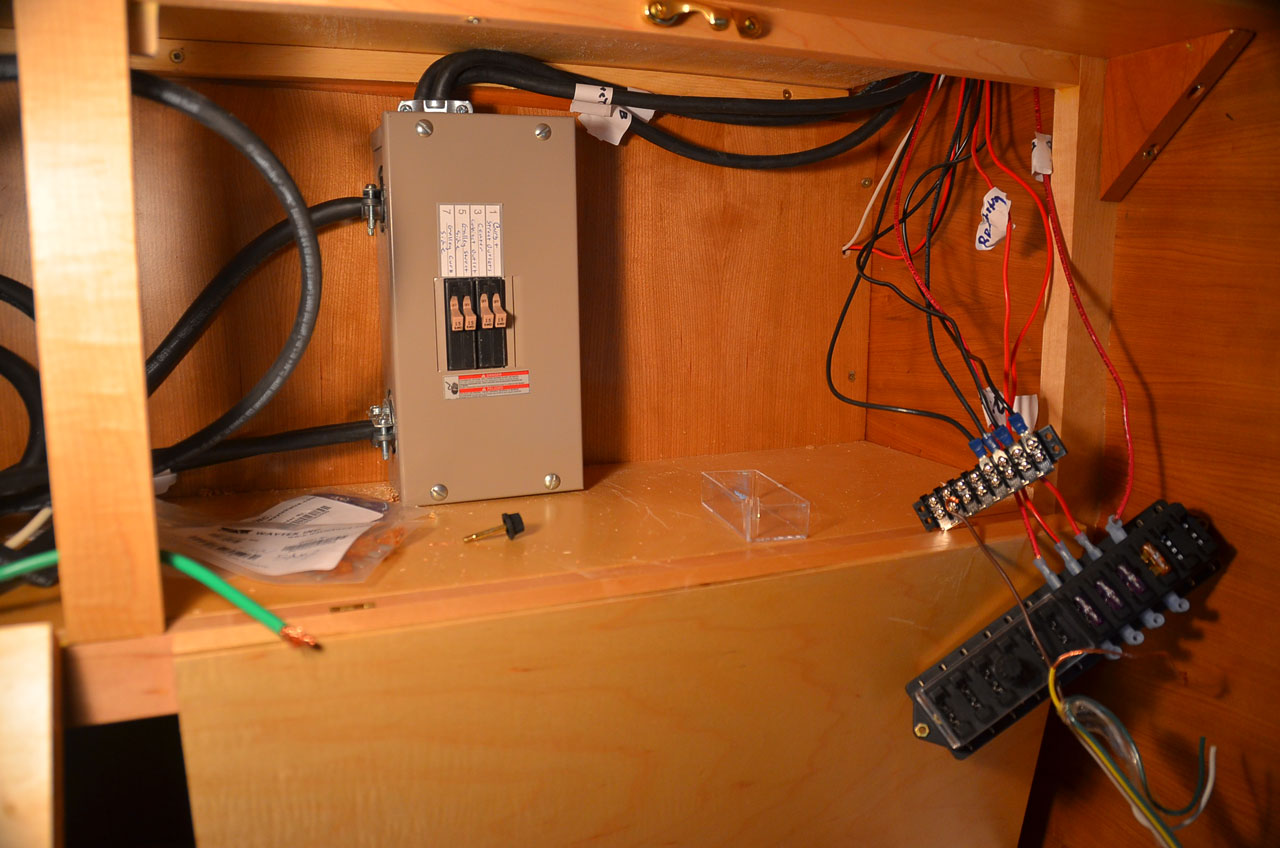
Electric stuff going in one of the cabin cabinets. This is the smallest AC breaker box I could find:
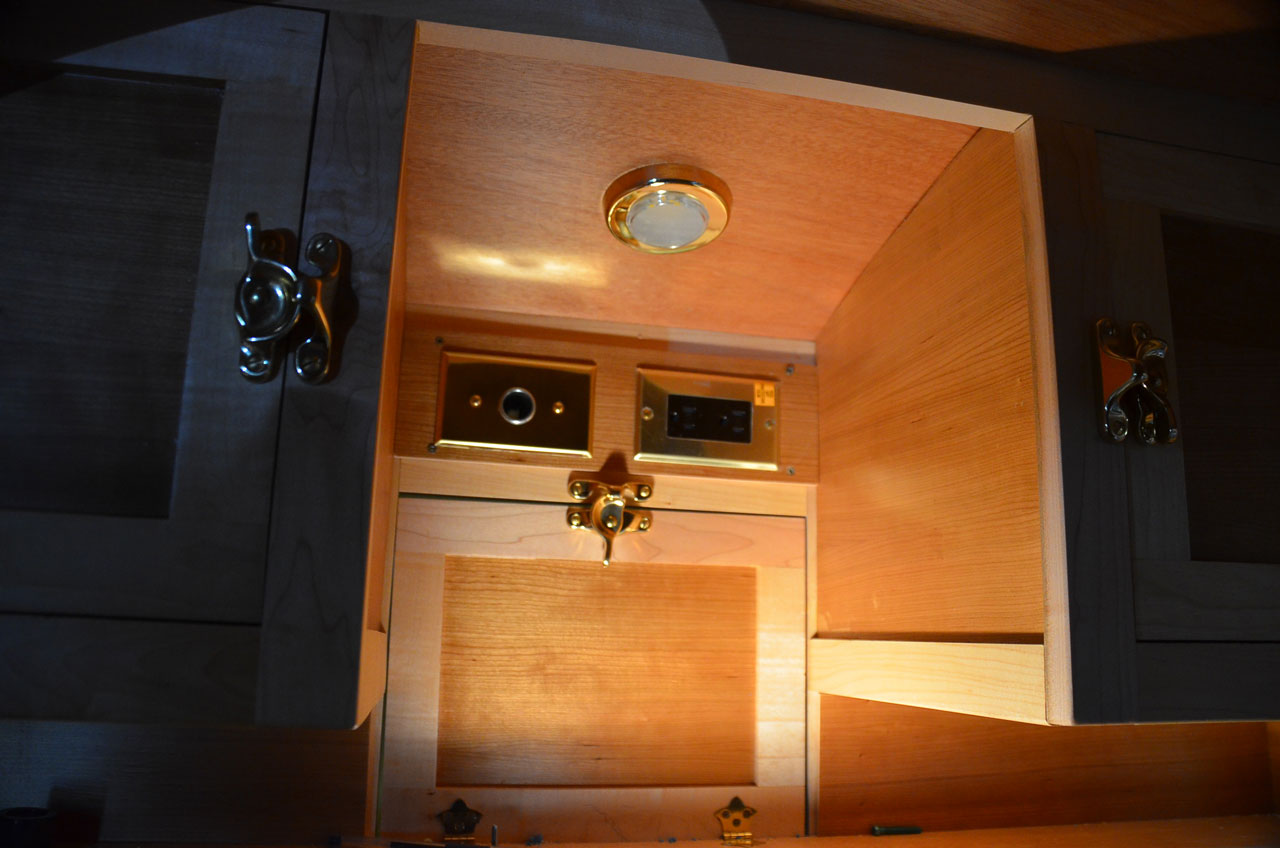
Both AC & DC outlets in cabin:
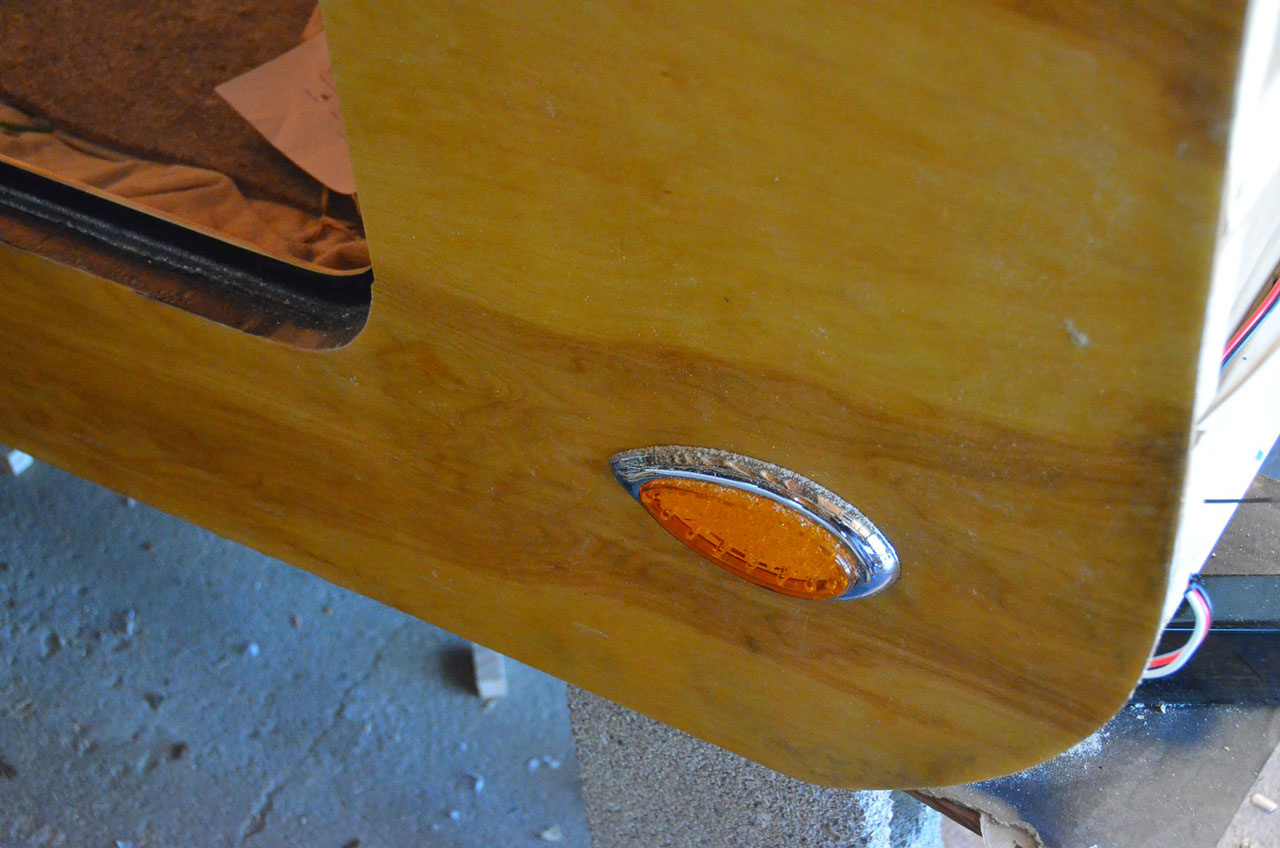
Neat side marker lights, huh. Found 'em on ebay, if I remember correctly.
Figuring out the wiring, scratching my head a lot, making mistakes, correcting them, consulting people on tnttt -- Wiring was not my favorite part of all this:
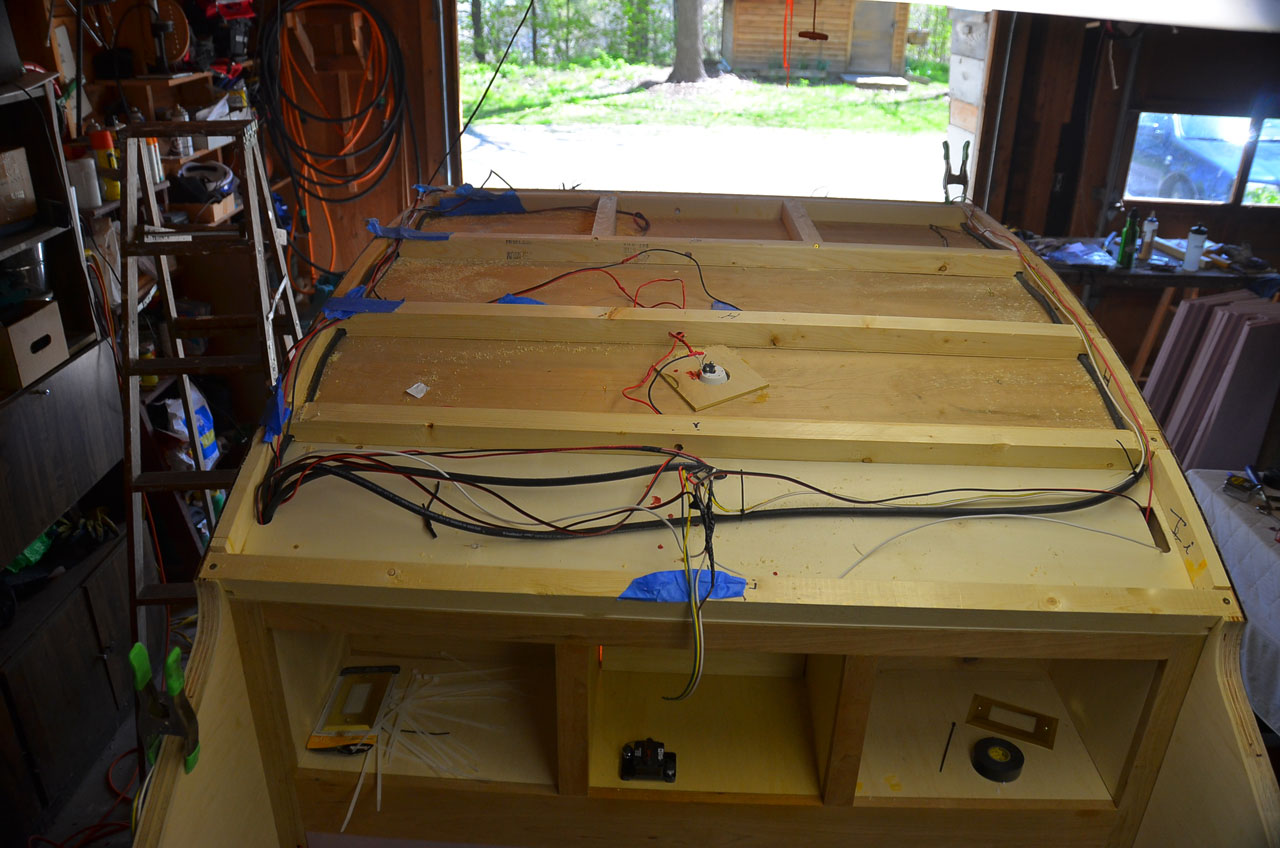
I'll post my wiring diagram here later, after I make a few corrections that I made as I went along.
What a mess! I straightened all this out and neatened it up before the insulation went in:
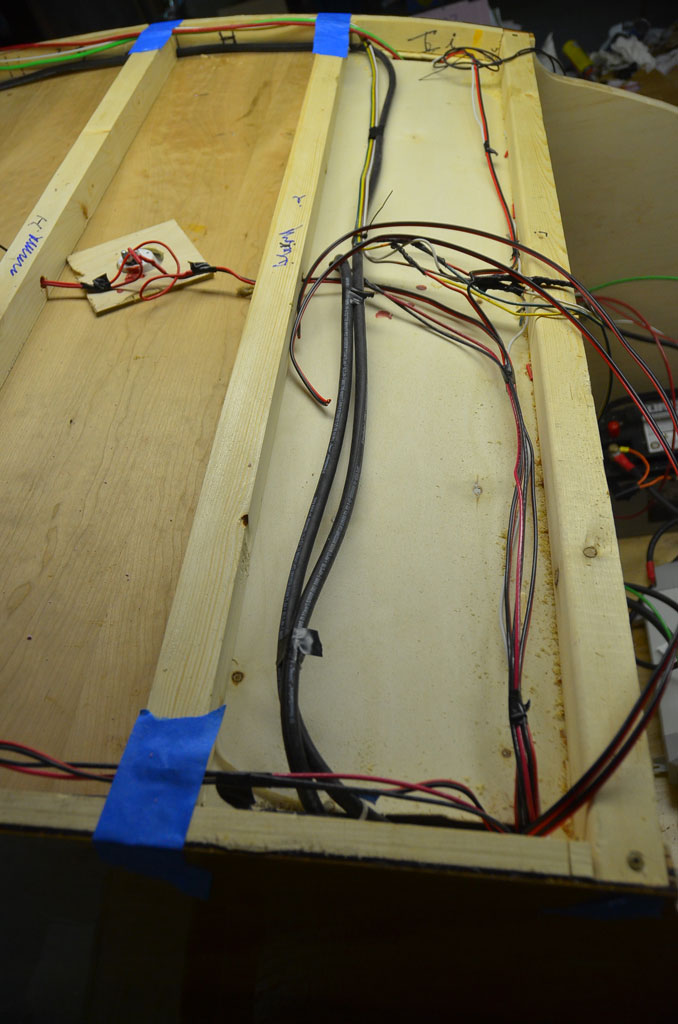 Yikes! And look at this!
 Worse than a teen-agers bedroom. But, it worked! The lights went on, the outlets worked, no fuses blew, and Vermont's power grid didn't melt!
So I covered it all with two layers of 1" insulation -- quick!
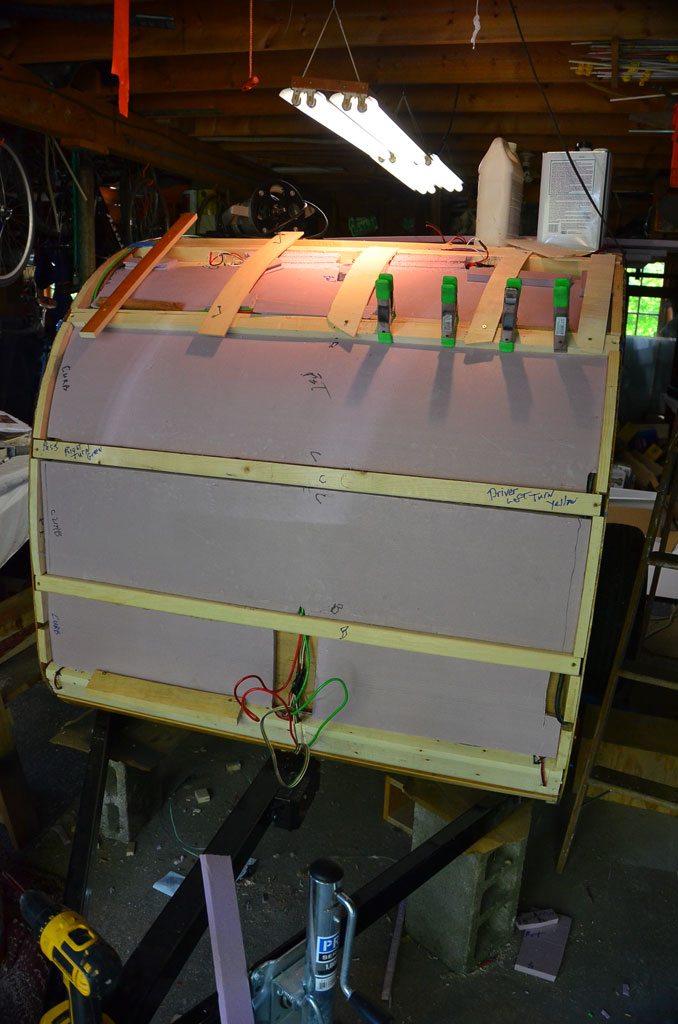
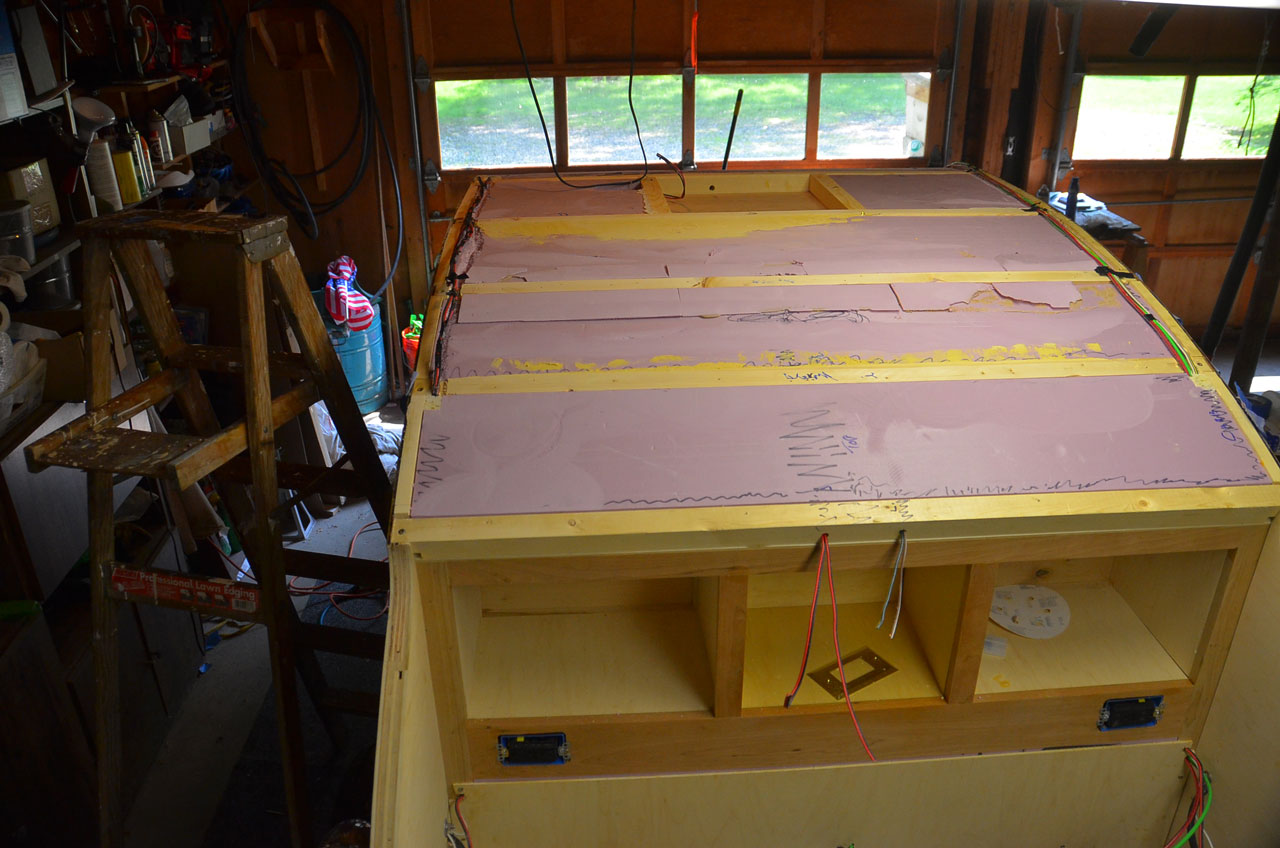
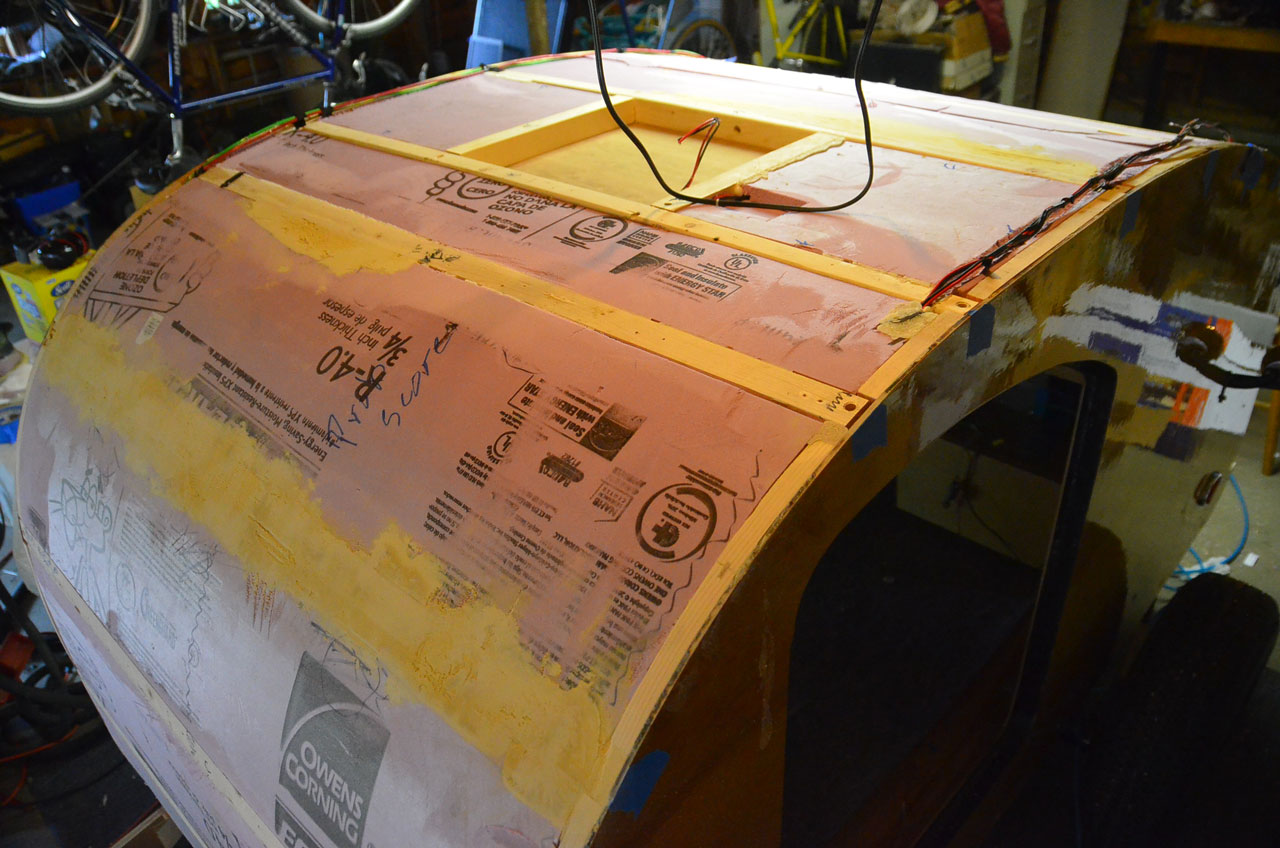
Then with 1/4 of ply:
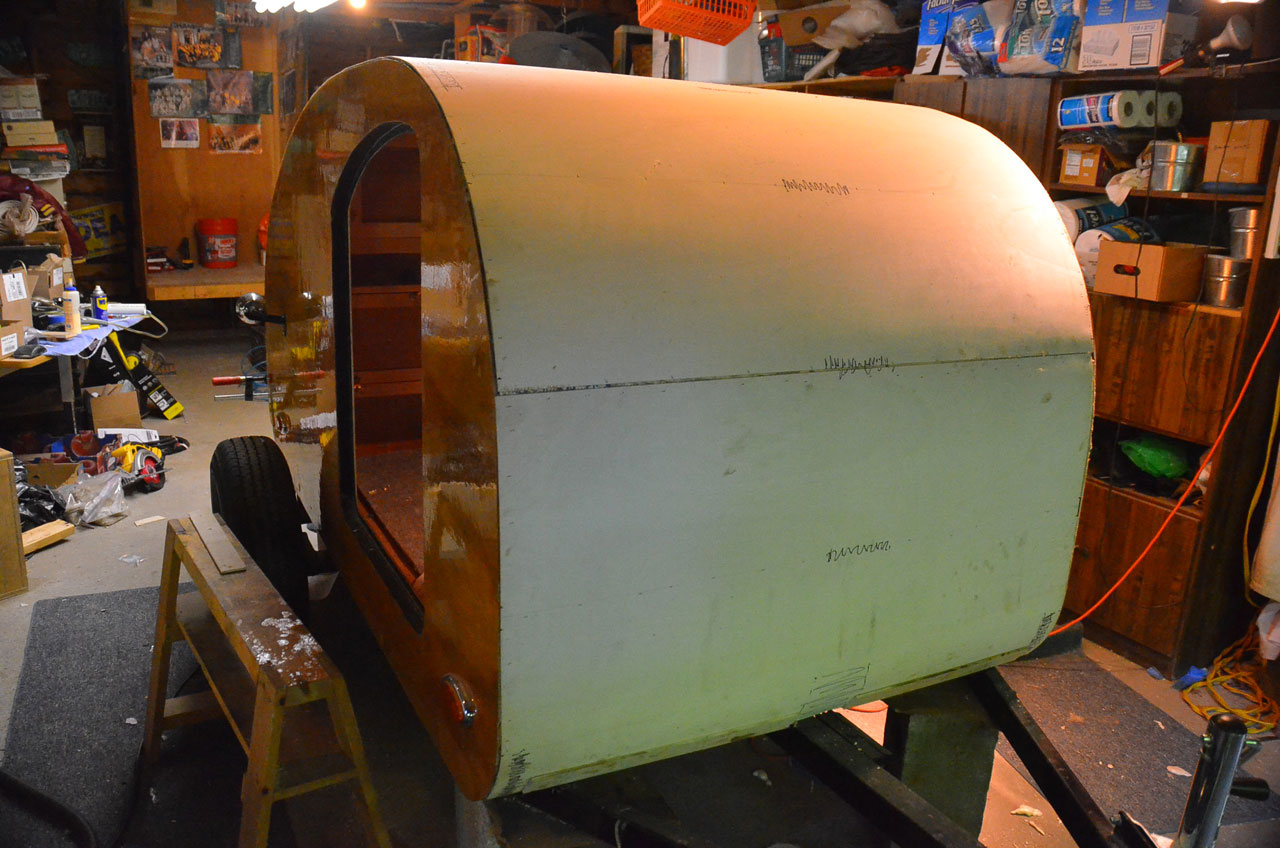 Next, I had to tackle building the hatch.
Here is the hatch framework, built in place, secured by scraps of ply so that it can be moved to a workbench to be skinned:
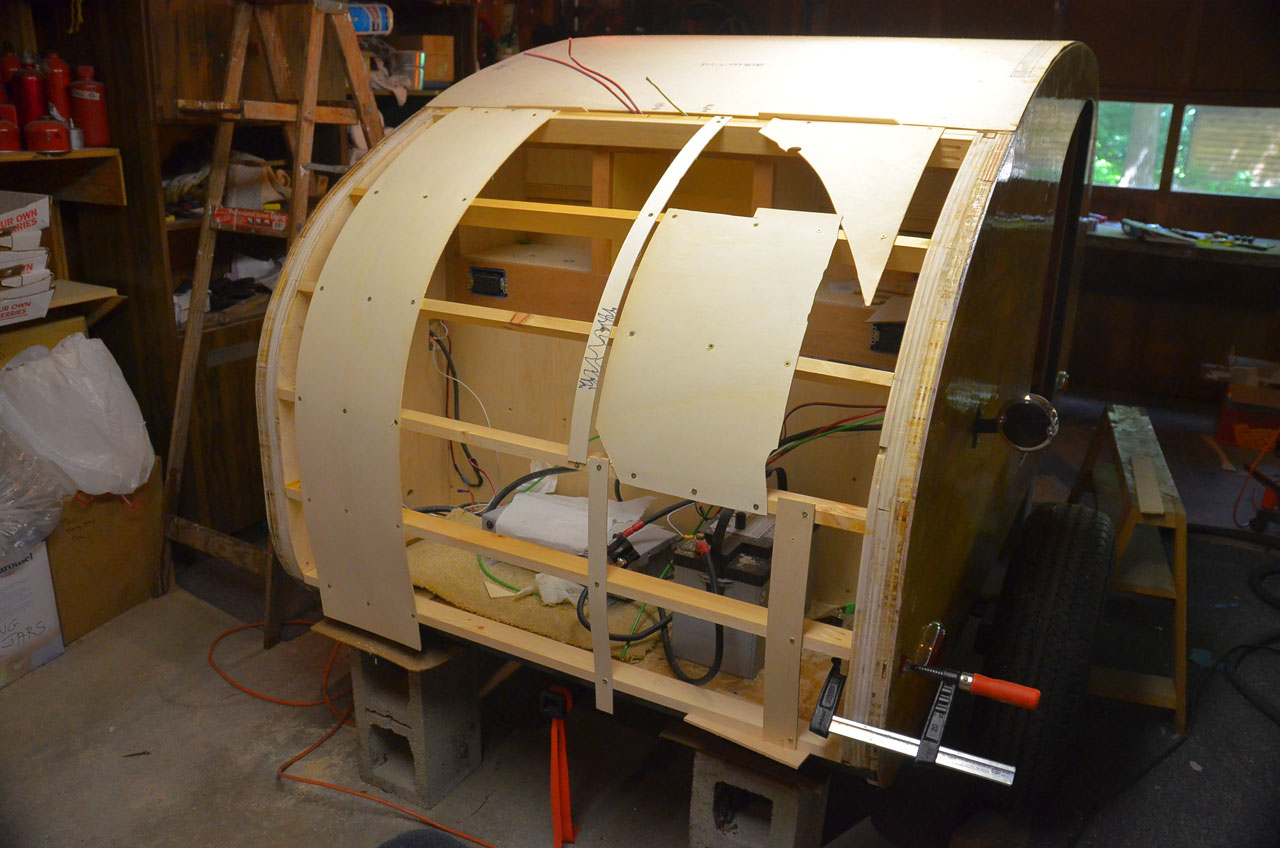
First skin the interior with Maple ply:
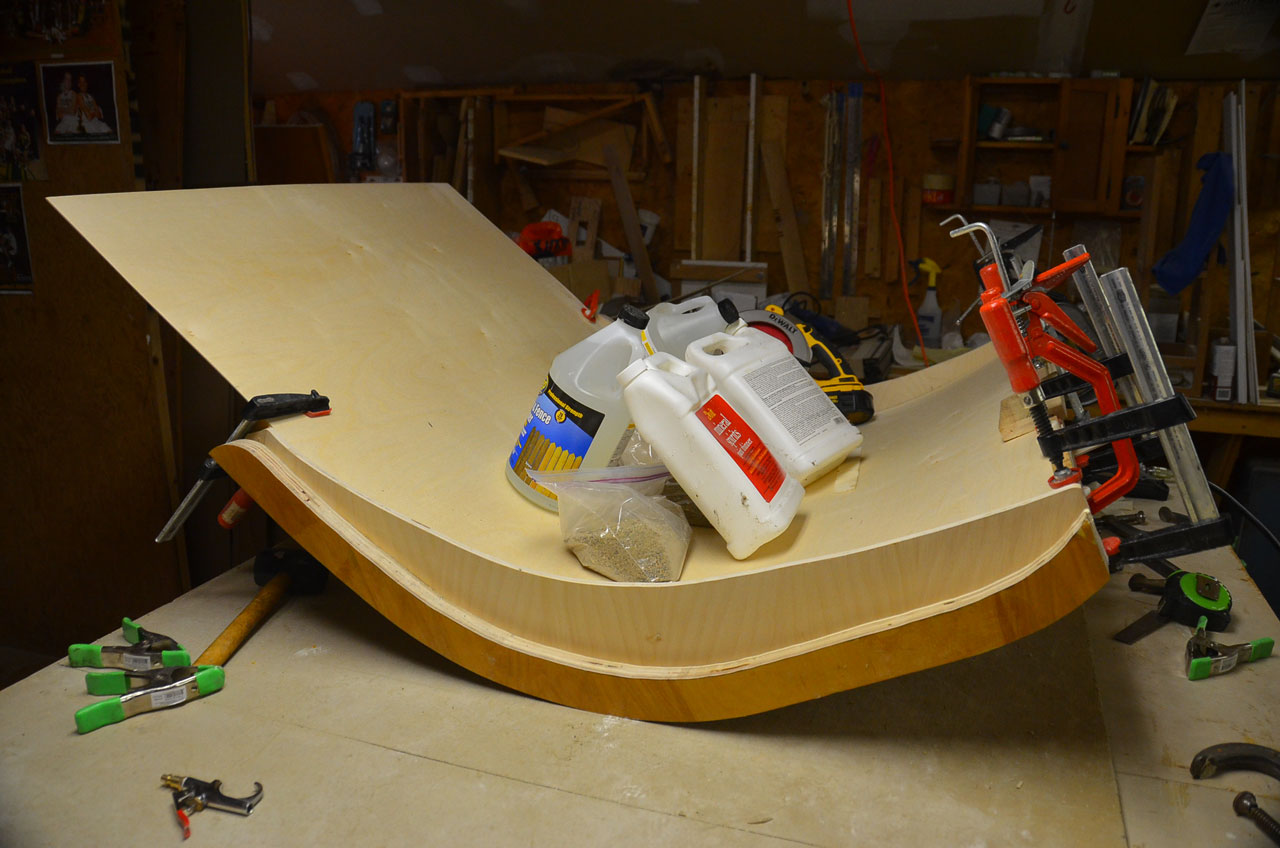
Then insulate, wire for taillights and galley lights, and skin the exterior with ply:
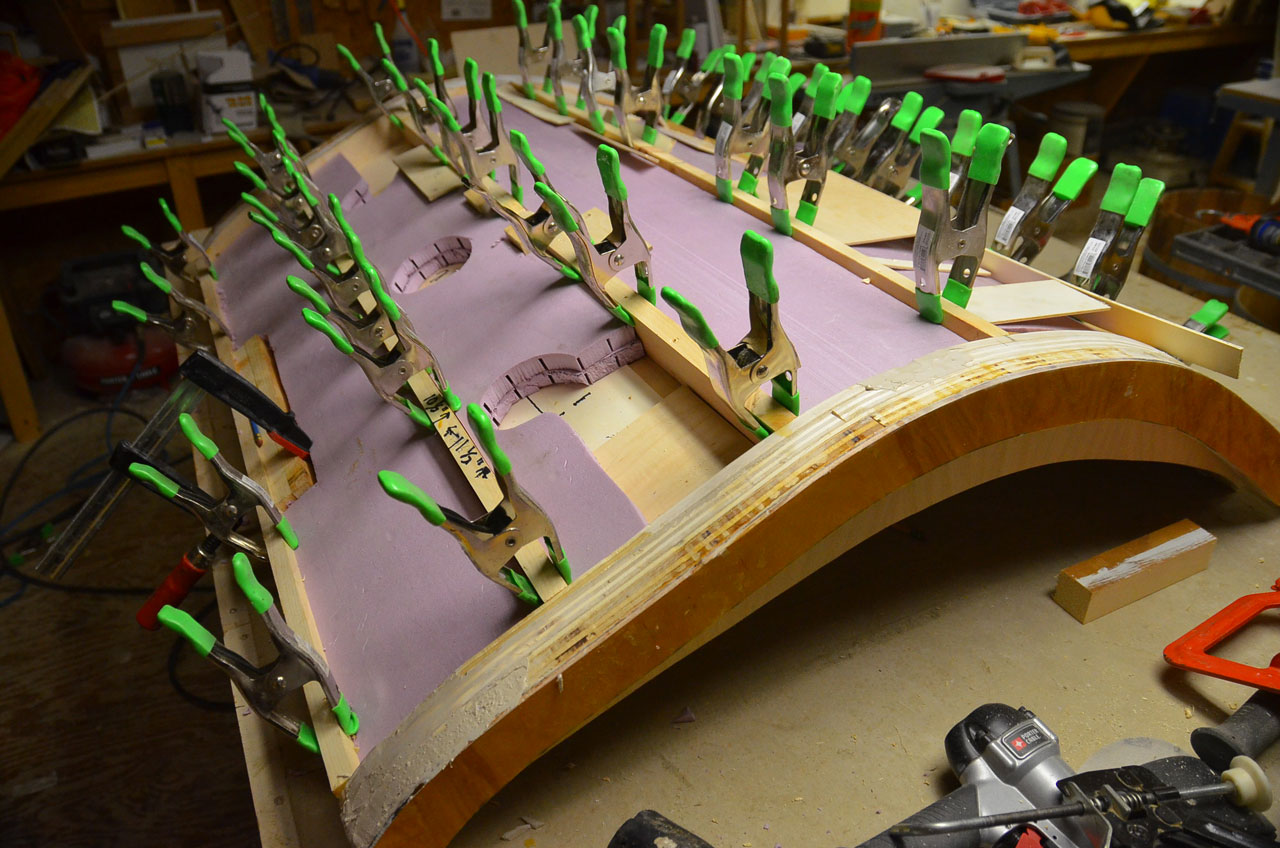
I'll move on to the next phase in another post.... coming right up!


 (I wish I would have taken my wife's offers to help more frequently than I did.)


