This week I installed all the interior paneling. For the most part, I'm using the 5 mm Revolution plywood. I used it for the panels on my previous project and I really like it. It is well made, primered on one side, and easy to work with and only costs $13 per sheet. All the 5mm ply is fastened with 1/2" staples. I also used a small amount of bead board across the top on each end and installed it with screws so it could be removed for access to the wiring for the high mounted clearance lights.
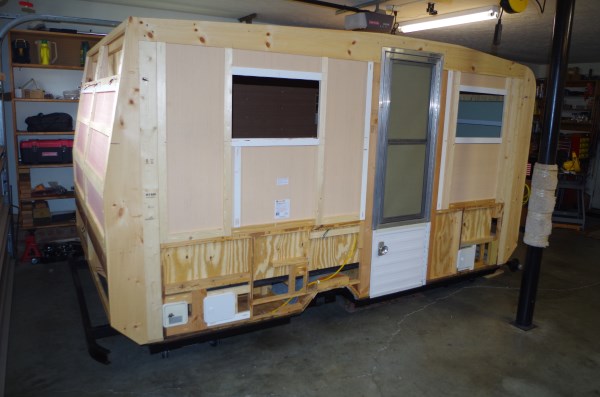
Front exterior view of completed paneling from outside. The darker paneling on the front wall is actually some of the material I salvaged from my previous project that I am re-using. Since it was painted the same color that I'm using in the new project, I turned the painted side in and the bare primered side is facing out.
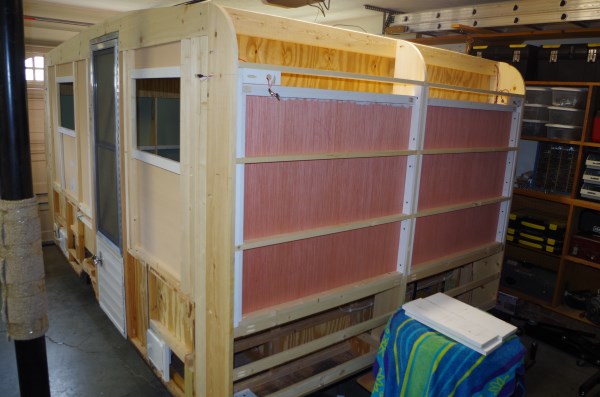
Side exterior view. The lighter panels on top are the new ply with the primered side facing in for future interior painting. The framing around the windows is minimal at this time. I fully expect to install additional horizontal framing later when I get the sheet metal and can determine where I will have to staple the sheet metal joints.
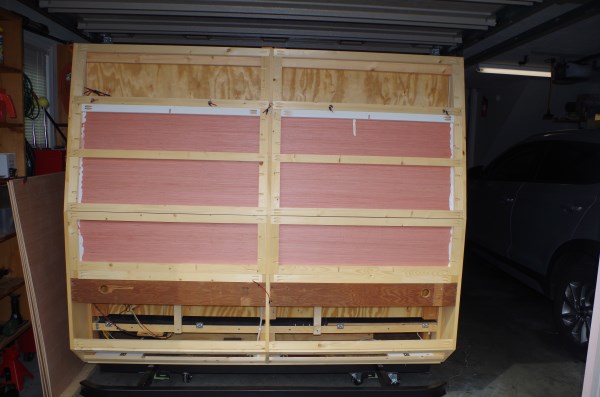
Rear exterior view, again using re-cycled (darker) panels for the end walls.
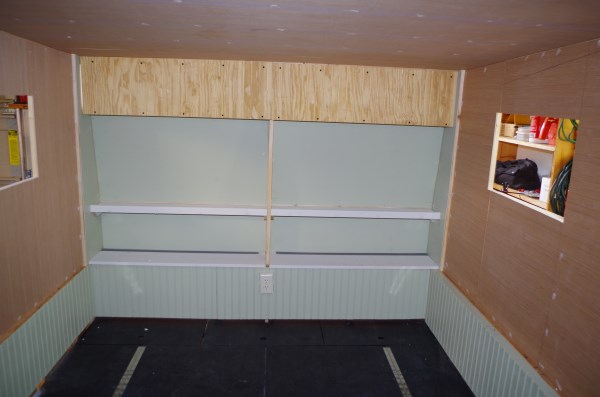
View of the rear interior over the bed area. It's hard to tell from the pic but the existing bead board at the bottom is a light green. All of the interior walls will get the same color of paint and the ceiling will be painted white. The new bead board at the top is installed with screws for easy removal and access to the wiring for the clearance lights.
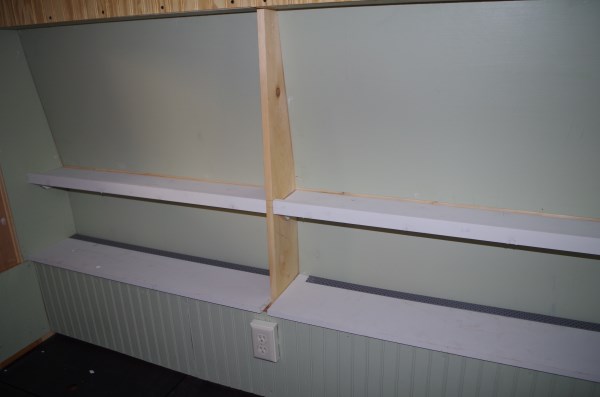
A closer view of the rear shelves with the diffuser built into the back of the bottom shelf. These will be used for night time bed stuff like books, glasses, flashlights, etc.
Front interior with dinette seats. Again, the new bead board at the top is removable for access to wiring for the clearance lights.
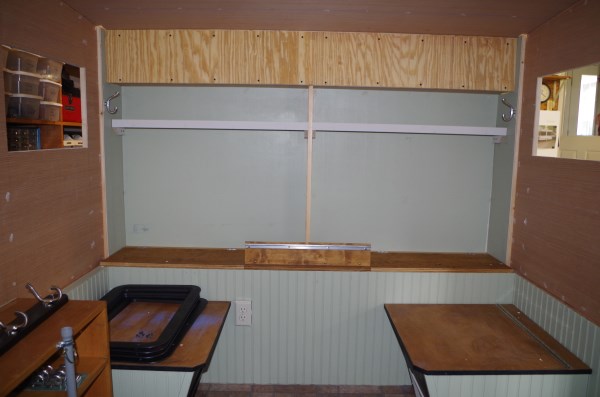
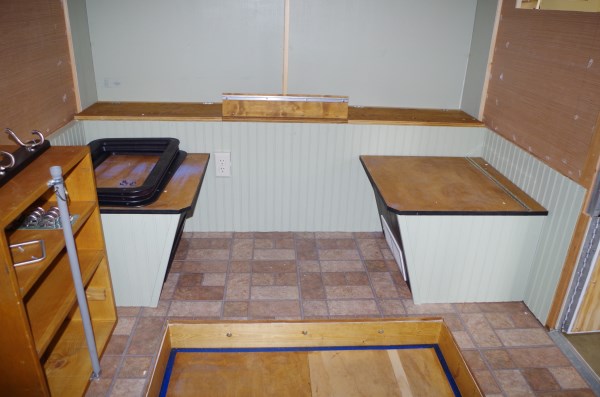
A better view of the dinette seats and the galley cabinet to the left. The white grill in the right seat will be painted black to match the one in the left seat. Also shows the drop floor area which will get matching tile and metal trim later.
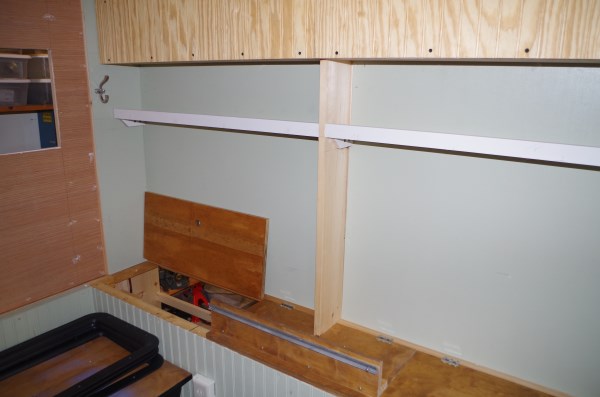
Closer view of the front shelving. The piece in the middle is the rear support for the table that will be installed later. Note that the ends of the bottom shelf are hinged and I plan to make storage areas in the space beneath them.
Next up is trimming and painting the interior. You will note the little white dots on the walls in the pics. That is spackling in all the staple holes. I am now to the point that I have to decide on my sheet metal before I can insulate and panel the exterior. Still doing my homework on that one. Stay tuned........