Thanks for the suggestions Debbie. I really wanted to do the outside awning out of the Tommy Bahama. I am just having a hard time justifying the expense when I have 10 yards of perfectly good Linen color Sunbrella awning fabric in the basement. (I have another 10 yards of Sunbrella Cocoa, and probably at least that much of Surlast Grey.) I'll have to scratch my head for awhile and figure out just how decadent I want to be with this build (since I'm about 100% over budget already), or if I need to exercise a little restraint and be fiscally responsible sometimes. If I go with the linen I will add black piping to the edges though.
I think I will add some black piping to the pillows, and perhaps make the backs of them black. That will also help to conceal the black velcro I will be using to make them removable. The black on the curtains sounds like a nice touch, maybe along the bottom. I love throwing ideas around with other creative women. This is fun!! I
I was also thinking about that condiment/spice/paper towel storage box I am going to build for my galley. I thought maybe trace some portions of the design off the fabric onto the wood and paint the design on it so I can bring the same theme into the galley a little bit.
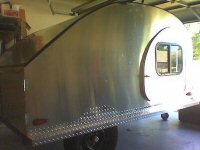
Lance and Becky's Sagwagon
Re: Lance and Becky's Sagwagon - Update and Theme Change
![]() by Oldragbaggers » Tue Apr 16, 2013 10:37 pm
by Oldragbaggers » Tue Apr 16, 2013 10:37 pm
Life is sooooo good.........
Sail...camp....bike...repeat
Becky
Build Journal http://www.tnttt.com/viewtopic.php?f=50&t=45917
Visit our blog at http://www.oldragbaggers.com
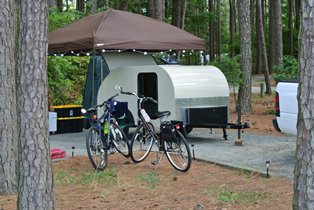
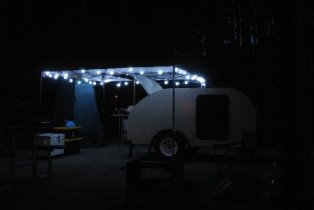
Sail...camp....bike...repeat
Becky
Build Journal http://www.tnttt.com/viewtopic.php?f=50&t=45917
Visit our blog at http://www.oldragbaggers.com
-

Oldragbaggers - Gold Donating Member
- Posts: 1842
- Images: 331
- Joined: Mon Aug 01, 2011 9:22 pm
- Location: Essex, MD
Re: Lance and Becky's Sagwagon - Update and Theme Change
![]() by KCStudly » Wed Apr 17, 2013 3:36 pm
by KCStudly » Wed Apr 17, 2013 3:36 pm
Have you ever tried wood burning? Trace your pattern onto a piece of wood and use a soldering iron to burn the design in.
The guy who builds the trolley tops over the pond (his name escapes me at the momment) has done several of these for his cabinet faces.
The guy who builds the trolley tops over the pond (his name escapes me at the momment) has done several of these for his cabinet faces.
KC
My Build: The Poet Creek Express Hybrid Foamie
Poet Creek Or Bust
Engineering the TLAR way - "That Looks About Right"
TnTTT ORIGINAL 200A LANTERN CLUB = "The 200A Gang"
Green Lantern Corpsmen
My Build: The Poet Creek Express Hybrid Foamie
Poet Creek Or Bust
Engineering the TLAR way - "That Looks About Right"
TnTTT ORIGINAL 200A LANTERN CLUB = "The 200A Gang"
Green Lantern Corpsmen
-

KCStudly - Donating Member
- Posts: 9640
- Images: 8169
- Joined: Mon Feb 06, 2012 10:18 pm
- Location: Southeastern CT, USA


 of your maiden voyage!