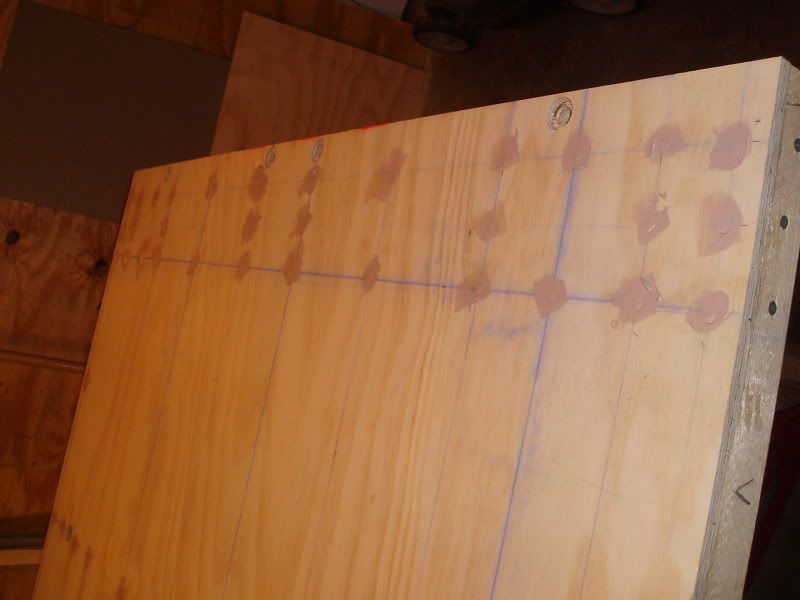
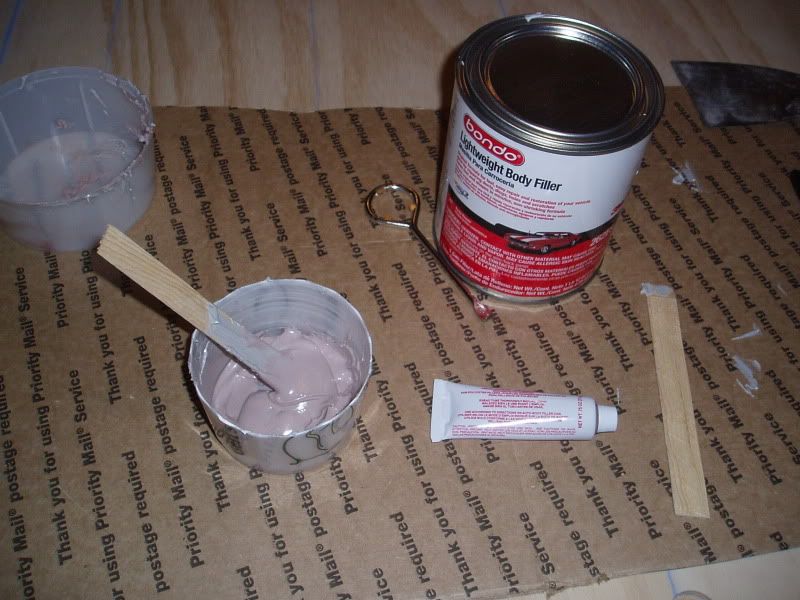
I've never used it before. I saw it recommended over wood putty in a few threads. Picked it up at WalMart of all places. I tell you what, WalMart is a creepy place on a friday night. Yikes. I mixed up a little batch per the instructions.
Teardrops n Tiny Travel Trailersor t n ttt for short (tnttt.com) |
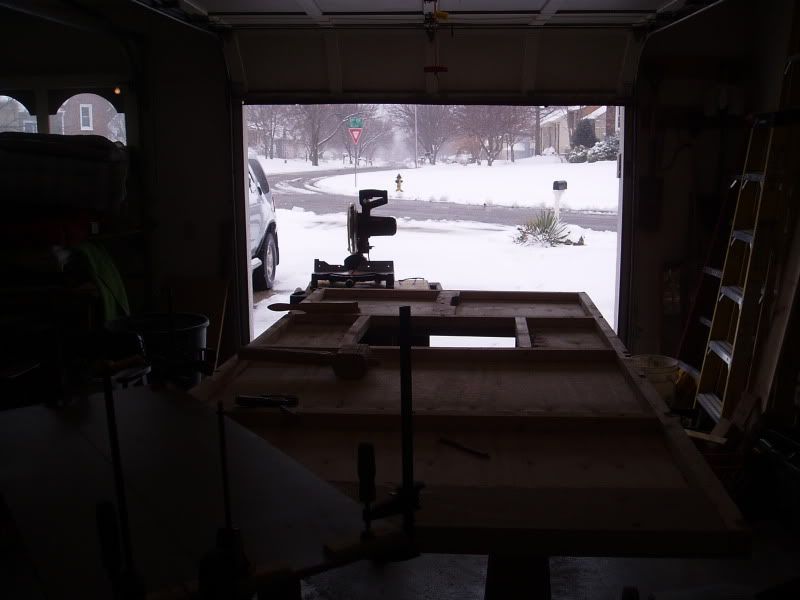
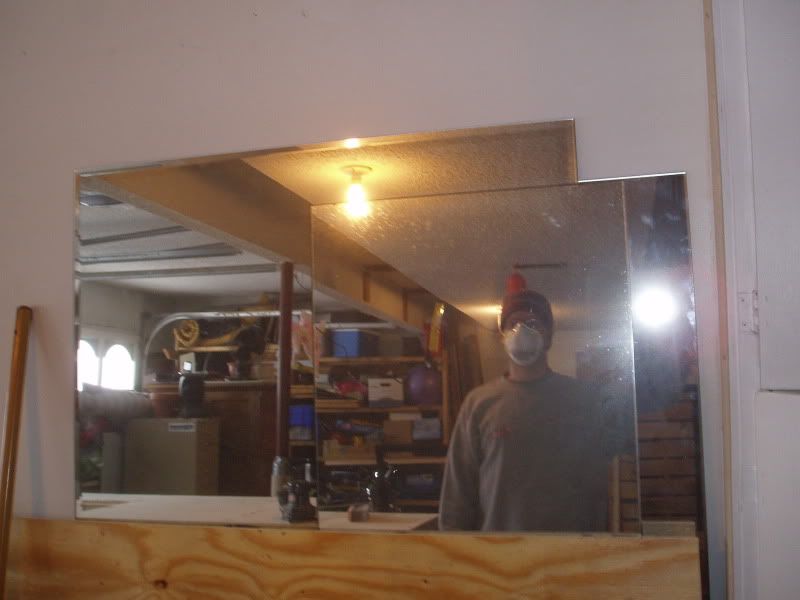
![]() by TwilightLane » Sat Mar 20, 2010 12:30 am
by TwilightLane » Sat Mar 20, 2010 12:30 am

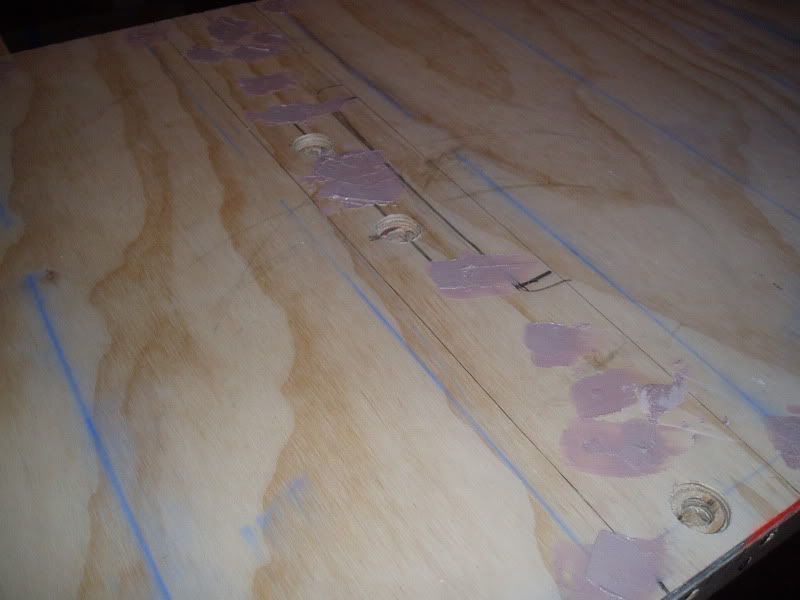
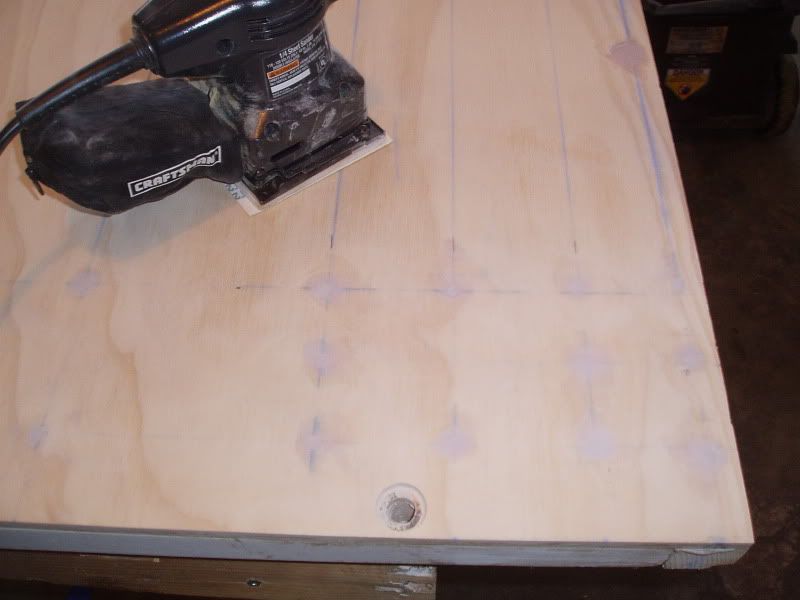
![]() by TwilightLane » Sat Mar 20, 2010 12:33 am
by TwilightLane » Sat Mar 20, 2010 12:33 am


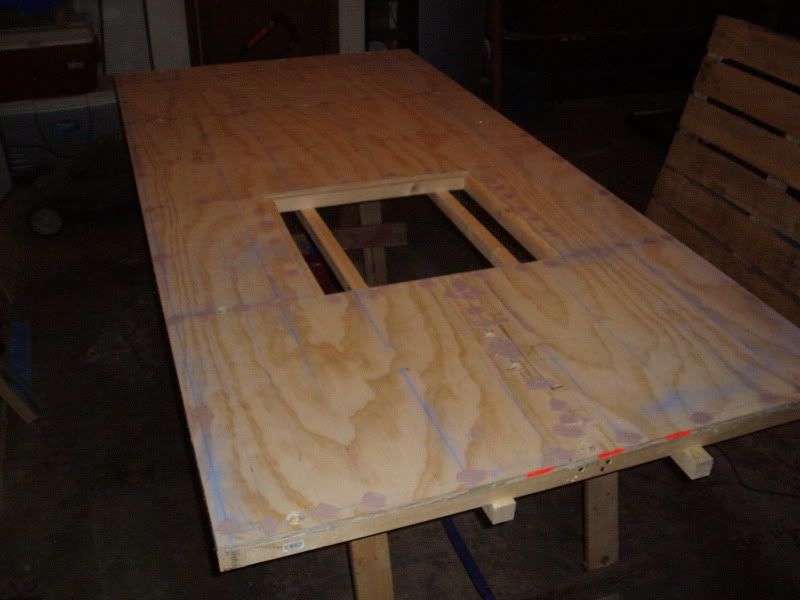
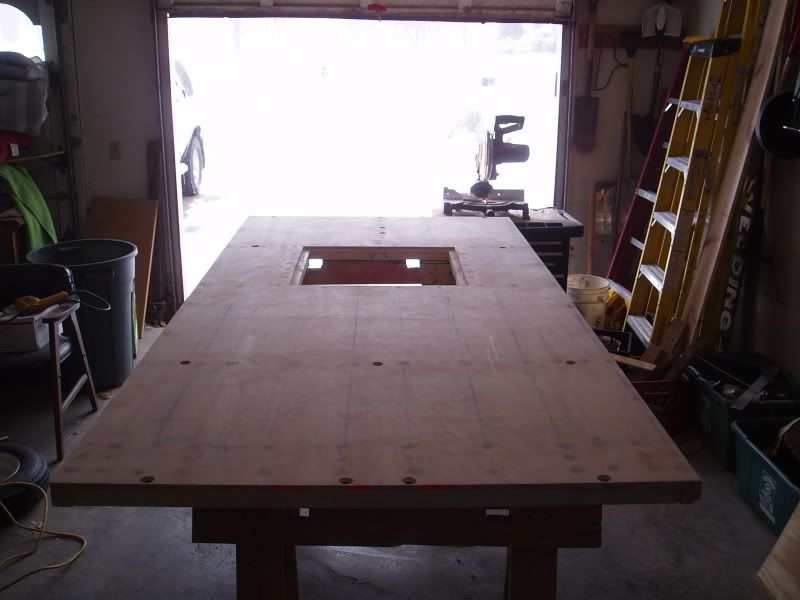
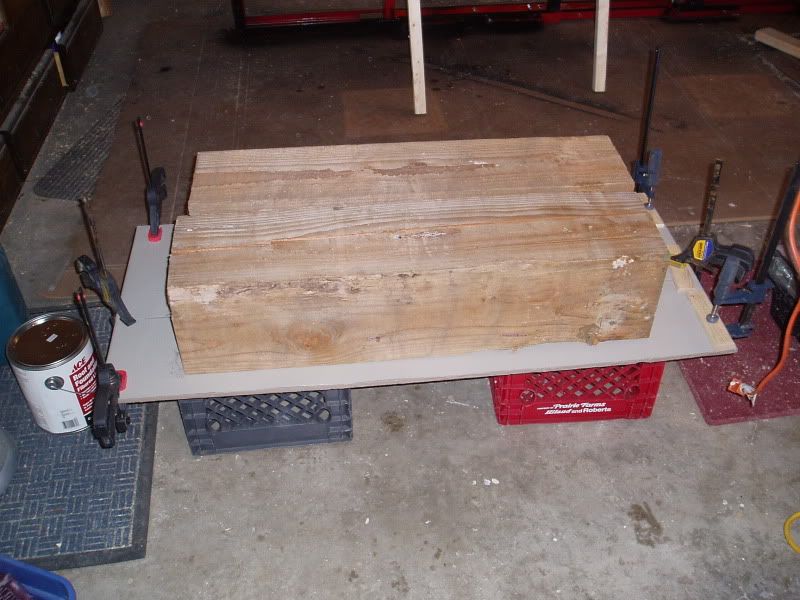
![]() by LDK » Sat Mar 20, 2010 5:50 am
by LDK » Sat Mar 20, 2010 5:50 am
![]() by Miriam C. » Sat Mar 20, 2010 12:06 pm
by Miriam C. » Sat Mar 20, 2010 12:06 pm
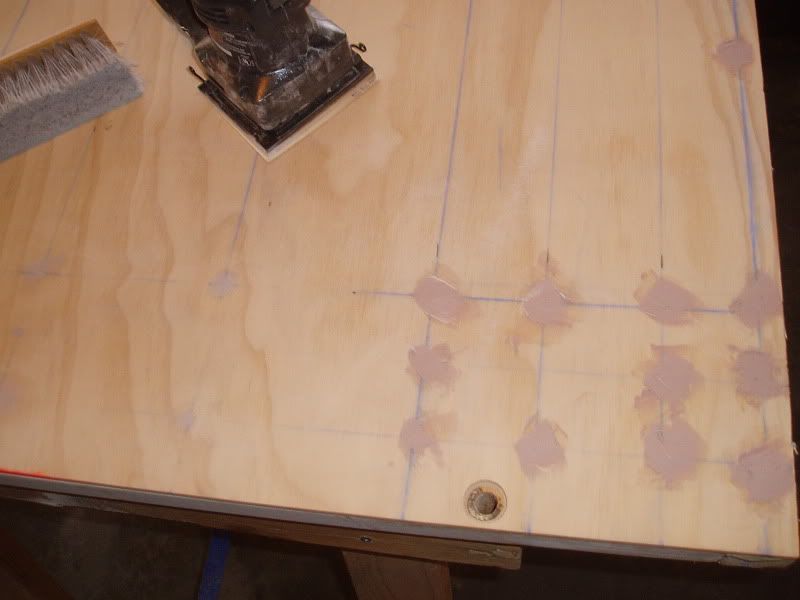
 That is certainly a well built floor!
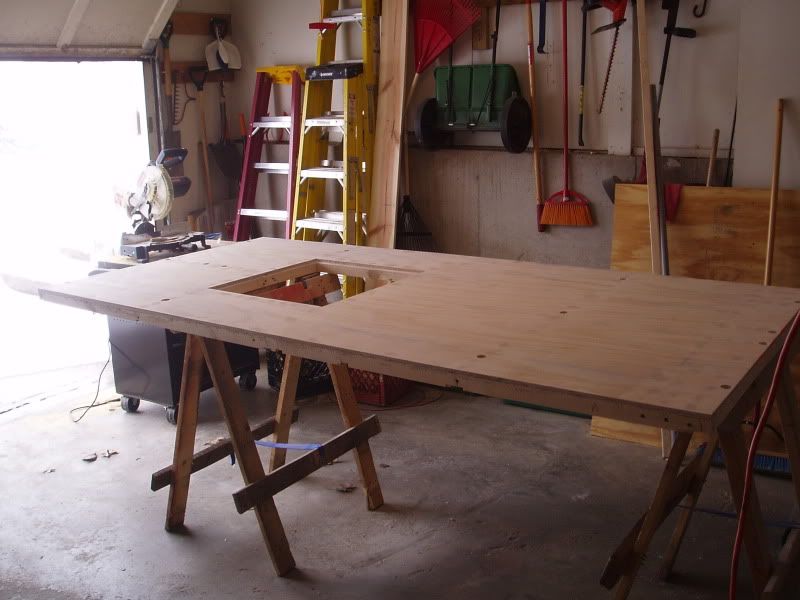
![]() by TwilightLane » Sat Mar 20, 2010 8:12 pm
by TwilightLane » Sat Mar 20, 2010 8:12 pm


![]() by TwilightLane » Sat Mar 20, 2010 8:14 pm
by TwilightLane » Sat Mar 20, 2010 8:14 pm
![]() by TwilightLane » Sat Mar 20, 2010 8:16 pm
by TwilightLane » Sat Mar 20, 2010 8:16 pm
Users browsing this forum: No registered users and 15 guests