TwilightLane Cubbie Build

...ask your questions in the appropriate forums BUT document your build here...preferably in a single thread...dates for updates, are appreciated....

Postby TwilightLane » Sat Mar 20, 2010 8:24 pm

Now on to fitting in that floor to the subhatch. I forgot to take a picture of it, but I laid a bead of caulk on that silver metal strap. Then coaxed the floor into place. (I had dry-fit it earlier to make sureit would fit.) It was pretty snug and I certainly had to encourage it with a mallet.

Image

Image

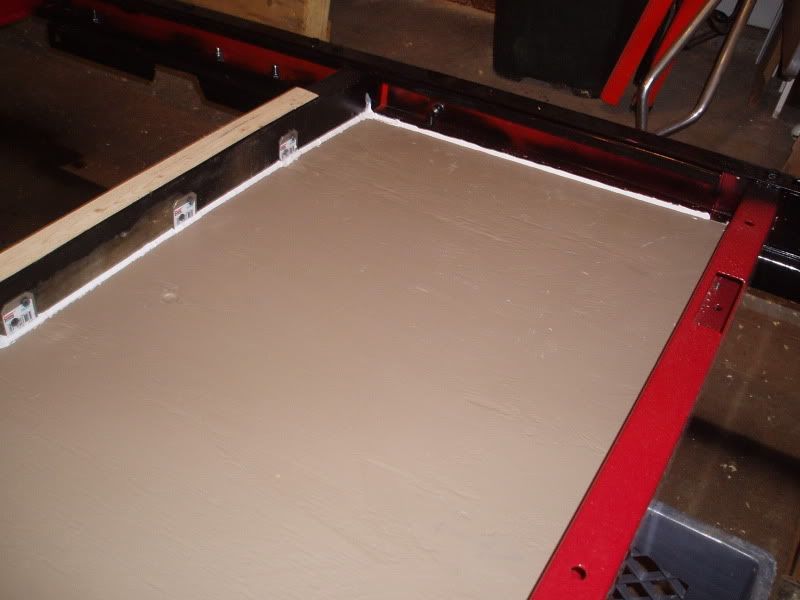
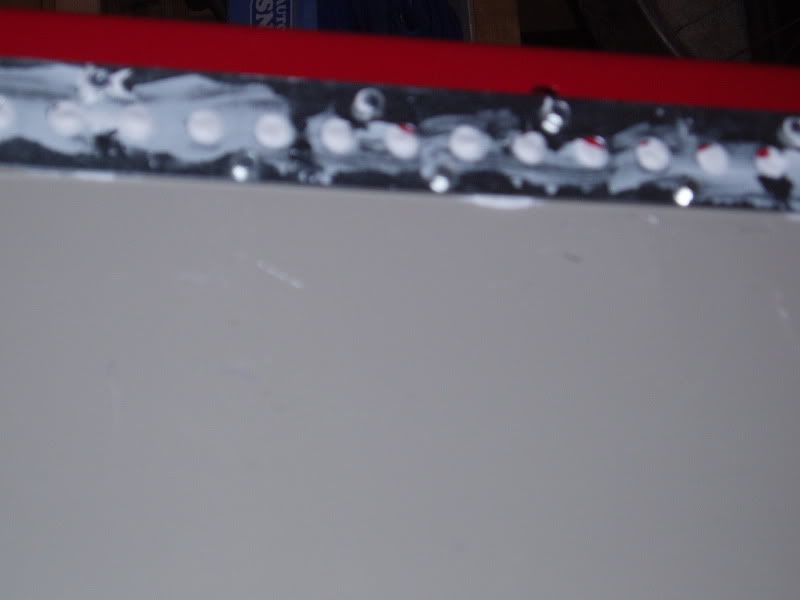
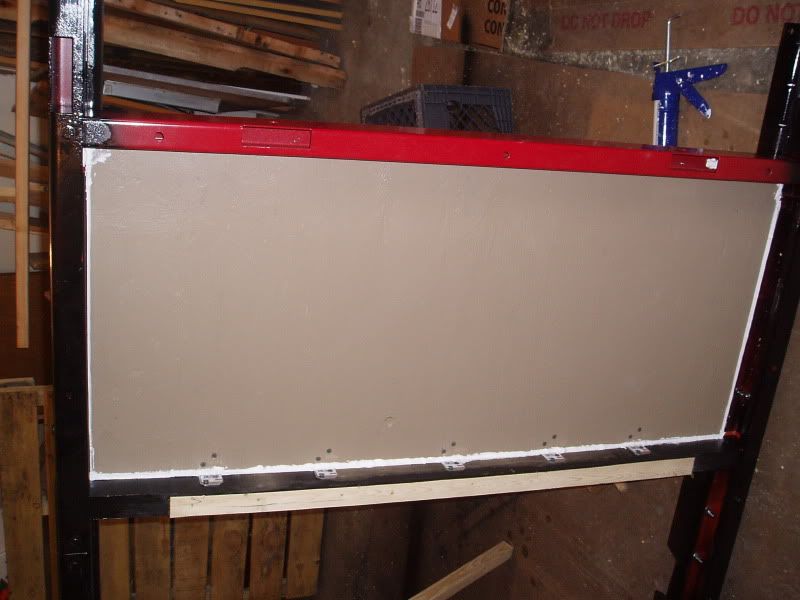
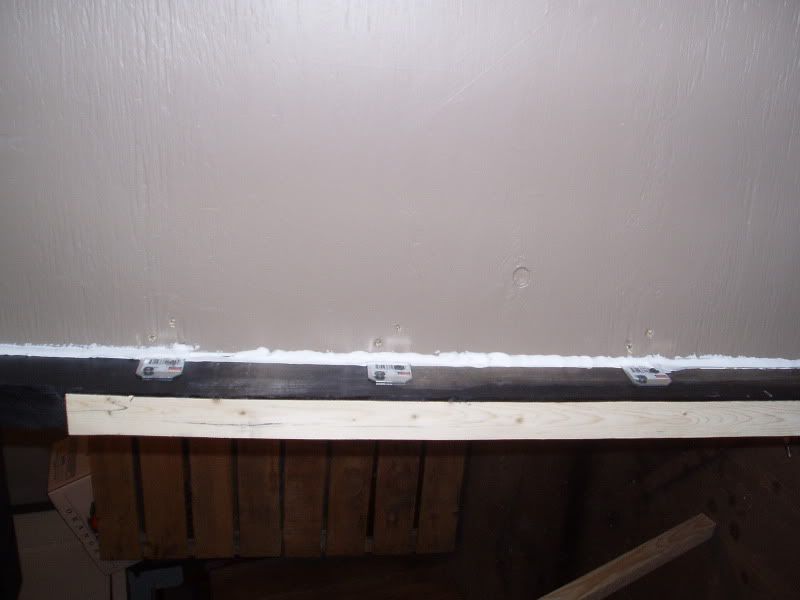
Once it was seated where I wanted it, caulk all around.
Rob & Lori
Aspen & Tundra
My Instructable: http://www.instructables.com/id/Teardro ... l-Trailer/
User avatar
TwilightLane
The 300 Club
 
Posts: 484
Joined: Thu May 14, 2009 4:59 pm

Postby TwilightLane » Sat Mar 20, 2010 8:26 pm

As I'd hoped, the caulk filled in around the edge of the board.

Image
.
Image
Rob & Lori
Aspen & Tundra
My Instructable: http://www.instructables.com/id/Teardro ... l-Trailer/
User avatar
TwilightLane
The 300 Club
 
Posts: 484
Joined: Thu May 14, 2009 4:59 pm

Postby TwilightLane » Sat Mar 20, 2010 8:32 pm

I had pre-drilled holes in that metal strap. I had planned to use more of those same self-tapping metal screws to attach the board. But that didnt really work. They pierced the sheeting but didnt really hold the wood.

Image
Rob & Lori
Aspen & Tundra
My Instructable: http://www.instructables.com/id/Teardro ... l-Trailer/
User avatar
TwilightLane
The 300 Club
 
Posts: 484
Joined: Thu May 14, 2009 4:59 pm
Top

Postby TwilightLane » Sat Mar 20, 2010 8:33 pm

I scrounged up some little wood screws from my odds n ends jar and filled in the gaps. That seemed to work.

Image
Rob & Lori
Aspen & Tundra
My Instructable: http://www.instructables.com/id/Teardro ... l-Trailer/
User avatar
TwilightLane
The 300 Club
 
Posts: 484
Joined: Thu May 14, 2009 4:59 pm
Top

Postby TwilightLane » Sat Mar 20, 2010 8:36 pm

I also had problems with the board getting pushed out as I tried to drill into it. I had to rig some boards to wedge the floor in place. Looks like a mess but worked well.

Image
.
Image

You know what they say about necessity being the mother of invention...
Last edited by TwilightLane on Sat Mar 20, 2010 8:45 pm, edited 1 time in total.
Rob & Lori
Aspen & Tundra
My Instructable: http://www.instructables.com/id/Teardro ... l-Trailer/
User avatar
TwilightLane
The 300 Club
 
Posts: 484
Joined: Thu May 14, 2009 4:59 pm
Top

Postby TwilightLane » Sat Mar 20, 2010 8:44 pm

It ain't pretty but I think that ought to be water-resistant. There are a couple of stripes of construction adhesive cross-ways in the overlap of the sheeting. THen I used a putty knife to fill in the slight gap. I stripped caulk all the way around.

Image
Rob & Lori
Aspen & Tundra
My Instructable: http://www.instructables.com/id/Teardro ... l-Trailer/
User avatar
TwilightLane
The 300 Club
 
Posts: 484
Joined: Thu May 14, 2009 4:59 pm
Top

Postby TwilightLane » Sat Mar 20, 2010 8:51 pm

That is a final look, all caulked and ready.

Image

You can see the heads of the wood screws I drove in to meet those angle brackets. It worked well but I now have about a half inch of thread sticking out the bottom of the board. I don't like that, but we'll see what I can come up with.
Rob & Lori
Aspen & Tundra
My Instructable: http://www.instructables.com/id/Teardro ... l-Trailer/
User avatar
TwilightLane
The 300 Club
 
Posts: 484
Joined: Thu May 14, 2009 4:59 pm
Top

Postby TwilightLane » Sat Mar 20, 2010 9:20 pm

Here are those jagged screw tips I was worrying about.

Image
.
Image

Yeah, I got to fix that.
Rob & Lori
Aspen & Tundra
My Instructable: http://www.instructables.com/id/Teardro ... l-Trailer/
User avatar
TwilightLane
The 300 Club
 
Posts: 484
Joined: Thu May 14, 2009 4:59 pm
Top

Postby TwilightLane » Sat Mar 20, 2010 9:23 pm

I dug around in my jar and found some screws that I thought would work. Much better result.

Image

And inside:
Image

There is just barely a tip of the screw coming out of a couple of holes. I think I can patch w caulk or adhesive or something.
Rob & Lori
Aspen & Tundra
My Instructable: http://www.instructables.com/id/Teardro ... l-Trailer/
User avatar
TwilightLane
The 300 Club
 
Posts: 484
Joined: Thu May 14, 2009 4:59 pm
Top

Postby TwilightLane » Sat Mar 20, 2010 9:25 pm

One last thing to make the hatch more or less water resistant. There are still some openings in the metal cross piece. Example here:
Image

Gotta fill em. A big wad of caulk did the trick.
Image

I don't know why, but that really cracks me up.
Rob & Lori
Aspen & Tundra
My Instructable: http://www.instructables.com/id/Teardro ... l-Trailer/
User avatar
TwilightLane
The 300 Club
 
Posts: 484
Joined: Thu May 14, 2009 4:59 pm
Top

Looking Good

Postby NebraskaTeachr » Sat Mar 20, 2010 9:32 pm

Your build is really coming along. It is always so satisfying to get to each step and see it accomplished. You are making me wish I was doing another build.

Looks Great

Tim :thumbsup:
User avatar
NebraskaTeachr
Donating Member
 
Posts: 123
Images: 53
Joined: Tue Feb 10, 2009 2:01 pm
Location: Hardin, MT
Top

Postby Darren » Sun Mar 21, 2010 11:41 am

Lookin good Rob and thanks for the photos. I've been following along since you started.

Do you have a target date for getting on the road?
Image
User avatar
Darren
the camper formerly known as Victor Star
 
Posts: 1356
Images: 161
Joined: Sat Dec 03, 2005 12:09 am
Location: Shawnee, Kansas (KC)
Top

Postby H-Balm » Sun Mar 21, 2010 12:45 pm

Image

I can't believe I have never thought of doing that.
Man, I feel dumb! It's so obvious!
Thanks.... I'm storing that in the memory bank.

I love the journal. I am learning much. You do a fine job of describing the images.
Image
User avatar
H-Balm
Teardrop Master
 
Posts: 243
Joined: Sat May 27, 2006 5:52 am
Location: Where NY/NJ/PA Meet
Top

Postby H-Balm » Sun Mar 21, 2010 12:51 pm

Image

I can't believe I have never thought of doing that.
Man, I feel dumb! It's so obvious!
Thanks.... I'm storing that in the memory bank.

I love the journal. I am learning much. You do a fine job of describing the images.
Image
User avatar
H-Balm
Teardrop Master
 
Posts: 243
Joined: Sat May 27, 2006 5:52 am
Location: Where NY/NJ/PA Meet
Top

Postby TwilightLane » Sun Mar 21, 2010 9:53 pm

Thanks guys! I'm standing on the shoulders of giants. I'm doing what I've read about here, but trying to represent it visually. And to be extra diligent documenting as many details as I can.

I'm hoping to get done ASAP. At least by this fall, if not earlier. I've made a lot of progress recently, but the next couple of weeks are going to be super busy at work so it may be a while fore I get too much done. We'll see how it goes.

I'm not a summer/ heat person so I'm not too interested in warm weather camping. I don't plan to even bother w an AC unit - if it's that warm I'll just stay home! As a I don't think I'll have this done before it heats up, I'm taking my time.

Victor - stop by sometime if you want to see the thing firsthand.
Rob & Lori
Aspen & Tundra
My Instructable: http://www.instructables.com/id/Teardro ... l-Trailer/
User avatar
TwilightLane
The 300 Club
 
Posts: 484
Joined: Thu May 14, 2009 4:59 pm
Top

PreviousNext

Return to Build Journals

Who is online

Users browsing this forum: No registered users and 14 guests