construction continues on the Menehune Swoop!

...ask your questions in the appropriate forums BUT document your build here...preferably in a single thread...dates for updates, are appreciated....

Postby teardrop_focus » Wed Oct 07, 2009 11:02 pm

Wed Oct 07, 2009 7:32 pm

hello all...


I almost submitted a post this morning here in your thread asking for an update! but didn't want to bother you. :R


green_eyed_diablito

Image

Image

Image

Image


The trim looks fantastic!

Very, very nice work. This trailer of yours has come together quickly! (relatively speaking). I might be able to start mine here soon; I'm back at work in my regular job!

I have a pair of those 12V lights you're using for porch lights. They should be great! Have you tested their output at night yet?

:applause: :thumbsup: 8)
.
Image

"There is something about these little trailers that brings out the best in people." - BigAl, Scotland, 2010

"Climb the mountains and get their good tidings. Nature's peace will flow into you as sunshine flows into the trees...
The winds will blow their own freshness into you and the storms their energy, while cares will drop away like autumn leaves..." - John Muir, 1898


Chris Squier / teardrop_focus :-)~
User avatar
teardrop_focus
Donating Member
 
Posts: 5975
Images: 127
Joined: Sat Apr 11, 2009 3:18 pm
Location: SoCal

Postby Greg M » Thu Oct 08, 2009 12:38 am

Looking great :thumbsup: Don't worry about the schedule, you're on teardrop time. That's what I tell myself every time I look at both The Locust and Decotear unfinished in the driveway :lol:

-Greg
Give a person a fish and you feed them for a day; teach a person to use the Internet and they won't bother you for weeks.
User avatar
Greg M
*Geek Extraordinaire
 
Posts: 1167
Images: 85
Joined: Mon Sep 12, 2005 12:40 am
Location: Victoria, BC, Canada

Postby 2bits » Thu Oct 08, 2009 12:50 am

Wow! Man, I am so glad you went for that profile shape! I think that looks incredible, and the doors and the detail with all the trim. Very nice! You might not get any sleep at the camp grounds!
:thumbsup:
Thomas

Image
User avatar
2bits
2bit Member
 
Posts: 5132
Images: 8
Joined: Thu Dec 27, 2007 6:04 pm
Location: Lake Tawakoni, TX
Top

Postby S. Heisley » Thu Oct 08, 2009 11:10 am

It's definitely an interesting design. The wood trim adds a lot to it and emphasizes the swoop. Those dark spots in the plywood look to my imagination like whales, swimming.

I can't find Menehune in the dictionary. You've probably said somewhere what it means but....?
User avatar
S. Heisley
Super Lifetime Member
 
Posts: 8866
Images: 495
Joined: Mon Sep 17, 2007 10:02 am
Location: No. California
Top

Postby green_eyed_diablito » Thu Oct 08, 2009 9:41 pm

teardrop_focus wrote:
I almost submitted a post this morning here in your thread asking for an update! but didn't want to bother you. :R


Very, very nice work. This trailer of yours has come together quickly! (relatively speaking). I might be able to start mine here soon; I'm back at work in my regular job!

I have a pair of those 12V lights you're using for porch lights. They should be great! Have you tested their output at night yet?

:applause: :thumbsup: 8)


thanks, chris. and you're never a bother! and congrats on getting back to work - that has to be a relief. are you back at sony?

i guess i should have tested the lights, huh? oh, well. if it turns out that they are too dim, i'll replace the bulb and socket with LEDs.

i'll be home sunday morning if you'd like to come over to check it out ad talk teardrops. give me a call.
Since this life here and now is all we can know, our most reasonable option is to live it fully.
ImageImage
User avatar
green_eyed_diablito
Teardrop Master
 
Posts: 226
Joined: Tue May 12, 2009 1:17 pm
Location: Los Angeles, CA
Top

Postby green_eyed_diablito » Thu Oct 08, 2009 9:49 pm

Greg M wrote:Looking great :thumbsup: Don't worry about the schedule, you're on teardrop time. That's what I tell myself every time I look at both The Locust and Decotear unfinished in the driveway :lol:

-Greg


thanks, greg. i know you're right. i have to remind myself of that because i'm impatient by nature.

but to further screw with my patience (in a good way), my new project is already waiting in the wings. last week a buddy gave me his '78 Honda CB550 that i'm going to bring back to life as a cafe racer. i told myself that i wouldn't touch the bike until i finished the trailer.
Since this life here and now is all we can know, our most reasonable option is to live it fully.
ImageImage
User avatar
green_eyed_diablito
Teardrop Master
 
Posts: 226
Joined: Tue May 12, 2009 1:17 pm
Location: Los Angeles, CA
Top

Postby green_eyed_diablito » Thu Oct 08, 2009 9:51 pm

2bits wrote:Wow! Man, I am so glad you went for that profile shape! I think that looks incredible, and the doors and the detail with all the trim. Very nice! You might not get any sleep at the camp grounds!
:thumbsup:


thanks, tom. i'm very happy with the profile too. and i'm happy that i don't have to build a curved hatch! :D
Since this life here and now is all we can know, our most reasonable option is to live it fully.
ImageImage
User avatar
green_eyed_diablito
Teardrop Master
 
Posts: 226
Joined: Tue May 12, 2009 1:17 pm
Location: Los Angeles, CA
Top

Postby green_eyed_diablito » Thu Oct 08, 2009 9:58 pm

S. Heisley wrote:It's definitely an interesting design. The wood trim adds a lot to it and emphasizes the swoop. Those dark spots in the plywood look to my imagination like whales, swimming.

I can't find Menehune in the dictionary. You've probably said somewhere what it means but....?


i feel like it really came together when the trim went on. it woke up the design. thanks for the encouragement. and i really like that you see whales. it adds to the hawaiian theme.

the Menehune are a mythical Hawaiian people who live in the forest. they are tiny of stature and known for building structures over night. i figured it would be fitting.
:D
Since this life here and now is all we can know, our most reasonable option is to live it fully.
ImageImage
User avatar
green_eyed_diablito
Teardrop Master
 
Posts: 226
Joined: Tue May 12, 2009 1:17 pm
Location: Los Angeles, CA
Top

Postby green_eyed_diablito » Mon Oct 26, 2009 10:17 pm

hello guys and gals,
a little more progress...

The fuse box is attached. I made it out of 1"x3"s and attached it directly to a spar that's running across, under the skin. The bottom of the box is attached to the trim piece directly under it (the entire box is glued to the skin). I made the bus bars myself and I bought the fuse holder at Radio Shack. There are two holes at the bottom of the box where wires will exit and connect to the battery. The box will be weather stripped.
Image

I made an overlapping lid to prevent water intrusion. It is held in place with stainless steel bolts under the chrome caps.
Image

I think I'm going to stain the lid.
Image
Since this life here and now is all we can know, our most reasonable option is to live it fully.
ImageImage
User avatar
green_eyed_diablito
Teardrop Master
 
Posts: 226
Joined: Tue May 12, 2009 1:17 pm
Location: Los Angeles, CA
Top

Postby green_eyed_diablito » Thu Nov 05, 2009 12:40 am

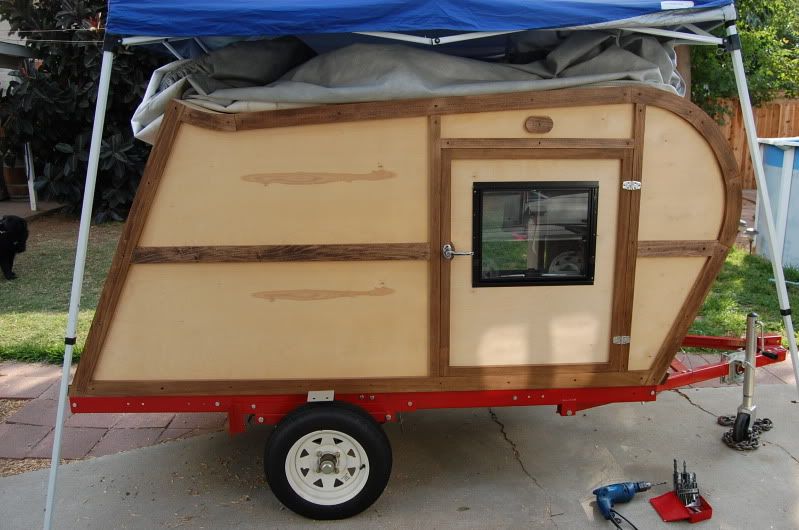
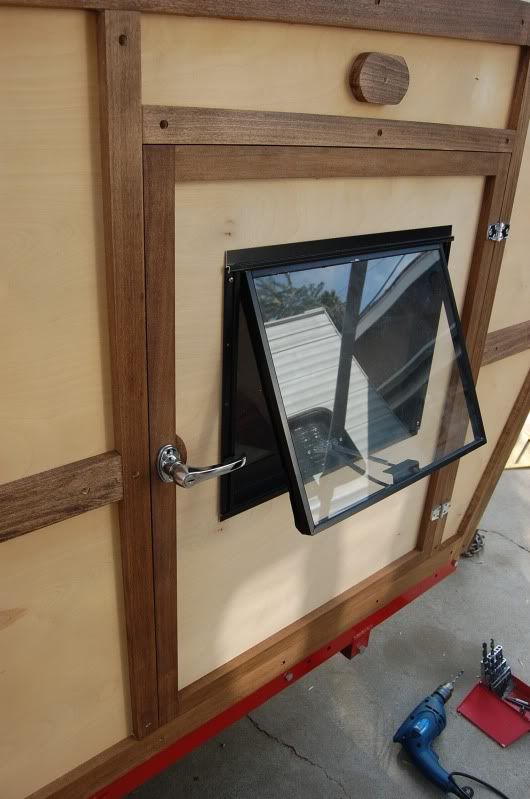
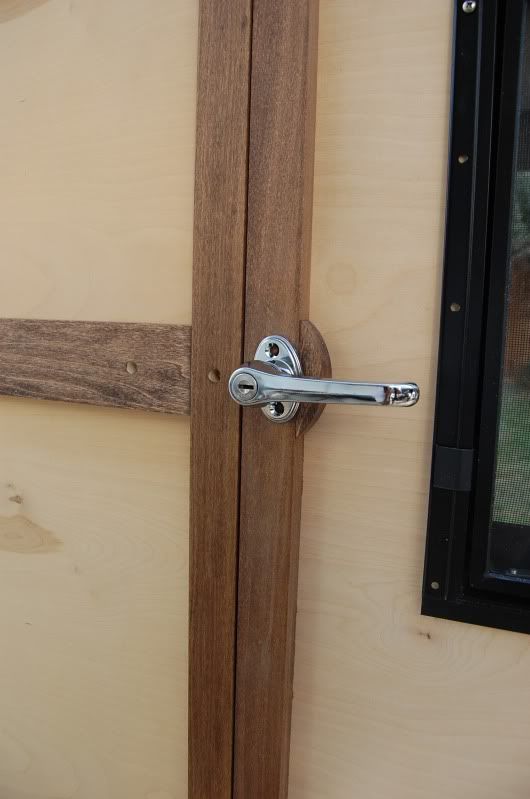
Today was not a successful day.

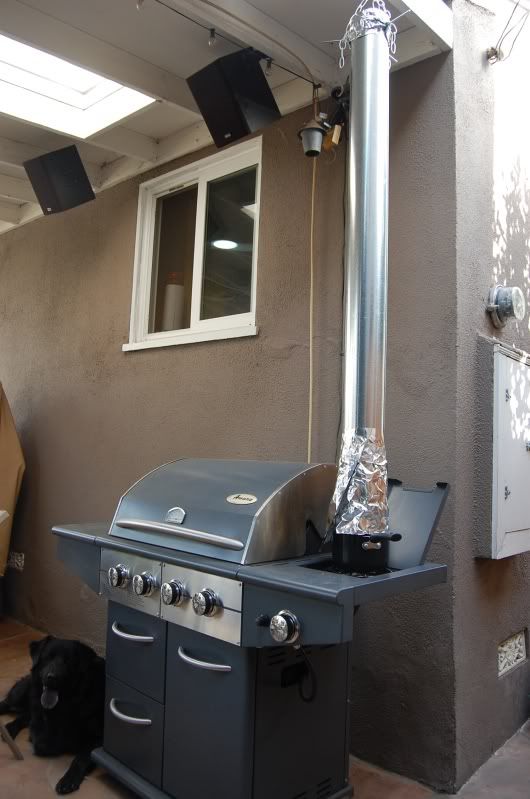
My next step in the build is to apply trim on the roof of the swoop. Because of the contours of the roof line, the trim pieces must bend, and in order to bend without snapping, the trim must be steamed. That being the case, I designed my own steamer...my ghetto steamer.

I put the wood inside this section of vent pipe, then I suspended the pipe from my patio cover. I wheeled my BBQ under the pipe so the steam from a pot of boiling water would rise directly into the pipe and soften the wood.

Three hours of steaming had almost no effect. :-( On two plan B.

Image

Plan B was to cut a piece of trim into three pieces, then glue the three pieces together while clamped to a mold with the exact contour of the roofline (this section would have been the contour at the rear of the TD). The pieces didn't laminate nicely because I couldn't get even pressure across the entire surface.

On to plan C. Problem is, I haven't figured out plan C.

Image

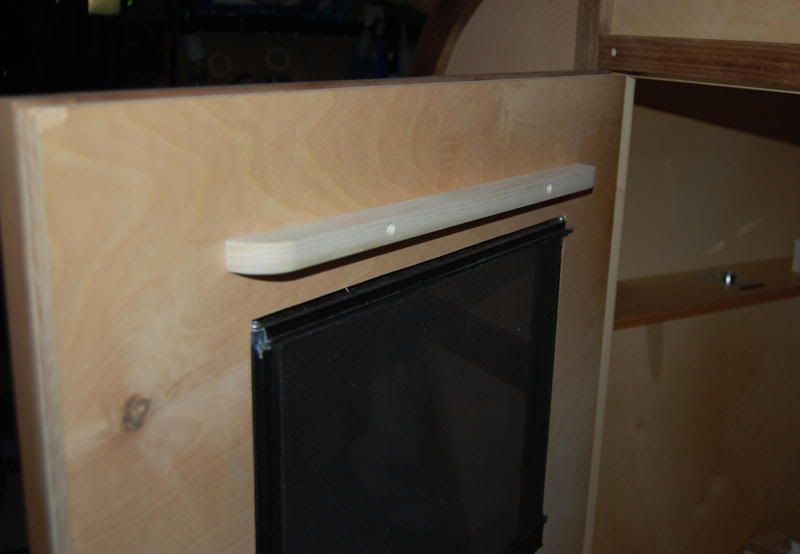
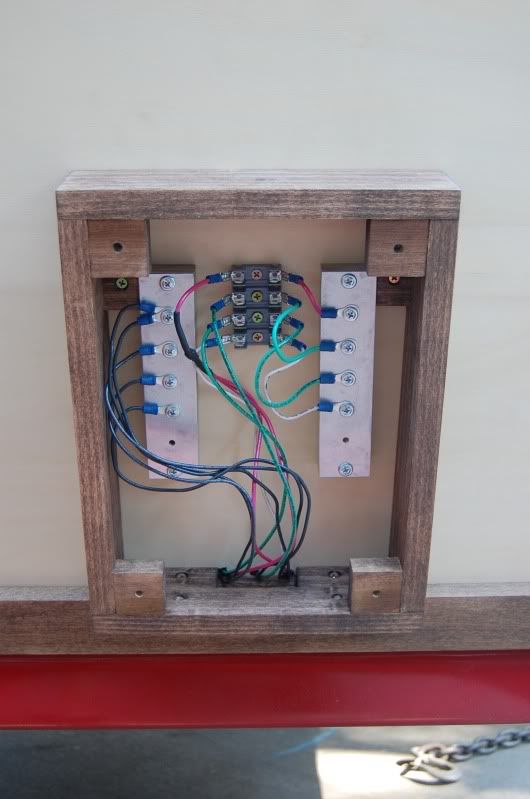
At least I was able to install the cleat that the curtains will attach to.

Image
Since this life here and now is all we can know, our most reasonable option is to live it fully.
ImageImage
User avatar
green_eyed_diablito
Teardrop Master
 
Posts: 226
Joined: Tue May 12, 2009 1:17 pm
Location: Los Angeles, CA
Top

Postby 2bits » Thu Nov 05, 2009 1:20 am

that is what this group is all about, not only sharing in your successes, but in the frustrations that we sometimes encounter. Remember to think of it like a scientist looking for a cure to whatever... When they fail, they only found one new way it wouldn't work, now they can move on... I was never good at annealing aluminum or softening wood personally...
Thomas

Image
User avatar
2bits
2bit Member
 
Posts: 5132
Images: 8
Joined: Thu Dec 27, 2007 6:04 pm
Location: Lake Tawakoni, TX
Top

Postby grizz » Thu Nov 05, 2009 4:15 pm

What an awesome build.

I know what you mean wrt darkness and work getting in the way.

I got told off by Nicola few weeks ago for being in the garage at 07.00 playing with wood. So now I spend no more than one day over weekends on the trailer, and at night the cold has crawled in, so its less pleasant too.

Hope you get the steaming sorted out soon.
Greetings from England.

Rian.


Hoping to get it all done in time.
User avatar
grizz
1000 Club
1000 Club
 
Posts: 1210
Images: 29
Joined: Mon Sep 21, 2009 2:37 pm
Location: Rochester, Kent, UK
Top

Postby aggie79 » Thu Nov 05, 2009 5:57 pm

Paul,

I like your detail on the cleat for curtains. I'll probably borrow your design and use your reason instead of the real reason I need to do so - slightly warped doors.

Two ideas for your trim. If your going to form it not on the tear, you may want to use a form or caul on both sides and more clamps. (The "more clamps" advice seems to be a mantra in teardrop construction.) The other idea is to attach your trim strips directly to the teardrop. Apply each strip individually with epoxy or PL glue to the roof. Use screws at 2-3 inches on center with a backing plate - 1/4" plywood. Fasten screws through the backing plate and trim strip into the sidewall. I did something similar here to attach 1/8" plywood to the 6" radius of my front roll pan:

Image

The screw holes are small and barely visible, and can be filled.

Gig'em, Tom :thumbsup:
Tom (& Linda)
For build info on our former Silver Beatle teardrop:
Build Thread

93503
User avatar
aggie79
Super Duper Lifetime Member
 
Posts: 5405
Images: 686
Joined: Tue Aug 07, 2007 5:42 pm
Location: Watauga, Texas
Top

Postby cokebottle10 » Fri Nov 06, 2009 10:26 am

I like you fuse box, but I do not like the aluminum buss bars. If you have not done so yet please add anti-oxidant to the screws and terminals to keep them from corroding. You can get it at one of the big box stores in the electrical section. It is messy and it does conduct. Be carefull where you put it. Most of the time it looks like vaseline with graphite powder mixed in.

Thanks,
David.
cokebottle10
Teardrop Advisor
 
Posts: 93
Joined: Tue Jul 29, 2008 8:42 pm
Location: FLETCHER NC
Top

Postby green_eyed_diablito » Fri Nov 06, 2009 10:49 am

thank you for the kind words and encouragement. i've said it before and i'll say it again, this site has a great bunch of people!

aggie79, i think you're dead on right about using two sides to coutoured form. it think it will help to make it wider too.

david, is your concern about the aluminum buss bars due to the dissimilar metals touching each other? thanks for the tip about the anti-oxidant.

-miguel
Since this life here and now is all we can know, our most reasonable option is to live it fully.
ImageImage
User avatar
green_eyed_diablito
Teardrop Master
 
Posts: 226
Joined: Tue May 12, 2009 1:17 pm
Location: Los Angeles, CA
Top

PreviousNext

Return to Build Journals

Who is online

Users browsing this forum: No registered users and 17 guests