We have had a few nice weekends over the last couple months in Colorado so I made some more progress on finish details on my teardrop while getting ready for DMV registration and its first outing.
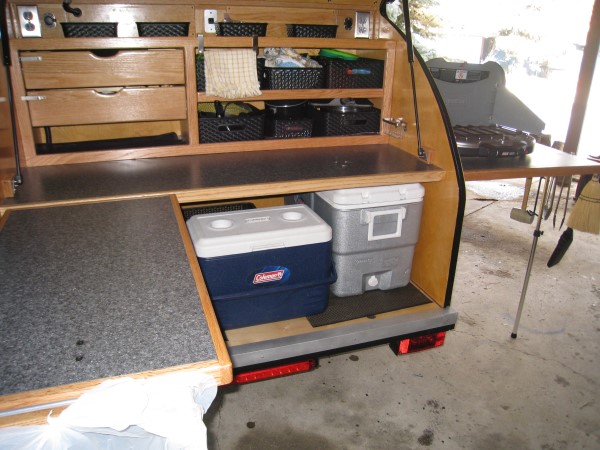
I setup my side tables and Galley and decided on where I would normally cook and want my utensils.
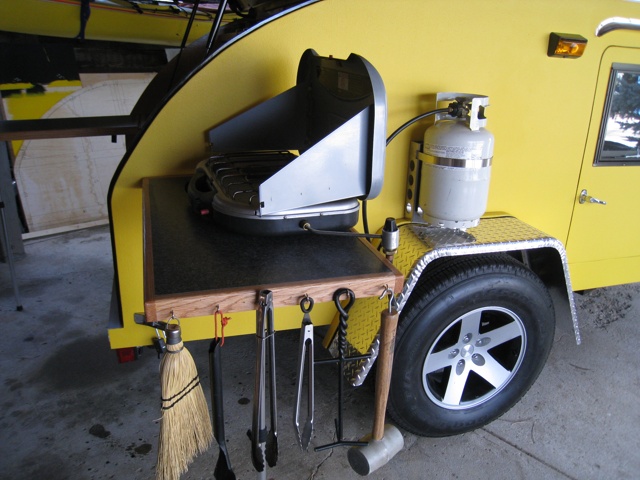
Here is a picture of my setup for the stove. With the side table I can sit the stove on it and hook up to the propane tank mounted on the side of the teardrop without removing the tank. I screwed in little cup hooks to hold the Dutch oven accessories.
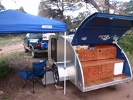
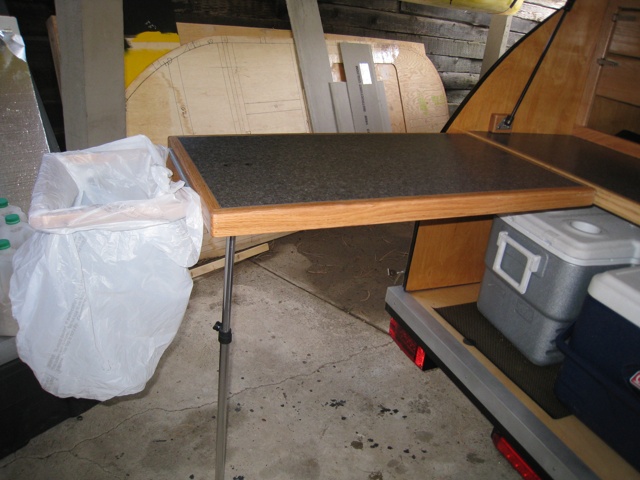
I also planned it so I can put the second side table on the rear of the counter to make a L shaped work area. Here is a picture with both tables setup
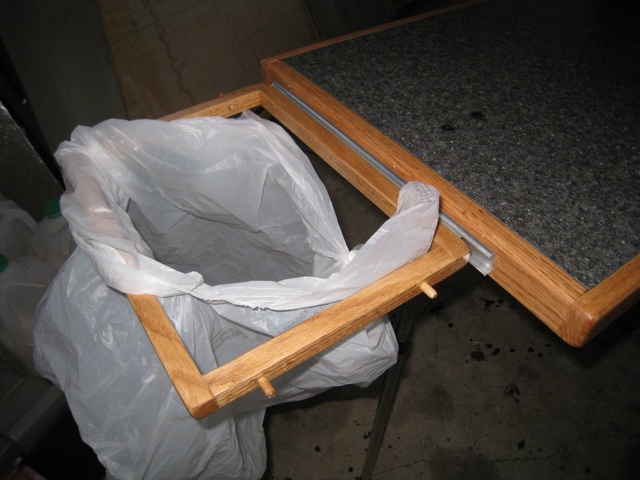
I wanted a place for trash can but couldn’t figure out where to put it. I decide on making a trash bag holder and using the leftover side table brackets to attach. Here are two pictures of the trash bag holder I made and attached it to the end of the side table. I put it on either side or on the end as shown
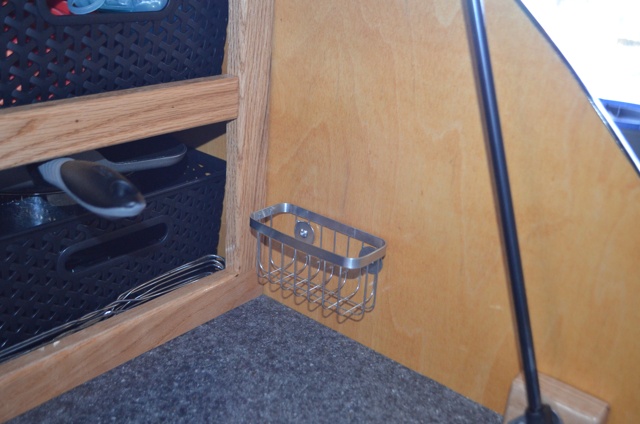
I found a simple stainless look towel hook for the galley at Walmart and hung over the galley cabinet lip. It just hang on a lip and can be moved around or removed altogether if needed.
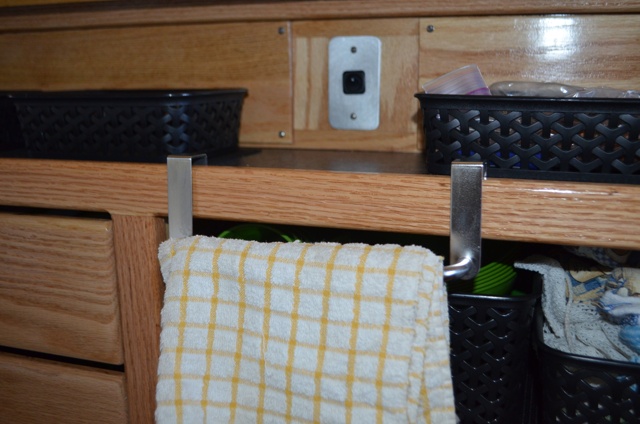
I also found a stainless look soap disk that I mounted to the galley side wall to hold hand sanitizer, and dish soap.
As I built my teardrop trailer I wanted the most flexibility for various types of camping. I want to be able to drive, park and sleep, or do quick cooking in the galley without setting up much at all. I also wanted to be able to setup camp for a week and deal with the Colorado afternoon rain showers. I decided with the wife’s help to make two awnings that can be installed over each door.
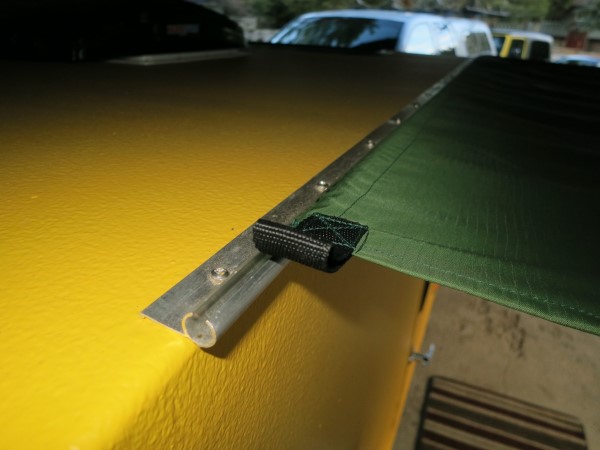
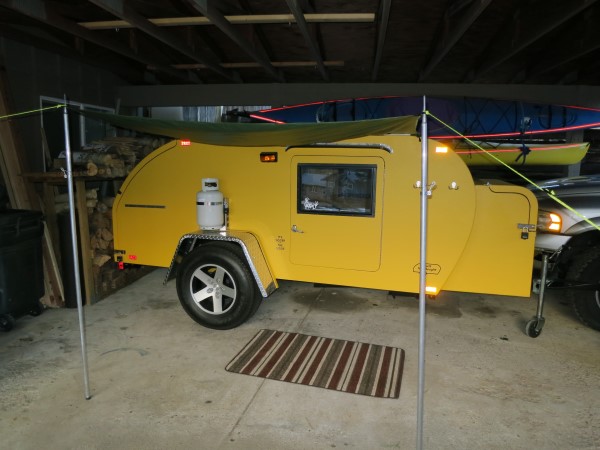
I bought some Super K-Kote Ripstop nylon fabric from Seattle Fabrics and my wife sewed two awnings, one for each door. I bought a 20’ piece of aluminum awning rail and installed an aluminum awning railed on the flat part of the roof on each side. The awning slides into the awning rail and stands up with two aluminum poles (which I already had) mounted in grommets. I also bought a pair of outdoor rugs to put in front of each door.
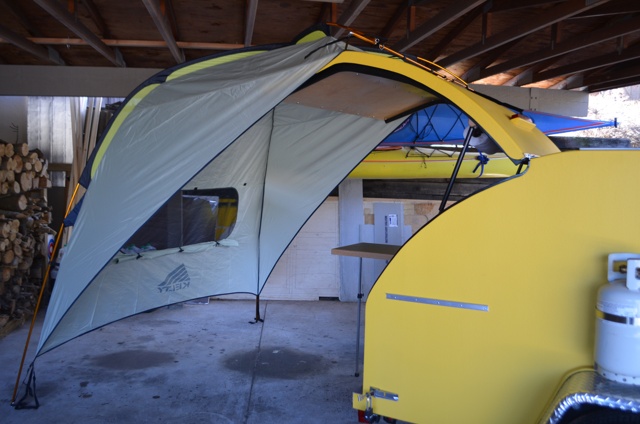
For the Galley area in case of rain I did some research for an awning/side tent. I had thought of making one but decide it would be easier to modify one already made. After looking at dozens of pictures on the forum and web I decide I really liked the Kelty Carport. I found out that it is no longer made, but after some research I found a new one on Amazon.com. When it arrived it was new in an old beat up box that looked like it had sat on the shelf for many years. When I opened it up, it looked brand new. The nylon was in new shape but the poles shock cord was all stretched out. I order some new 1/8” shock cord from eBay and replaced it and now I have a new medium Kelty Carport. I made several modifications to it to get it to attach via Velcro to my galley hatch lid. I attached a few D rings clips onto the hatch lid for Velcro straps from the carport pole.
Here is a picture of it attached to the Galley hatch. It is securely attached and was pretty windy the day I set it up so I am sure it will work fine. I can also lower the hatch with it attached at night.
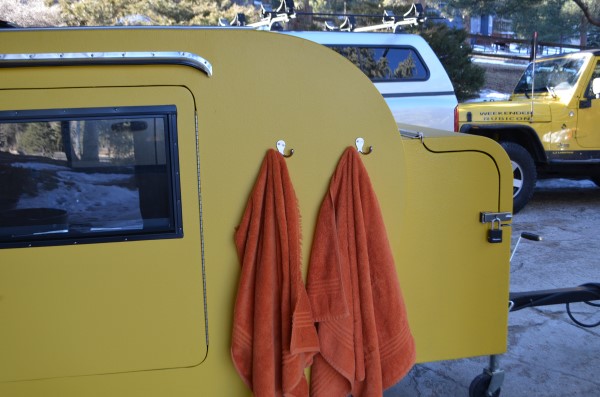
When we go camping we usually hang our bath or beach towels from Hot spring trips on the truck roof rack. Since I will be using the Jeep without roof rack for pulling the teardrop I wanted some way to hang bath/beach towels to dry in the Colorado sun. I decided to just attach two towel hooks on each front side of the teardrop. Here is a picture of the right side with towels and left without
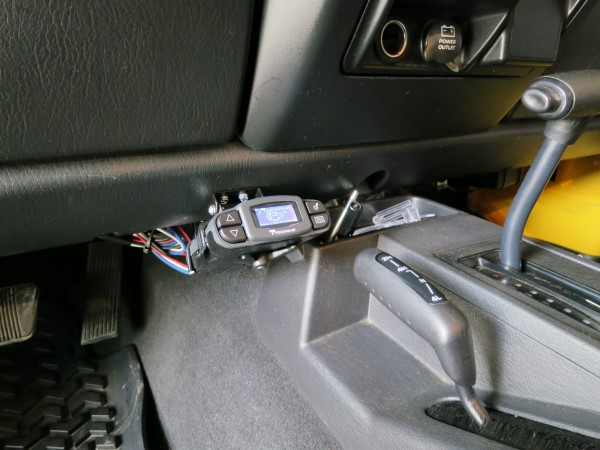
I found a Tekonsha P3 break controller for a decent price on eBay and ordered it and an adapter cable for my truck. The controller just plugs right into the truck factory hardness as a backup tow vehicle. I had to hard wire it into the Jeep, but it was pretty easy. Here is a picture of the controller mounted in the Jeep.
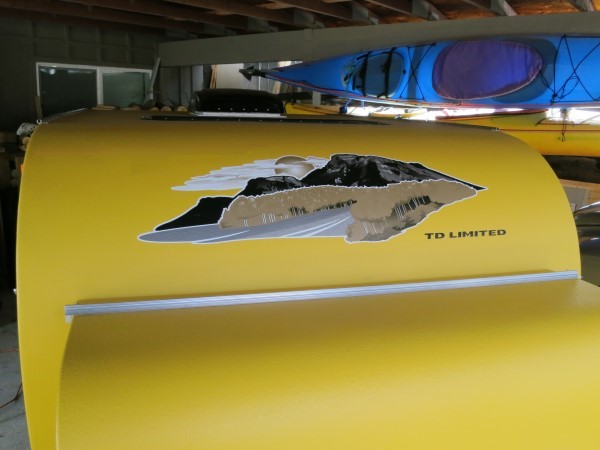
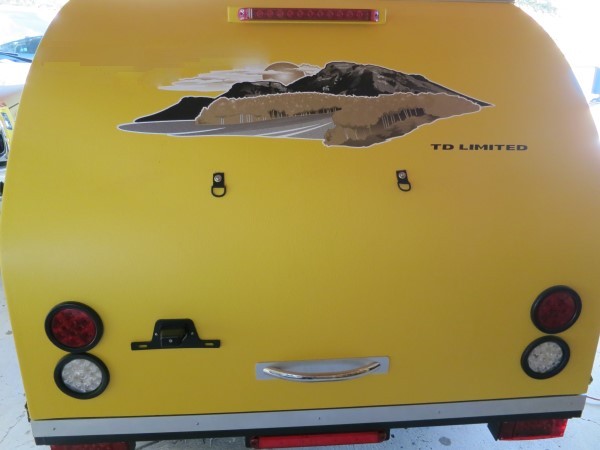
Last year I did some research on mountain vinyl graphics and found that they were pretty expensive ($75-90). I looked around for a while and found some cheap ($25) graphics that I thought would work. I had also order matching Jeep style name graphics. I am still trying to decide what to name my Teardrop.
Here is a picture of the front graphics installed and here is a picture of the galley hatch rear graphics. I removed the name as didn't like they way it looked. Still deciding if and what to name it
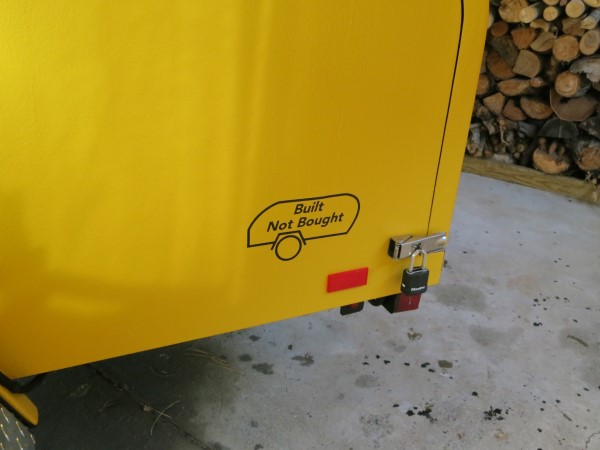
A while back I had custom” Built not bought” graphics made and I installed one on the right front and the other on the left rear.
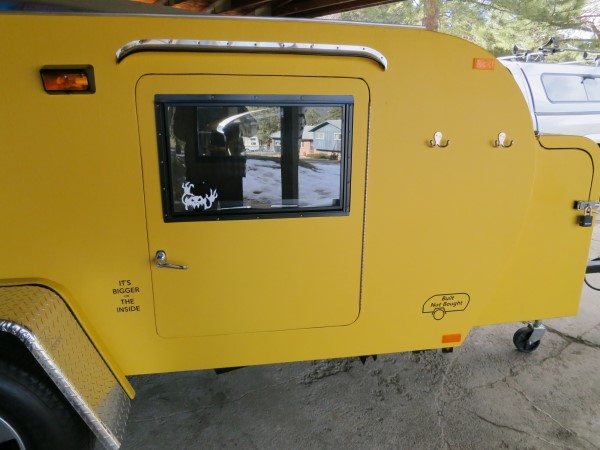
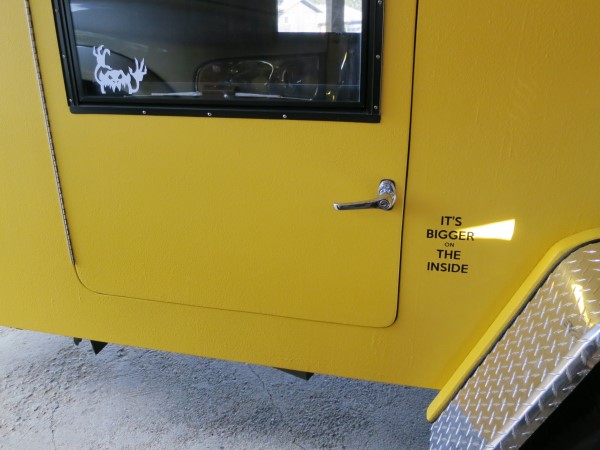
I also found some” Its Bigger on the inside graphics” that I trimmed part of a logo off and installed by the doors. I received several white Monstaliner decals when I bought my paint so I put one on each window.
This picture shows all three graphics for the right side
This picture show the left rear end decal
and this picture shows the two decals for the left side door
I recently ordered the mattress and battery and will install them when they arrive and then take the trailer to the DV to get licensed. Should be done in April, first scheduled trip in Memorial Day weekend, although I am sure if the weather is good I will try it out before. I have 29 night over 8 different 3 day to week long trips planned this summer/fall. Cant wait for the spring ans summer weather
Happy Building and Camping
Dan