Loader's Blue Yonder- 2 Nov- First Outing Pic; LCG VI

...ask your questions in the appropriate forums BUT document your build here...preferably in a single thread...dates for updates, are appreciated....

Postby LDK » Sun Aug 21, 2011 9:08 am

Loader wrote:Thanks Tom. I cut the door out on the bench, then installed. After installed I ran the trim bit over it. You're right, had to use a lot of care when moving it.

The sides went fine, it was the top that I had to fight to get in place.


Hey Earl

My brother in law and I installed the alum last week and it was alittle difficult. After the 3m 4200 dried, it was there! I used the router with a flush trim bit on all the openings and the edges and there was tiny aluminum shavings everywhere. :lol:
LDK
Gold Donating Member
 
Posts: 1419
Images: 1
Joined: Fri Jan 22, 2010 8:29 pm

Postby Loader » Sun Aug 21, 2011 9:39 am

LDK wrote:
Loader wrote:Thanks Tom. I cut the door out on the bench, then installed. After installed I ran the trim bit over it. You're right, had to use a lot of care when moving it.

The sides went fine, it was the top that I had to fight to get in place.


Hey Earl

My brother in law and I installed the alum last week and it was alittle difficult. After the 3m 4200 dried, it was there! I used the router with a flush trim bit on all the openings and the edges and there was tiny aluminum shavings everywhere. :lol:


You're right about that Larry, those little things fly everywhere! I still need to run the trim bit over the vent opening. Sure I'll be cleaning up little shavings for years to come!

BTW - I used the the 3M 5200 on mine, picked it up at Home Depot. From what I understand the 4200 and 5200 are about the same, with the 5200 taking up to 7 days to fully cure as compared the the quicker cure time of the 4200.
Earl & Kerry

"Loader"

Blue Yonder Build Thread - viewtopic.php?f=50&t=42611

ImageImage
User avatar
Loader
Platinum Donating Member
 
Posts: 1584
Images: 245
Joined: Tue Apr 26, 2005 2:33 pm
Location: Fort Worth, Texas

Postby 2bits » Sun Aug 21, 2011 10:20 pm

Hey earl,

I just got caught up on your build! Looks like you are rolling along well and I love the dark stain on the interior and galley cabinets!
Thomas

Image
User avatar
2bits
2bit Member
 
Posts: 5132
Images: 8
Joined: Thu Dec 27, 2007 6:04 pm
Location: Lake Tawakoni, TX
Top

Postby aggie79 » Mon Aug 22, 2011 11:40 am

2bits wrote:Hey Earl,

I just got caught up on your build! Looks like you are rolling along well!


eezerz wrote:Holy COW Batman! You are quick.


Earl,

Like the above quotes, "You're the man" when it comes to teardrop building. You've accomplished more in a few months than I have in three years.

Take care,
Tom
Tom (& Linda)
For build info on our former Silver Beatle teardrop:
Build Thread

93503
User avatar
aggie79
Super Duper Lifetime Member
 
Posts: 5405
Images: 686
Joined: Tue Aug 07, 2007 5:42 pm
Location: Watauga, Texas
Top

Postby Loader » Mon Aug 22, 2011 12:08 pm

aggie79 wrote:
2bits wrote:Hey Earl,

I just got caught up on your build! Looks like you are rolling along well!


eezerz wrote:Holy COW Batman! You are quick.


Earl,

Like the above quotes, "You're the man" when it comes to teardrop building. You've accomplished more in a few months than I have in three years.

Take care,
Tom


Thanks, but not so sure about that Tom, mine is no where near the level of detail that your Silver Beatle is. I started in Feb, with the goal of bringing the Blue Yonder out, at least campable, to LCG. I hope I can make it!

Guy wrote:Dear Earl and Kerry,

You are really going to like this tear. You guys are doing a great job.


Thanks for the kind words Guy, I hope all is going well with you.

2bits wrote:Hey earl,

I just got caught up on your build! Looks like you are rolling along well and I love the dark stain on the interior and galley cabinets!


Thanks Thomas, appreciate it. The Gunstock is a nice color.
Earl & Kerry

"Loader"

Blue Yonder Build Thread - viewtopic.php?f=50&t=42611

ImageImage
User avatar
Loader
Platinum Donating Member
 
Posts: 1584
Images: 245
Joined: Tue Apr 26, 2005 2:33 pm
Location: Fort Worth, Texas
Top

Postby Loader » Fri Sep 02, 2011 7:55 pm

Been a little while since I Last posted some pics. The Blue Yonder is another step closer....

Fantastic Fan installed (man, does that thing move some air! :fan: )

Image

Image

The Pet Cool vents are installed

Image

And the fenders have been dry fit, now they just need to be painted white to match the roof skin. Although the one is a little too close to the pet cool vents, but it worked out. Now how many time are you suppose to measure before cutting? 6 or 8??? 8) I'll post that pic after they are painted and permanently installed.

Image

Next step - Doors. Hopefully I'll make some progress on them tomorrow.
Earl & Kerry

"Loader"

Blue Yonder Build Thread - viewtopic.php?f=50&t=42611

ImageImage
User avatar
Loader
Platinum Donating Member
 
Posts: 1584
Images: 245
Joined: Tue Apr 26, 2005 2:33 pm
Location: Fort Worth, Texas
Top

Postby LDK » Fri Sep 02, 2011 8:44 pm

Image

Hey Earl

I thought I was the only one who had pink film on my aluminum. :lol:
The blue yonder is really coming together now. Can't wait to see it finished. :thumbsup:
LDK
Gold Donating Member
 
Posts: 1419
Images: 1
Joined: Fri Jan 22, 2010 8:29 pm
Top

Postby CliffinGA » Fri Sep 02, 2011 9:41 pm

See I knew there was something about you two and your pink roofs :lol:!! Earl it looks great, wondering how your mounting your fenders?

Cliff
In God we trust, shoot the rest and he will sort out!

My Build:

viewtopic.php?f=50&t=42628
User avatar
CliffinGA
1000 Club
1000 Club
 
Posts: 1499
Images: 207
Joined: Sat Nov 14, 2009 1:29 pm
Location: Jefferson, GA
Top

Postby 2bits » Fri Sep 02, 2011 10:50 pm

Just keep cutting, you'll get it! LOL

Your "filmworks" reminds me of Tom's Silver Beetle... I had the same thing going I admit.... The first time it get's rained on it always scary too!

It is looking great though!!
Thomas

Image
User avatar
2bits
2bit Member
 
Posts: 5132
Images: 8
Joined: Thu Dec 27, 2007 6:04 pm
Location: Lake Tawakoni, TX
Top

Postby Loader » Sun Sep 04, 2011 7:59 am

LDK wrote:Hey Earl

I thought I was the only one who had pink film on my aluminum. :lol:
The blue yonder is really coming together now. Can't wait to see it finished. :thumbsup:


Thanks Larry, I'm trying, the heat this summer has been brutal, at least it is starting to break, 73 this morning!

CliffinGA wrote:See I knew there was something about you two and your pink roofs Laughing!! Earl it looks great, wondering how your mounting your fenders?


Hey Cliff, Real men wear Pink! At least until the film is removed! :lol:

The fenders at just going to be bolted on through the side wall, I had installed blocking during wall construction, and through the frame. Figured three bolts would be enough, front center and rear.


Image

Image


2bits wrote:Just keep cutting, you'll get it! LOL

Your "filmworks" reminds me of Tom's Silver Beetle... I had the same thing going I admit.... The first time it get's rained on it always scary too!

It is looking great though!!


Thanks Thomas, I knew I needed to cut some more! :lol:

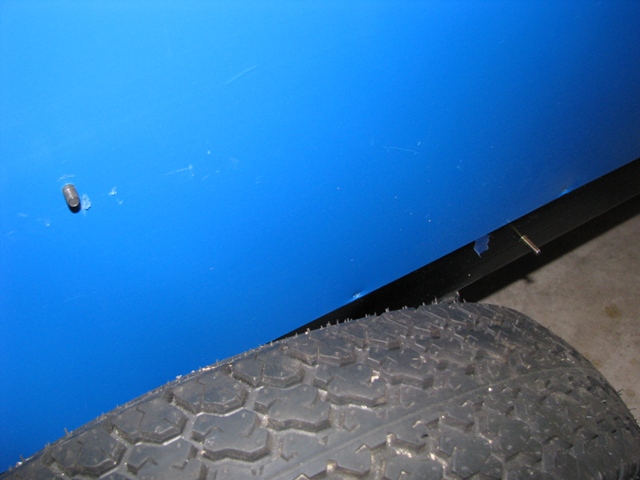
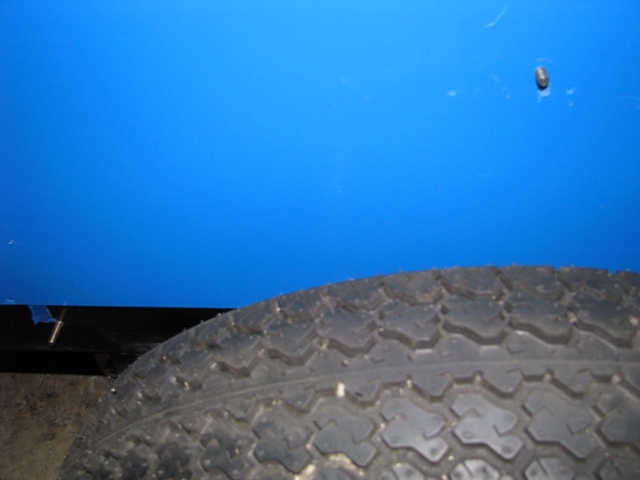
Yep, figured it was best to keep the film on as long as possible while I'm working on it. Keep the number of scratched down, especially with the painted aluminum.
Earl & Kerry

"Loader"

Blue Yonder Build Thread - viewtopic.php?f=50&t=42611

ImageImage
User avatar
Loader
Platinum Donating Member
 
Posts: 1584
Images: 245
Joined: Tue Apr 26, 2005 2:33 pm
Location: Fort Worth, Texas
Top

Postby Loader » Sun Sep 04, 2011 8:03 am

Since I am building a half hatch, I had to skin the lower portion of the galley, we have taken to calling it the trunk.

This time I installed the skin, then cut out the opening. Much more difficult that pre-cutting, I think in part due to the vibration of the unsupported skin. Either way, I managed to get it. The edges will be trimmed out with aluminum U channel. IO installed the lower portion just to check the fit.

Image

Image
Earl & Kerry

"Loader"

Blue Yonder Build Thread - viewtopic.php?f=50&t=42611

ImageImage
User avatar
Loader
Platinum Donating Member
 
Posts: 1584
Images: 245
Joined: Tue Apr 26, 2005 2:33 pm
Location: Fort Worth, Texas
Top

Postby CliffinGA » Sun Sep 04, 2011 11:05 am

Looks good Earl and well pink is just pink :lol:. Man your going to bve done in no time.

Cliff
In God we trust, shoot the rest and he will sort out!

My Build:

viewtopic.php?f=50&t=42628
User avatar
CliffinGA
1000 Club
1000 Club
 
Posts: 1499
Images: 207
Joined: Sat Nov 14, 2009 1:29 pm
Location: Jefferson, GA
Top

Postby Loader » Mon Sep 05, 2011 5:01 pm

And to close out my Labor Day weekend build efforts; the doors have been hung. Well, at least the initial temp install. Still need to install the door trim.

Door temp install:

Image

Window test fit:

Image
Earl & Kerry

"Loader"

Blue Yonder Build Thread - viewtopic.php?f=50&t=42611

ImageImage
User avatar
Loader
Platinum Donating Member
 
Posts: 1584
Images: 245
Joined: Tue Apr 26, 2005 2:33 pm
Location: Fort Worth, Texas
Top

Postby LDK » Mon Sep 05, 2011 6:30 pm

Hey Earl
I just got around to skinning my door and hatch lid yesterday. You are ahead of me. :lol:

Image
Image
LDK
Gold Donating Member
 
Posts: 1419
Images: 1
Joined: Fri Jan 22, 2010 8:29 pm
Top

Postby Loader » Mon Sep 05, 2011 6:35 pm

Looks good Larry. Hatch? We need a hatch on these things? 8) :lol: 8)

I haven't even started the hatch yet, that is the next big thing.

Your skin clamping looks like mine, can never have too many clamps!

This is my "Trunk" Door. (Had to re-skin it as I had a little problem with the hinges :cry: )

Image

I also cut the window out after I skinned the door.

Image
Earl & Kerry

"Loader"

Blue Yonder Build Thread - viewtopic.php?f=50&t=42611

ImageImage
User avatar
Loader
Platinum Donating Member
 
Posts: 1584
Images: 245
Joined: Tue Apr 26, 2005 2:33 pm
Location: Fort Worth, Texas
Top

PreviousNext

Return to Build Journals

Who is online

Users browsing this forum: No registered users and 10 guests