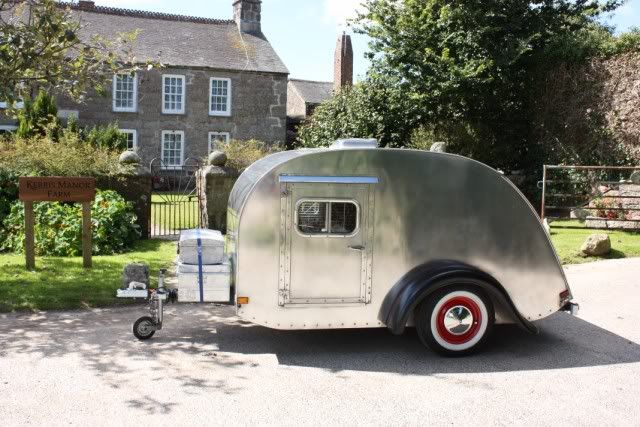
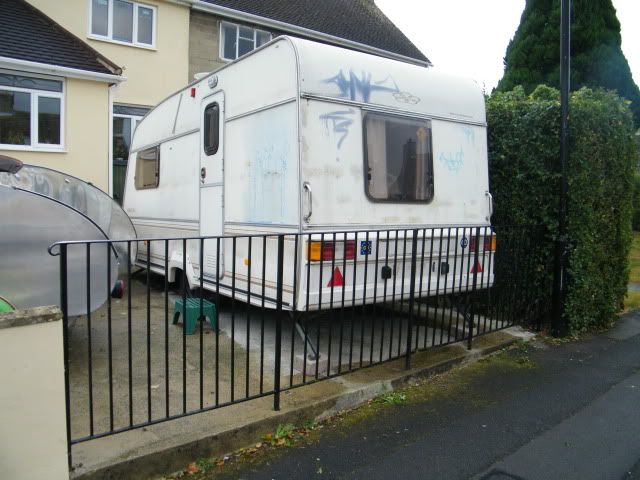
I really like the set up of the galley in #1 and find the cabin has loads of room being 1.7m wide. With the wheels outside the walls,#1 is a tad wide . We have had a couple of hairy moments meeting oncoming trafic on narrow lanes. As with many builds, the first one was probably a little heavier than it needs to be.
I'm hoping to build mk2 , a little narrower , a little lighter, with the same sort of galley. I'm still undecided on as to go with a trolley top ....or not.
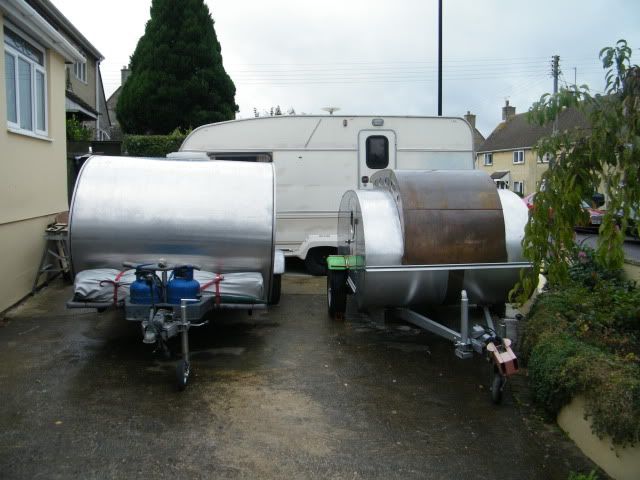
I 'm hoping Rosie likes #2 more than #1, and will alow us to sell #1. At the moment she won't let us sell our first build, she's become bonded

Both previous builds have been started in the spring time, to take advantage of improving light , and weather condition. I have no workshop, and the builds have taken place outside on the driveway.
I bought a donor caravan for £20 a few months ago, from a guy that needed it moving.
The planed was to strip out the caravan, and use it as a temporary workshop to make up as much as I can in the dry.
If I think I've got enough room, I may even assemble it, and then cut the donor van off. It could be like an egg hatching

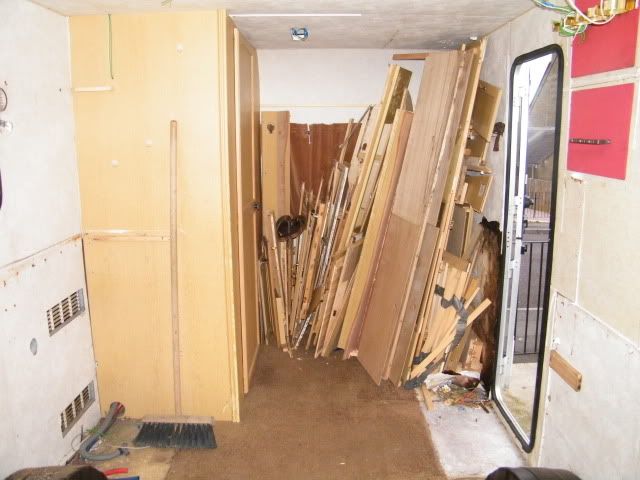
I started earlier this month with the donor caravan
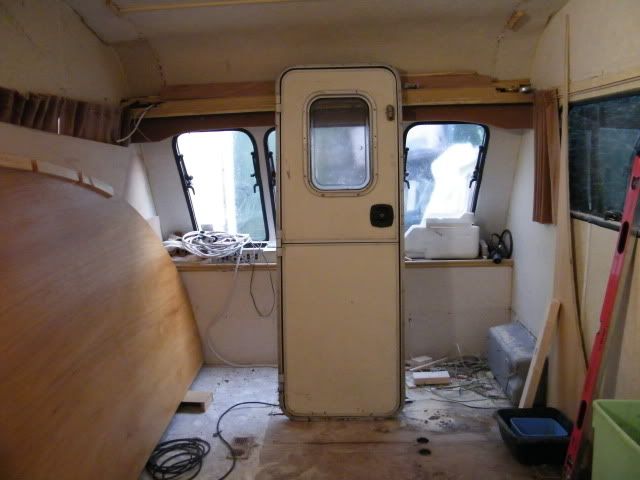
It's tucked out of the way
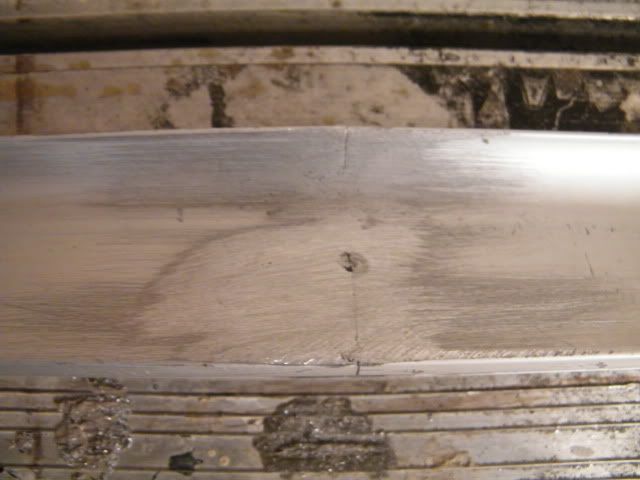
The first thing was to strip out all the fittings, some stuff will be reused, some stuff will get sold on.
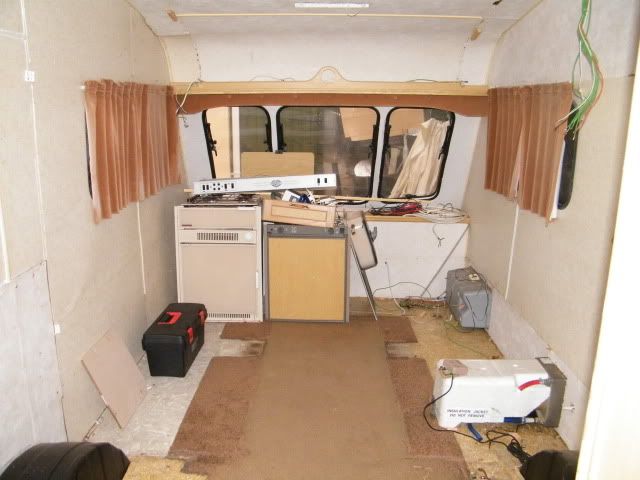
Some stuff will be burned
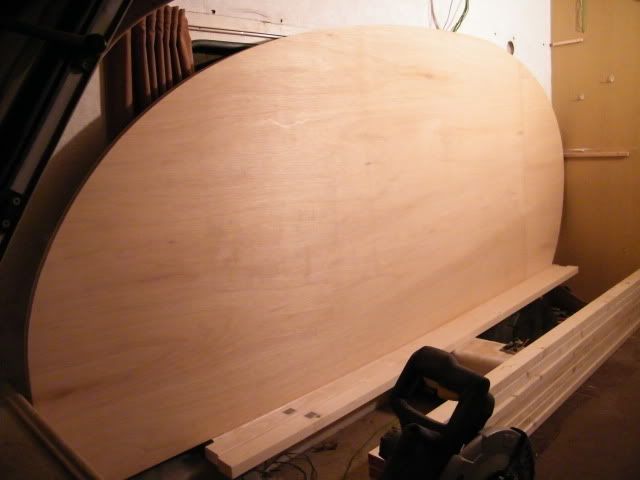
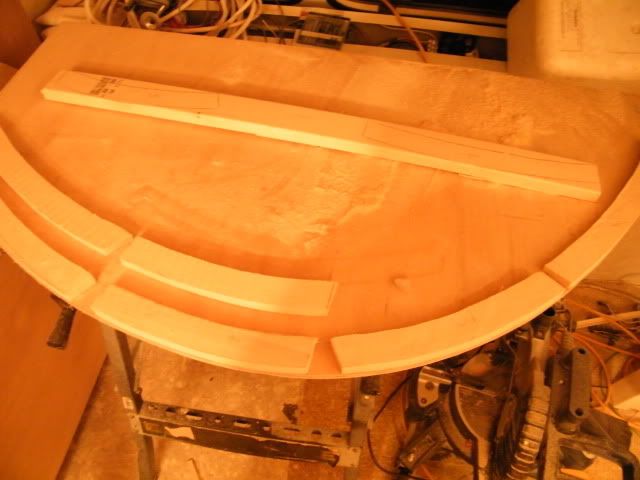
With enough room to make a start, the prifiles were plotted out from Andrews Grumman drawings
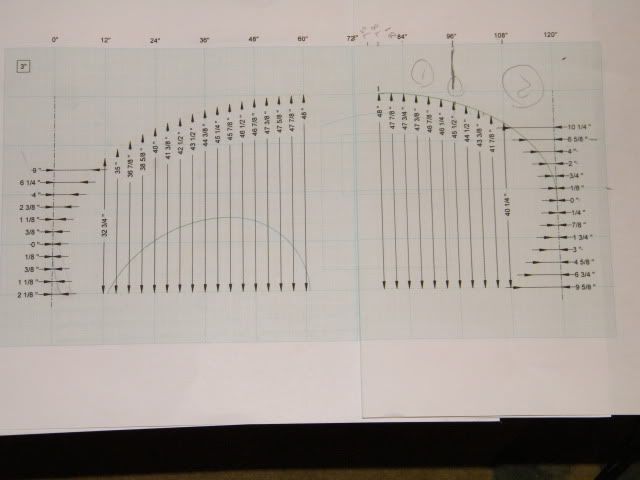
I've made a slight alteration to loose the flat spot on the top. The sides are cut out and sanded using 1/2" ply.

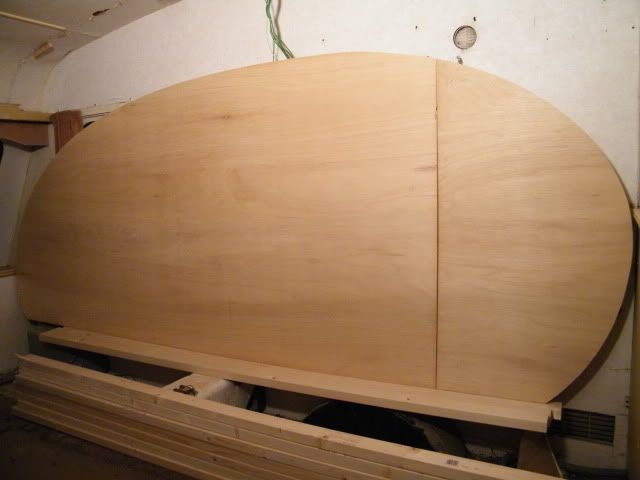
The profiles just fit in snug up against the bathroom wall
With the profiles cut and sanded, I moved on to making the frame for the floor. I've used 2 1/2"x 1 1/2" CLS.
I've halved out all the cross members, and halved out the side strings. I've made some cutouts for where the semi recessed wheel wells will be.
I should have enough room for the fridge, hob and sink unit in the galley.
With the frame assembled, there wasn't much space in the workshop
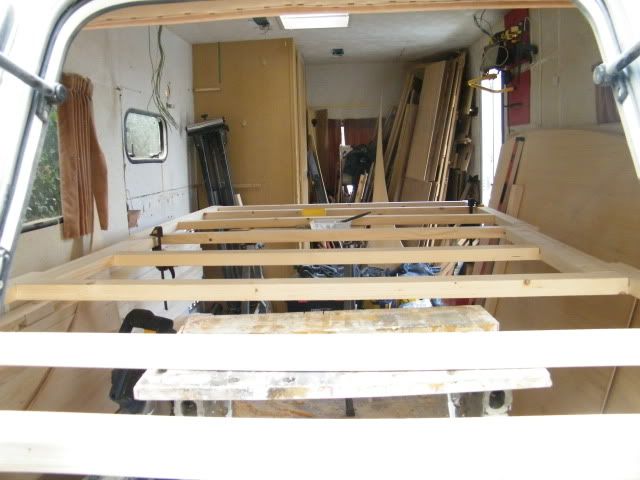
I moved the glued and screwed frame to the garden
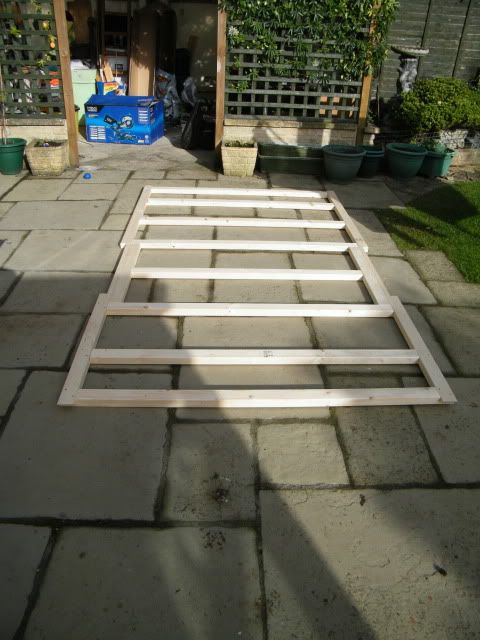
I've used 1/4 " ply for the floor, glued and screwed every 8"-12"
The frame is stored in the dry,out the way untill we get on to protecting it, and putting things together.
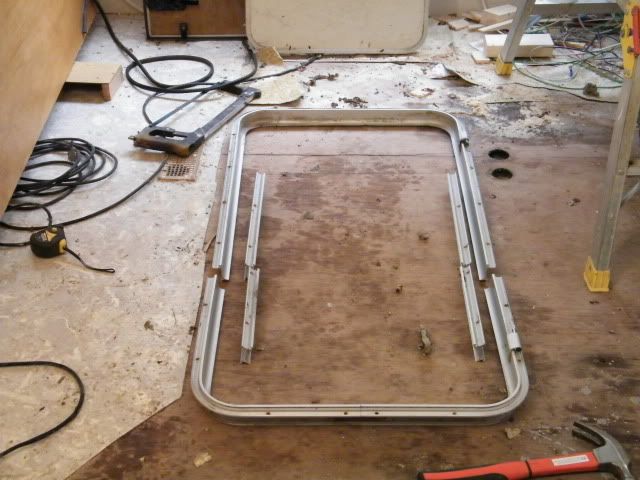
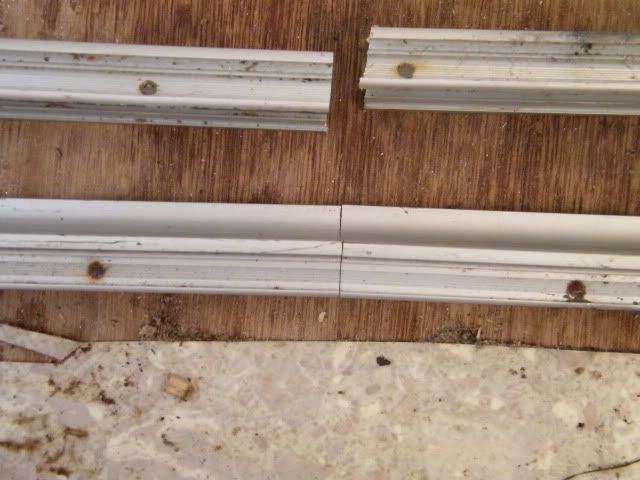
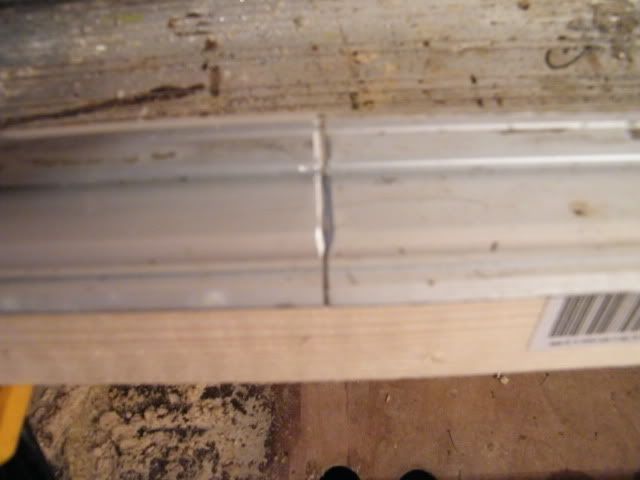
I started cutting out some edge framing , to give a little extra to fix into. I'm planning on fitting an awning rail/trim and need more than 1/2" to fix into.
After cutting the first few with a jigsaw and belt-sanding them to finnish them off, I got the old bandsaw out of storage.
Its made it a lot easier, and I can cut them in pairs

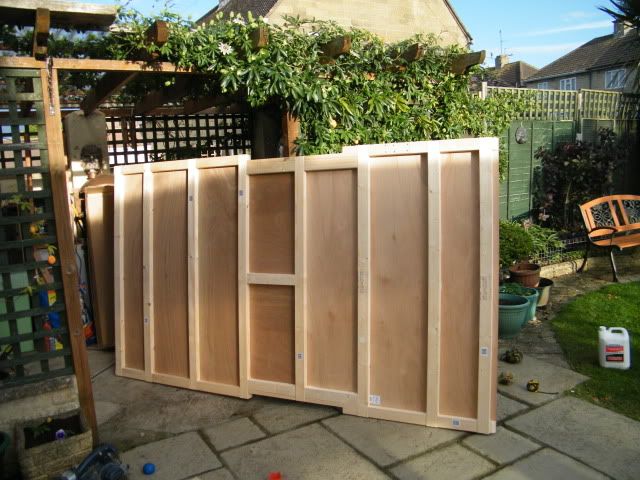
I've got one side all glued up ,
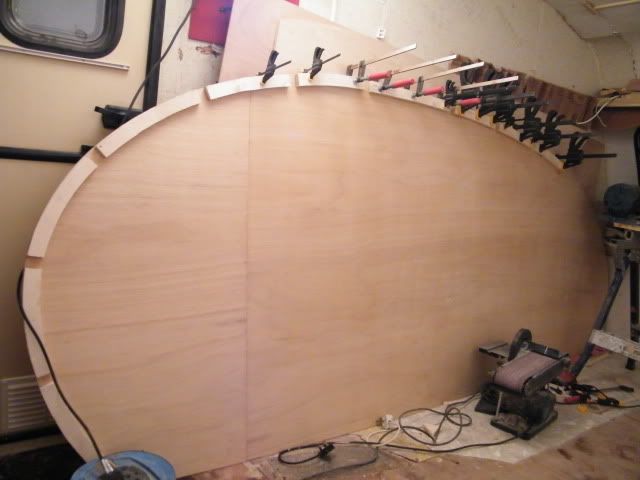
As i ran out of clamps, I thought I should make some more space in the workshop for the next stage...
The bathroom has now been removed, as has the pile of fire wood
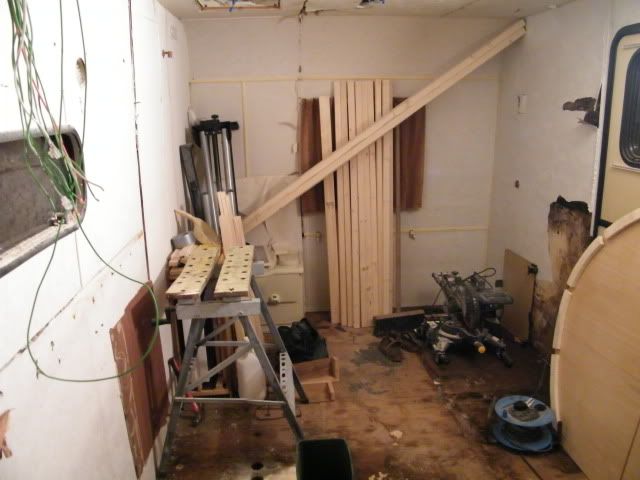
I'm so happy to be building again, and in a workshop too