My mobile man cave.

...ask your questions in the appropriate forums BUT document your build here...preferably in a single thread...dates for updates, are appreciated....

My mobile man cave.

Postby maloney » Mon Nov 07, 2011 4:36 pm

Something different, hope you like it.
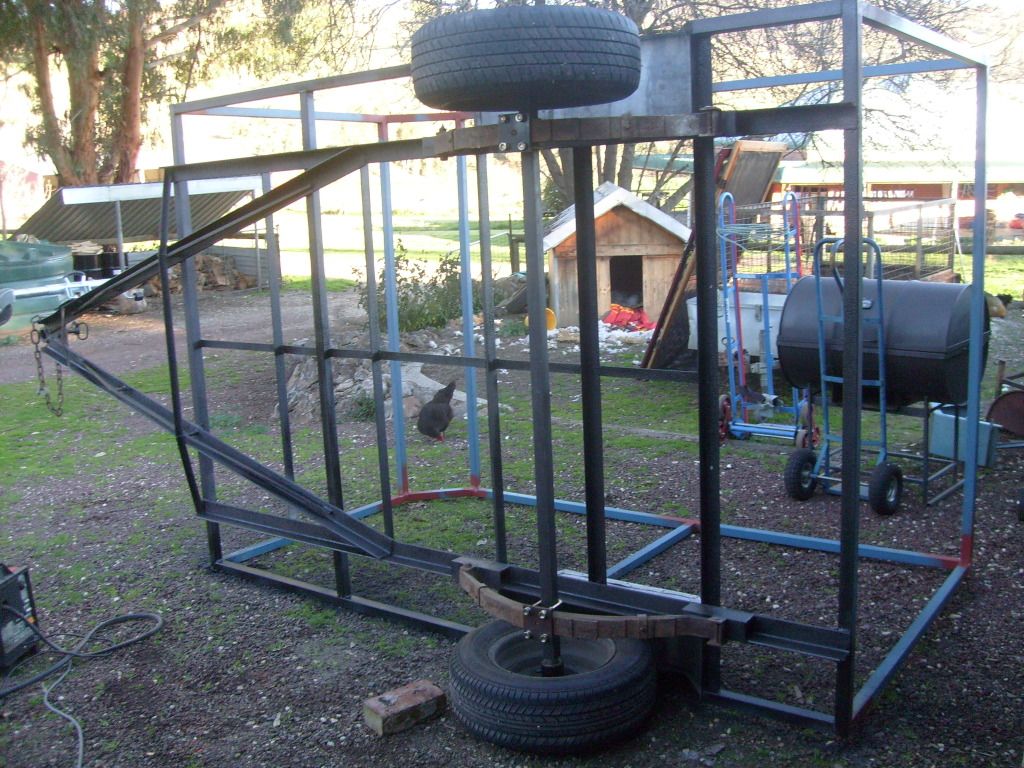
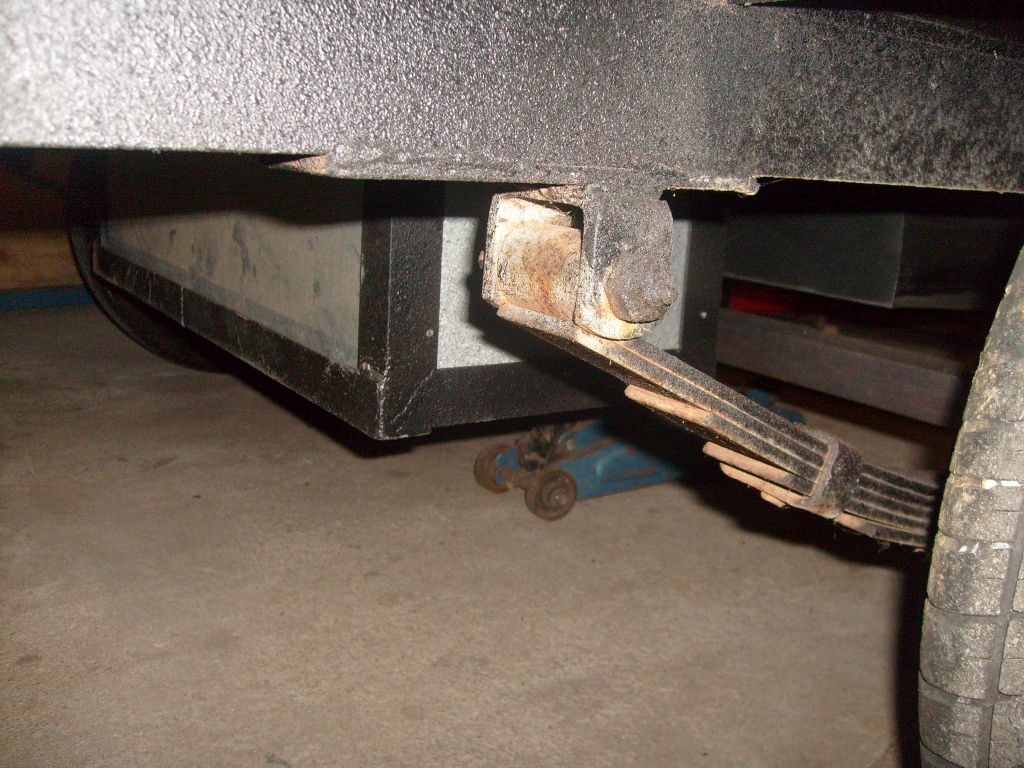
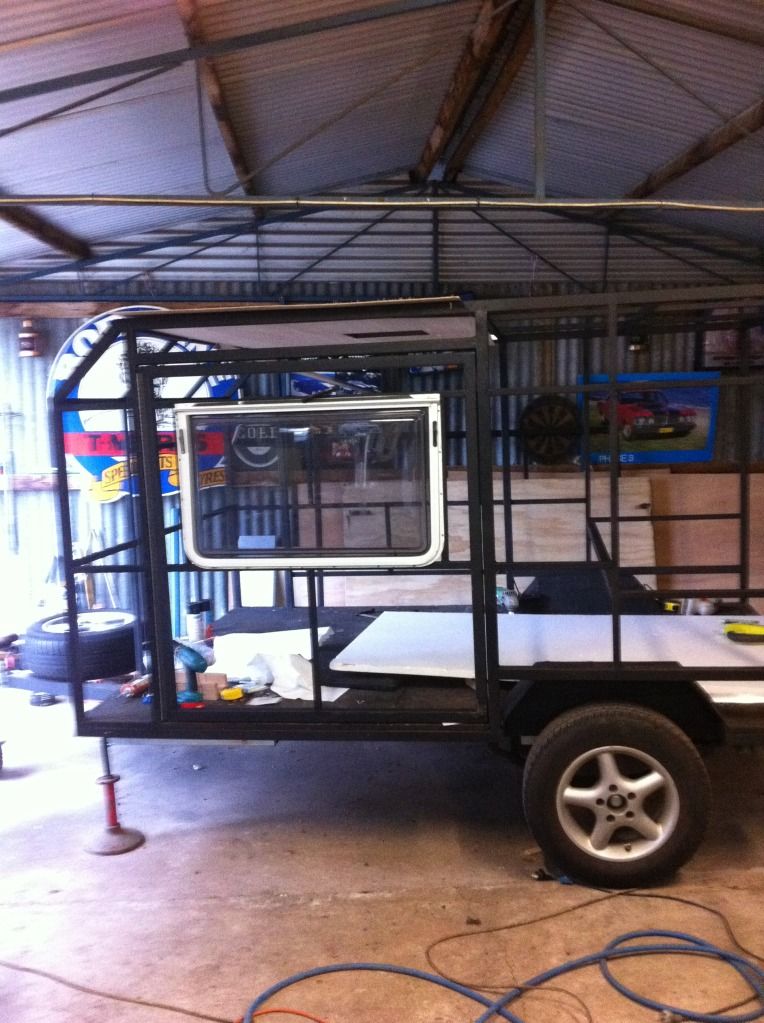
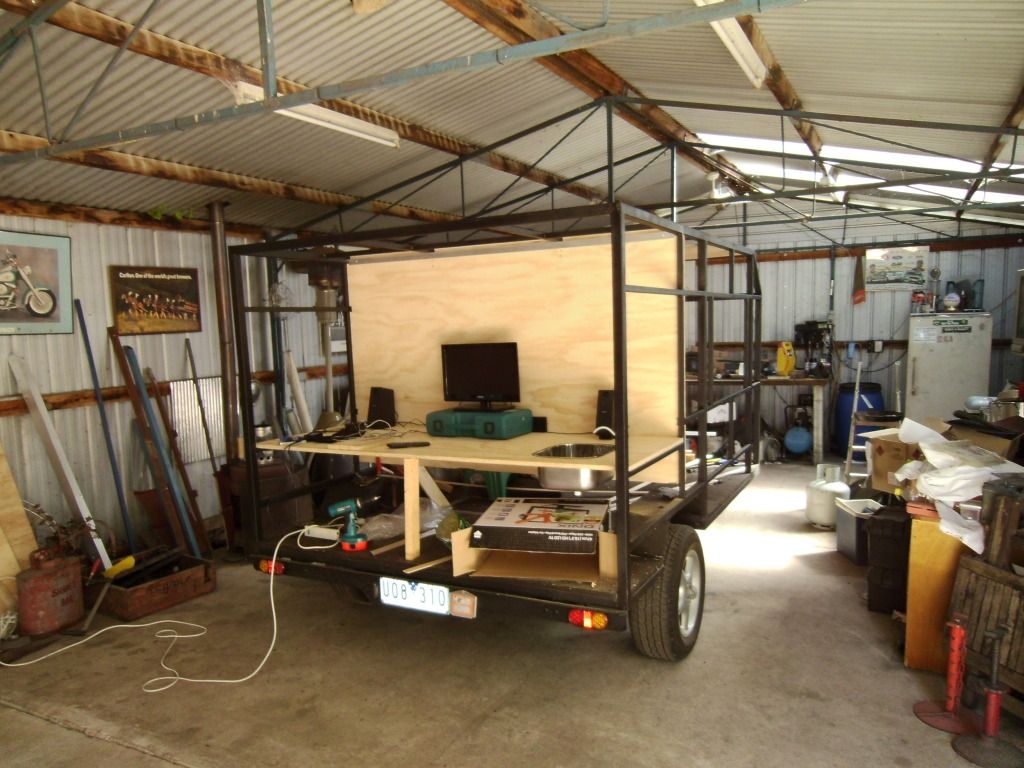
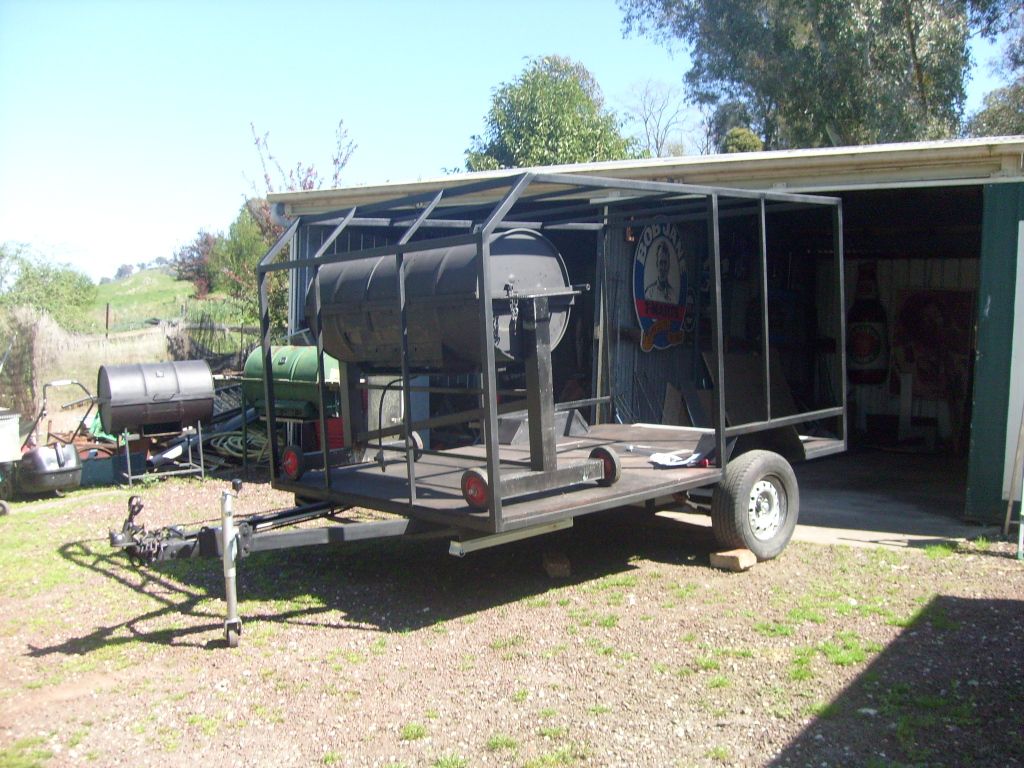
Started with a old caravan chassis someone was throwing out.
Image

Image

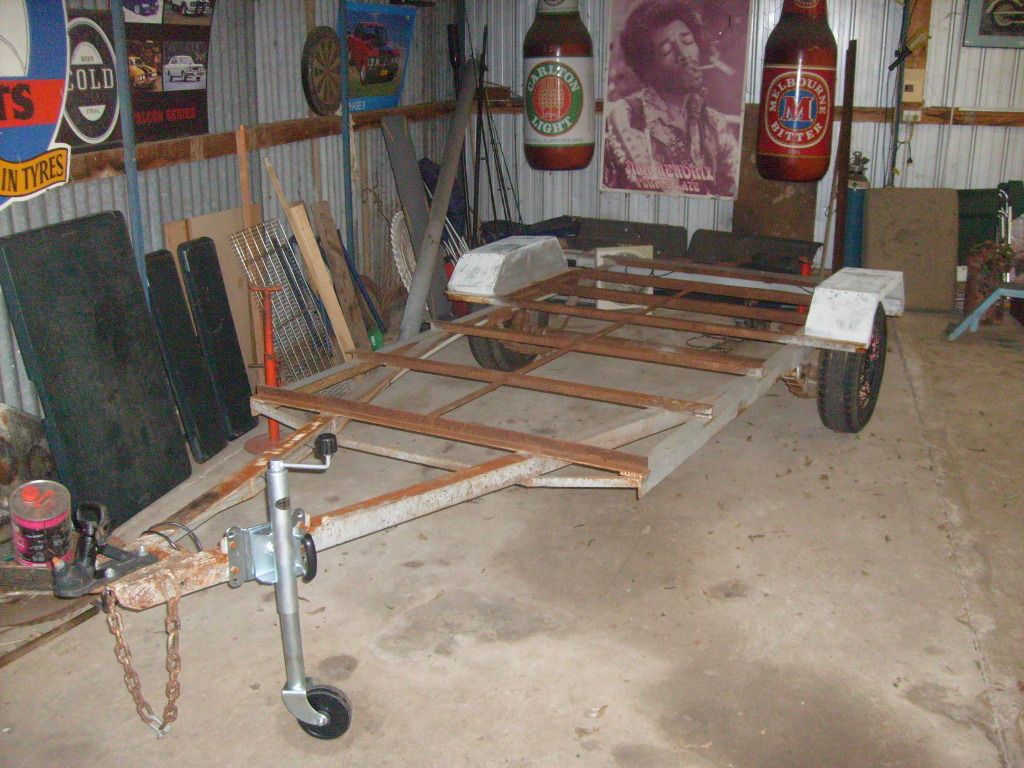
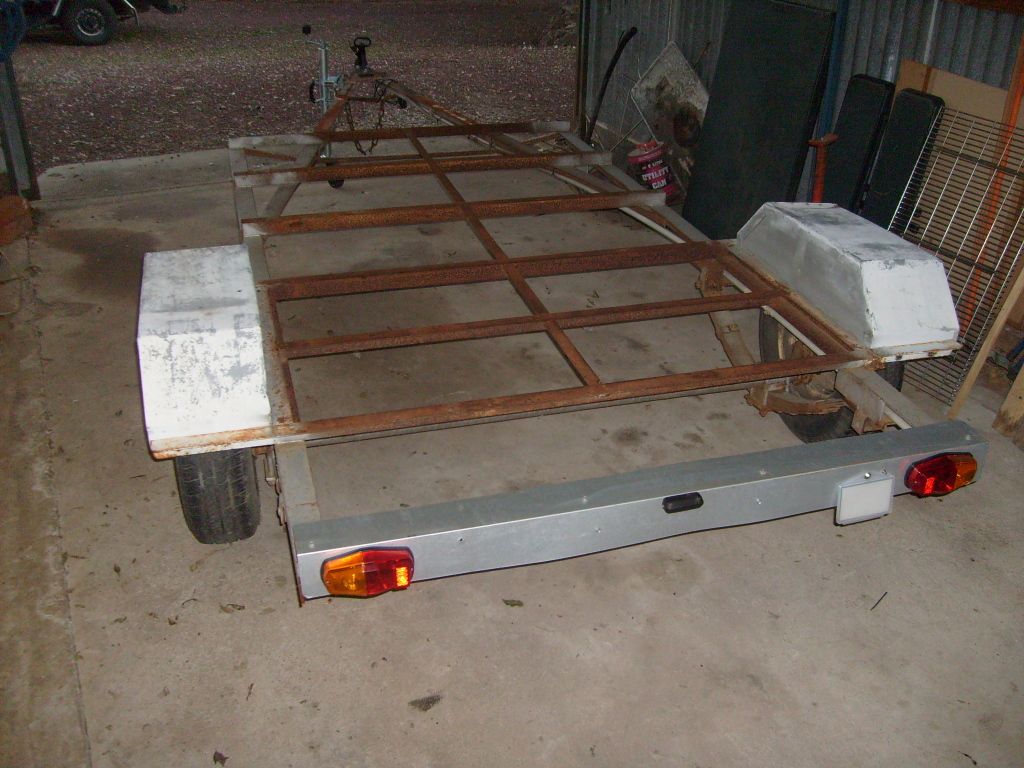
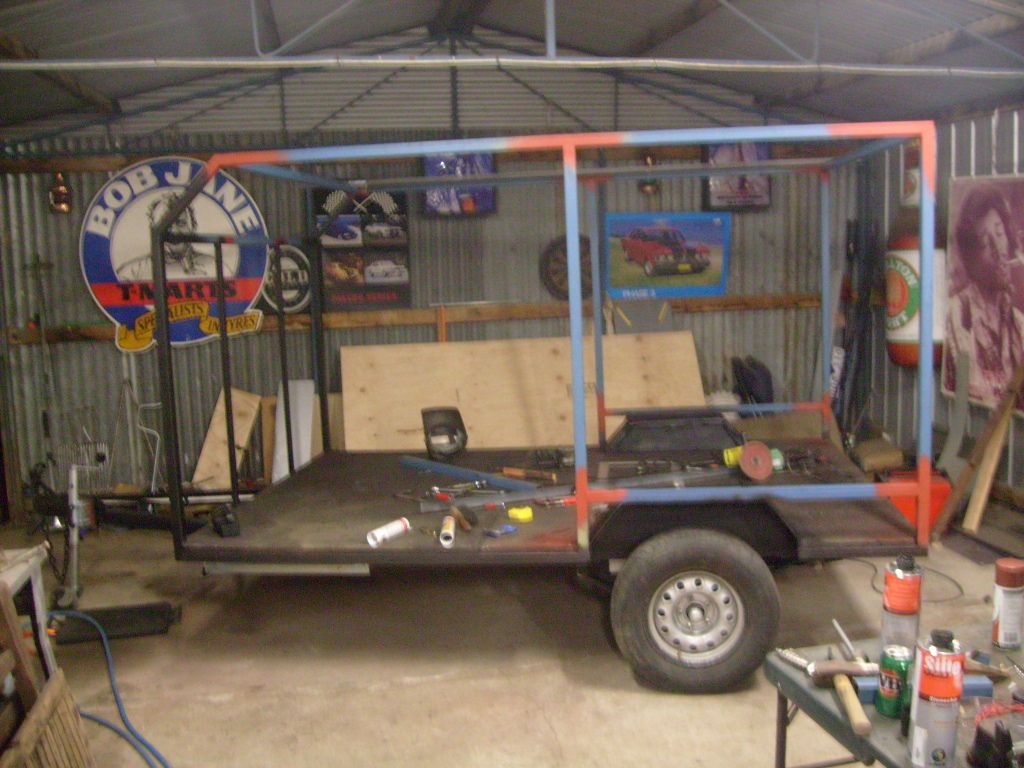
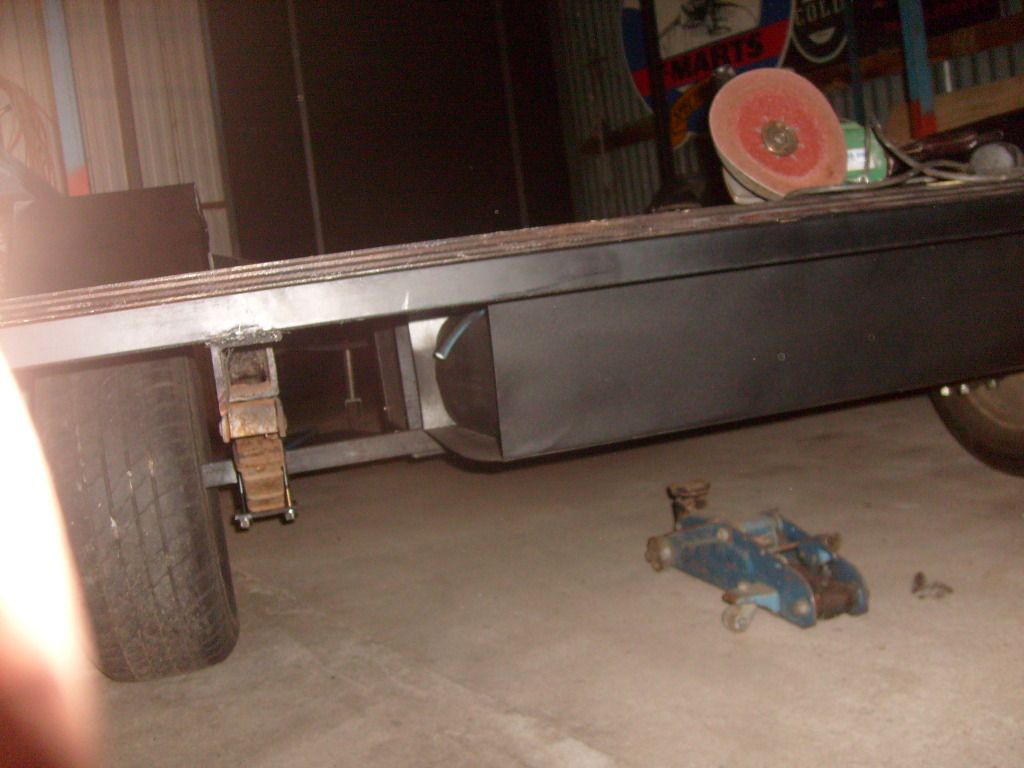
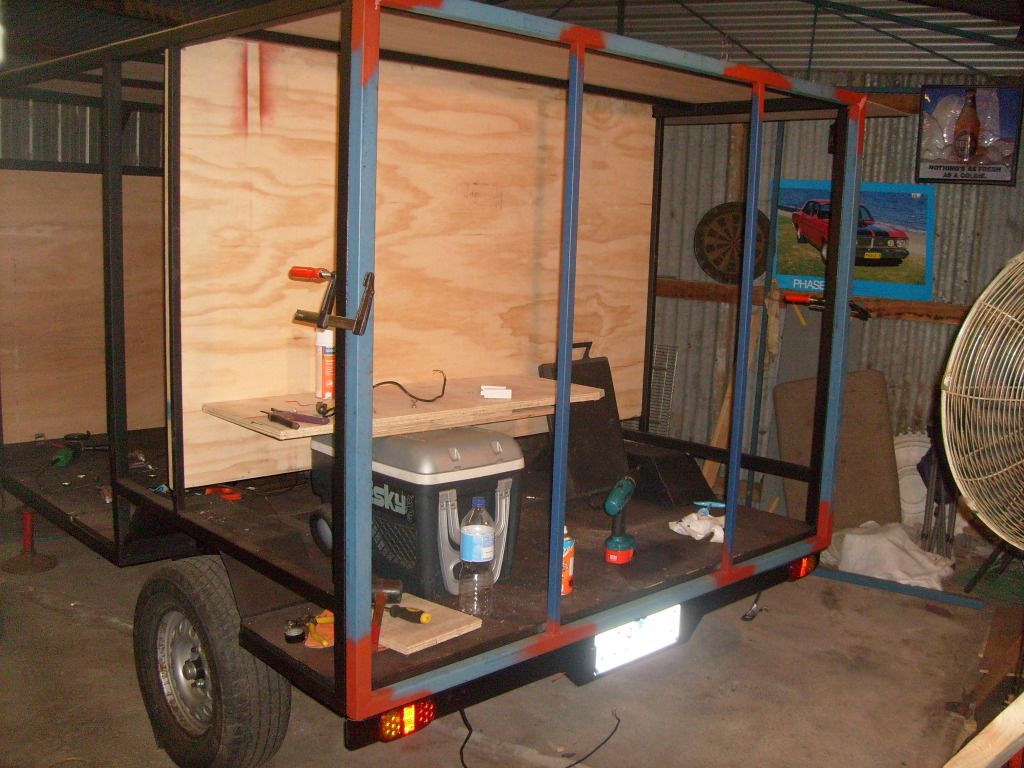
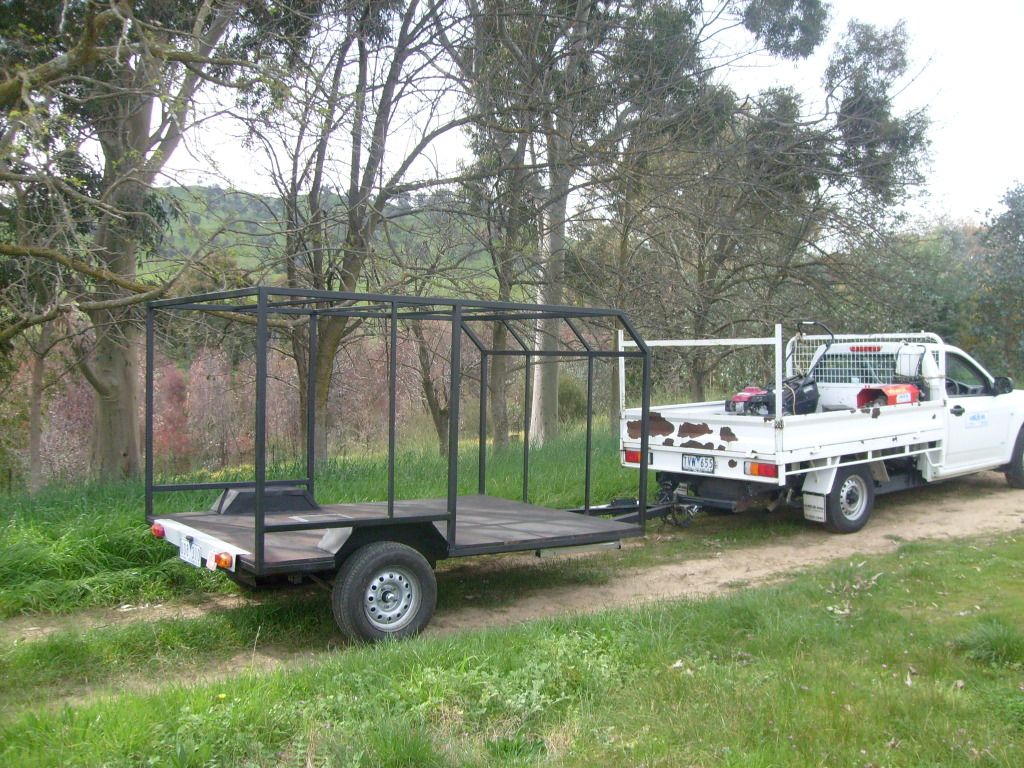
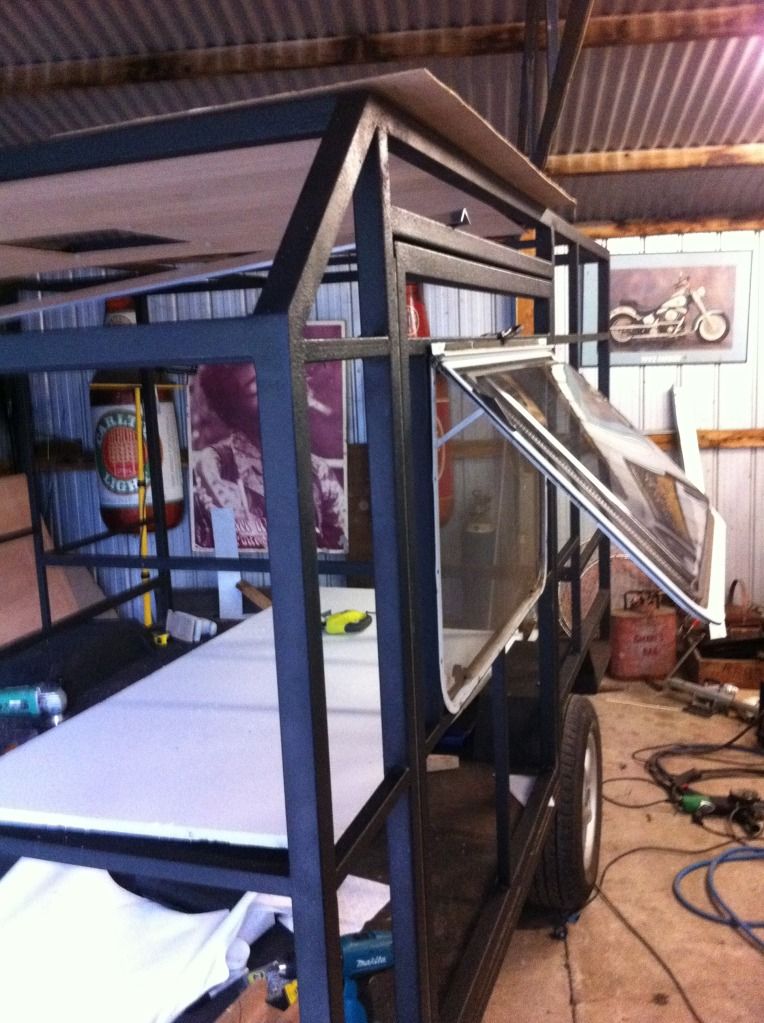
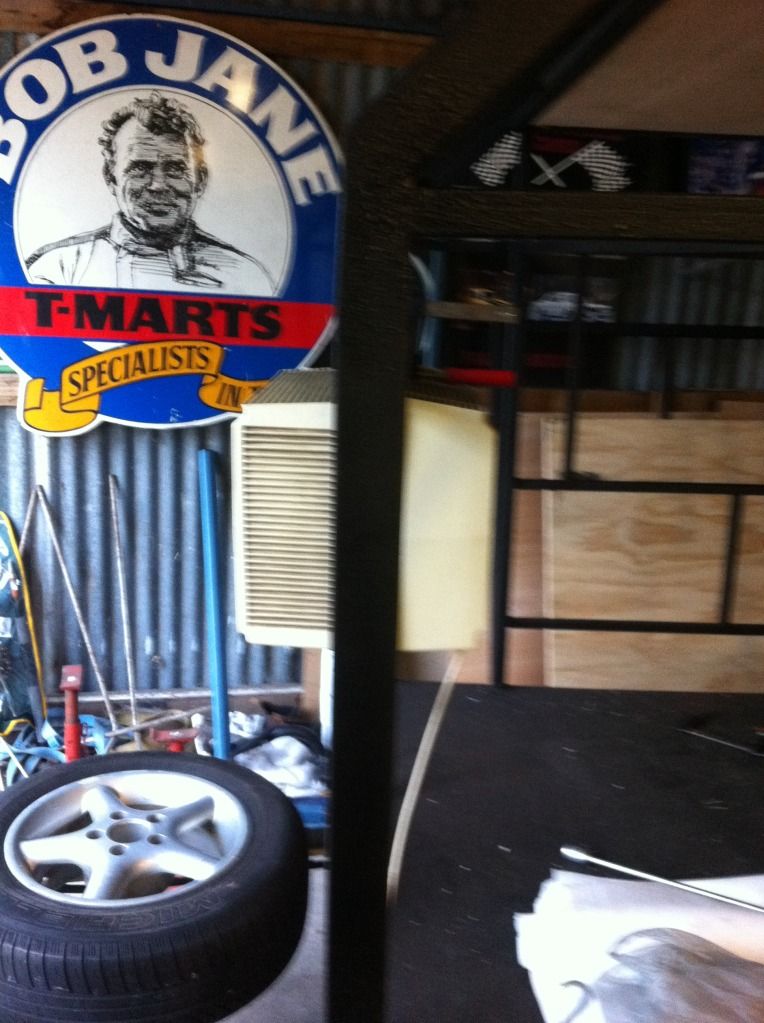
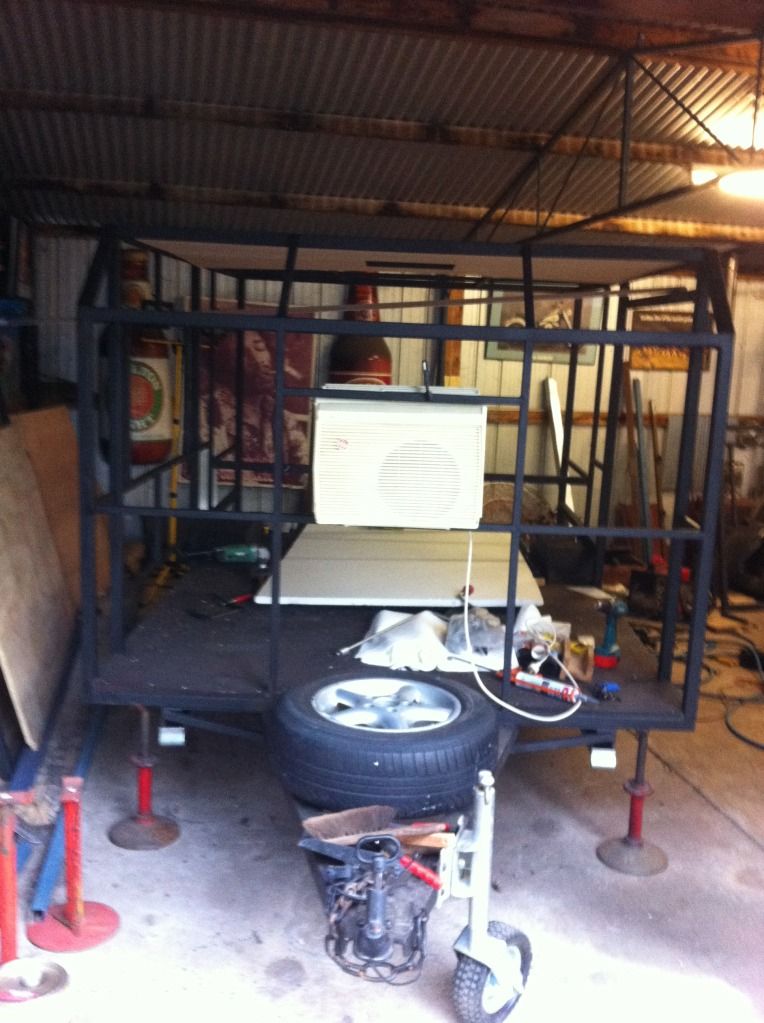
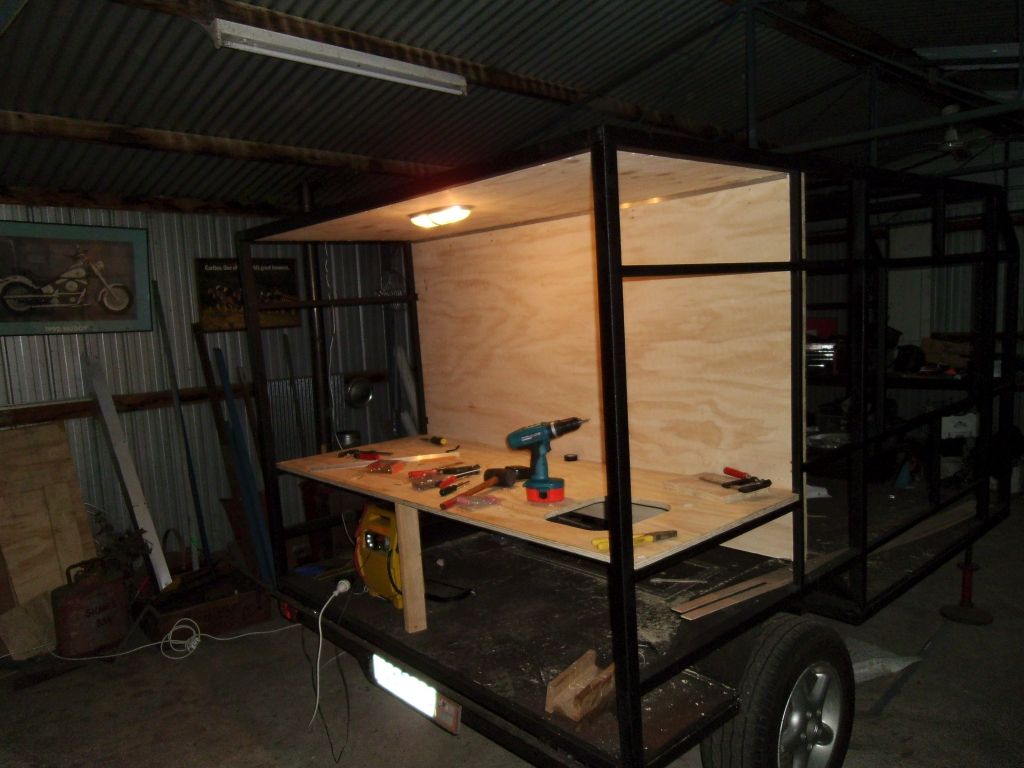
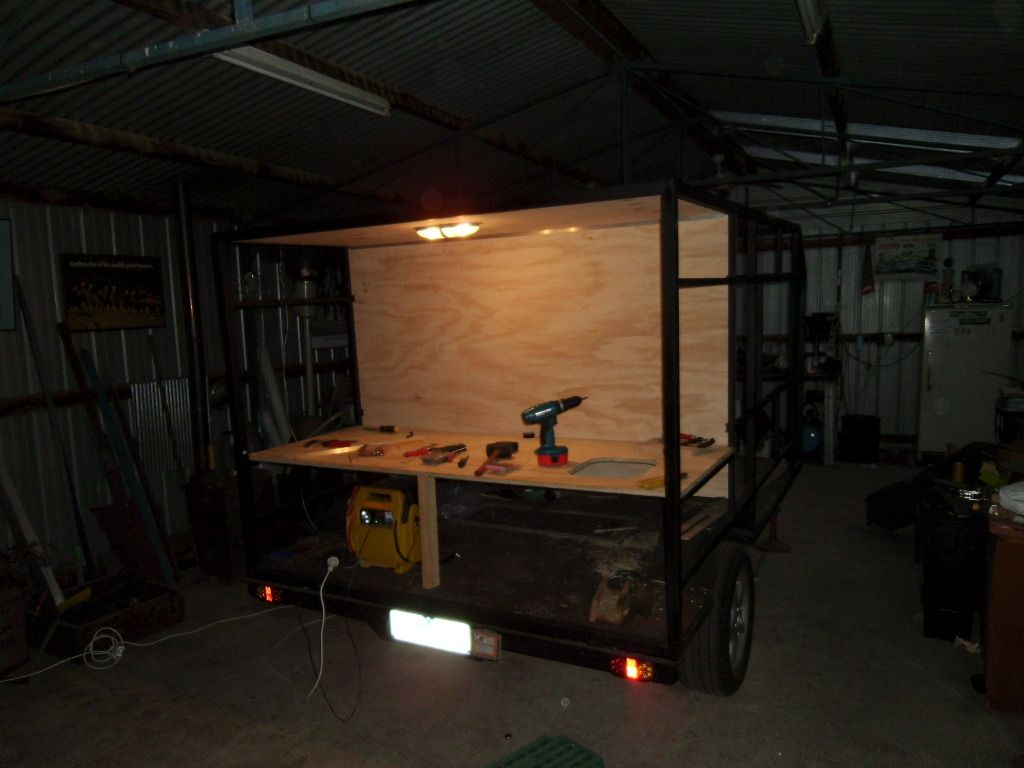
made it a bit wider and built the frame out of steel

Image

Image

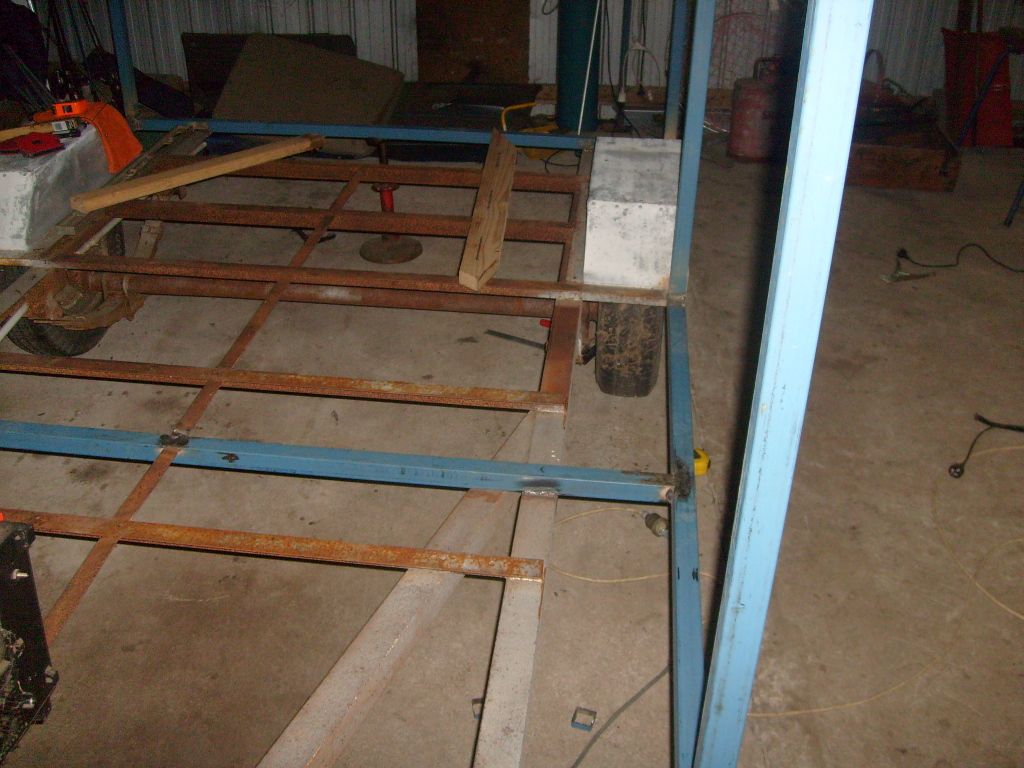
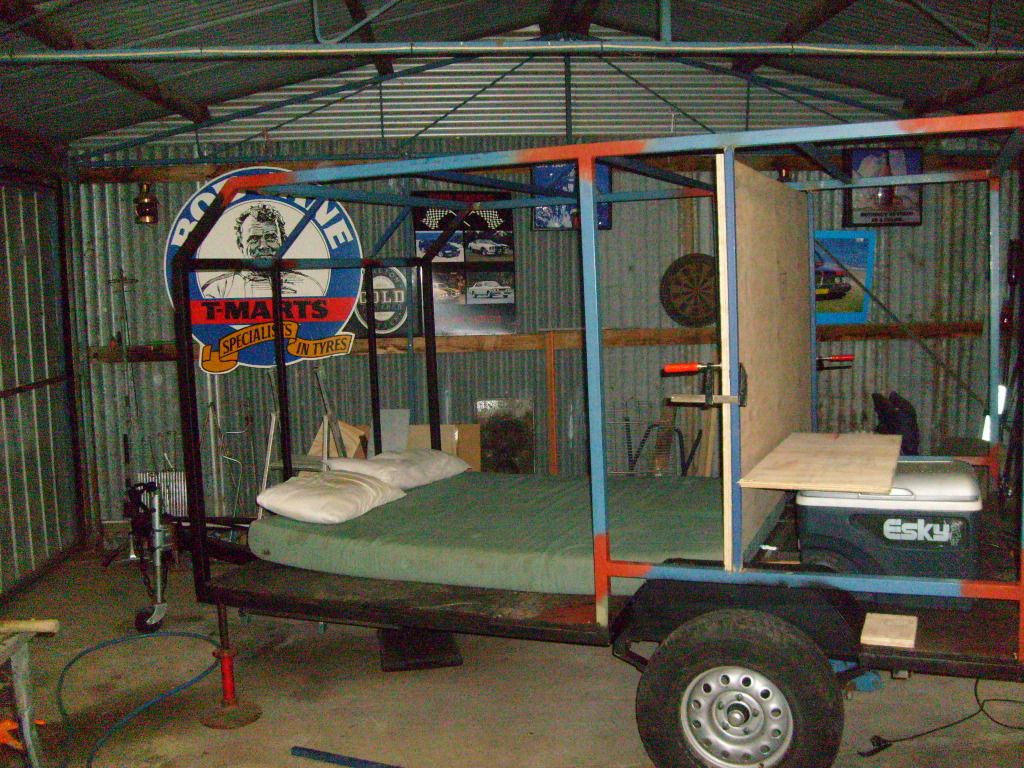
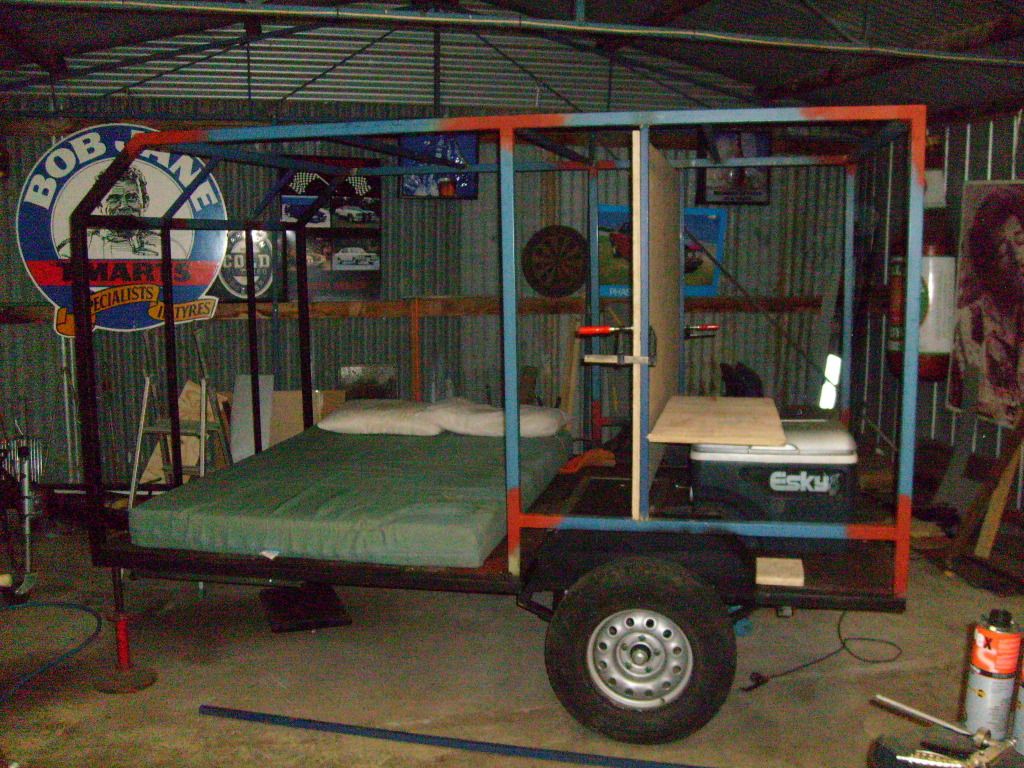
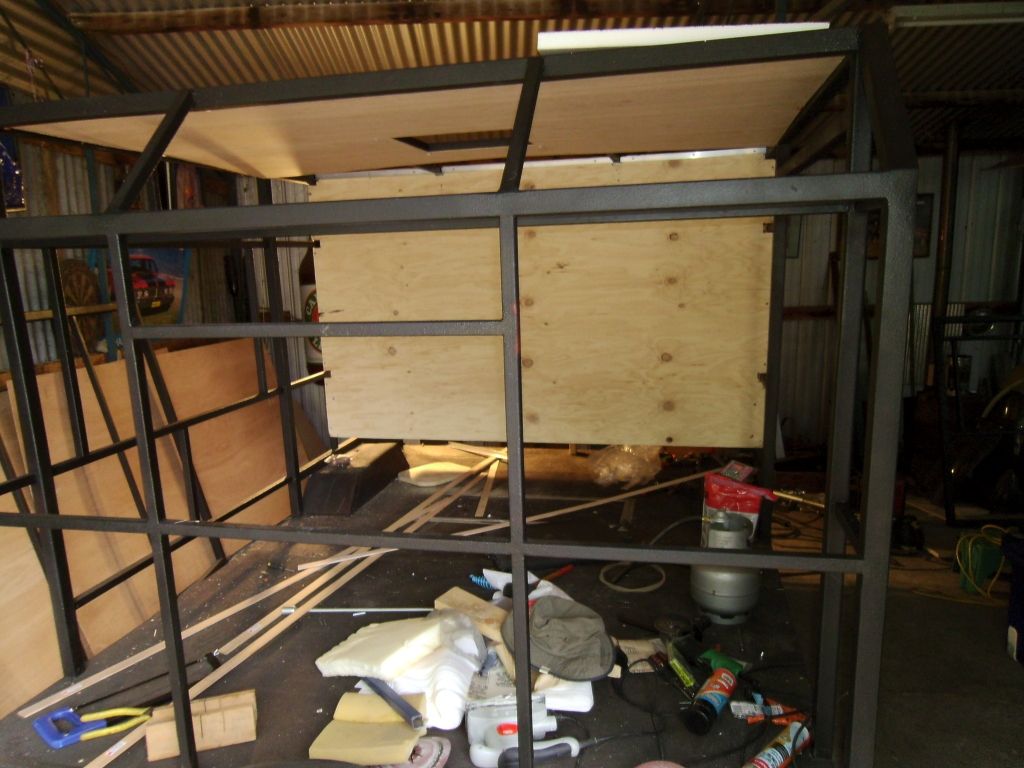
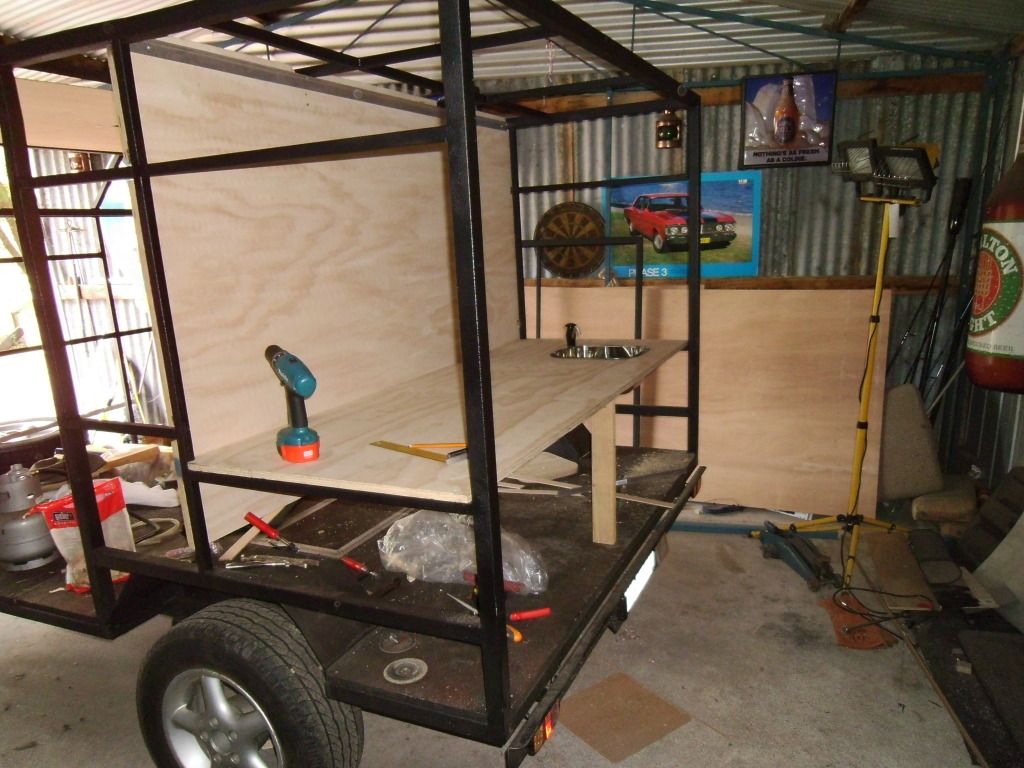
new axle fitted and my marine ply to go in yet

Image

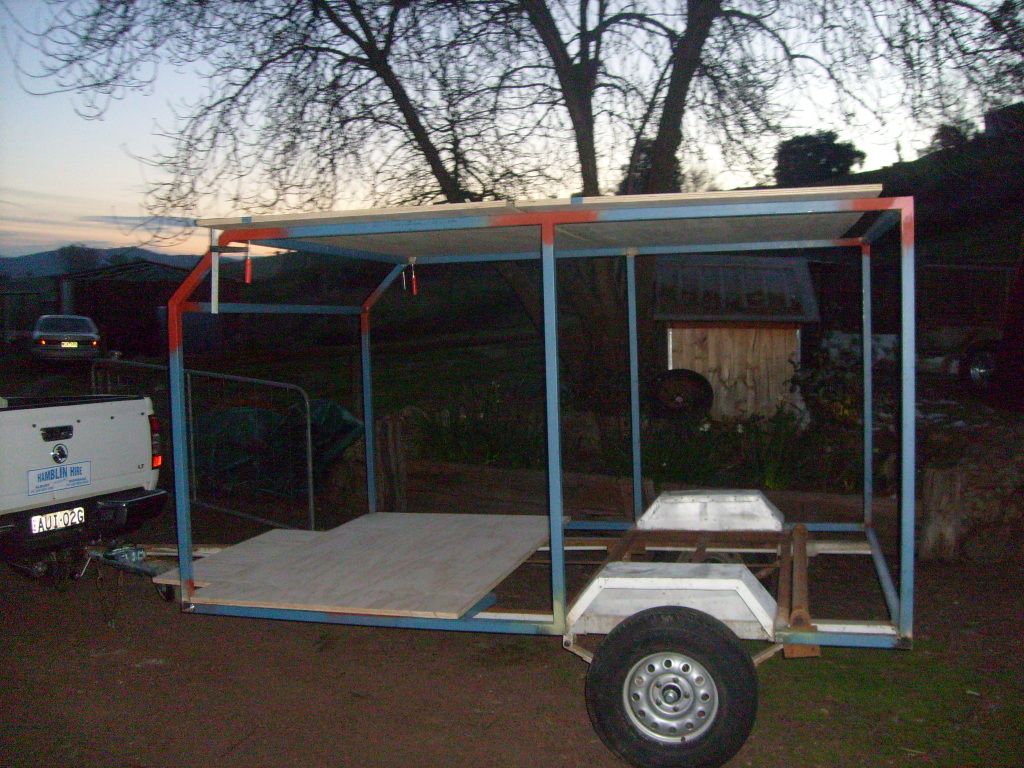
more to come, Shane.
maloney
Teardrop Inspector
 
Posts: 22
Joined: Sun Oct 16, 2011 4:29 pm
Location: Bethanga, Australia

Postby kinto » Mon Nov 07, 2011 7:16 pm

that thing is gonna be roomy! :thumbsup:

keep the pics coming!


kent
:)
Is a hippopotamus just a really cool opotamus?

imay ildbay urnaljay

Image
User avatar
kinto
Gold Donating Member
 
Posts: 228
Images: 465
Joined: Tue Jul 19, 2011 10:20 am
Location: STL

Postby mikeschn » Mon Nov 07, 2011 7:21 pm

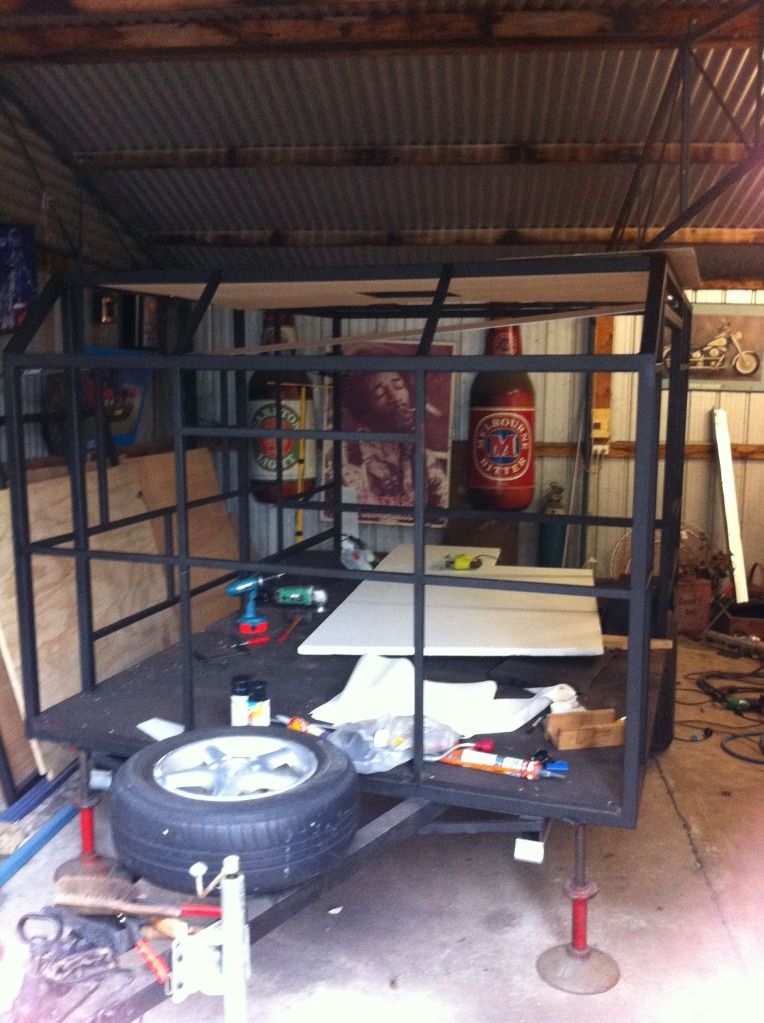
kinto wrote:that thing is gonna be roomy! :thumbsup:

keep the pics coming!


kent
:)


I agree, on both counts!

Mike...
The quality is remembered long after the price is forgotten, so build your teardrop with the best materials...
User avatar
mikeschn
Site Admin
 
Posts: 19202
Images: 475
Joined: Tue Apr 13, 2004 11:01 am
Location: MI
Top

Postby maloney » Mon Nov 07, 2011 9:27 pm

Fully welded the chassis

Image

got the floor sealed and in along with my battery box

Image

Image

Image

underneath

Image

put in a 60ltr water tank

Image

haven't worked out which way the mattress will go yet, it can fit both ways

Image

Image

rear door made up, it will hinge from the top to give shade

Image

roof vent

Image

took it out for a bit of a drive

Image

I'm hoping to have this ready for xmas but every time i work on it i keep adding stuff, i have gotten further than the last lot of photos just have to upload the new pics.
I will be running 2 120amp hour batterys through a 600watt inverter but i will also have 240volt if need be, in the galley depending on room i'm hopping to have a 40"screen (misses said i can't have the 50" out of the lounge) i also have a carrycool air con that i can put in and take out on site.
Thanks for looking and any help or ideas would be great Shane
maloney
Teardrop Inspector
 
Posts: 22
Joined: Sun Oct 16, 2011 4:29 pm
Location: Bethanga, Australia
Top

Postby S. Heisley » Tue Nov 08, 2011 8:07 am

This is going to be an interesting build to watch! Please keep the pictures coming!

Is your plywood about 1 inch thick or is that an optical illusion?
User avatar
S. Heisley
Super Lifetime Member
 
Posts: 8866
Images: 495
Joined: Mon Sep 17, 2007 10:02 am
Location: No. California
Top

Postby Deryk the Pirate » Tue Nov 08, 2011 8:57 am

I like it! Im tryin to convince my boss to send me to learn to weld :twisted:

Have you considered instead of a mattress, do a futon sideways across the width that you can fold into a couch durin the day, then fold out to a bed?

Good Luck and lookin forward to seeing more pictures!

deryk
Build Thread lil vardo 1: http://tinyurl.com/baqe6py
Build Thread lil vardo 2: http://tinyurl.com/b3rwffm
User avatar
Deryk the Pirate
500 Club
 
Posts: 809
Images: 158
Joined: Tue Aug 18, 2009 11:03 am
Location: Parlin NJ
Top

Postby maloney » Tue Nov 08, 2011 4:11 pm

Thanks guys, the ply is 22mm i got it from my brother cheap(he works for a timber company), i thought about the futon idea because i do a bit of cooking with my big cooker and the idea originally was to fit my cooker in and my swag. But i'm gettin a bit sick of cookin lately this year ive had about 10 weekends of and there been spent cooking.
Anyway the latest pics i took last night

Image

door on with hopper window

Image

Image

a window goes in the opposite side as well, front air con bracing for the carrycool and the air con in its place i only want to put this in if needed so i have to work out a type of door that seals and can be removed.

Image

Image

Image

Image

i got a start on the ceiling yesterday but they gave me the wrong thickness insulation, so i will have to wait till the weekend to swap it
also got my mags on as well
thanks for looking Shane
maloney
Teardrop Inspector
 
Posts: 22
Joined: Sun Oct 16, 2011 4:29 pm
Location: Bethanga, Australia
Top

RE: Steel Framed TD

Postby mezmo » Tue Nov 08, 2011 9:32 pm

Hi Shane,

Nice stout build you have going there. It appears quite roomy for the size
too. The larger size door is definitely a good idea too I think.

Good luck as you complete it, and keep the pics coming, they are very
interesting and informative.

Cheers,
Norm/mezmo
If you have a house - you have a hobby.
User avatar
mezmo
1000 Club
1000 Club
 
Posts: 1817
Images: 194
Joined: Fri Jan 01, 2010 4:11 am
Location: Columbia, SC
Top

Postby rebapuck » Tue Nov 08, 2011 10:43 pm

Be sure to have a sealed cover for that ac when traveling.
Judy
1966 VW camper
1967 VW singlecab
Image
User avatar
rebapuck
.
 
Posts: 2243
Images: 1
Joined: Thu May 14, 2009 1:55 pm
Location: Chapel Hill NC
Top

Postby maloney » Sun Nov 20, 2011 8:34 pm

Got my wall, benchtop and sink in this weekend

Image

Image

Image

Image

Image
thanks for looking Shane
maloney
Teardrop Inspector
 
Posts: 22
Joined: Sun Oct 16, 2011 4:29 pm
Location: Bethanga, Australia
Top

Postby maloney » Thu Dec 01, 2011 8:28 pm

Installed my kitchen bench top, put in my sink and tap

Image

Image

Image

Image

i cleaned out the shed so i had more room, i put in the kitchen ceiling and light

Image

Image

Image

Image

thanks for looking Shane
maloney
Teardrop Inspector
 
Posts: 22
Joined: Sun Oct 16, 2011 4:29 pm
Location: Bethanga, Australia
Top

Postby maloney » Fri Dec 02, 2011 5:17 pm

Just some earlier pics of where my cooker fits in. If i go away to do a function i can pull the bedding out, fit the cooker in and my swag and away i go

Image

Image

and just a couple of pics of some of the cooks i have done this year

Image

Image

Image

Image

cheers Shane
maloney
Teardrop Inspector
 
Posts: 22
Joined: Sun Oct 16, 2011 4:29 pm
Location: Bethanga, Australia
Top

Postby Loader » Fri Dec 02, 2011 8:34 pm

Shane the trailer looks great! I'll be paying watching this one!

One suggestion though, based on the pics of some of your cooking, you need to add floats and an outboard motor to your build so can bring it here to Texas! I'll meet you down on the Gulf! :lol: :lol:
Earl & Kerry

"Loader"

Blue Yonder Build Thread - viewtopic.php?f=50&t=42611

ImageImage
User avatar
Loader
Platinum Donating Member
 
Posts: 1584
Images: 245
Joined: Tue Apr 26, 2005 2:33 pm
Location: Fort Worth, Texas
Top

Postby mezmo » Fri Dec 02, 2011 10:18 pm

Hi Shane/Maloney,

Just curious as to the body dimensions - width. length, height, towbar
length, and the height from ground to top of the body.

Cheers,
Norm/mezmo
If you have a house - you have a hobby.
User avatar
mezmo
1000 Club
1000 Club
 
Posts: 1817
Images: 194
Joined: Fri Jan 01, 2010 4:11 am
Location: Columbia, SC
Top

Postby Woodstramp » Sat Dec 03, 2011 9:38 am

Shane,

Really like your build. Like that you cannibalized an old discarded frame. Overall, it looks to be similar in size/height/length as our build. I;m guessing 6x10 and 5 high?

We wanted the option to turn bedding like that too. You will like the large door. Like how you can stow your BBQ....good thinking. The only thing that bugs me his the side you have your door.....Forgot you are in in OZ....guess that is the correct side, there. :D

Also like the stuff in the background of your pics. Your farm and countryside reminds me of sections of my home state of Texas. Pretty place.
User avatar
Woodstramp
The 300 Club
 
Posts: 438
Joined: Fri Nov 20, 2009 9:28 pm
Location: Aladambama
Top

Next

Return to Build Journals

Who is online

Users browsing this forum: No registered users and 10 guests