Well here we go. I didn't post updates as I went so with it nearly done here's some pictures for you enjoyment.
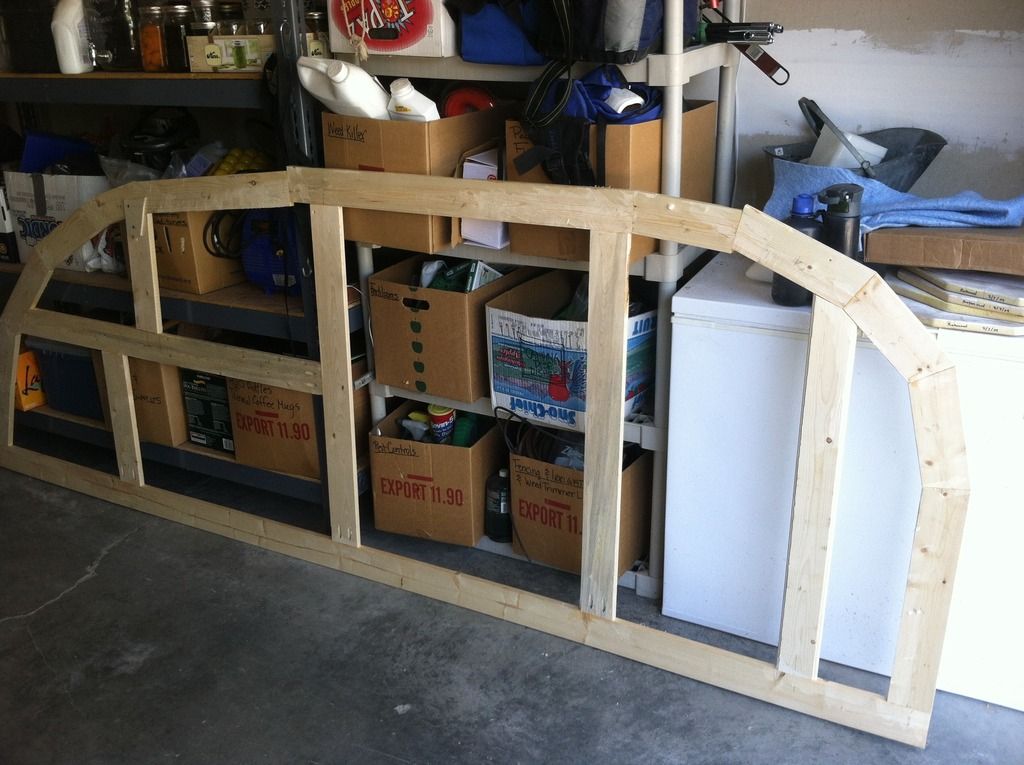
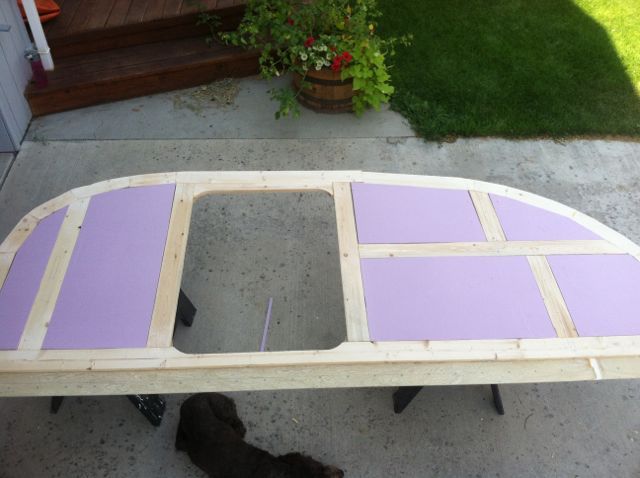
I did go with stick build walls. I needed to go this route because I didn't know where all the framing needed to be. As you can see I added several cross pieces as needed.
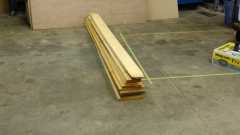
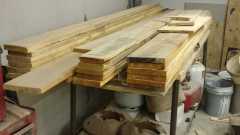
I started out with a pile of rough cut lumber.
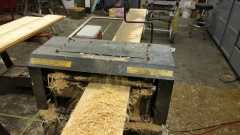
I knew there was going to be alot of shavings. But this was nearly overwhelming. Lucky for me I have some chicken raising friends that took it all off my hands.
After a little trial and error these were ready.
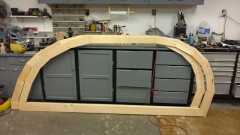
It sure was nice seeing them on the unfinished floor. It gave me some inspiration.
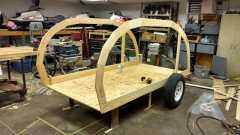
Another pile of lumber. I decided to use rustic birch for the cabinets.
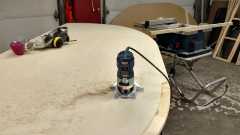
I got to buy a new tool!! This one is way better than my 20 year old crafstman!
Man does it take pressure to bend 3ply birch plywood!
I needed to add the cross framing for the doors. It's starting to take shape!
Getting started on the galley
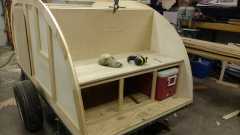
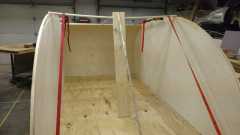
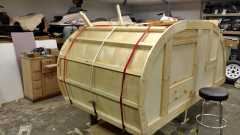
Pushing down with straps and pushing up with sticks! The wood sure makes some noise when you bend it
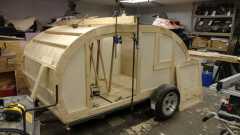
Interior cabinet frames are in!
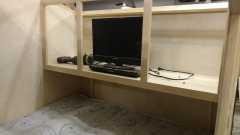
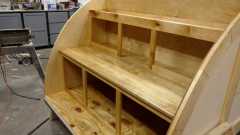
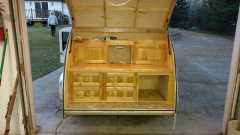
Galley pictures. I decided to use Maple for the countertop. The rest is Rustic Birch
I dont like heavy traffic AT ALL! I managed to make a wrong turn coming home from Franks. We hit traffic at a good time. We only stopped dead once for about 15 min. I really dislike driving in Chicago.


Siding installed. Talk about nervous....I did not want to make another trip to Michigan.
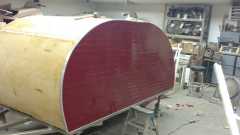
No matter how many times I measured or how I measured it. I still cut the trim short. Finally I just cut a little off at a time, check and repeat.
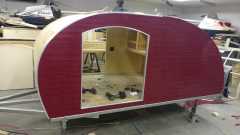
Fitting the door was challenging. I used piano hinges from my local hardware store.
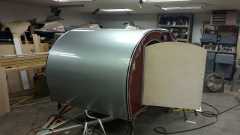
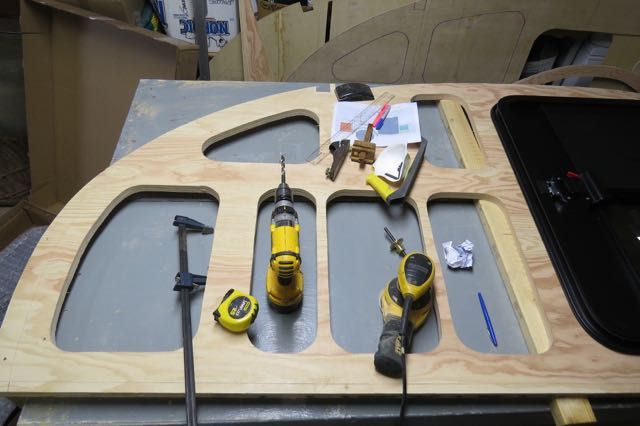
Because I built the walls using full 1/4" inside and outside plywood and 3/4" framing to make the offset T molding work I needed to keep the hatch clearance to the sidewalls at a minimum.
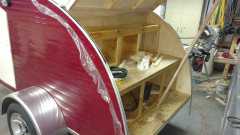
It fits! I need to pull up in the center or is will bind against the walls.
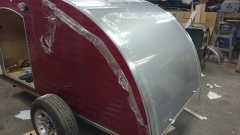
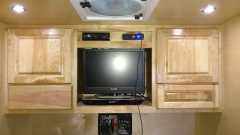
Upper cabinet doors done. I really like the look of rustic birch
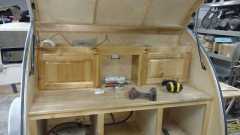
I planned on just leaving the drawers flat. My wife asked if I could do them in a raised panel version... even with pushsticks it's a little sketchy pushing the small panels through the router table. But I have my hand yet and they look nice.
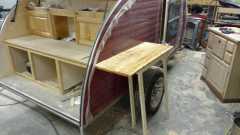
Mocked up side table. I sized it so it will ride on top of the countertop while we are traveling. I'll get the aluminum mounting bracket sometime before spring
From the prior pictures you can see that I changed the layout. I was going to have 3 large drawers. After more thought I changed to 4 small drawers and one cooler drawer.
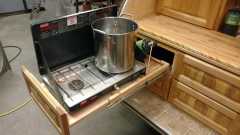
As it would be my camp stove wouldn't work in a 22"deep drawer. I need to make a double slide drawer so I could pull it out far enough to hook up a LP bottle.
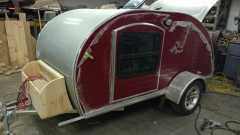
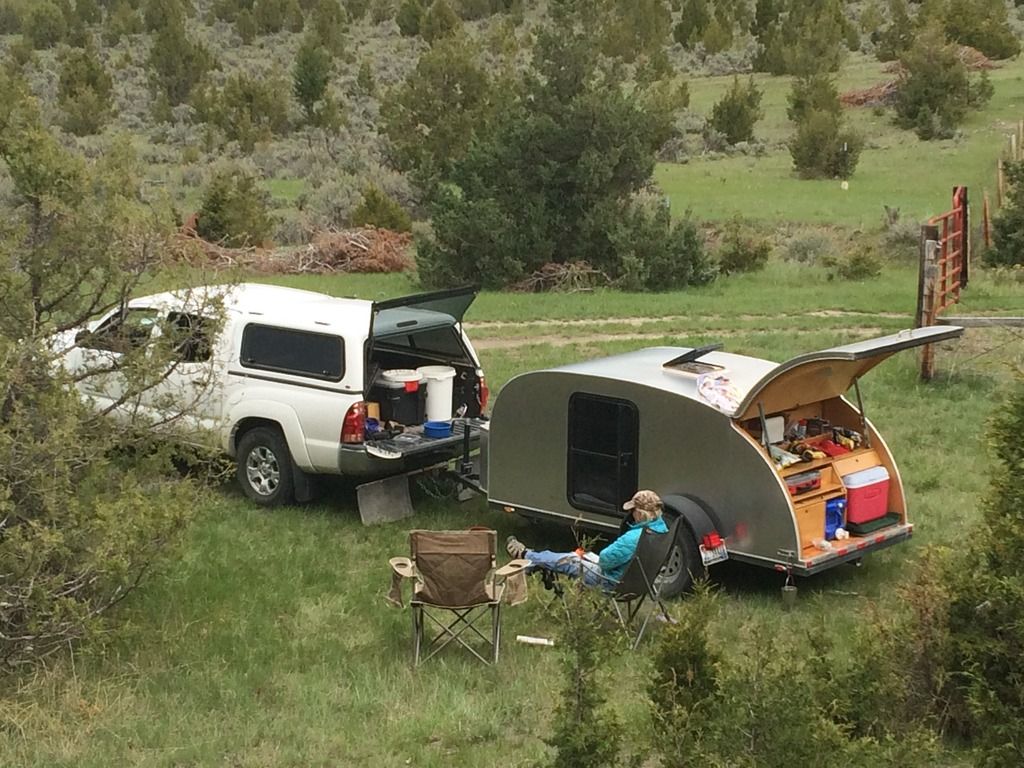
This is how it sits now. After I didn't get it road ready for CICO I slowed down and took a few weekends off.
Thanks
Steve


 Before you I'll be building a standy lol