Teardrops n Tiny Travel Trailersor t n ttt for short (tnttt.com) |
CapeBuild Build Journal
Re: CapeBuild Build Journal
![]() by lfhoward » Wed Apr 27, 2022 5:27 pm
by lfhoward » Wed Apr 27, 2022 5:27 pm
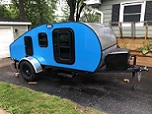
The curved window looks amazing! Congrats on the install. Looks professionally made.
My off-road camper build on an M116A3 military chassis:
http://www.tnttt.com/viewtopic.php?f=50&t=62581
Tow vehicle: 2008 Jeep Liberty with a 4 inch lift.
http://www.tnttt.com/viewtopic.php?f=50&t=62581
Tow vehicle: 2008 Jeep Liberty with a 4 inch lift.
-

lfhoward - 1000 Club

- Posts: 1370
- Joined: Wed Jan 22, 2014 6:10 pm
- Location: Philadelphia, PA
Re: CapeBuild Build Journal
![]() by TimC » Wed Apr 27, 2022 6:23 pm
by TimC » Wed Apr 27, 2022 6:23 pm
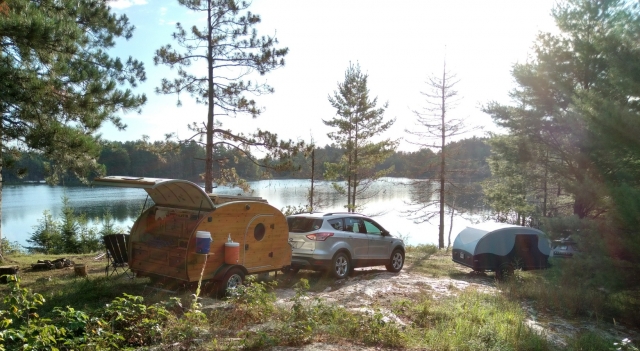
Ha! In the third photo showing the interior through the rear window I thought you "staged" a plate of sandwiches in the galley. Until I looked closer.
Tim
Niagara, WI
My First Benroy Teardrop Build Thread - A 5x8 Woodie - http://www.tnttt.com/viewtopic.php?f=50&t=63575
My Second Teardrop (partial) Build Thread - Started August '16 - http://www.tnttt.com/viewtopic.php?f=50&t=66939
#3 My son's Benroy Foamie team build - Started July '20 - http://www.tnttt.com/viewtopic.php?f=50&t=72877
-

TimC - Gold Donating Member
- Posts: 1371
- Images: 733
- Joined: Sat May 23, 2015 4:15 am
- Location: WI/MI border