Page 1 of 2

1964 Catolac Deville restoration project

PostPosted: Mon Mar 03, 2014 11:46 am
by Robbie
Hey everyone,

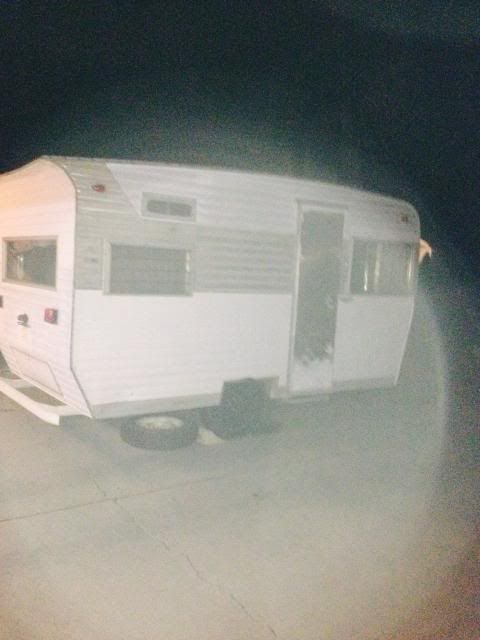
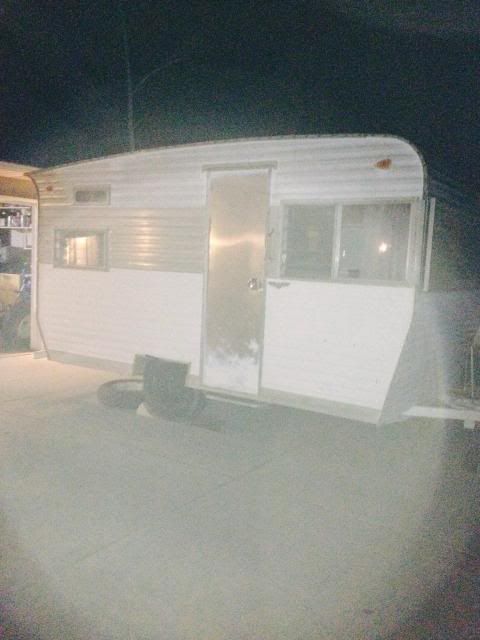
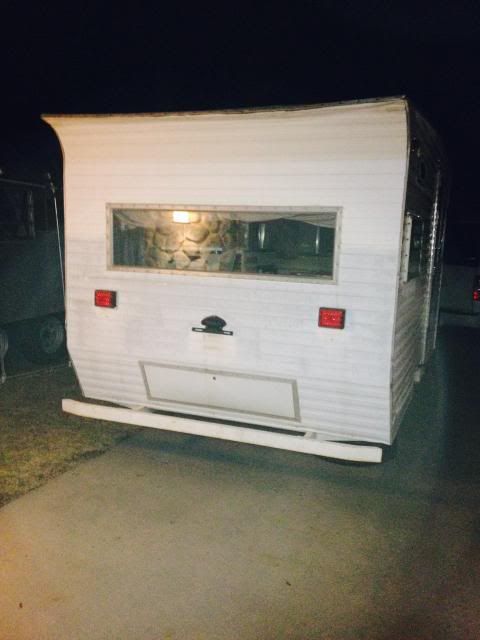
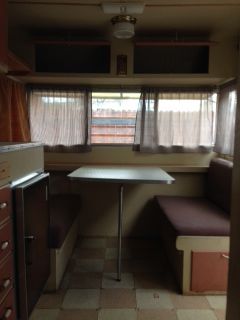
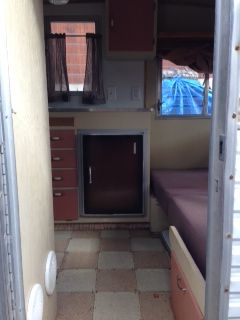
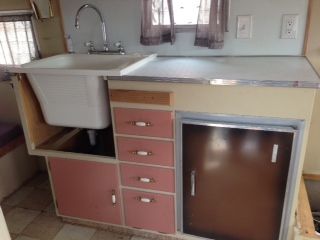
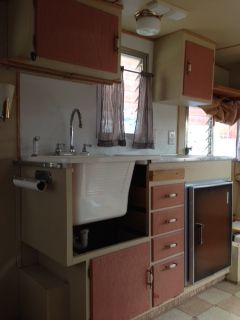
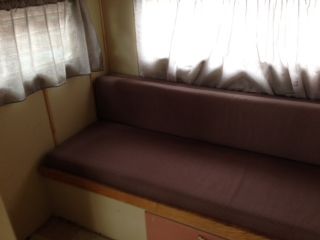
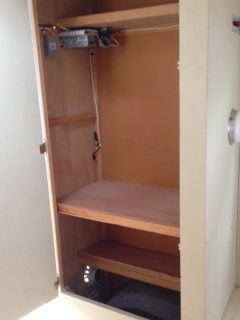
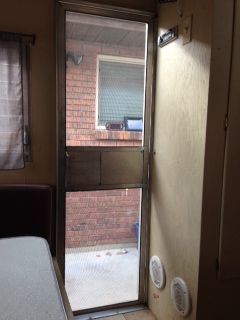
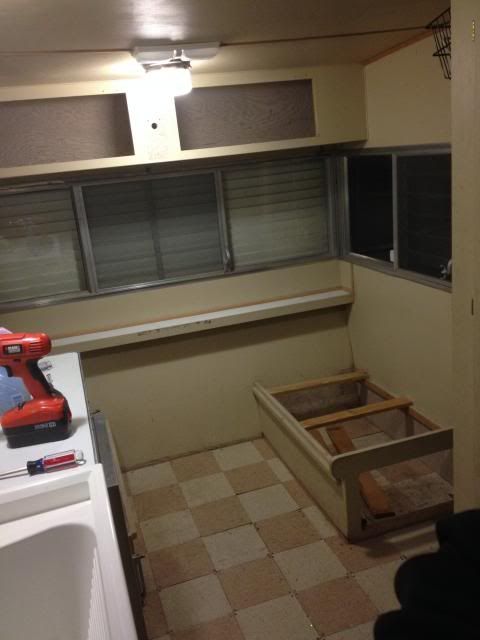
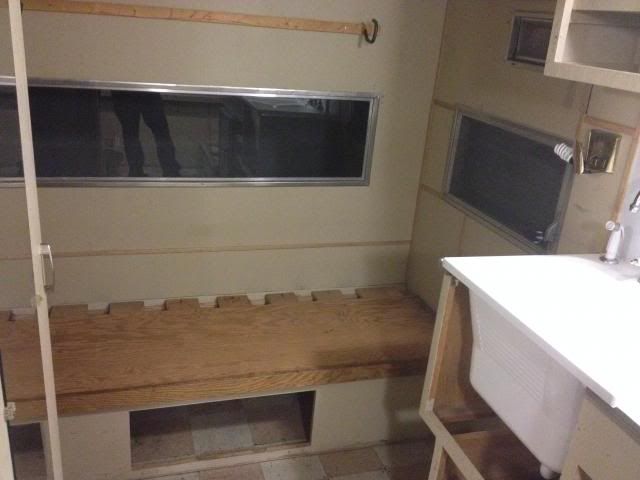
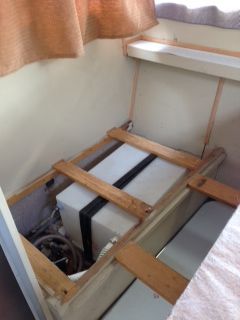
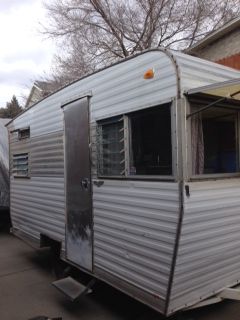
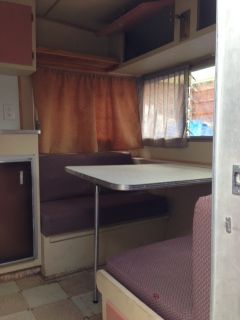
After selling our Benroy due to it not being 3 people convenient, we needed a new trailer. Some friends of ours were selling this 1964 Catolac Deville for a good price and I knew I wanted it. They did some minor updating and fixed any existing water damage and leaks when they got it so it was a good platform to start with. The interior was repainted but my wife and I's style is much more modern so I knew a full overhaul of the interior was in order. Also, the guy who did the work wasn't the greatest craftsman so some caulk and putty work was also in order! :lol: On to the pics of how we got it...

Image

Image

Image

That upper right rear corner is the only area where there is apperant exterior damage. It shows no structural issues and is all sealed still just a bummer that it isn't a smooth line like it should be.
Image

Image

Image

Image

Image

Image

Image

Image

Image

On the to-do list are...
- Move the speakers from right above the floor to the top of that same panel above the stereo.
- Repaint the entire interior (light blue/gray walls and white ceiling and cabinets)
- Build a cover panel for the sink
- Redo the 12v wiring in the closet with a fuse block and proper wiring
- Remove the redundant hooks and patch all remaining holes
- New door/drawer hardware
- Repaint exterior white/black
- Upgrade the axle and breaks to electric modern setup.
- Paint icebox door either black or white
- Full LED 12v bulbs
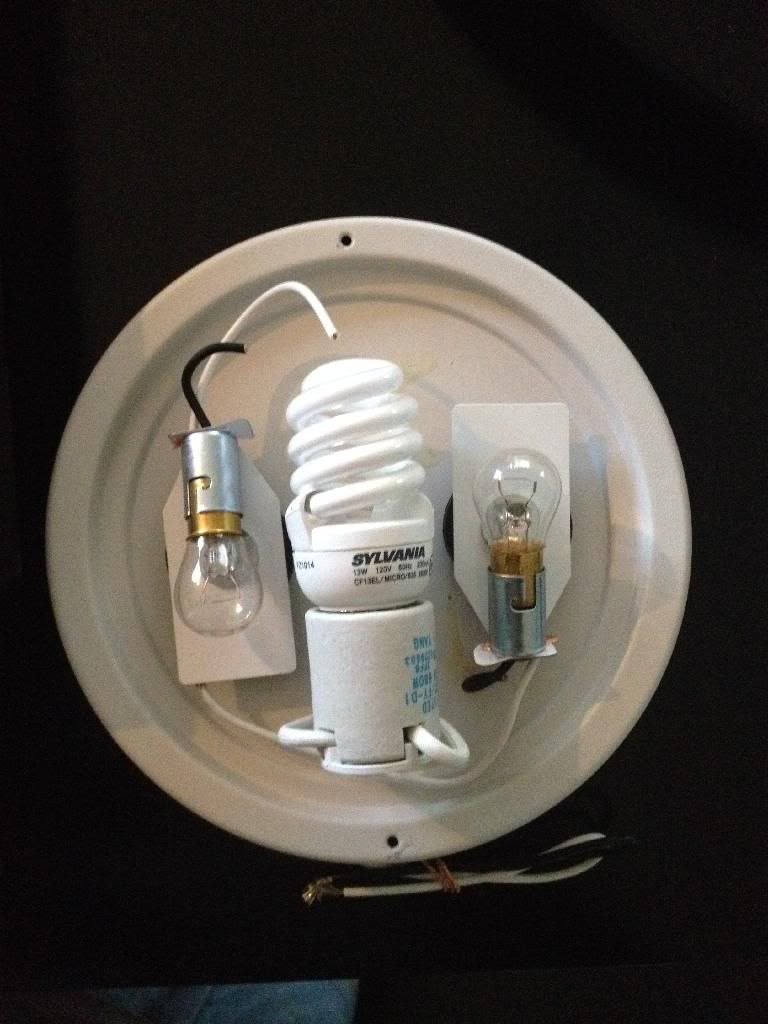
- Try and fit 12v bulbs in 110v housings to eliminate extra light fixtures
Re: 1964 Catolac Deville restoration project

PostPosted: Mon Mar 03, 2014 11:55 am
by Robbie
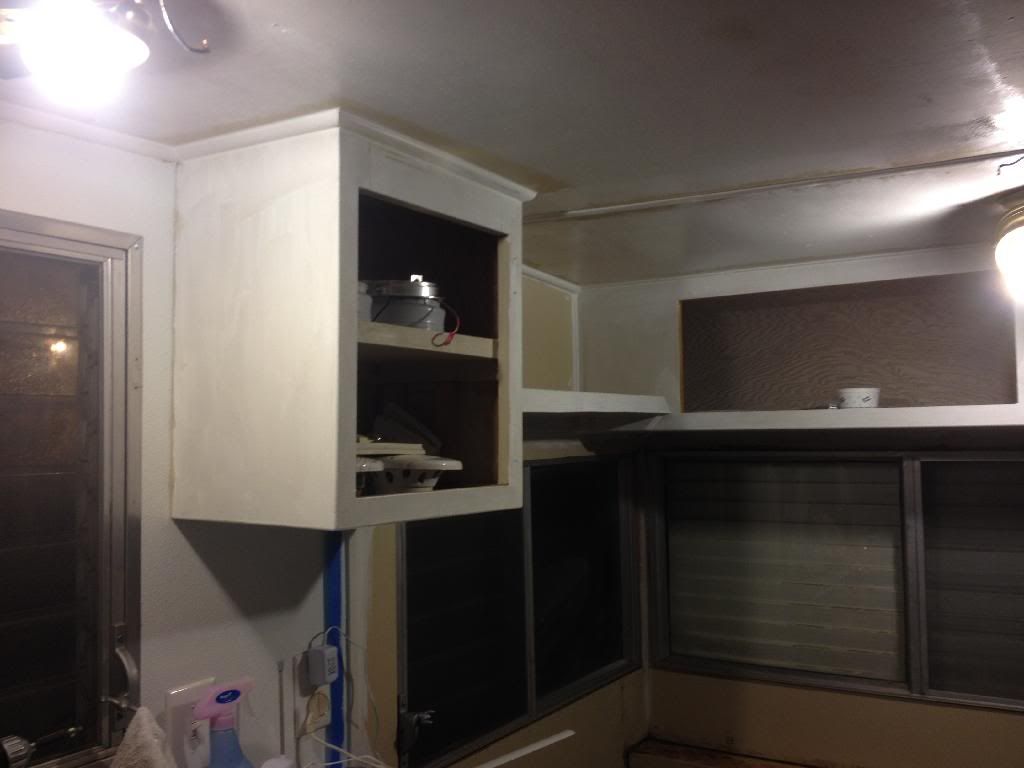
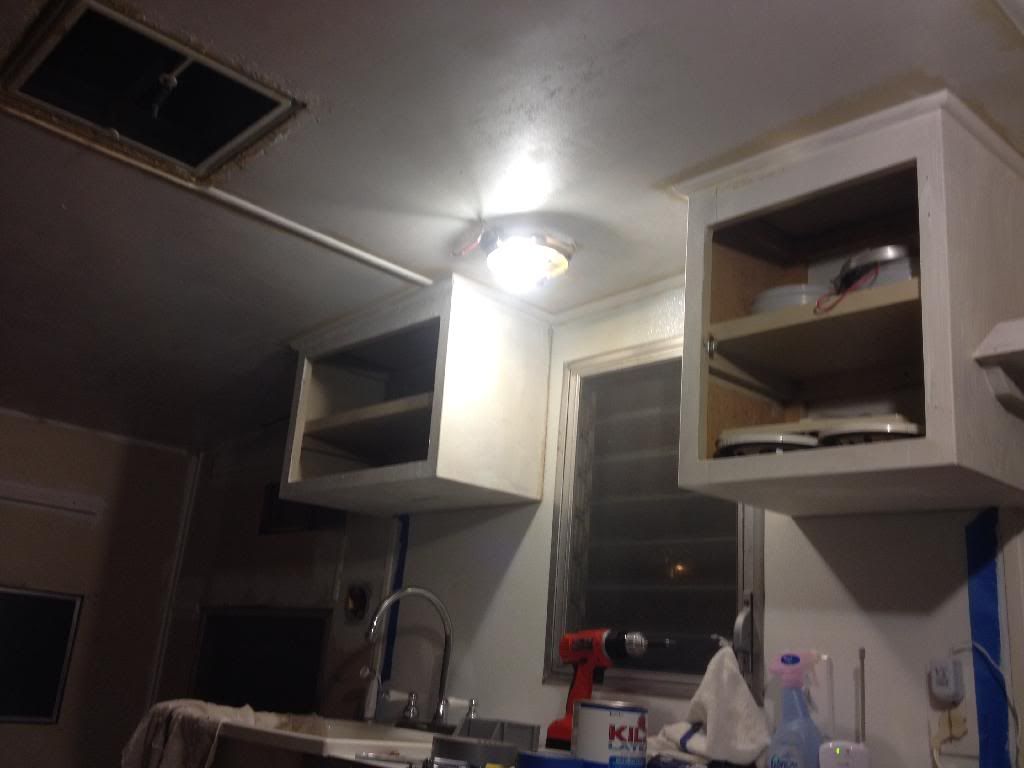
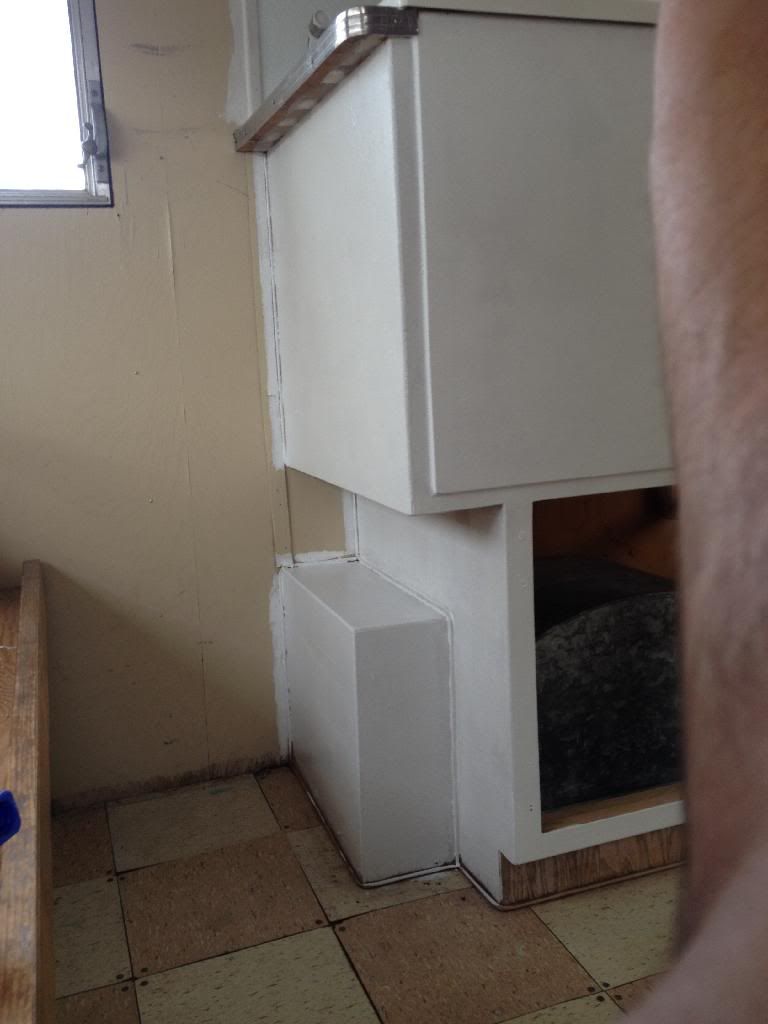
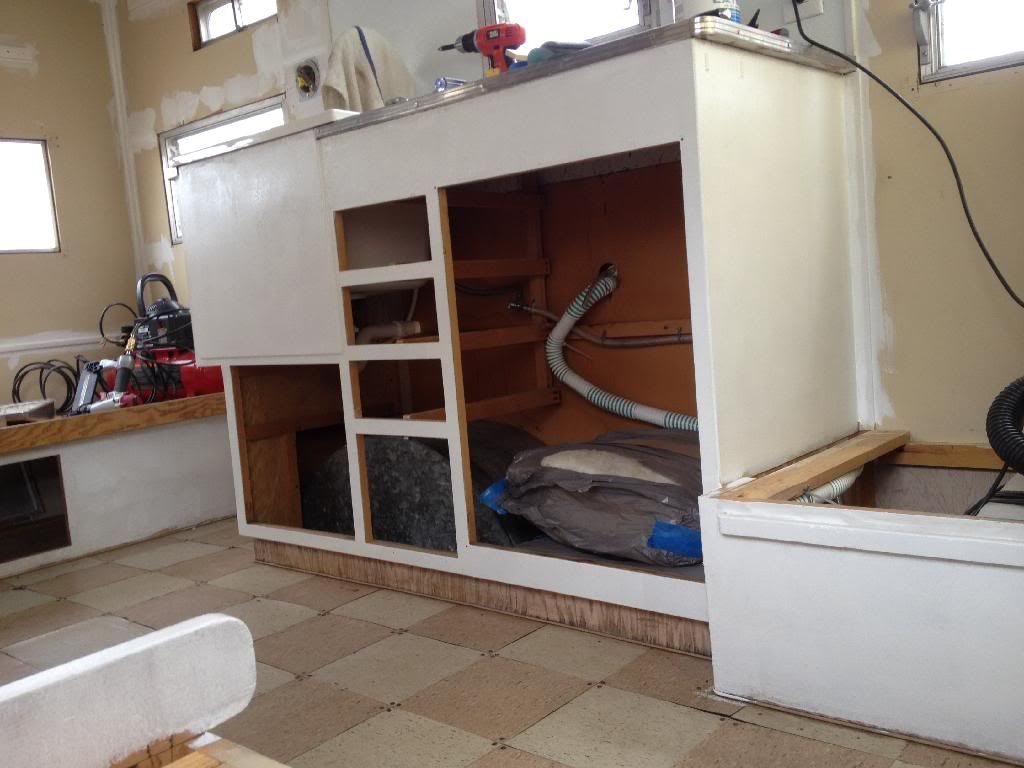
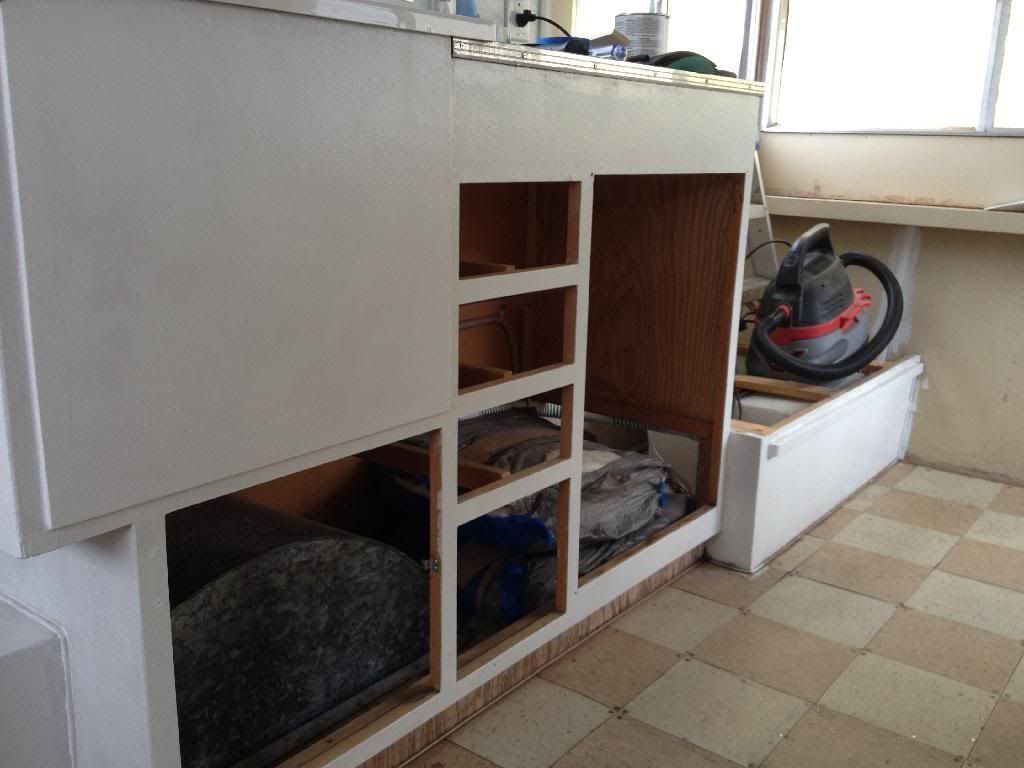
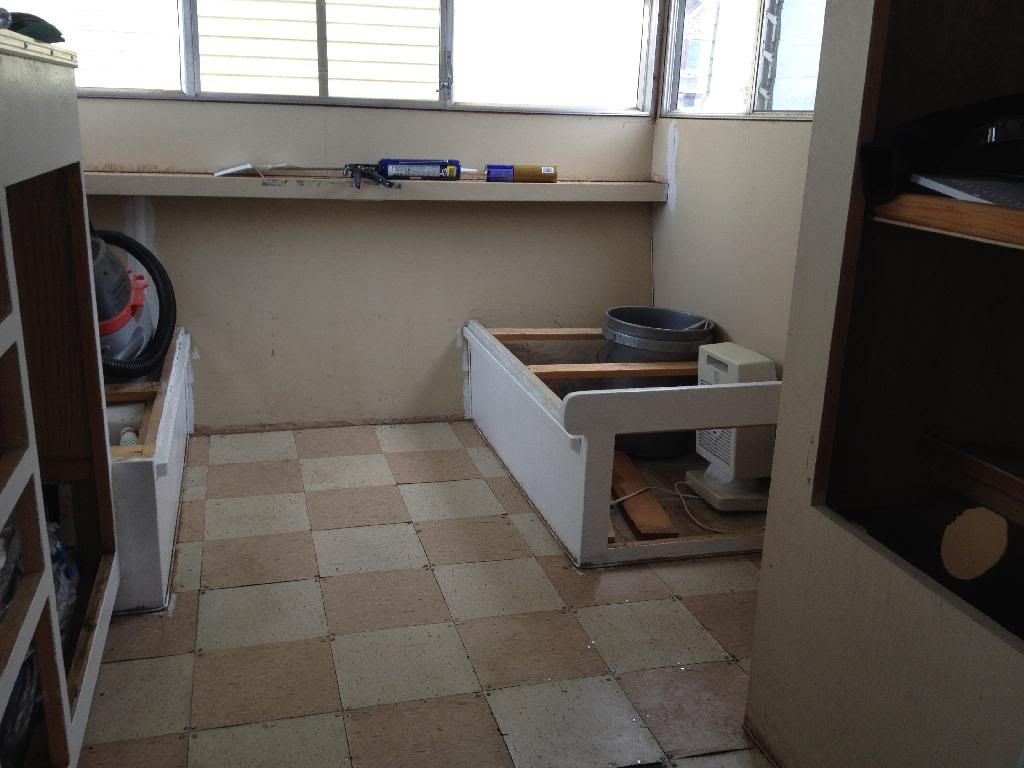
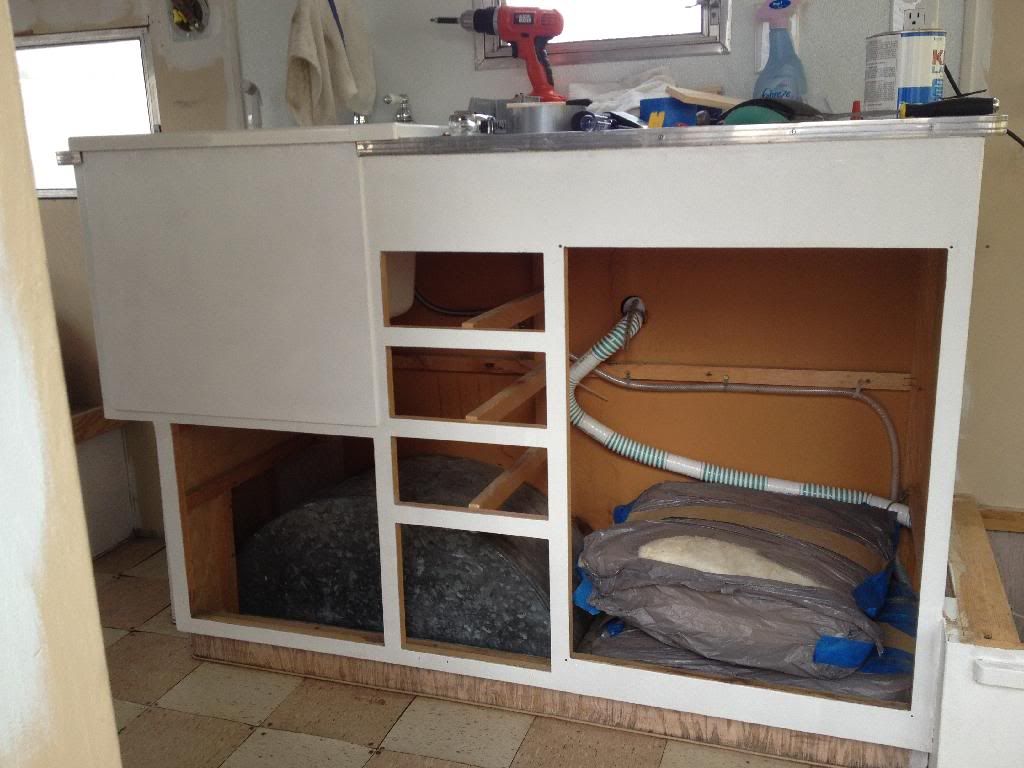
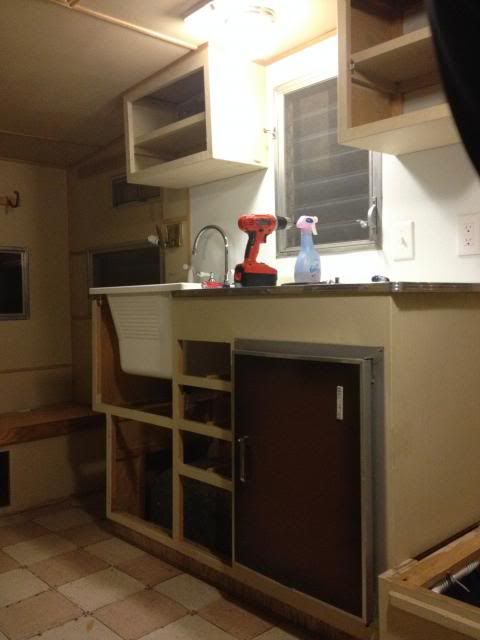
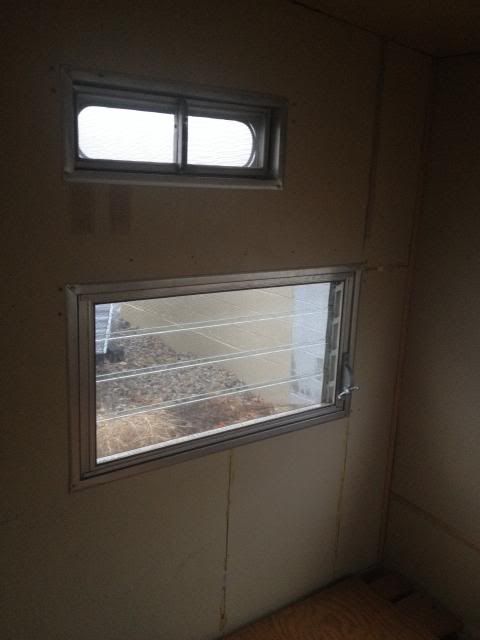
And here is where we have gotten so far. I've replaced all the trim with a better looking profile and caulked all around it so it looks smooth. Primed all the new trim, caulk joints, and every surface that will be receiving white paint. We bought our new light fixtures and I'm not sure they are going to fit the fit the 12v bulbs. If thats the case I am going to try and find a more low profile modern looking 12v fixture.
All emptied out...

Image

Image

Image

Image

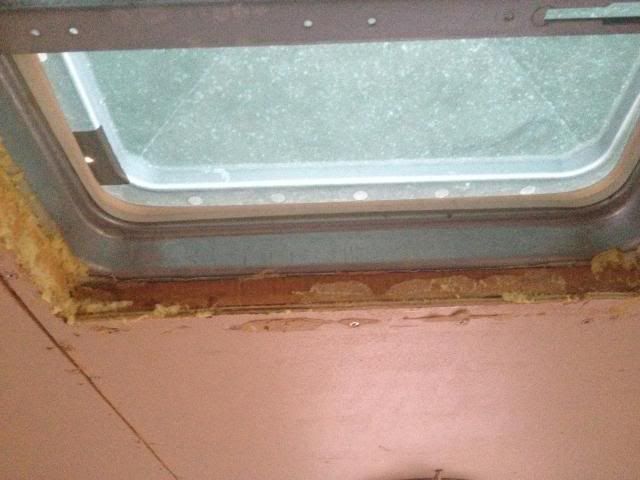
I did find a small leak area where a hole had appeared in the roof vent. You can see the hole under the duct tape. I have since replaced the vent with a new black one!

Image

And here it is with the new trim, primed, and caulked...

Image

Image

Image

Image

Image

Image

Image

I'm hoping we get all the final paint work done this week! Then its on to the doors and drawer fronts, refinishing the window trim, and the flooring!

Re: 1964 Catolac Deville restoration project

PostPosted: Tue Mar 04, 2014 6:30 am
by Irmo Atomics
I looked at Supershady's pics of his Catolac, and it looks like somebody removed the stove/oven from yours, replaced it with the sink and made a new countertop. We have an oven in our Shasta and it isn't even hooked up; we use a hotplate when we (rarely) cook inside the camper. The original camper sinks were mighty small and hard to wash dishes in without making a mess. You're making good progress - should be camping in a few weeks!

Re: 1964 Catolac Deville restoration project

PostPosted: Tue Mar 04, 2014 10:48 am
by Robbie
Ya the PO took out the stove/oven and put in that giant utility sink. I actually love it because we use our little coleman grill setup outside so we don't get food splatter and stink all over the inside of the trailer, but we can always set it on the counter if we really needed to. Plus this sink is big enough to double as a bath tub for our little boy! I'm going to pack a sun shower around since there is no hot water heater, only a cold line directly to the sink and sprayer. The drain setup is pretty unusual. It goes from the bottom of the sink directly out the side of the camper! The PO just packed around a 5 gal bucket and a hose for the sink to drain into and he used that to extinguish the fires every night. Pretty simple setup and there is no need for a grey water tank! When he did the sink he put in a new 30 gal (?) fresh water tank and pump so its all ready to go.

Image

Re: 1964 Catolac Deville restoration project

PostPosted: Mon Mar 10, 2014 2:05 pm
by Robbie
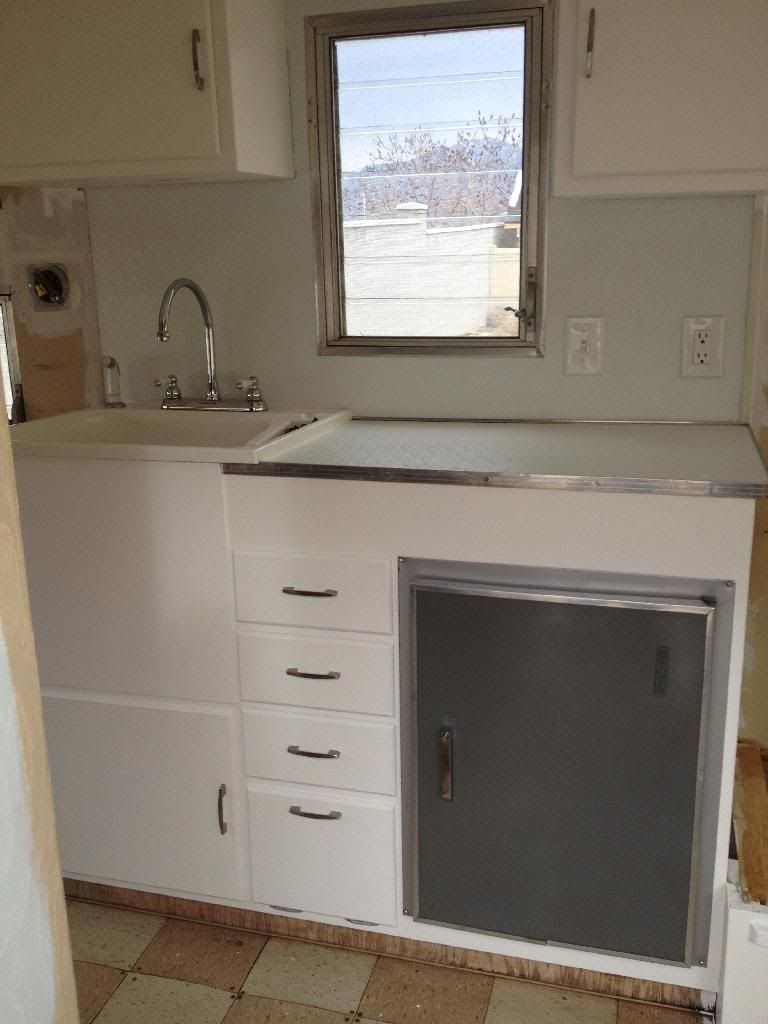
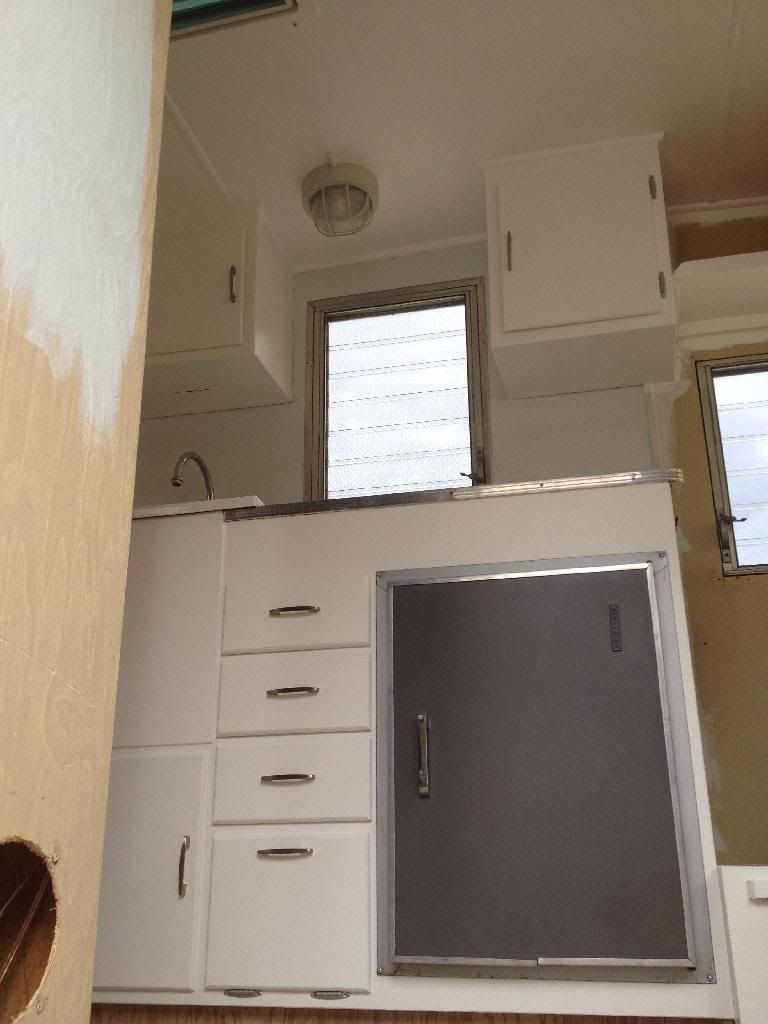
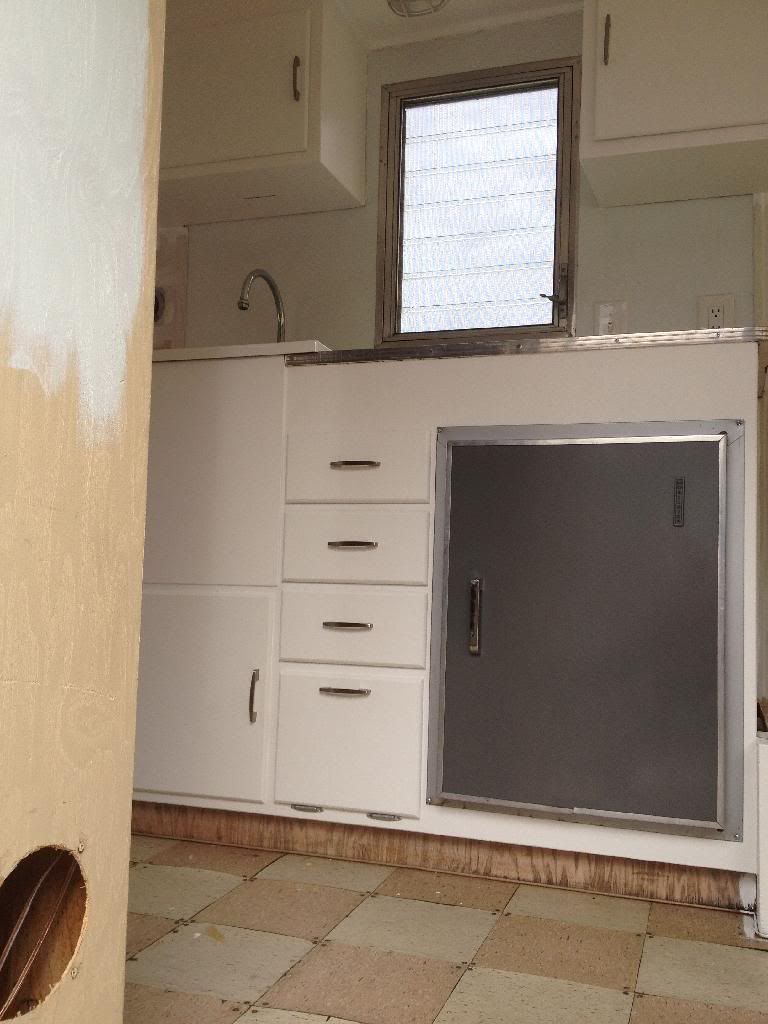
Well the cabinets, ceiling and benches are all painted their final coats and they look great! The new trim turned out much better then the stuff that was on there when we bought it and it looks very smooth and clean! We painted the ice box door gray since that is the accent color my wife wants and the new pulls are brushed silver. I'll get some new pics up this evening!

Re: 1964 Catolac Deville restoration project

PostPosted: Tue Mar 11, 2014 10:12 am
by Robbie
Here are the updated pics of the kitchen area!!!

Image

Image

Image

I still need to paint the light fixture white as its actually an off-white and my OCD won't let it stay that way. LOL.

Re: 1964 Catolac Deville restoration project

PostPosted: Wed May 21, 2014 4:18 pm
by Robbie
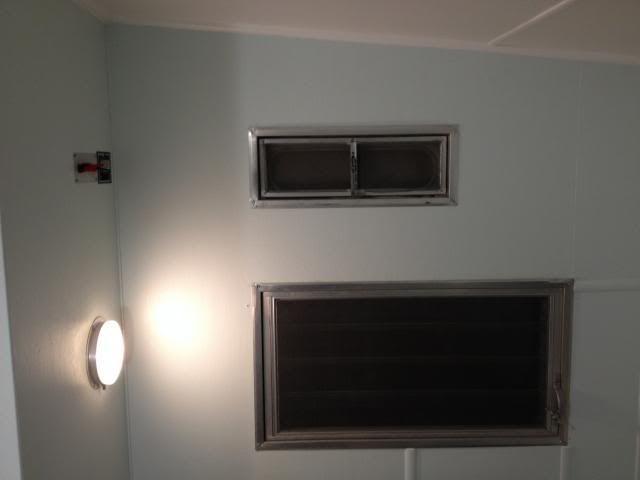
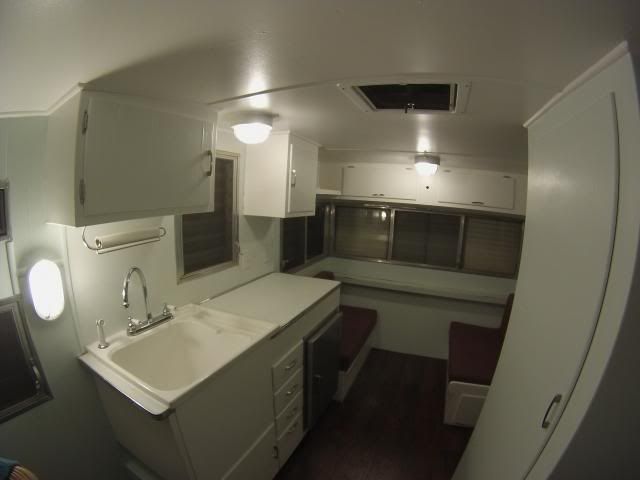
Here are some final updated pics of our Deville! I was able to put the 12v lights inside the new 110v fixtures to clean up the ceiling area. All 12v bulbs have been replaced with LED's as well.
Image

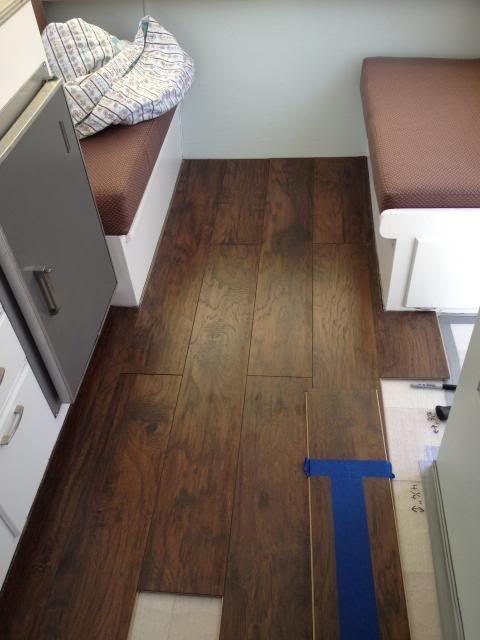
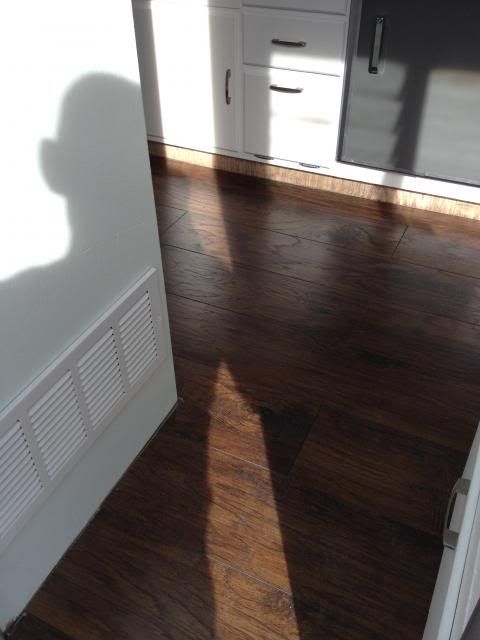
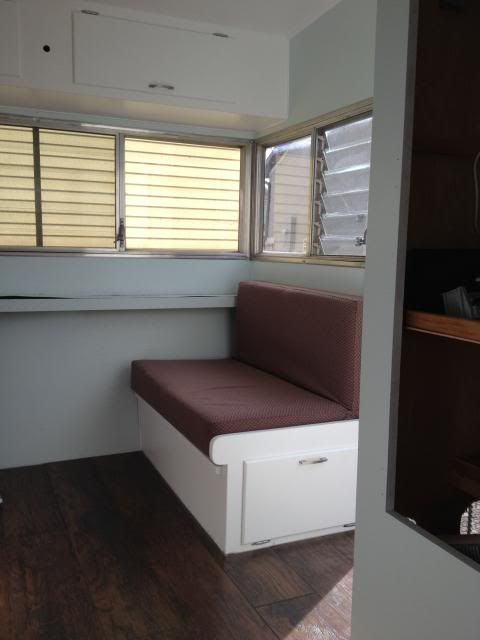
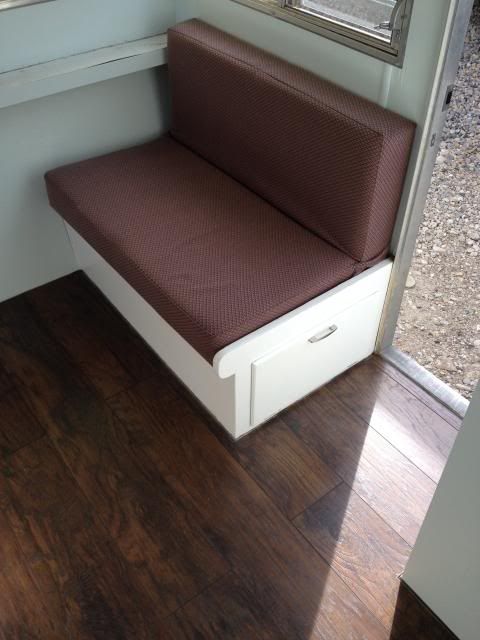
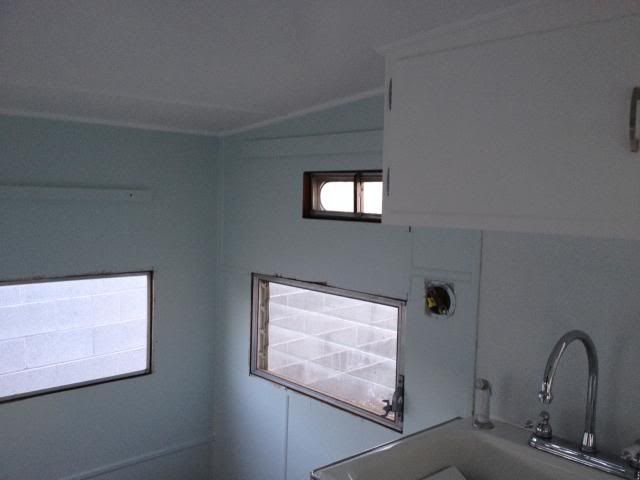
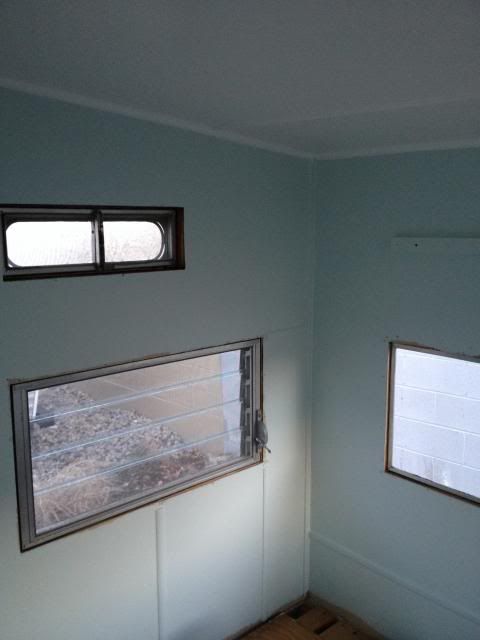
And I got new flooring down. I used a dark laminate click together hard wood flooring for the ease of install and the dark wood will hide dirt and scratches. It only took a couple hours to get the entire floor down. We also painted the walls a light blue color. It really makes the space feel more open.

Image

Image

Image

Image

Image

Image

Image

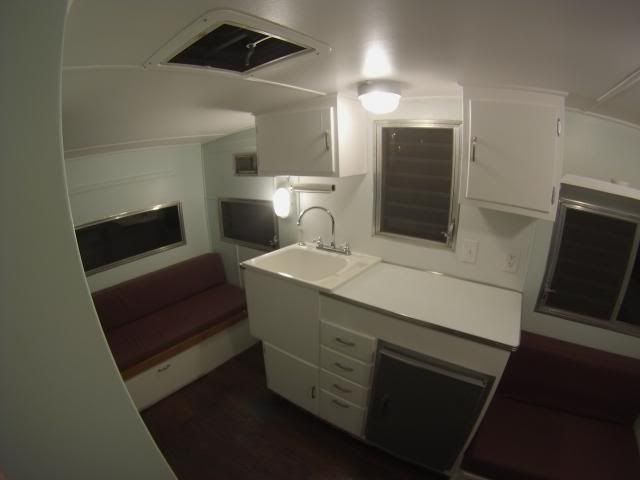
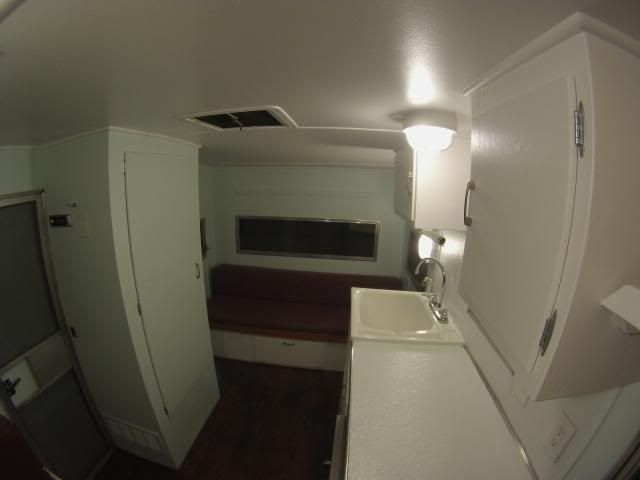
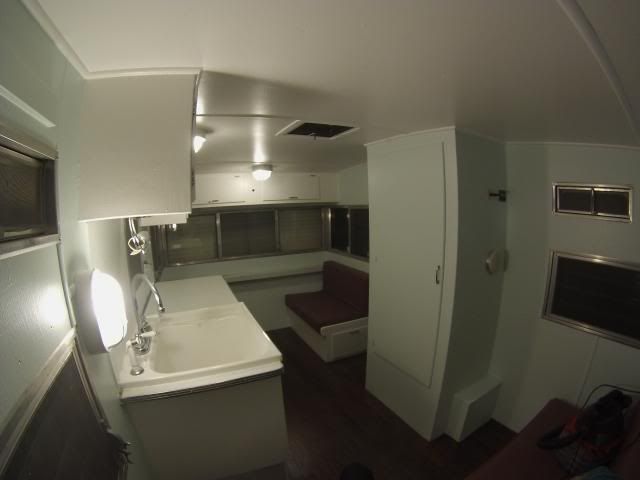
And here are some wide angle shote I took with my gopro to show the completed project. We have added some tan drapes over the windows and are planning out our TV and dvd player install as well. I will post those pics when we get them.

Image

Image

Image

Image

We are going to Moab for Memorial weekend so I'll have some more pictures of it out camping after this weekend! :thumbsup:

Re: 1964 Catolac Deville restoration project

PostPosted: Wed May 21, 2014 4:28 pm
by Robbie
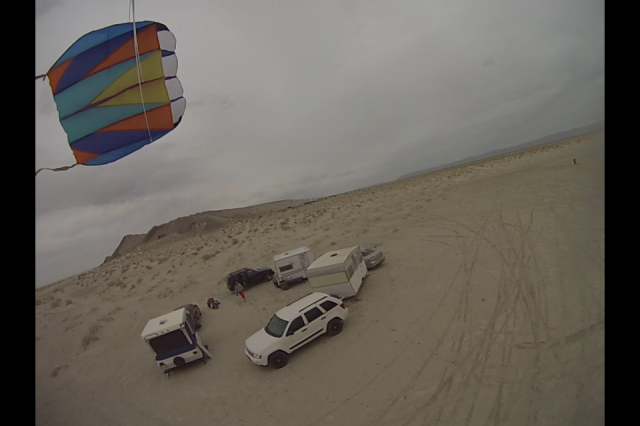
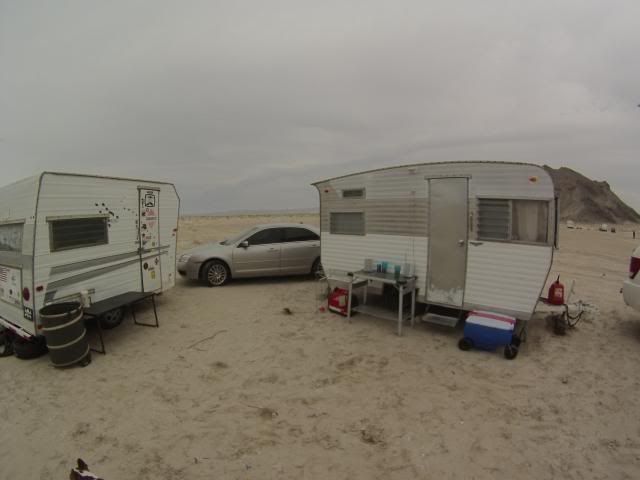
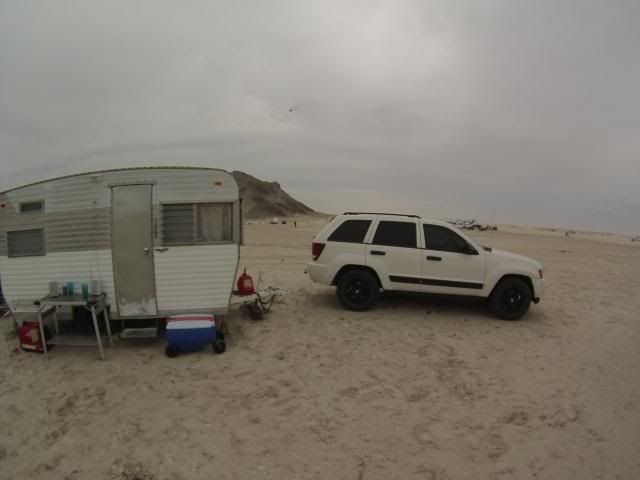
And here is a fun picture of our first camp trip out with the trailer to the west desert area of Utah. I had my Gopro hanging from a kite so it got a cool aerial shot of the campsite!

Image

And a couple others of it all setup. I put a hose port through the side of the trailer right where the stereo is on the inside so I can run speaker wire out to my outdoor speakers so we have music outside the trailer when were just hanging out around camp. The idea turned out great and we love having music outside! You can also see the porch light I installed that also has a LED bulb.

Image

Image

As you can see a new paint job is definitely in order! :lol:

Re: 1964 Catolac Deville restoration project

PostPosted: Fri May 23, 2014 2:41 am
by Irmo Atomics
Your camper turned out really nice and in record time! Great pictures, too. :applause:

Re: 1964 Catolac Deville restoration project

PostPosted: Tue May 27, 2014 2:47 pm
by SuperShady1
Robbie looking good Holmes.

We took out the Catolac for a test run this past weekend up at Mt, Diablo. Pictures wife took will be posted.
The trailer is so much roomier than our teardrop of course....but what makes the Catolac a great trailer are all the windows and the louvers. So much light and so much air.....

Plus it is tall inside especially the rear of the trailer with it Cardinal shape in the back not the rounded canned ham shape.

I like what you done with the interior of the trailer, but I disagree on the sink instead of the stove. We will also cook out side probably 90% of the time for the same reason as you stated. But the PO and taking out the original stove was a mistake I say.... 8)

I like the vintage vibe with the stove, ice box and vent all matching.

I am not a traditionalist like some I like giving the vibe of the time I guess.

I so glad you have a Catolac as you do not see many of them. would love to see one of the larger ones with the bathrooms.

all the best!!

Dave

PS: My wife went on and on about how luxurious the Catolac is the whole weekend....??? Maybe to keep me from selling it and going back to a TD!!

Re: 1964 Catolac Deville restoration project

PostPosted: Tue May 27, 2014 2:54 pm
by Robbie
Thanks Dave! I'm sure if the original stove was still there we would have left it for the vintage factor but the sink did prove to be extremely handy this weekend! It was mostly rainy so I set our little butane stove up on the counter and was able to was our dishes after without going out in the rain. Also handy for washing our hands and my sons hands as he's a pretty messy eater. But these trailers are very roomy! I don't think I will ever go back to a teardrop after owning this thing, and will probably own it for a long time.

Robbie

Re: 1964 Catolac Deville restoration project

PostPosted: Tue May 27, 2014 3:04 pm
by SuperShady1
Hey Robbie how far are you away from Tahoe???

Two weeks from now going to TCT rally at Tall Pines (Grass Valley) then over to Tahoe for a week.

Thought I throw that out just incase.. :twisted: :twisted: 8) 8)

My wife kept calling it luxurious...she was just so happy...plus all the eye candy I added to it helps I think.

Oh I also had a new water tank put in and new hand pump.

This could be a keeper but I love playing with them.

Dave

Re: 1964 Catolac Deville restoration project

PostPosted: Tue May 27, 2014 9:32 pm
by PKCSPT
It looks really nice on the inside.

Re: 1964 Catolac Deville restoration project

PostPosted: Fri Jun 13, 2014 8:00 pm
by rebapuck
Really nice job. I am envious of the sink. The sink in my old Puck was so small as to be worthless. But it did have the cutest teeny tiny rubber plug.

Re: 1964 Catolac Deville restoration project

PostPosted: Wed Aug 20, 2014 5:02 pm
by Robbie
Thanks everyone for the kind words! We've had this thing out a few times now and we love it! It is perfect for our family in every way! I'm planning right now to either pick up a window A/C unit to mount on the tongue and duct into the trailer with a small generator or get a 20w solar panel and charge controller so i can run our fan to keep cool because we will be out in the desert and the temps have been low to mid 90's lately. Eventually I will outfit the trailer with a solar panel and the A/C unit so we can camp anytime of the year. I found a small Camco Olympian 3,000 heater that I will mount to the closet and run a propane line from a tongue mounted propane tank under the floor and up to the heater. I figure we've got at least 2-3 years before we'll be needing another bed for another child.

I have some updated pictures of all the electrical improvements and my exterior speaker setup that I will post soon.

I'm going to pull off the tongue mounted hydraulic braking system this weekend and weld the tongue solid. The setup is very old and outdated and it rattles and slides back and forth. Since the hydraulic brake system doesn't work I'm gonna try to find a used axle with electric brakes to update everything.

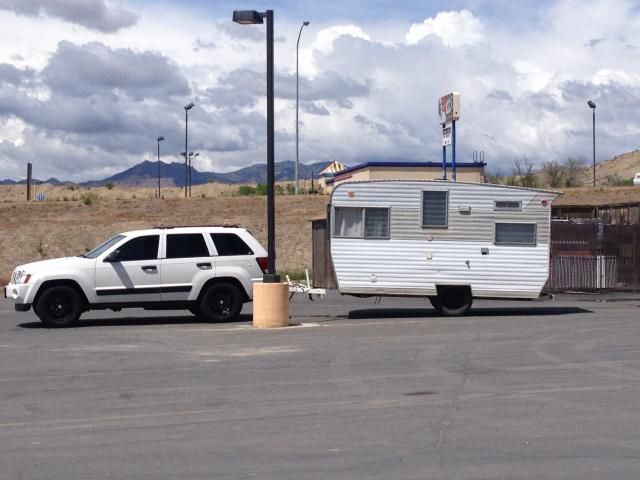
I also need a OEM 2" receiver on my wife's jeep so I can run my drop hitch so the trailer tows level. Right now it has the 1-1/4" receiver and they don't make drop units for that size. Here you can see how high the tongue rides when were towing.

Image

Robbie