Mini milestone tonight that really has me feeling pretty good about sweating the details.

To tell the truth, I have been a little concerned that I have been working too far ahead with the finish work and being over confident in how everything is going to fit together just by planning, measuring and trying to maintain accuracy.
However, after starting to do the complete dry fit of the inside rear cabinets, my confidence level has been boosted greatly! Follow along on today's efforts.
Before getting back to the cabinets I pulled the cargo straps off of The Briquette (to return them to Karl) and tested out the heat gun that we found in the tongue box. It was the only piece of plastic on the thing that survived the heat.
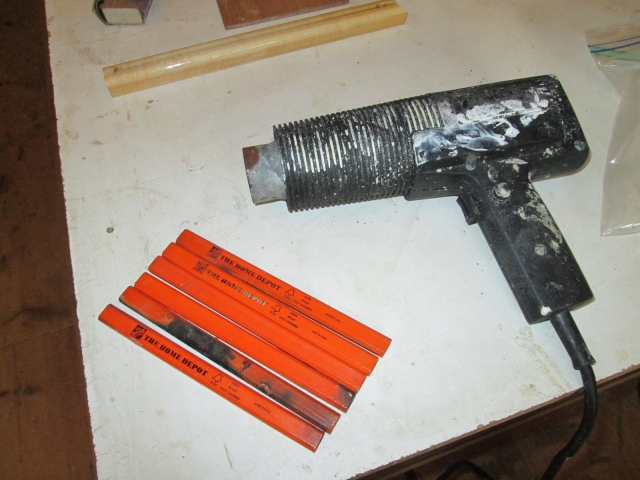
The carpentry pencils were a bonus. The heat gun works fine, although it is a little stinky, and a little scrub with some sandpaper took the charring off of worst of the pencils (thrifty).
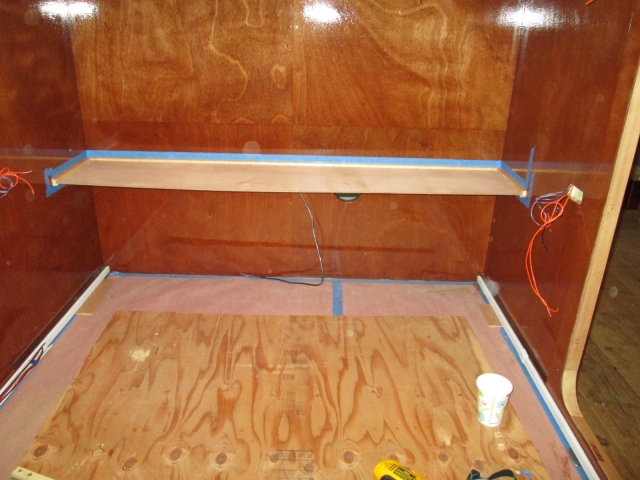
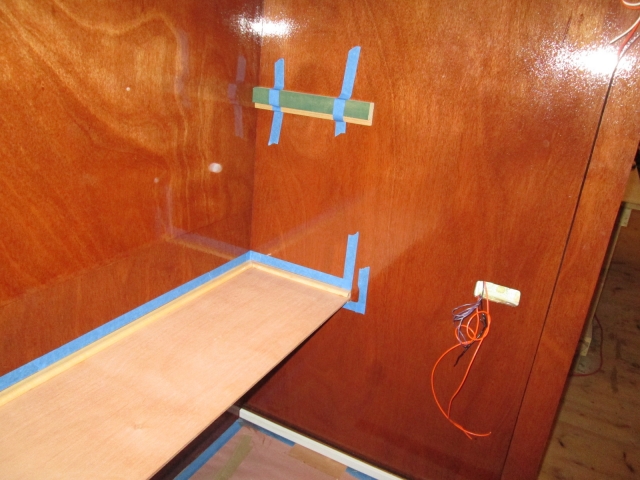
After finishing up fixing the cabinet side ledger copes on the router, I worked on dry fitting the lower rear cabinet bottom panel. I had to trim the panel length (side to side width) slightly to account for the previous change in design to using this side ledger style, but the width (front to back width) that was originally planned and specified to Rover Mike was spot on! Nice.
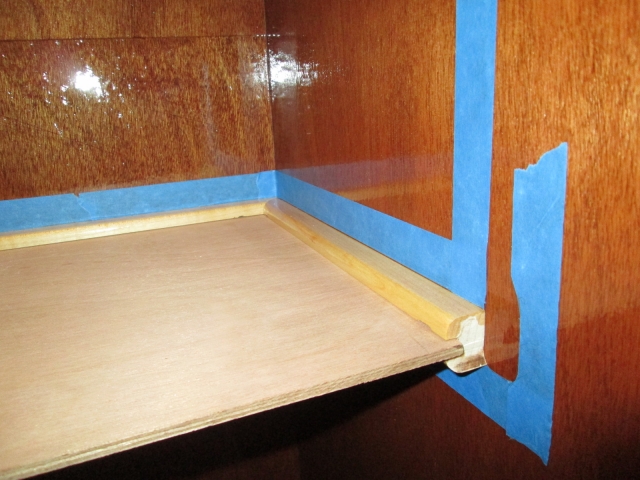
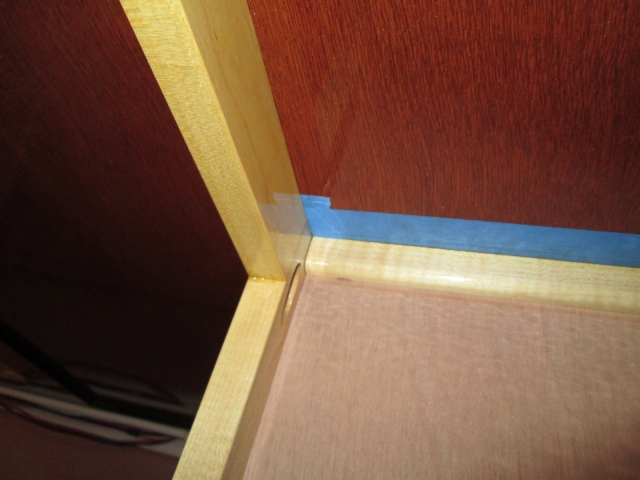
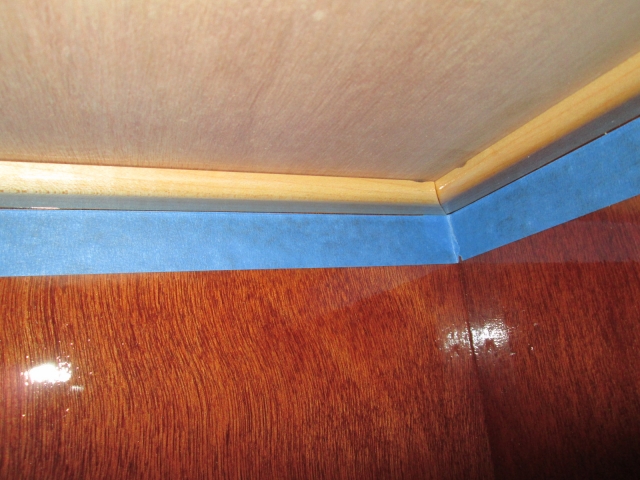
Street side close up.
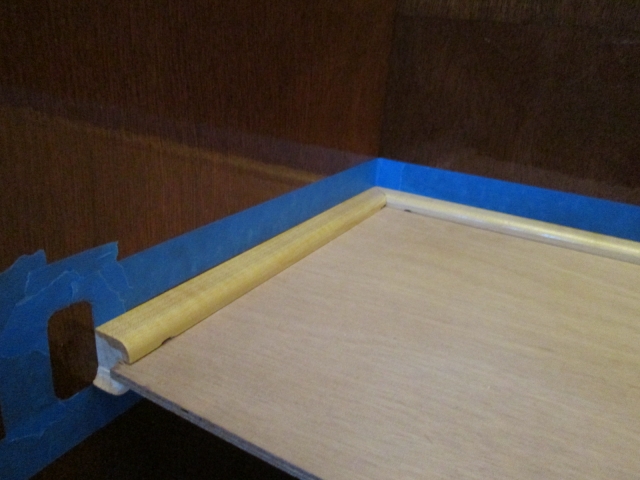
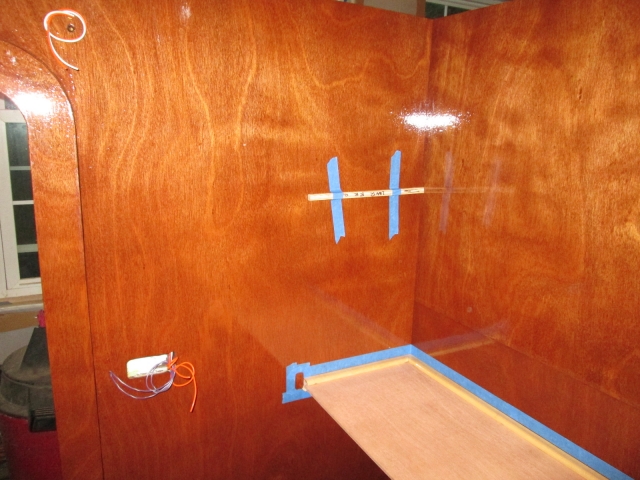
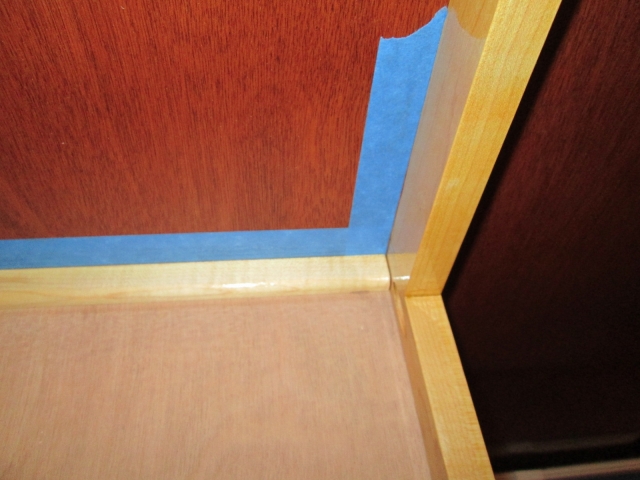
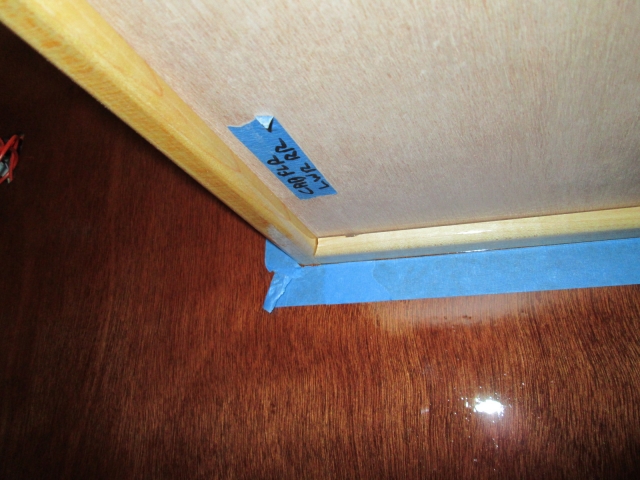
Curb side close up.
The panel is raw in these pic’s but will be stained in the red chestnut just like the walls and floor.
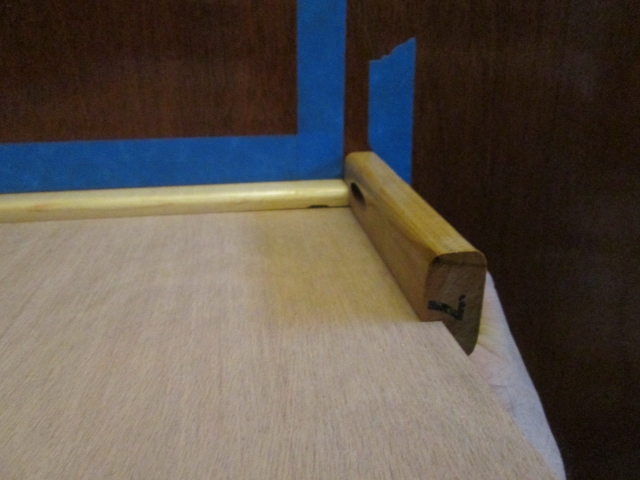
Here is another shot with the little test piece of scrap cabinet rail held up to check fit.
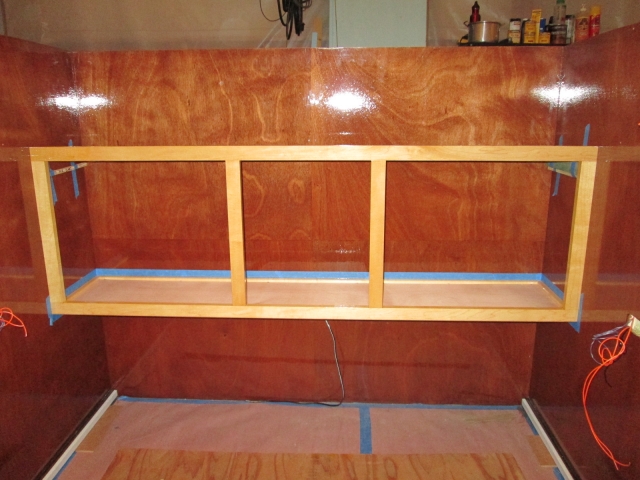
Next I cut and taped a couple of temporary stop blocks to help me position the top sides of the lower face frame accurately.
My happy moment.
And now too many detail shots showing pride in my work:
Behind the face frame on the curb side.
Behind the face frame on the street side.
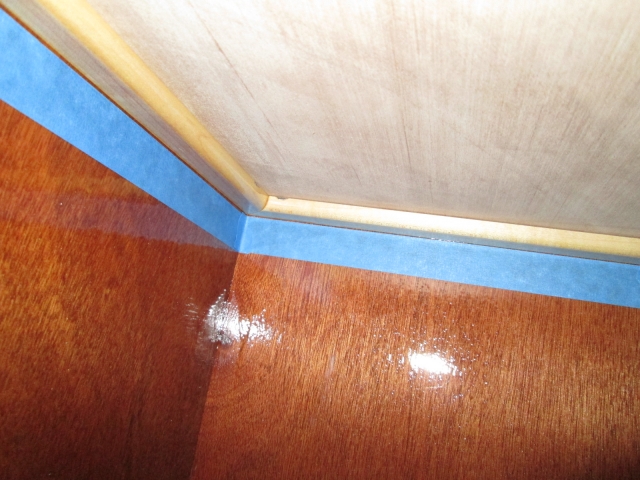
Underneath rear corner street side.
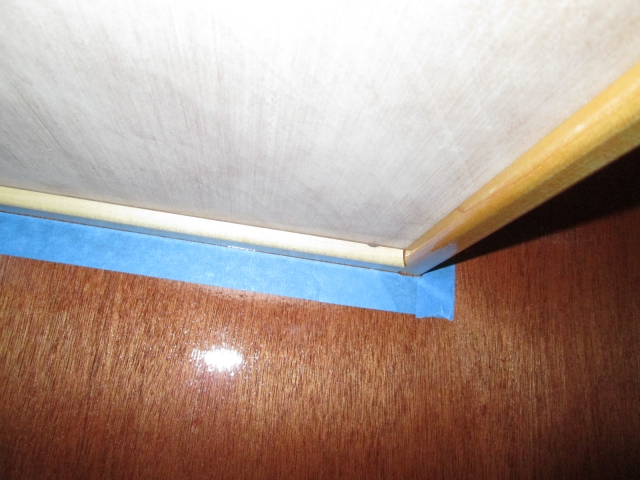
Underneath front street side.
Underneath rear curb side.
Underneath front curb side.
And another happy moment, fitting the upper cabinet face frame.
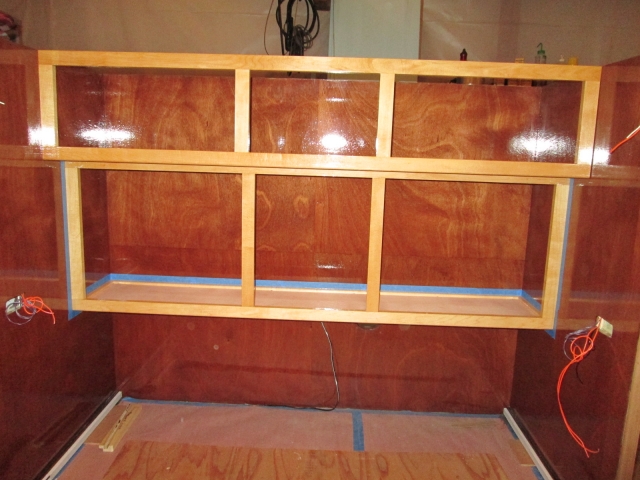

Oh, yes. I am very pleased with the color combination and contrast.
This shot of the street side looking at the back of the upper and lower face frames (on right) and the side ledger (on left) shows better how the dado in the side ledger allows the top of the lower face frame to come up to the bottom of the groove for the upper cabinet bottom panel (clear as mud?).
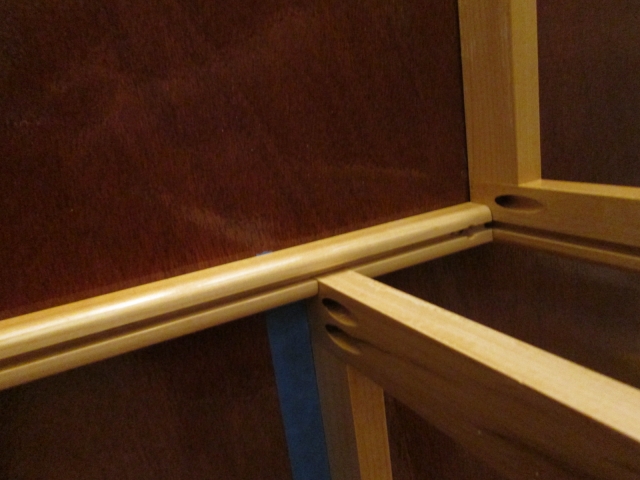
The dado in the curb side ledger needs to be opened up just a tad; it was a little too snug after the addition of the poly.
If Karl’s UT is available, the plan for tomorrow is to start ripping into the junk from The Briquette to get that headed to the dump on Saturday, so I will likely be covered with carbon soot for the next couple of days and will not be going anywhere near TPCE in that state, but I might sneak up there to drool some more!
I can’t begin to tell you how good it is feeling to have these cabinets coming together as planned!


 Gotta be careful with that. Don't want your goose cooked at work. That's what the camp ground is for.