10' Standie Foamie ... on hold

Canvas covered foamies (Thrifty Alternatives...)

Moderator: eaglesdare

Postby eaglesdare » Mon Jul 04, 2011 6:29 pm

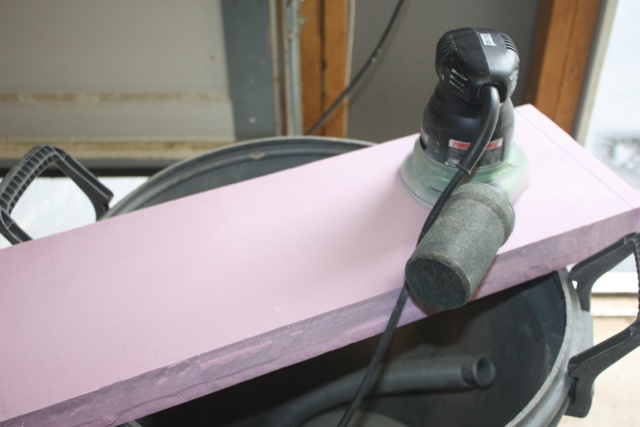
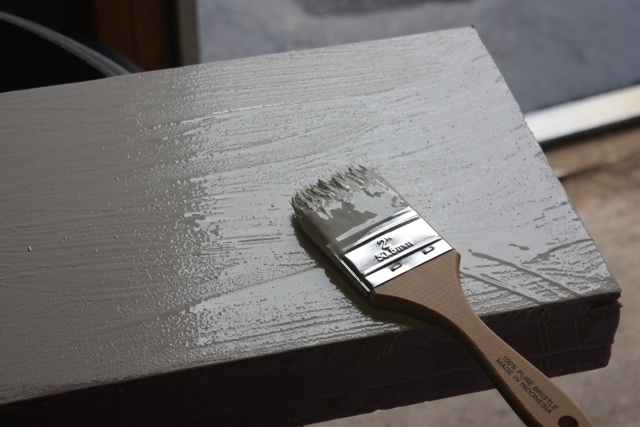
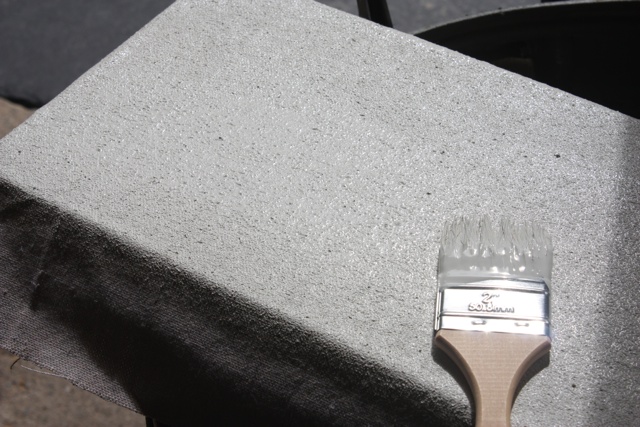
mikeschn wrote:Well, I ordered the canvas today. I went to rosebrand.com and got the 72" 7oz canvas in 72" wide. I ordered 40 yards of the stuff. That'll allow me to put on:

1 layer on each inside wall
2 layers on each outside wall
2 layers on the top
a separate piece to do the door

All for just a hair over $200.

I'm looking forward to changing the title on this thread from evil black goo to "Canvas finally"!!!

Mike...


oh yay! i'll be waiting on that update. make sure you have an extra set or two of hands. they will help with the pulling and tugging to get that nice tight fit.
Louella
May the foam be with you.
User avatar
eaglesdare
Donating Member
 
Posts: 3168
Images: 13
Joined: Tue Aug 26, 2008 7:06 pm

Postby GPW » Tue Jul 05, 2011 6:39 am

We found it's better to stretch and apply if the canvas is damp ... Just seems to stretch around curves better , and the glue seems to wick into the fibers quicker ... Spray bottle with water in it helps on those tricky areas...

40 yards , that sounds like a LOT of canvas... :o Any reason you need two layers on the outside .... Bears ???
There’s no place like Foam !
User avatar
GPW
Gold Donating Member
 
Posts: 14912
Images: 546
Joined: Thu Feb 09, 2006 7:58 pm
Location: New Orleans

Postby millstone » Tue Jul 05, 2011 4:02 pm

I am watching this build very carefully. I have planned to do a similar build in the fall.


1. In earlier pictures, it looked like you had one layer of canvas already on the sides. Was that a trial piece, or do you intend to use that panel in your build? Could you canvas your panels on the ground and "canvas tape" the joints?

2. Just to recap, You're using latex exterior gloss paint as your bonding agent?

I'm sure I'll have more questions as your build, and eventually, my build, progress. Thank you for sharing.

Mark G.
User avatar
millstone
Silver Donating Member
 
Posts: 74
Images: 0
Joined: Tue Jul 05, 2011 3:53 pm
Location: Georgia
Top

Postby mikeschn » Thu Jul 07, 2011 5:33 pm

The canvas arrived today... let me run out and grab a picture...

Mike...
The quality is remembered long after the price is forgotten, so build your teardrop with the best materials...
User avatar
mikeschn
Site Admin
 
Posts: 19202
Images: 479
Joined: Tue Apr 13, 2004 11:01 am
Location: MI
Top

Postby mikeschn » Thu Jul 07, 2011 5:49 pm

Here's what the roll of canvas looks like next to the wall. The plan is to cut 2" off the bottom of the wall, so that I can wrap at least 1/2" of canvas over the top edge, and 1/2" of canvas over the bottom edge.
Image


Here's the texture of the canvas. Similar to the stuff from Home Depot. But the Home Depot stuff is heavier and coarser.
Image

I think this RoseBrand canvas will work just fine! Plus there are no seams to deal with!!! :thumbsup:

Mike...
The quality is remembered long after the price is forgotten, so build your teardrop with the best materials...
User avatar
mikeschn
Site Admin
 
Posts: 19202
Images: 479
Joined: Tue Apr 13, 2004 11:01 am
Location: MI
Top

Postby mikeschn » Thu Jul 07, 2011 5:52 pm

Hi Mark,

Yes, I did glue up one side. But I didn't like the way the canvas had a seam, so I cut the seam out. Then I butted the ends up together, but when the canvas dried, it left a gap.

So I'll peel that off, and use the new canvas I just got.

And yes, in my testing I found that the adhesion of canvas to foam is better when using the exterior enamel. So that's what I'll be using.

Mike...

millstone wrote:I am watching this build very carefully. I have planned to do a similar build in the fall.


1. In earlier pictures, it looked like you had one layer of canvas already on the sides. Was that a trial piece, or do you intend to use that panel in your build? Could you canvas your panels on the ground and "canvas tape" the joints?

2. Just to recap, You're using latex exterior gloss paint as your bonding agent?

I'm sure I'll have more questions as your build, and eventually, my build, progress. Thank you for sharing.

Mark G.
The quality is remembered long after the price is forgotten, so build your teardrop with the best materials...
User avatar
mikeschn
Site Admin
 
Posts: 19202
Images: 479
Joined: Tue Apr 13, 2004 11:01 am
Location: MI
Top

Postby GPW » Thu Jul 07, 2011 6:05 pm

NICE looking canvas Mike !!! Should make a nice smooth finish !!! So you like the paint best .... Can't wait to try that ... :thumbsup:
There’s no place like Foam !
User avatar
GPW
Gold Donating Member
 
Posts: 14912
Images: 546
Joined: Thu Feb 09, 2006 7:58 pm
Location: New Orleans
Top

Postby Wolffarmer » Thu Jul 07, 2011 6:47 pm

Mike

Did you put a coat of paint on the foam first, then put the canvas down and then paint on that?

Randy
"these guys must be afraid of the dark"
User avatar
Wolffarmer
Donating Member
 
Posts: 4612
Images: 309
Joined: Wed May 02, 2007 1:32 pm
Location: Idaho Rupert
Top

Postby mikeschn » Thu Jul 07, 2011 7:03 pm

Wolffarmer wrote:Mike

Did you put a coat of paint on the foam first, then put the canvas down and then paint on that?

Randy


Yep, that's exactly what I did.

Mike
mikeschn wrote:Okay, I went out and did another sample... I realized that I really like the adhesion of the exterior latex enamel on wood, but I never tried it on canvas...

So here I am doing up a sample on canvas...

Image

Image

Image

Mike...
The quality is remembered long after the price is forgotten, so build your teardrop with the best materials...
User avatar
mikeschn
Site Admin
 
Posts: 19202
Images: 479
Joined: Tue Apr 13, 2004 11:01 am
Location: MI
Top

Postby Conedodger » Fri Jul 08, 2011 10:41 am

I feel another video coming on....
Conedodger
Teardrop Master
 
Posts: 129
Joined: Thu May 12, 2011 2:24 pm
Location: United Kingdom
Top

Postby mikeschn » Fri Jul 08, 2011 6:53 pm

Conedodger wrote:I feel another video coming on....


I don't. We've already done the paint on foam... I haven't tried anything new, although I wondered what would happen if I used that nasty black goo inbetween the foam and the canvas. :R

I've started planning what I am going to do tomorrow. I have to cut 2" off the bottom. And I am going to glue in a chunk into the wheel well, and cut a new opening. (Not only do I have my current wheel well in the wrong place, it's also the wrong size! :oops: )

Mike...

P.S. GPW would definitely approve. He made mention of exactly that in the huge thrifty foamie thread!
The quality is remembered long after the price is forgotten, so build your teardrop with the best materials...
User avatar
mikeschn
Site Admin
 
Posts: 19202
Images: 479
Joined: Tue Apr 13, 2004 11:01 am
Location: MI
Top

Postby mikeschn » Fri Jul 08, 2011 7:59 pm

here's the cut I am going to make to the bottom tomorrow...

The cardboard represents the radius I am going to put on the bottom.

Image

Mike...
The quality is remembered long after the price is forgotten, so build your teardrop with the best materials...
User avatar
mikeschn
Site Admin
 
Posts: 19202
Images: 479
Joined: Tue Apr 13, 2004 11:01 am
Location: MI
Top

Postby GPW » Sat Jul 09, 2011 6:43 am

Can't wait to see this one ... the Evolution of all this testing ... :thumbsup: 8) 8) 8)
There’s no place like Foam !
User avatar
GPW
Gold Donating Member
 
Posts: 14912
Images: 546
Joined: Thu Feb 09, 2006 7:58 pm
Location: New Orleans
Top

Postby mikeschn » Sat Jul 09, 2011 11:15 am

Okay, here the foam modification...

Here's the picture of the patch glued in. As soon as I took the picture, I put duct tape on the seam to keep the glue under control...
Image

Here I've notched out the wall enough so I can see the hub of the axle. I then took a homemade compass and struck a radius from the hub.
Image

And here I've cut two inches off the bottom, and also cut out the new wheel well...
Image

Patching works! :thumbsup:

Mike...
Last edited by mikeschn on Sat Jul 09, 2011 11:33 am, edited 1 time in total.
The quality is remembered long after the price is forgotten, so build your teardrop with the best materials...
User avatar
mikeschn
Site Admin
 
Posts: 19202
Images: 479
Joined: Tue Apr 13, 2004 11:01 am
Location: MI
Top

Postby GPW » Sat Jul 09, 2011 11:22 am

Foam being a homogeneous material , it's so easy to "Cut and Paste " ... repairs work like that too .... if needed ... :thumbsup:
Looking COOL Mike !!! 8)
There’s no place like Foam !
User avatar
GPW
Gold Donating Member
 
Posts: 14912
Images: 546
Joined: Thu Feb 09, 2006 7:58 pm
Location: New Orleans
Top

PreviousNext

Return to Foamies

Who is online

Users browsing this forum: No registered users and 7 guests