Great day at work today! Figured out the problem with the blister packager. The roller follower crank arm for the cam switch that cycles the blister feed vacuum and blow off solenoids had slipped on the switch shaft and was not making the switch contact even though the roller was following the cam. I am so relieved and all parties were very excited (including me!) that I had figured it out.
With that behind me I managed to get out of there at a reasonable hour and got some more work done on the camper (about 2-1/2 more hrs).
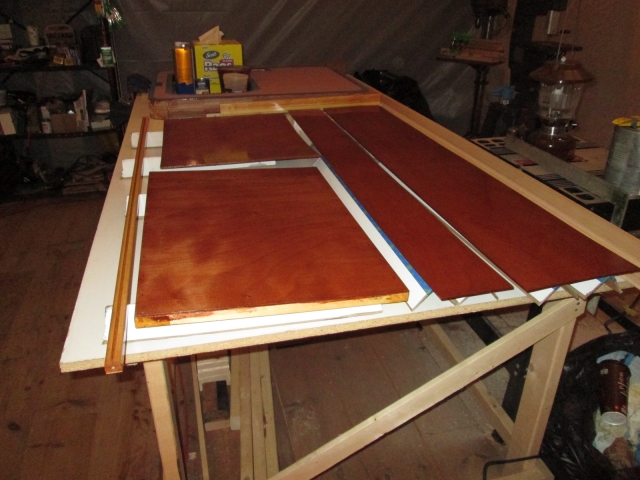
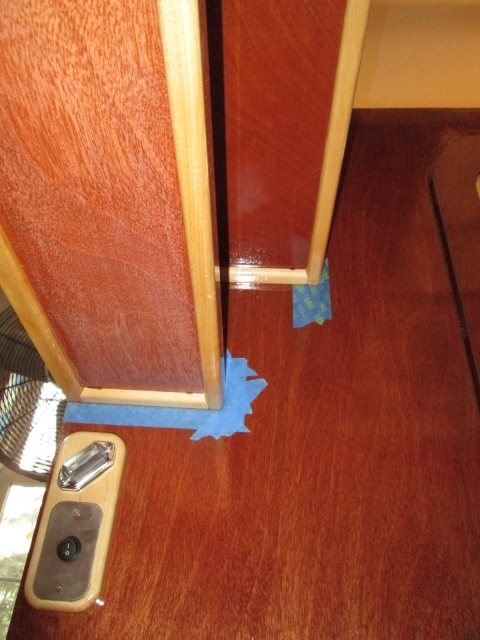
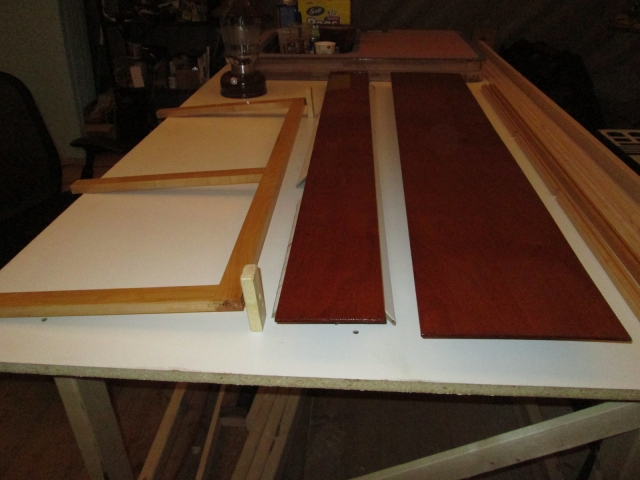
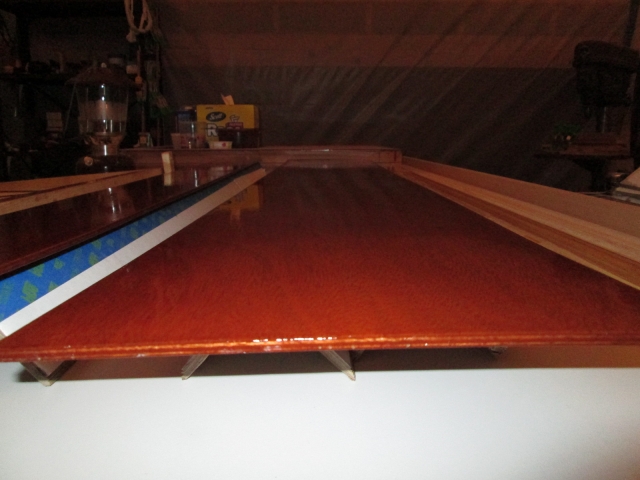
Here are a couple of pics from the other night’s round of poly. From left to right; key catcher shelf ledger, under galley counter divider (with support frame), under counter divider closer panel, under counter support strut (pine across the top), under counter divider closer panel filler strip (mostly hidden behind support strut), key catcher shelf panel and front cabinet floor panel.
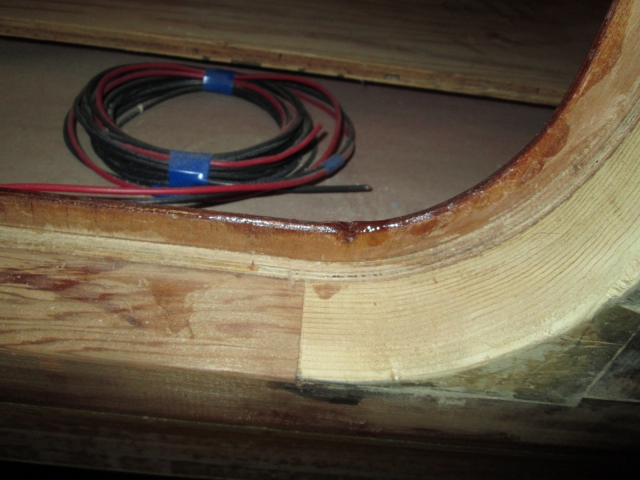
Close up of under counter divider. I’ll fill the staple holes with colored putty once I get some more warm weather and my putty stick softens up.
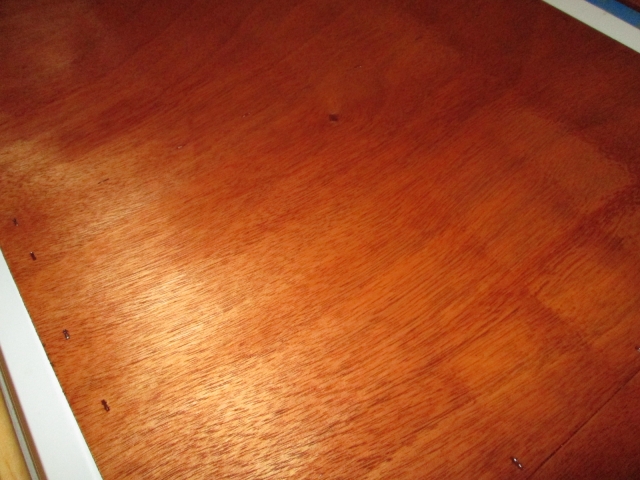
You can’t see it in this pic, but just before I went to leave for the night I noticed that a good size puddle had sagged down into the middle of this end of the panel due to the slight cupped shape. I brushed the excess off with a paper shop rag and hoped that it was still fluid enough to flow out (and not get loaded up with paper lint!). The narrow key catcher shelf panel had a similar smaller puddle, but I just left that one to see if it would evaporate off (I had thinned the poly by about half).
So tonight when I got there that was the first thing I looked at. It wasn’t nearly as bad as I had thought it would be. The key catcher panel looked great, but the cabinet floor had a not so little streaky swath. I wished that I had left it alone!
Anyway, tonight I went thru all of those parts, scrapped the edges for buildup and any drips, and sanded the other sides of the panels with 220 grit, then 320 grit to scuff for a second coat. The front cabinet shelf will need one more round on the other side to address the streak.
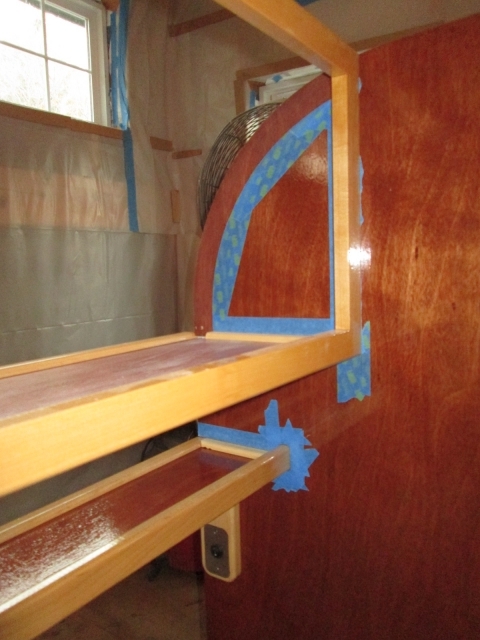
Before I laid the next coat down I couldn’t resist doing another dry fit of the front with both panels and the ledgers (but not the riblets). Happy with this I took a bunch of pics to share with you all.
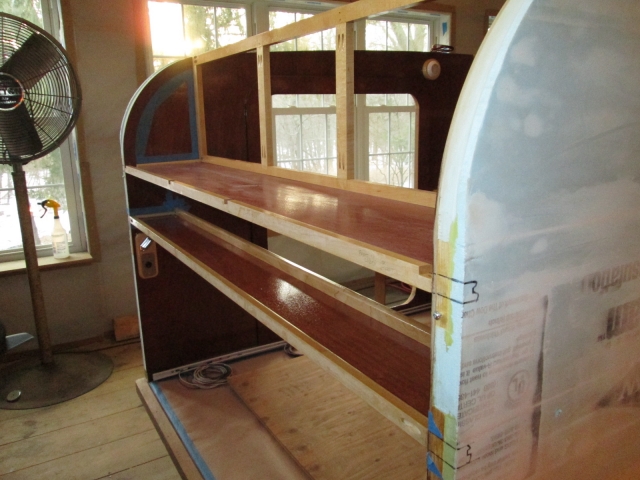
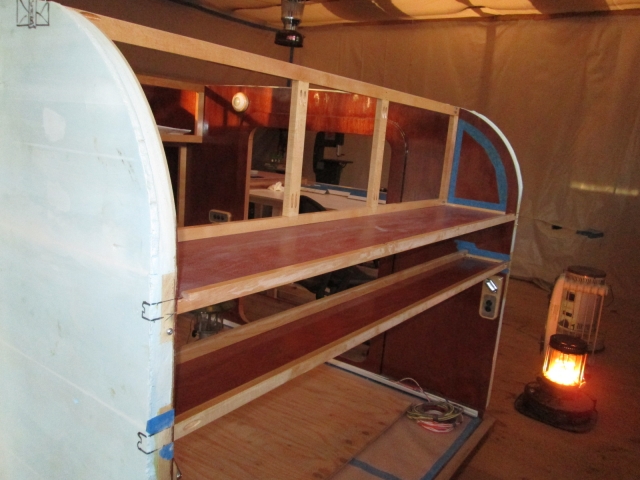
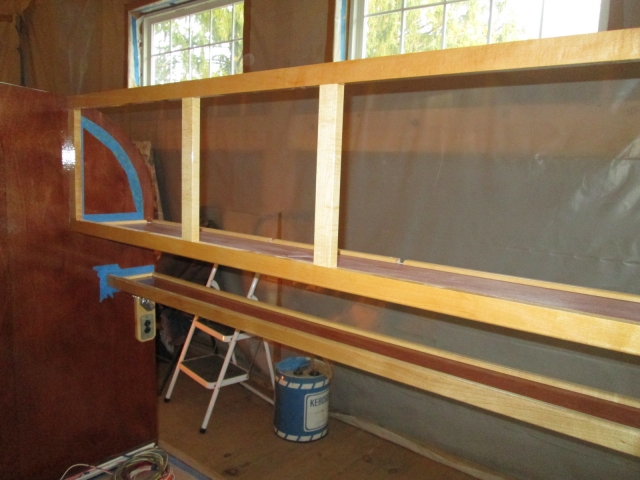
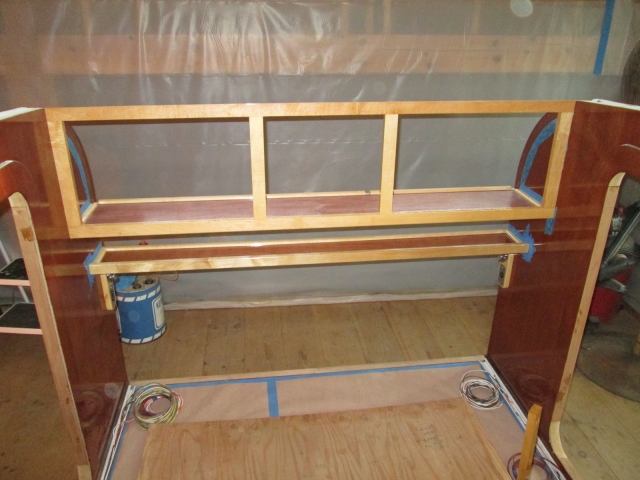
Pillow’s eye view of curb side.
Pillow’s eye view of street side.
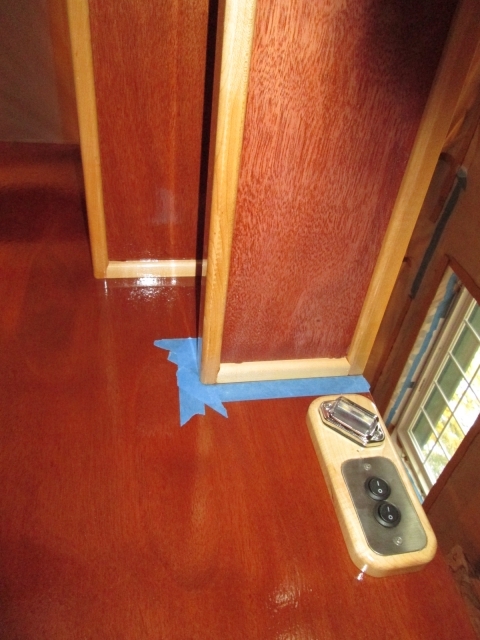
Street side from the curb side door.
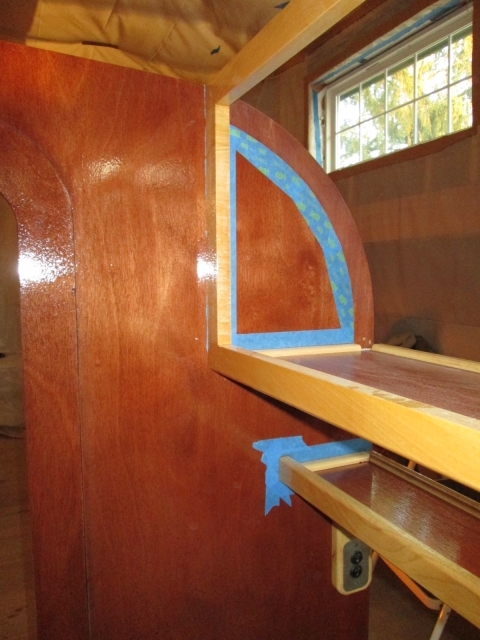
Curb side from the street side door.
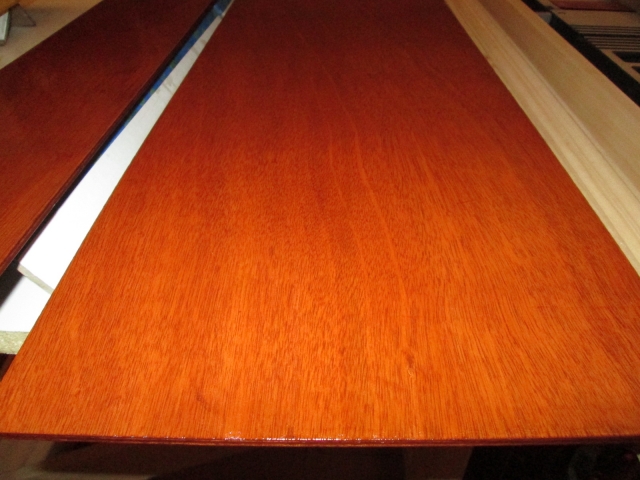
Satisfied, I laid down some sweet coats of poly. It’s a whole lot easier to get a slick coat after knocking the first heavy coat down to 320 grit. That and I made sure to just dip the tip of the brush into the pot and dab off the brush after each reload.
I also used the little modeling brush to touch up that little dry brush spot that had been bothering me on the galley under counter face frame.
Slick!
And finally, before cleaning the brushes, I remembered to touch up that little spot on the curb side door seal frame that got damaged when I dropped the clamp block on it.
So it’s an early start tomorrow. I really wish I had these panels done for tomorrow. I would love to be able to put them together for good with the riblets and all. I might have to start fitting the galley together while I wait for poly to dry.
Sunday will be another 1/2 day at work, so I don’t know if I will be up for more. We’ll see if I have any steam left in me.


 No mattress tag inspectors.


 ... ( I know , we said that a month ago
  )
)  I've got the card picker working good, and the ejector, but no blisters. Once I get that sorted out, I can fire up the heater press and see about getting it to seal 'em up.

