Yesterday (Saturday) I didn’t get out to Mecca until noon or so, but still put about 5 hrs in. I scrapped down the excess glue from the front wall toe kick spar glue-up and did another test fit on the front edge of the camper floor using a couple of scraps of 5 mm to shim it out from the front ends of the side walls the correct amount.
Trimmed the spar to length.

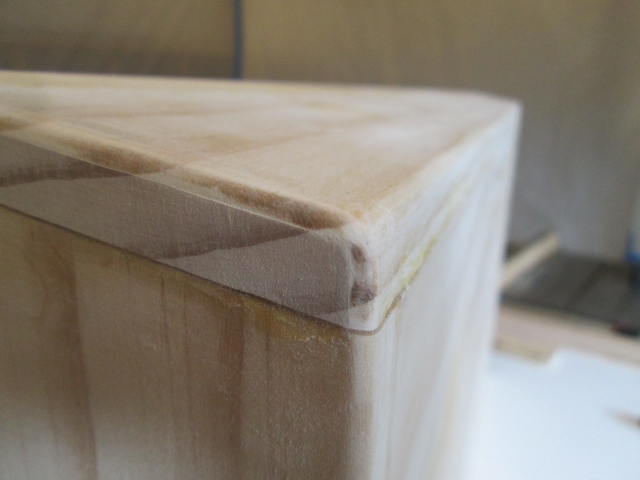
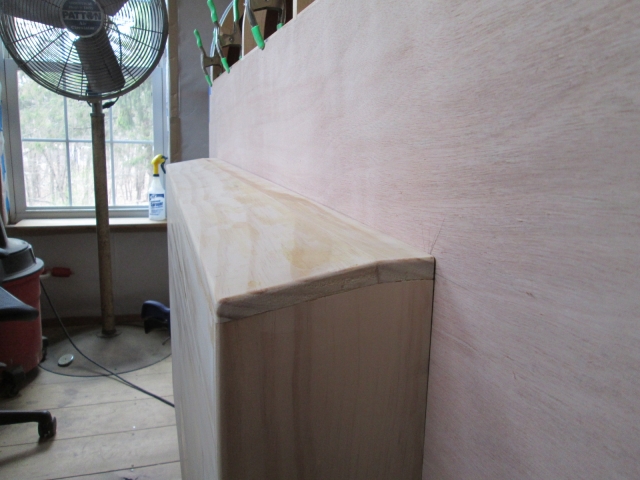
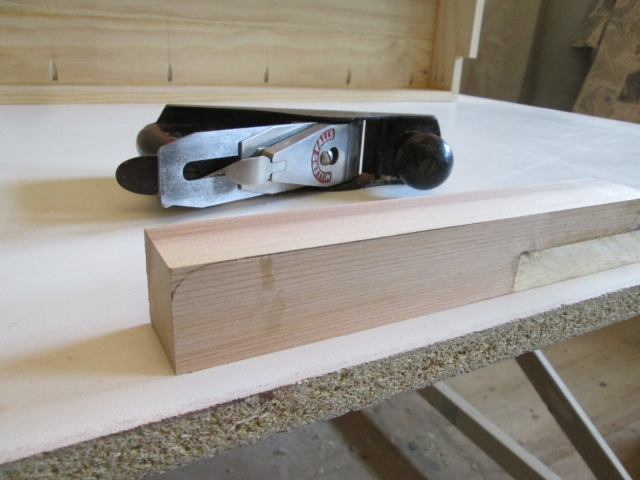
Switched back to the locker and rounded the outside edges over using the 1/8 inch round over bearing bit in the router.

The front edge is sloped so the cutter wouldn’t follow it properly, so I did this edge by hand using a combination of the matchbox plane and hand sanding block.
I confirmed that the location of the butt seam between the front wall inner skin and the first ceiling panel (where it lands on the ledger for the front cabinet) matched the plan dimension, but with the redesign of the locker and tongue box, for some reason the pre-cut panel was larger. When I looked at the plan just yesterday I thought this was because the inner skin was going to extend down and cover the back of the locker well, but I can’t reconcile that in my mind as I write this. The inner skin was always planned to land on top of the floor and the amount I needed to trim off would not have been large enough to use underneath. No matter. I needed to rip the skin down a little. I still haven’t taken the time to build the extended table on the saw and with the thin ply unsupported it wanted to droop down under the rip fence. My first reaction was that I needed to stop and build the table extension, but then I stopped and said to myself, “self, there might be an easier and quicker way”. Cut an inch or two off of one of the scraps left over from building the work table and clamp it under the rip fence.
This made a shelf under the fence that supported the edge of the ply from drooping down.
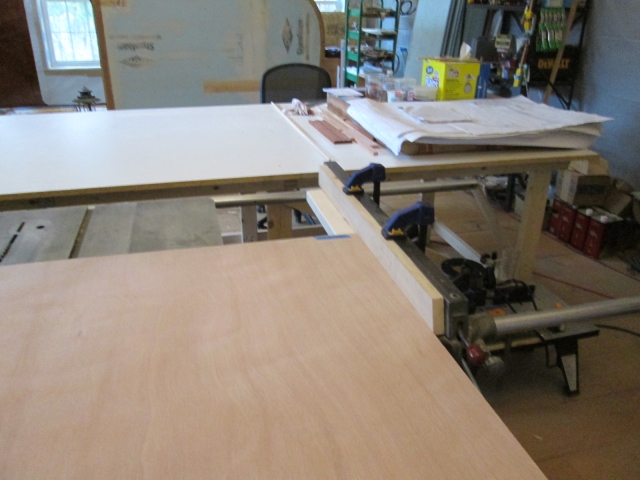
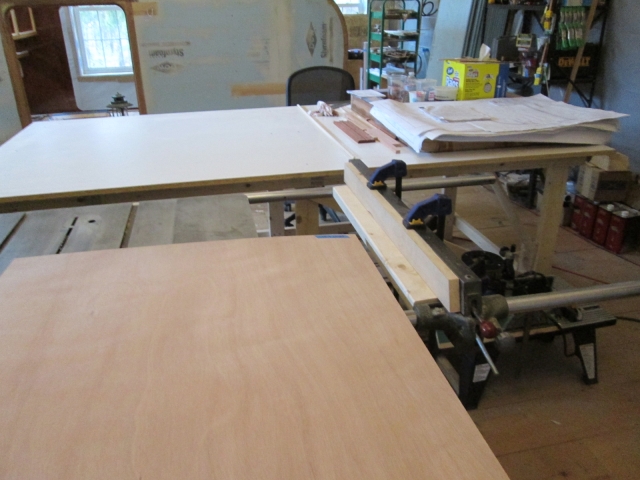
Here you can see how the panel would have drooped without the extra piece.
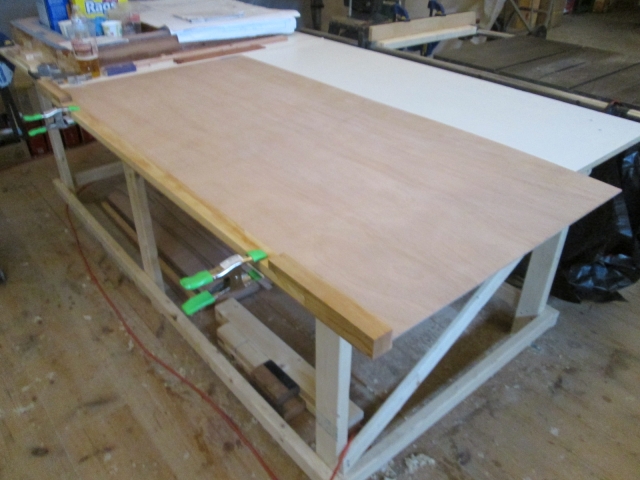
Not too obvious here, but I have clamped the bottom of the front skin and toe kick flush together on the bench.
Next I laid out pencil lines where I thought the cutout needed to be. Then I put the locker on top and aligned it to the center by reaching under and making sure the sides of the notch in the toe kick were flush to the inside of the locker on both sides.
Then I used the tip of the compass to reach in under the rabbet around the locker opening and scribed for the cut out.
The scribe marks and pencil marks did not match so I made numerous measurements again and again trying to find the disparity. The spar was centered on the panel and the layout matched the size of the locker and the math, but the scribe line was closer to being symmetrical. I figured if I cut the smaller opening I could always open it up more, whereas if I cut the bigger mark there would be no putting it back.
I used a piece of pine as a cutting guide, measuring and physically checking against the saw several times before plunging thru and making the first end cut.
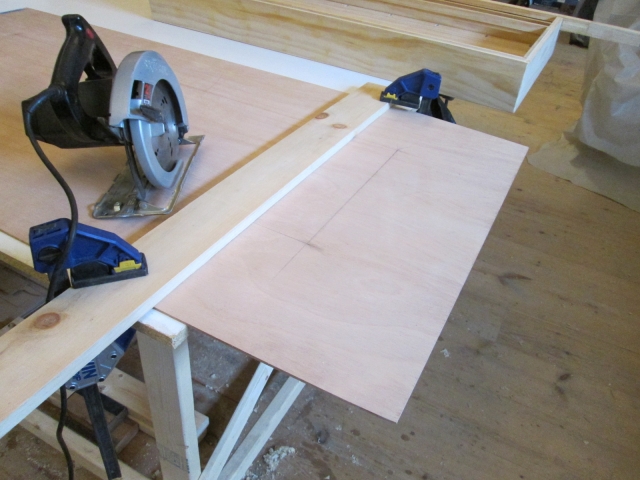
Even with all of the checks and guide I still managed to part the line towards the end of the cut, so for the next adjacent long cut I got brave and decided to free hand it. It seemed to go even better just cutting slowly and watching the leading edge of the blade following the line.
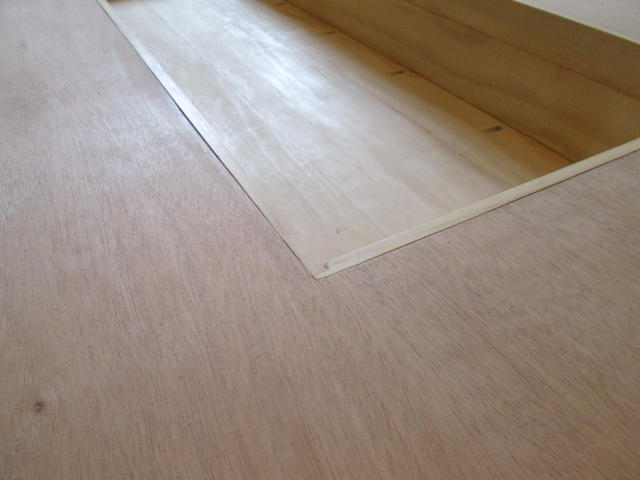
At this point I decided to see how I was doing. I used the utility knife to complete the corner cut and laid the panel over the locker. The two sides of the cut allowed the center part of the panel to flex up and the outer “frame” part of the panel to drop down and align to the locker opening rabbet. It seemed that the cuts were wider than perpendicular and I got nervous that I had screwed up (and I don’t have any more big pieces of the ply). Slow down. Find another way to check your work while you can still do something to fix it.
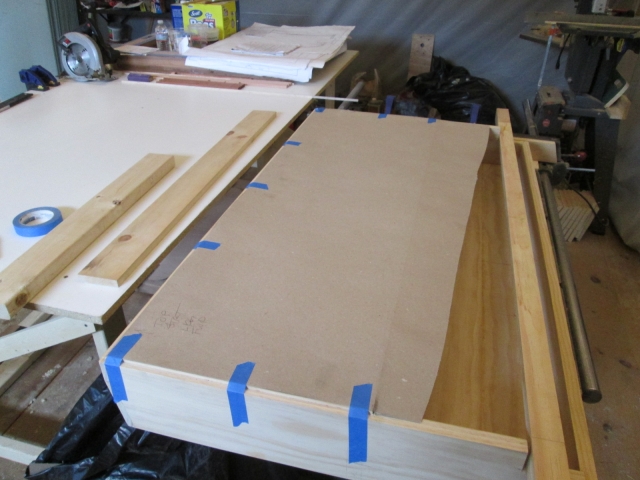
I looked around and found some heavy paper stock that I could use to make a template of the locker opening. I taped it onto the locker and did a rubbing to find the hard edges of the rabbets.
Once I laid the panel flat again and laid the template over the top, I found that I wasn’t very far off at all. The edge I thought was off was pretty well on and the side where the scribe didn’t match the pencil layout kind of split the difference. I decided to sleep on this and went home to watch the drags.
Sunday I got going a bunch earlier and got a full 8 hrs in. I finished the cuts on the front wall skins and got it fitting half way decent.
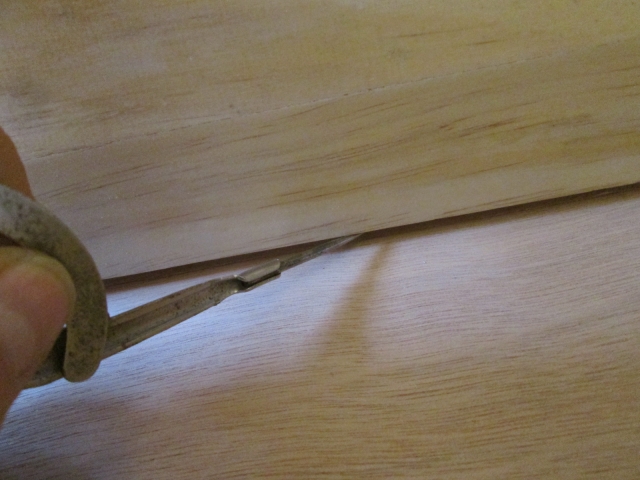
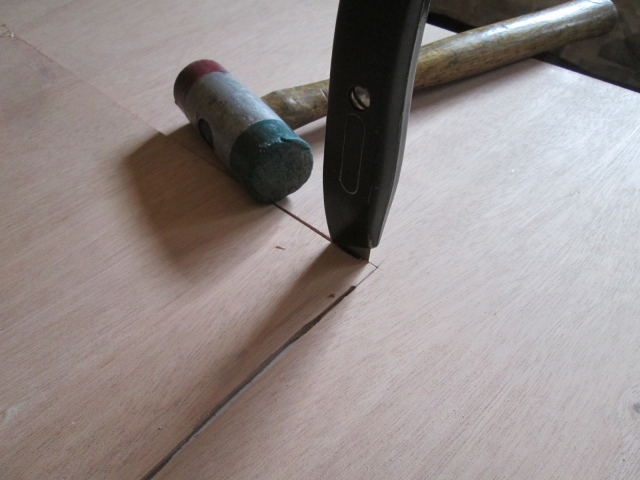
To complete the plunge cuts at the corners was a three step process. First I would extend the cut line on the good face using a straight edge and pencil. Then I would score the pencil line with the utility knife. And finally I would use the utility knife as a chisel and tap it along the score to complete the cut.
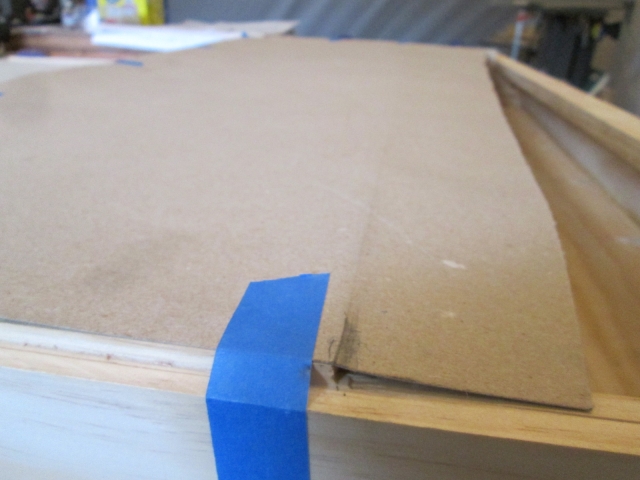
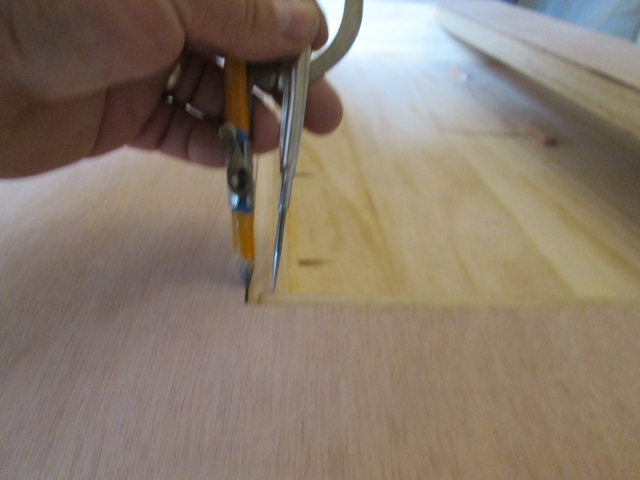
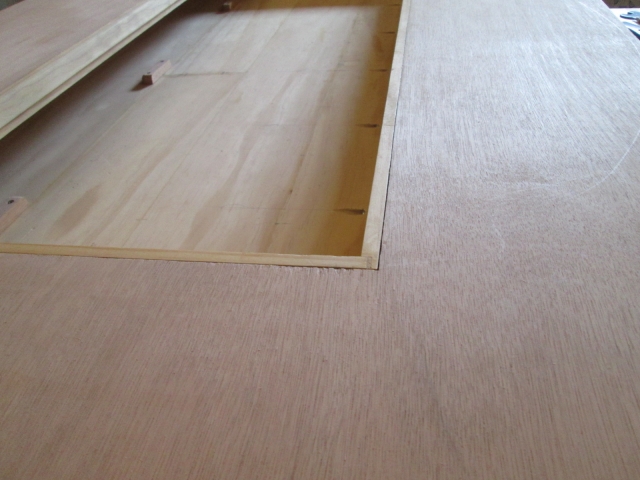
By laying the panel over the locker and getting parts of the cuts to line up at least partially, I was able to use the compass to gauge off of the inside of the opening and trace where I would need to fine tune the panel to fit better. (Sorry for the blurry pic.)
In hindsight I should have made the first cuts undersize and used this technique to make the final fit even better, just sanding up to the lines and taking blade wander out of the equation.
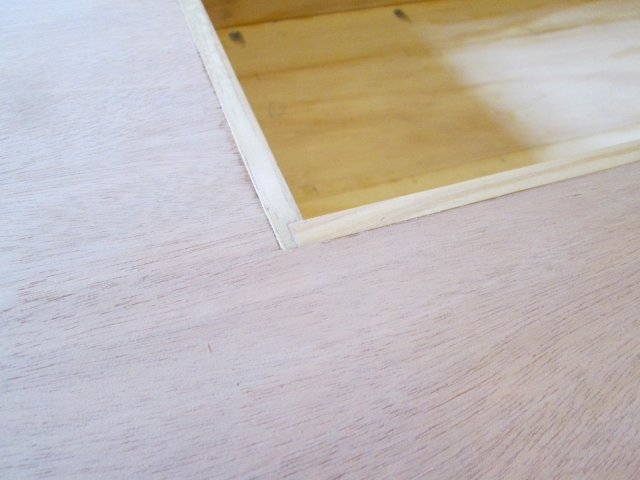
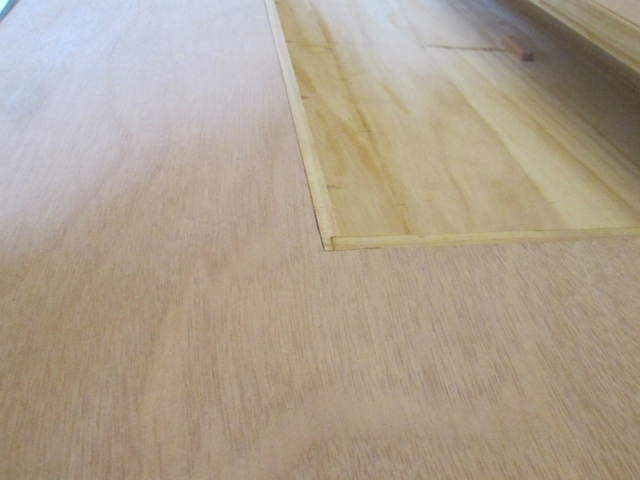
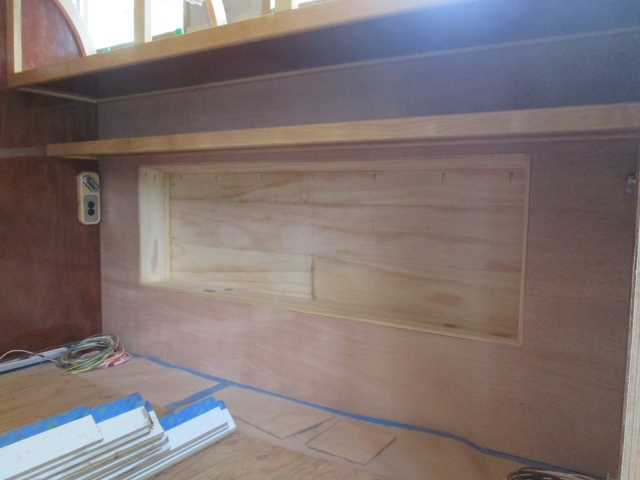
Still I was able to get it pretty good most everywhere. Where there are some slight gaps they aren’t too bad and I should be able to make them disappear with a little putty and dark trim paint around the locker opening.
Lower left.
Lower right.
Upper right.
Upper left.
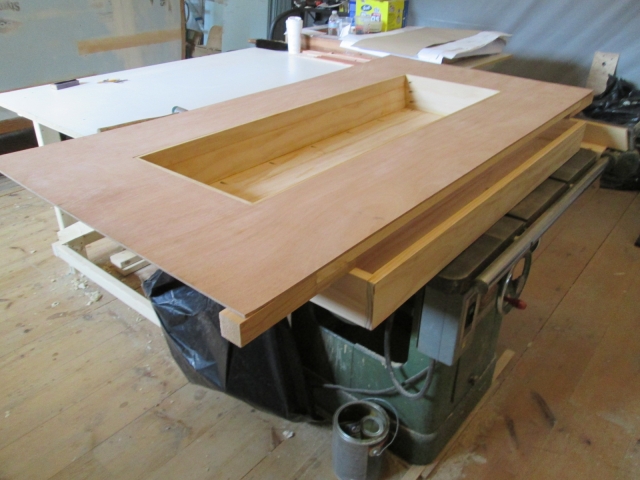
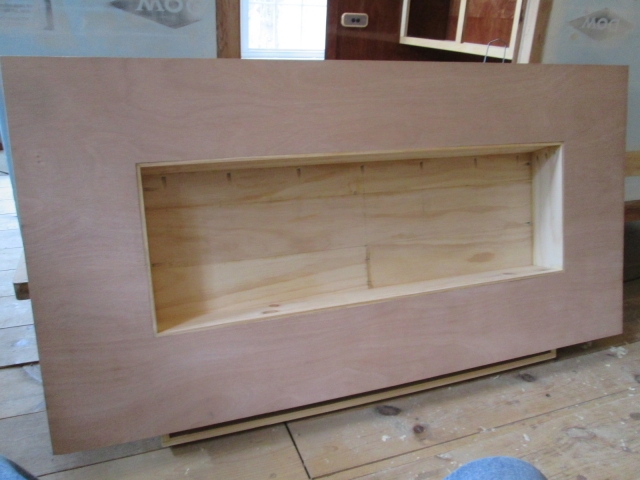
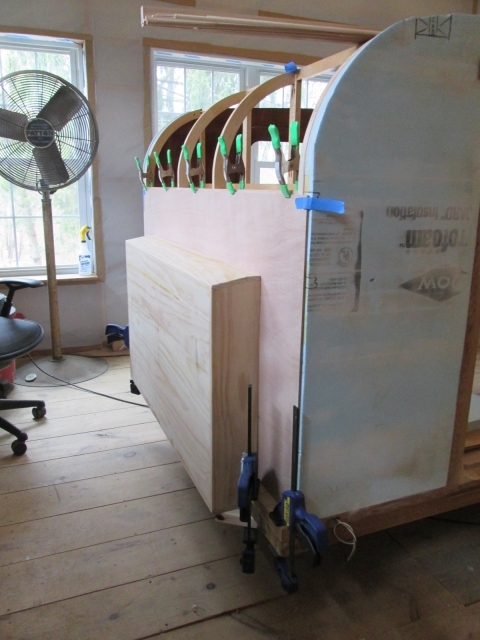
Here it is standing up against the side of the cabin.
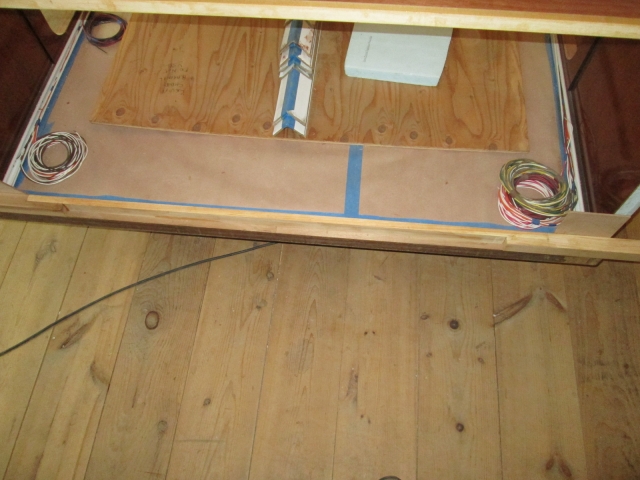
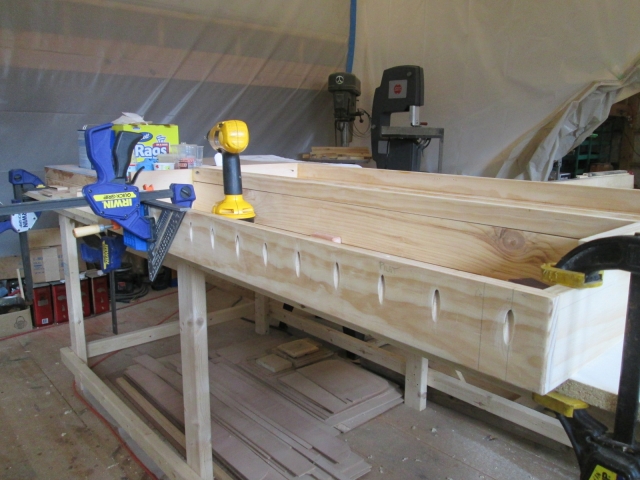
Here I am starting to do a dry fit of the whole assembly on the front of the cabin. The panel is clamped to the cabinet ledger and the toe kick spar is clamped to the floor.

Here I have clamped some temporary perch blocks under the floor to support the bottom of the locker while fitting.
Curb side.

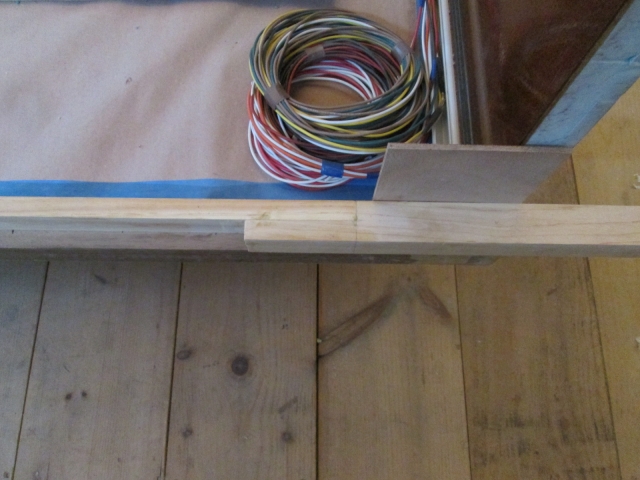
Street side fit at floor.
Looking along top of locker from the street side.
Inside.

So I was pretty happy with this little mini milestone, even if it was just dry fitting. After studying things for a while, I more or less decided that this whole thing needs to be assembled and installed as a unit. Then the two remaining ceiling panels can be installed as a separate assembly.
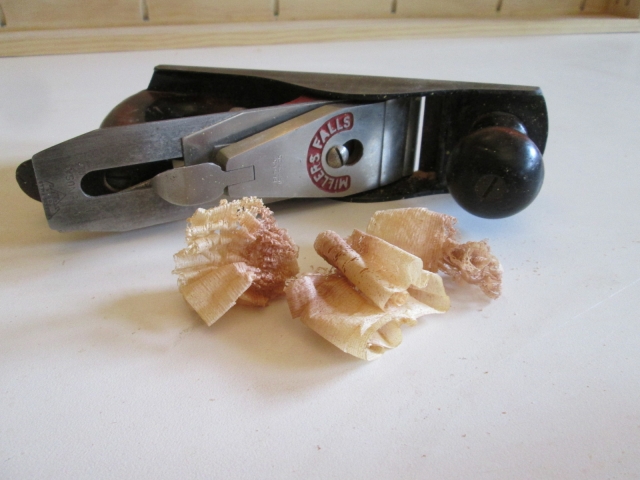
The sides of the toe kick weren’t quite fair to the front of the floor by about the thickness of a pencil line, so I shaved and sanded them until they were. The Millers Falls No. 8 plane could take a tissue paper thin ribbon of wood.
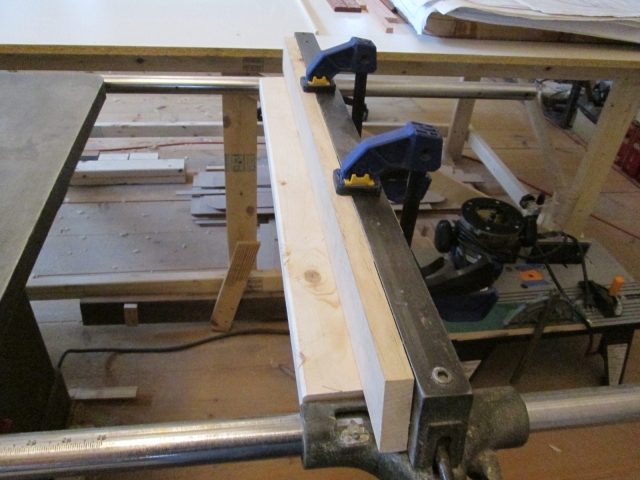
Other than the panel and wall foam the only hard point that the locker will attach to will be the front edge of the floor, so I wanted a good solid connection there. This row of pocket screws in the underside of the locker will run into the front face of the perimeter frame of the floor; a cedar 2x2.
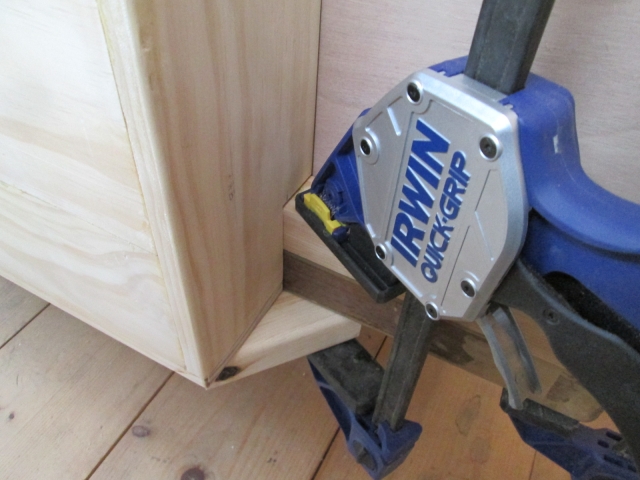
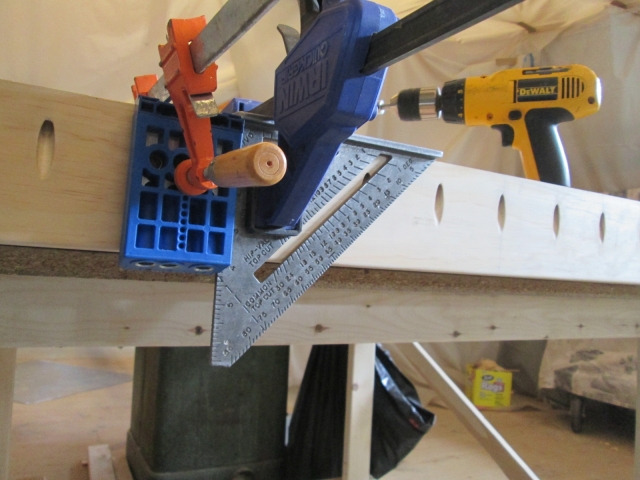
To help hold the Kregg jig in position while drilling, I clamped the quick square next to it for each hole. There is a screw hole in the jig, or I could have used two clamps, but this worked well and there weren’t any extra screw holes to fill. With two clamps it would have blocked the chip chute on the jig.
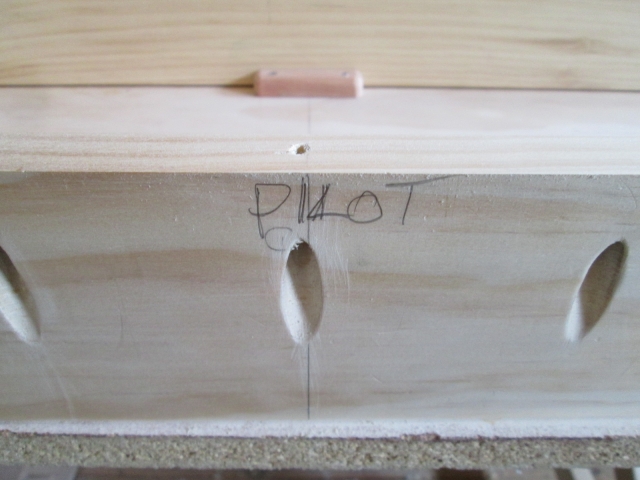
To make sure that the first couple of screws clamp the locker tightly to the floor I ran a pilot drill thru to complete what the Kregg drill didn’t, clearing the threads so they can’t bind. I also labelled these holes so that I know to shoot those screws first while I am lying down under the nose of the camper later.
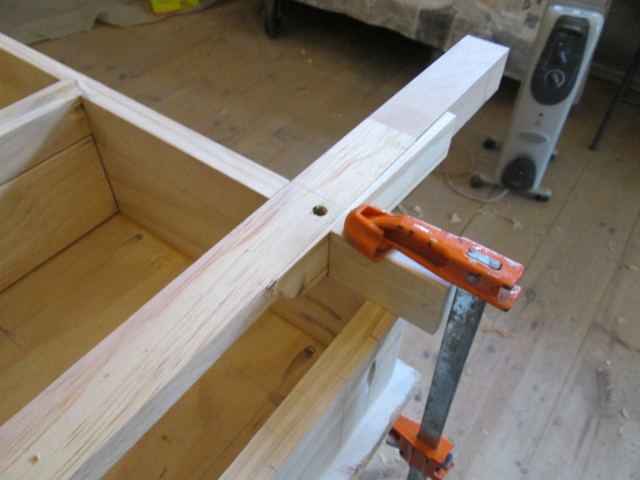
I used this clamp block and wedge technique to hold the toe kick spar into the notch of the locker while toeing a long deck screw down into the side, with the angle of the screws helping to hold the spar tight into the notch on each side (curb side shown).
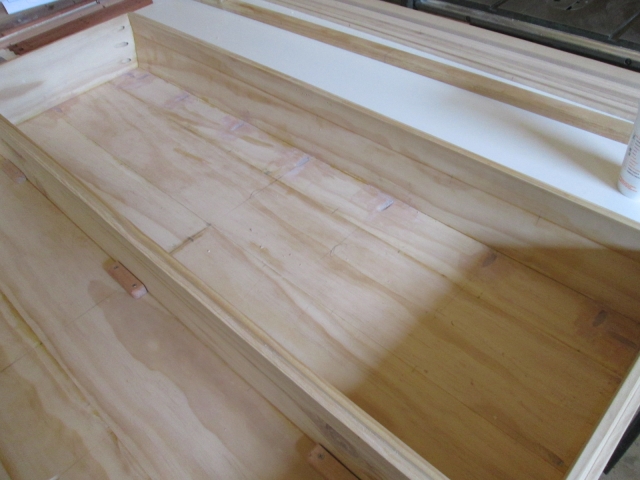
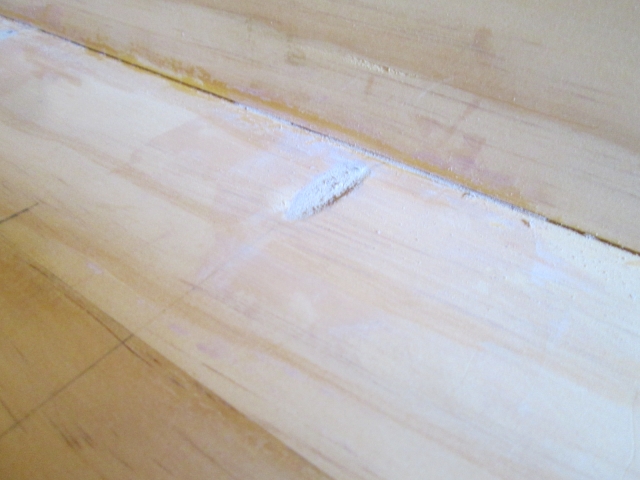
First round of filler for the pocket holes inside of the locker. Some of these will get covered in vinyl Naugahyde, and others will just get primer and paint.
I spent more time getting the locker divider to fit better, as it seems as though something had shrunk or swollen and it was fitting too tightly again. So I ripped a 5 degree angle most of the way up the “back” edge (a back bevel to add clearance while not effecting the fit), and planed the rest until she dropped in easily again.
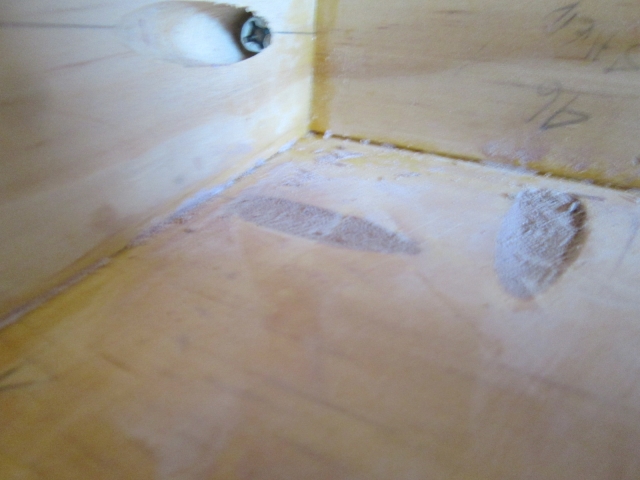
At some point I accidently dropped the divider down into the well and it wedged itself in there pretty good. Even though I was able to cheat and reach under to push it up and out, once the locker is attached to the inner skin panel I will no longer have that luxury. Here is a recreation of the divider wedged into the bottom of the well.
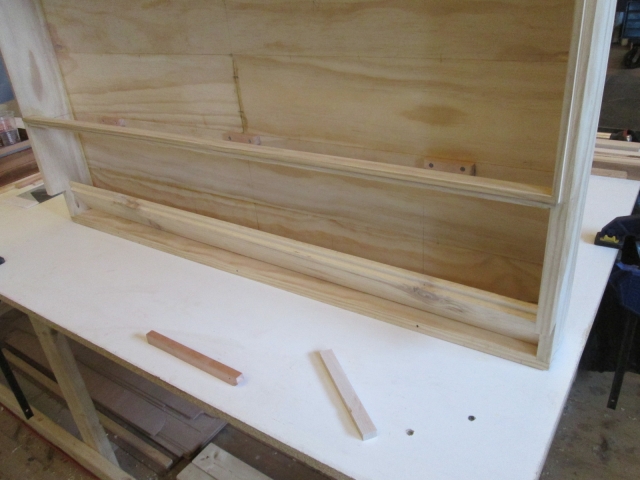
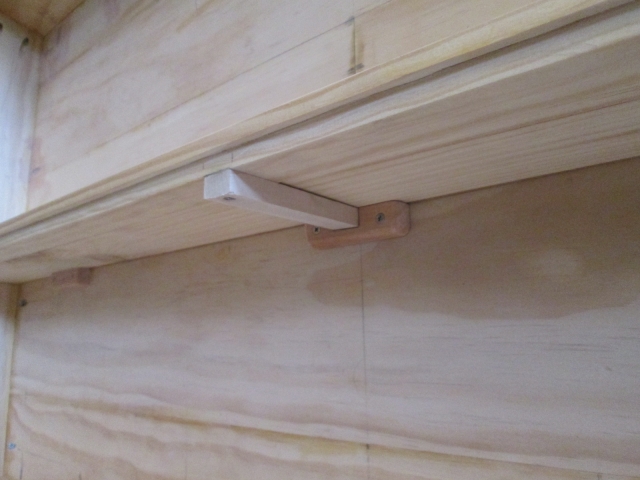
The solution was to add a center bar that would prevent the divider from falling into the hole.
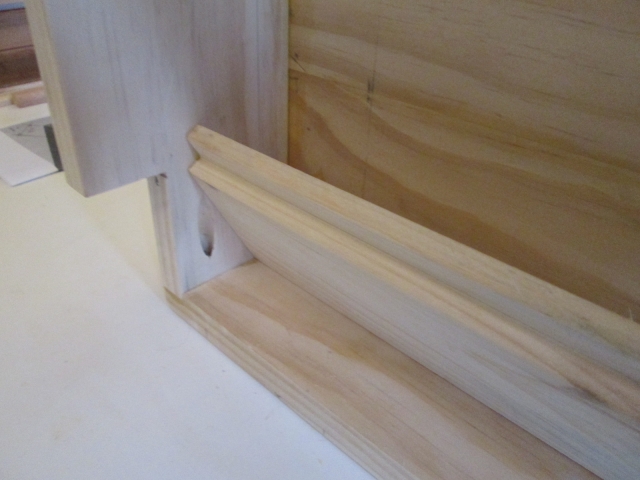
Chiseled a pocket…
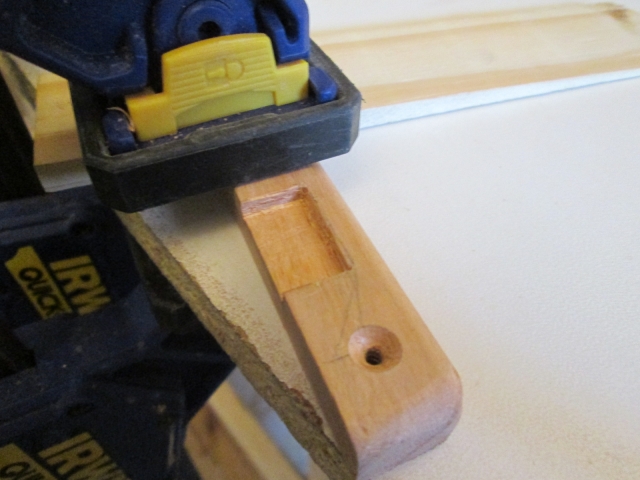
… fit the bar…

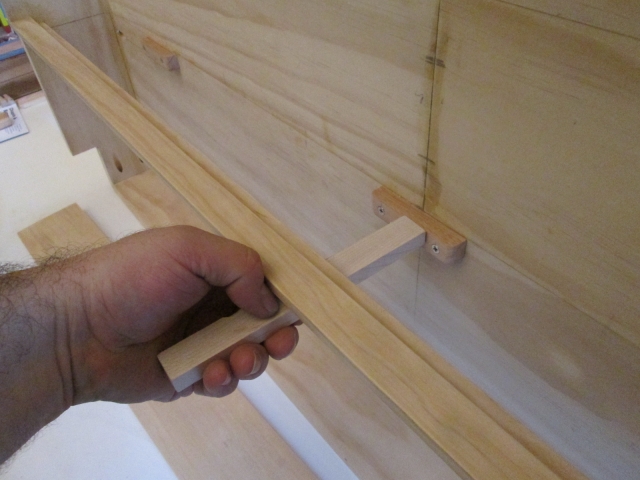
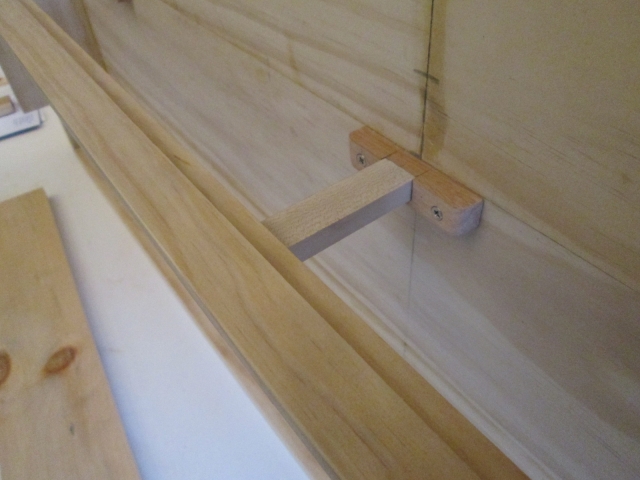
… and drove a screw through to test fit.
Now I just need to decide how it is all going to be finished (paint, vinyl, door hardware, etc.) and get on with it.


 ). I have gotten to know my hand planes much better, and that small oak block with the 1/4 sheet of sand paper is my constant companion.


